Cleaning cast iron grates requires gentle care to prevent rust and damage. Avoid harsh chemicals and soaking; instead, use gentle scrubbing with appropriate tools after the grates have cooled. Regular, light maintenance is far easier than tackling heavy, baked-on buildup. Always re-season your grates after a deep clean to restore their protective layer and ensure longevity.
Key Takeaways
- Cool Completely: Never attempt to clean cast iron grates while they are hot or warm. Allow them to reach room temperature to avoid warping and serious burns.
- Avoid Soaking: Never soak cast iron grates in water. Prolonged exposure is the fastest way to cause rust and compromise the seasoning.
- Gentle Tools First: Start with non-abrasive tools like a nylon scrubber, plastic scraper, or soft-bristled brush. Reserve metal scrapers for stubborn, cooled residue only.
- Season After Cleaning: Any deep cleaning method strips some seasoning. Always apply a thin layer of high-smoke-point oil and bake it on to restore protection.
- Daily Wipe-Down is Key: A quick wipe with a dry or slightly damp cloth after each use prevents grease and food from baking on, making weekly cleaning effortless.
- Know Your Cleaner: For tough grime, use a paste of baking soda and water or a dedicated cast iron cleaner. Avoid harsh acids like straight vinegar or commercial oven cleaners unless necessary, and rinse thoroughly.
- Prevention Over Cure: Use burner liners or drip pans to catch spills. Wipe up boil-overs immediately (once cool) to avoid carbonized, stuck-on messes.
📑 Table of Contents
- Why Cast Iron Grates Need Special Care
- Essential Precautions: What NOT To Do
- The Daily & Weekly Maintenance Routine: The Easy Path
- Deep Cleaning Methods for Baked-On Grime
- The Non-Negotiable Final Step: Re-Seasoning Your Grates
- Long-Term Care & Troubleshooting
- Conclusion: A Labor of Love for a Lifetime of Cooking
Why Cast Iron Grates Need Special Care
Your gas stove’s cast iron grates are workhorses. They take direct heat from the flames and support your heaviest pots and pans. But their very strength—that dense, porous cast iron—is what makes them tricky to clean. Unlike coated enamel grates, bare cast iron has no protective glaze. It relies on a layer of polymerized oil, called seasoning, to create a naturally non-stick surface and, crucially, to prevent rust.
When food spills, boils over, or grease spatters onto these hot grates, it carbonizes and bakes on, becoming a tough, blackened crust. Scrubbing this off with the wrong tool or method can scratch the surface, strip away the precious seasoning, and expose the raw iron to moisture in the air, leading to rust. That’s why understanding the proper how to clean cast iron grates on gas stove top process isn’t just about aesthetics—it’s about preserving a functional, durable piece of kitchen equipment for years to come. Treating them with the same respect as your favorite cast iron skillet is the golden rule.
Essential Precautions: What NOT To Do
Before we dive into the “how,” let’s firmly establish the “don’ts.” These are the cardinal sins of cast iron grate care that will quickly ruin them.

Visual guide about How to Clean Cast Iron Grates on Gas Stove Top
Image source: kitchenseer.com
Never, Ever Soak Them
This is the most important rule. Cast iron is hygroscopic, meaning it absorbs water from the air. Submerging it in water or leaving it to soak in a sink accelerates rust formation exponentially. Even a few minutes of soaking can start the corrosion process. The porous structure soaks up water like a sponge, and once rust starts inside the material, it’s nearly impossible to fully remove.
Avoid the Dishwasher at All Costs
The combination of harsh detergents and prolonged water exposure in a dishwasher is a triple threat: it strips seasoning, promotes rust, and can cause warping from the intense drying heat. Your grates will emerge dull, rusty, and potentially misshapen.
Steer Clear of Harsh Acids and Abrasives
While a little vinegar can help with rust, using straight, undiluted acidic cleaners (like some commercial oven sprays) or gritty, metal-heavy scouring pads will eat away at the seasoning and scratch the metal surface. You’re creating more problems than you solve. Steel wool is also a no-no for the same reason.
Don’t Clean Hot Grates
This is a safety hazard and a practical mistake. A hot grate can warp if subjected to cold water. The thermal shock can crack or permanently deform the cast iron, making it sit unevenly on your stove top. Always, always let them cool completely.
The Daily & Weekly Maintenance Routine: The Easy Path
The secret to never having a brutal, hours-long cleaning session is consistent, light maintenance. Think of it like wiping down your kitchen counters. A few seconds now saves you a weekend later.
Visual guide about How to Clean Cast Iron Grates on Gas Stove Top
Image source: indiancooking101.com
The Post-Cooking Wipe-Down
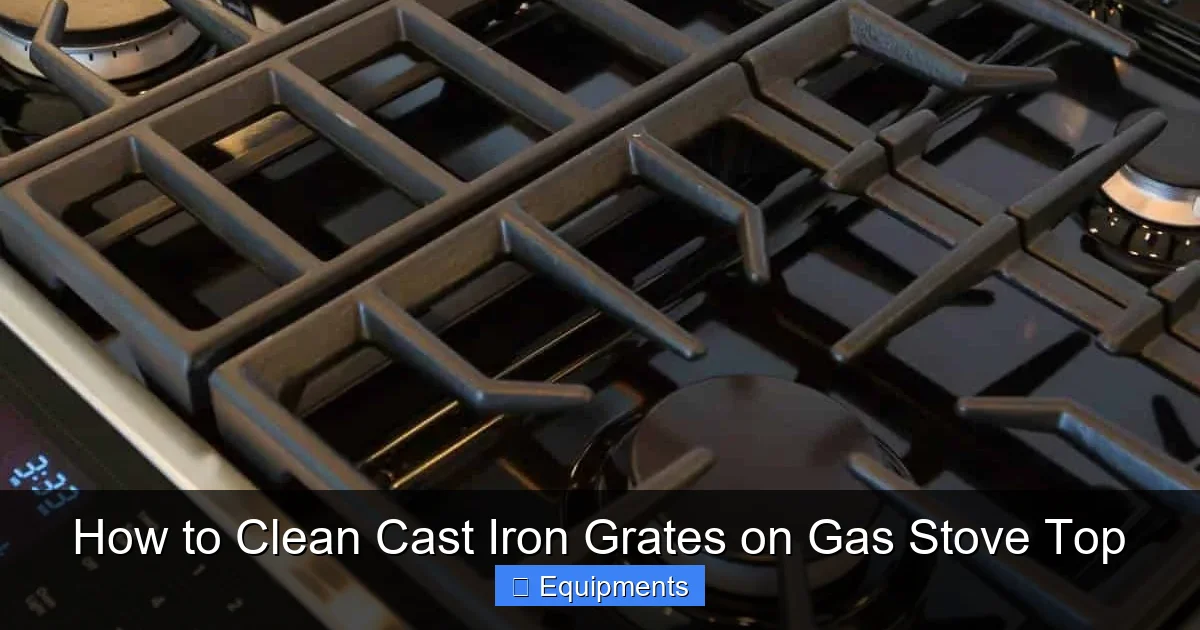
Once you’ve finished cooking and the stove is off, let the grates cool until you can comfortably touch them (usually 20-30 minutes). Take a dry paper towel, microfiber cloth, or a dedicated grates brush and sweep away any loose food crumbs or grease spots. For a slightly more thorough clean, use a cloth that’s barely damp with warm water. Wipe each grate thoroughly, then immediately dry it completely with a dry towel. This removes the greasy film before it becomes a sticky, attractant for dust and more debris.
The Weekly Light Scour
Once a week, or when you notice a light film of cooked-on grease, it’s time for a step up. With the grates cool, use a nylon or plastic scrubber (like a Dobie pad) or a brush with stiff nylon bristles. Apply a small squirt of mild dish soap directly to the grate or scrubber. Scrub the surface, focusing on the areas around the burner ports where grease loves to pool. Rinse quickly under warm running water—do not soak. Immediately and thoroughly dry with a towel or paper towels. This light soap wash is perfectly safe and won’t harm seasoning if followed by immediate drying.
Deep Cleaning Methods for Baked-On Grime
Despite your best efforts, sometimes the grime wins. You’re faced with a thick, black, carbonized layer that feels like part of the metal. Don’t panic. Here are your safe, effective escalation steps, in order from gentlest to strongest.
Visual guide about How to Clean Cast Iron Grates on Gas Stove Top
Image source: i.pinimg.com
Method 1: The Baking Soda Paste Powerhouse
Baking soda is a mild abrasive and a natural deodorizer. It’s your first and best friend for deep cleaning.
- Make a Paste: In a small bowl, mix ½ cup of baking soda with enough warm water to form a thick, spreadable paste, similar to peanut butter consistency.
- Apply Generously: Using your fingers or a spatula, spread a thick layer of the paste over the entire surface of the cool grate, focusing on the worst areas. Ensure full coverage.
- Let It Work: Allow the paste to sit for at least 15-20 minutes, or even up to an hour for extreme buildup. The baking soda will slowly break down the grease and carbon.
- Scrub: Using a nylon scrubber, a non-metal brush, or even a cut piece of a scouring pad (the non-metal kind), scrub the paste in circular motions. You should feel the grime lifting. For crevices around burner ports, use an old toothbrush dipped in the paste.
- Rinse & Dry: Rinse the grate thoroughly under warm water. Use a towel to dry it immediately and completely. Inspect. Repeat if necessary.
Method 2: The Vinegar Spray for Rust & Mineral Deposits
White vinegar’s acidity is excellent for dissolving light rust and mineral deposits from hard water. It’s less effective on thick, carbonized grease but perfect for a rusty-looking grate after a season-stripping clean.
- Spray On: Fill a spray bottle with undiluted white vinegar. Generously spray the affected rusty areas of the cool grate.
- Wait: Let it sit for 5-10 minutes. You may see the rust bubble and dissolve.
- Scrub Gently: Use a nylon brush or scrubber to agitate the area. The rust should wipe away easily.
- Neutralize & Rinse: Immediately rinse the area with a water-vinegar solution (1 part vinegar, 1 part water) or just plain water to stop the acid from continuing to etch the iron. Dry thoroughly.
Method 3: The Commercial Cast Iron Cleaner
Products like Bar Keepers Friend (powdered, not the spray) or dedicated cast iron soaps (like from Lodge) are formulated for this job. They contain mild abrasives that won’t strip seasoning if used correctly.
- Follow Instructions: For Bar Keepers Friend, make a paste with a little water. Apply to the cool grate.
- Short Contact Time: Let it sit for NO MORE than 1-2 minutes. These are more abrasive than baking soda and can damage seasoning if left on.
- Scrub & Rinse: Scrub with a nylon pad. Rinse extremely well to remove all residue. Dry immediately.
Method 4: The Heat & Scrape (For the Most Stubborn, Carbonized Buildup)
This method uses heat to re-carbonize the grease into something brittle that can be chipped away. It’s a last resort for thick, glass-like layers.
- Reheat Gently: Place the cool grate back on the stove (on a burner you won’t use). Turn the burner to low-medium heat. Heat the grate for 5-7 minutes. You want it hot, but not glowing. The goal is to heat the carbonized layer until it becomes brittle and cracks.
- Scrape Immediately: Turn off the burner and let it cool just enough to handle safely with a glove. Using a sturdy plastic scraper (like for non-stick pans) or a wooden spatula, firmly scrape the grate. The baked-on gunk should flake off in chips. Do not use a metal scraper on a hot grate. The risk of gouging is high.
- Finish: Once you’ve scraped off the bulk, let the grate cool completely. Then use one of the gentler methods (baking soda paste) to remove the remaining film. Rinse and dry.
The Non-Negotiable Final Step: Re-Seasoning Your Grates
Any deep cleaning method, even baking soda, removes a thin layer of the seasoning. To protect your clean grates from rust and restore their easy-clean properties, you must re-season them. This is simple and quick.
Choosing the Right Oil
Use an oil with a high smoke point: grapeseed oil, avocado oil, canola oil, vegetable shortening (like Crisco), or flaxseed oil (a favorite for its hardening properties). Avoid olive oil (low smoke point) or butter (contains solids that can go rancid).
The Seasoning Process
- Clean & Bone-Dry: Your grate must be completely clean and 100% dry. Any moisture will cause steaming, not seasoning.
- Thin Coat: Pour a small amount of oil onto a paper towel. Rub a very thin, almost imperceptible layer over the entire surface of the grate, including the underside and legs. Wipe off all excess with a clean paper towel. The grate should not look shiny or wet. This is the most common mistake—too much oil leads to a sticky, gummy surface.
- Heat It: Place the oiled grate on your stove. Turn a burner to medium-high heat and let it heat for 10-15 minutes. You may see a little smoke; that’s the oil polymerizing. Turn off the burner and let the grate cool completely on the stove.
- Wipe Again: Once cool, take a dry paper towel and buff the grate. Any remaining surface oil will come off, leaving a smooth, matte, protective layer.
- Repeat: For a brand-new or heavily stripped grate, repeat this oiling and heating process 2-3 times to build a robust layer.
Your grates are now seasoned and ready for use. This layer will darken with use and become more durable over time.
Long-Term Care & Troubleshooting
Keeping your grates in top shape is an ongoing process. Here’s how to handle common issues and prevent them.
Dealing with Rust Spots
If you spot early rust (small orange dots), act fast. Scrub the spot vigorously with steel wool or a stiff nylon brush and a drop of oil or baking soda paste until the rust is gone and you see bare metal. Rinse, dry immediately, and re-season that specific spot with a thin oil layer and a few minutes on a warm burner. For larger rust areas, you may need to use the vinegar method first to dissolve it, then scrub, and re-season the entire grate.
Preventing Warping
Warping is usually caused by thermal shock—sudden extreme temperature changes. Never pour cold water on a hot grate. Never place a cold, wet pot on a blazing burner (the water will flash to steam and hit the grate). Always preheat your pans gradually. If a grate does warp slightly, you can sometimes attempt to reverse it by heating it evenly until very hot and then placing a flat, heavy weight (like another heavy pan) on it as it cools. But often, warpage is permanent.
Using Burner Liners & Drip Pans
These are your best friends for prevention. Aluminum foil liners or reusable silicone mats (designed for stovetops) can be cut to fit under the grates. They catch drips and spills, protecting the stove top and making cleanup a simple liner swap. Just ensure they don’t block air flow to the burners.
When Is It Time for Replacement?
Cast iron is incredibly durable, but it can reach the end of its life. Signs it’s time for new grates include: deep cracks, severe warping that causes pots to rock, massive rust pits that have eaten through the metal, or seasoning that constantly flakes off no matter how much you re-season. At that point, replacement is safer and more effective than endless repair attempts.
Conclusion: A Labor of Love for a Lifetime of Cooking
Cleaning cast iron grates on your gas stove doesn’t have to be a dreaded chore. By shifting your mindset from “deep clean” to “constant, gentle care,” you transform the process. The core principles are simple: cool always, never soak, scrub gently, and season faithfully. A quick daily wipe and a weekly light scour with soap and water will handle 90% of your needs. Reserve the baking soda paste and vinegar for the occasional tough spot. Embrace the re-seasoning step not as a burden, but as the vital ritual that keeps your cast iron performing and protected. These grates are built to last generations. With this guide, you can ensure they do, becoming a dark, smooth, reliable partner in your kitchen for every meal you cook.
Frequently Asked Questions
Can I use Easy Off or other heavy-duty oven cleaners on my cast iron grates?
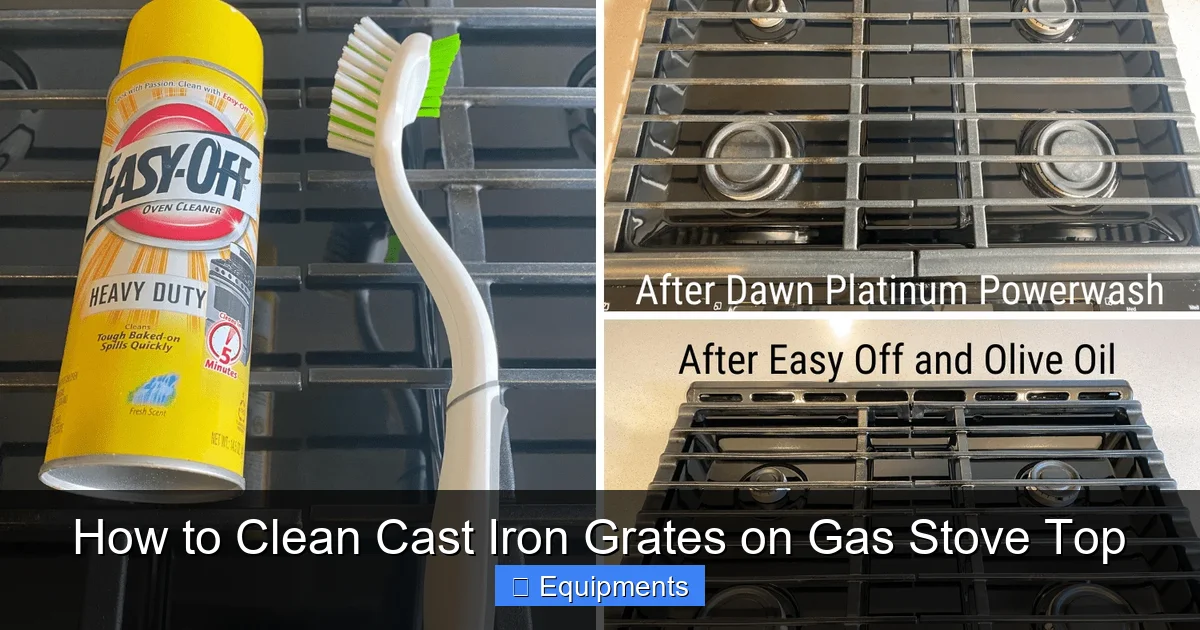
No. Most heavy-duty oven cleaners contain strong chemicals like lye (sodium hydroxide) that will strip all seasoning from the cast iron and can promote rust. They are designed for enamel-coated surfaces, not bare porous cast iron. Stick to the methods outlined here for safe, effective cleaning.
My grates are rusty. Can I save them, or should I just buy new ones?
You can almost always save them. For surface rust, scrub it off with steel wool or a stiff brush. For heavier rust, use white vinegar to dissolve it, then scrub, rinse, dry immediately, and re-season the entire grate thoroughly. Rust is a surface issue; the metal underneath is usually fine. Only replace if the rust has created deep pits or holes.
Is it okay to use a metal scraper or steel wool on the grates?
Use extreme caution and only as a last resort on completely cool grates for extremely stubborn, carbonized buildup. A plastic or wooden scraper is always preferred. A metal scraper can easily gouge the surface, creating grooves where food and rust will permanently collect. If you must use steel wool, use the finest grade (0000) and only on a small, problematic area, followed immediately by re-seasoning.
How often should I deep clean and re-season my grates?
Deep cleaning (using baking soda paste or similar) is only needed when visible, baked-on buildup appears, typically every 2-4 months depending on your cooking habits. Re-seasoning should be done after every deep clean. A light wipe-down and drying should be done after every use, with a weekly light soap-and-water scrub.
Why do my grates keep getting rusty even after I clean them?
Rust means moisture is getting to the bare iron. The most common reasons are: 1) Not drying them thoroughly after cleaning (always towel-dry immediately). 2) Storing them in a humid environment (like a steamy kitchen). 3) Not re-seasoning after a deep clean, leaving no protective oil layer. 4) Soaking them or using too much water without immediate drying. Fixing the drying and seasoning routine will solve most rust problems.
Can I put my cast iron grates in the self-cleaning oven cycle?
This is extremely risky and generally not recommended. The self-cleaning cycle reaches temperatures of 800-900°F, which can cause severe warping or even cracking in cast iron due to thermal stress. It will also strip all seasoning, leaving you with a rust-prone surface. The controlled heat of your stovetop burner is a much safer method for seasoning.