Putting metal in a microwave can cause dangerous arcing and internal damage. The first step is always immediately unplugging the unit and not using it. While some issues like a damaged interior paint are DIY-friendly, critical component failures like a burnt magnetron or waveguide require professional assessment or replacement. This guide details the exact diagnostic steps, common fixes you can try, and the clear signs that mean it’s time to call a technician or buy a new microwave.
Key Takeaways
- Safety is non-negotiable: Always unplug the microwave immediately and do not attempt to use it after metal has been inside.
- Inspect visually first: Look for obvious damage like burned paint, melted plastic, or a charred waveguide cover before considering any internal components.
- Not all damage is repairable: A burnt magnetron, damaged high-voltage diode, or compromised capacitor often means the microwave is dead or too expensive to fix.
- The waveguide cover is a common fix: This thin mica sheet is frequently destroyed by arcing and is a cheap, simple part for a confident DIYer to replace.
- Test before you declare victory: After any repair, perform the “cup of water test” for 30 seconds in a well-ventilated area to check for normal operation and smells.
- When in doubt, call a pro: Microwaves store lethal high voltage even when unplugged. If you’re unsure, the cost of a service call is cheaper than a hospital bill.
- Prevention is the best fix: Establish strict house rules: no foil, metal trim plates, or twist-ties in the microwave. Use only microwave-safe plastics, glass, or ceramic.
📑 Table of Contents
- Introduction: The Spark That Changed Everything
- Step 1: The Emergency Protocol – Stop, Unplug, and Assess
- Step 2: Diagnosing the Damage – From Cosmetic to Catastrophic
- Step 3: The DIY Fixes You Can Attempt (If You’re Handy and Cautious)
- Step 4: Recognizing When to Call a Professional or Retire the Unit
- Step 5: Prevention – The Only 100% Effective Fix
- Conclusion: Weighing Cost, Safety, and Sanity
Introduction: The Spark That Changed Everything
That sickening ZAP-ZAP-ZAP sound. The blinding flash of light inside the window. The acrid smell of ozone and burnt insulation. If you’ve ever accidentally put metal in a microwave, you know this moment of pure dread. Your heart sinks as you scramble to hit STOP, but the damage may already be done. The immediate question that follows is a panicked one: “How do I fix a microwave after putting metal in it?”
This is a critical situation, not just for your appliance, but for your home’s safety. Metal in a microwave acts like a lightning rod in a thunderstorm, causing electrical arcs (those sparks) that can burn through protective coatings, melt plastic parts, and inflict catastrophic damage on the microwave’s delicate heart—its magnetron. The path to a solution isn’t always simple. Sometimes, it’s a quick cosmetic fix. Sometimes, it’s a complex electrical repair. And sometimes, the safest answer is to retire the unit entirely. This guide will walk you through every step of the diagnosis and repair process, from the immediate emergency actions to the final test, so you can make an informed, safe decision about your spark-filled microwave.
Step 1: The Emergency Protocol – Stop, Unplug, and Assess
Before you even think about fixing anything, you must execute the emergency protocol. Your immediate actions determine the severity of the damage and, more importantly, your safety.
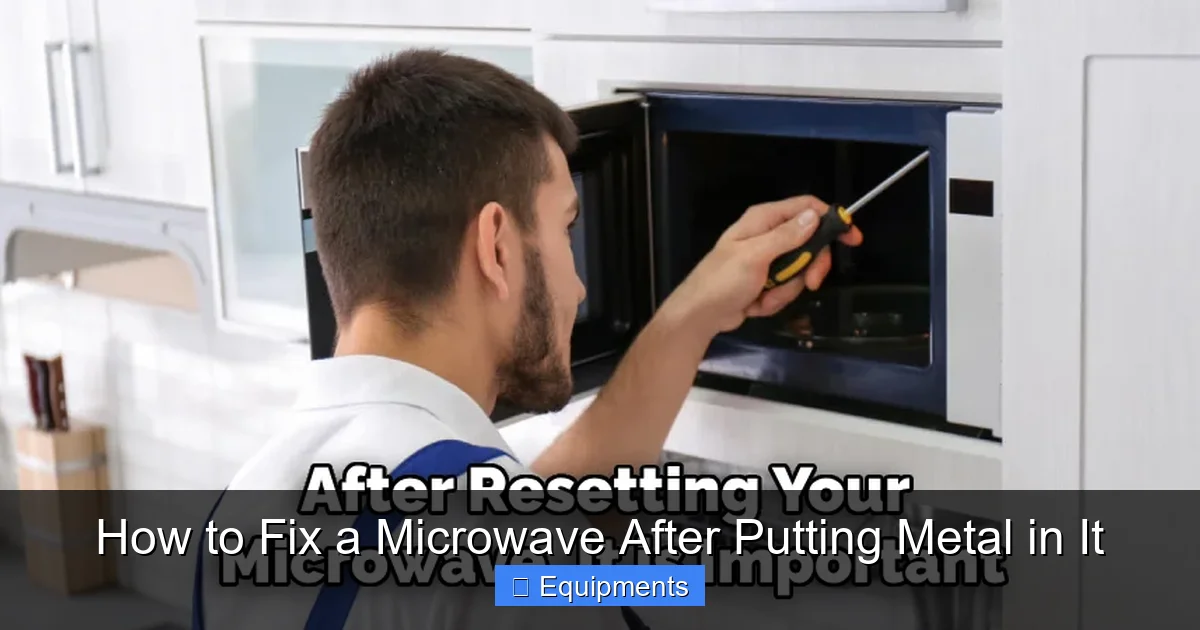
Visual guide about How to Fix a Microwave After Putting Metal in It
Image source: thekitchenix.com
Stop the Microwave Immediately
If you see sparks or hear arcing, press the STOP/CANCEL button. Do not open the door while it’s still running and sparking. The arcs can jump to the door seal. Let it stop on its own cycle if you can’t cancel it quickly.
Unplug the Power Cord
This is the single most important step. A microwave is a high-voltage appliance. Even after you turn it off, lethal charges can linger in the capacitor for hours or days. Unplugging it from the wall socket is your first line of defense against electric shock and prevents any further electrical damage if a short circuit has developed.
Do Not Open the Door Yet (If Severe Arcing Occurred)
If the arcing was intense and prolonged, smoke or a burning smell is heavy, there is a small risk of a fire smoldering inside. Leave the door closed for a minute or two after unplugging to starve any potential flame of oxygen. Then, open it carefully.
Initial Visual Assessment
With the unit unplugged and the door open, take a deep breath (if the smell isn’t too bad) and look. Use a flashlight. What do you see?
- The Interior Walls: Is the painted enamel coating blackened, blistered, or peeled away in spots? This exposes the bare metal underneath, which will definitely spark if you try to use it again.
- The Waveguide Cover: This is the small, usually square or rectangular, plastic or mica sheet covering the hole in the wall where the microwaves enter the cooking chamber. It’s often behind the turntable roller ring. Is it blackened, melted, or has a hole burnt through it? This is the most common point of failure from metal arcing.
- The Turntable & Roller Ring: Are they melted, warped, or discolored? Plastic parts can melt from the intense heat of the arcs.
- Any Foreign Objects: Remove the metal culprit and any other debris. Check the corners and under the roller ring.
This assessment tells you if you’re looking at a simple cosmetic fix or a potential major component failure.
Step 2: Diagnosing the Damage – From Cosmetic to Catastrophic
Now, you need to play detective. The damage from putting metal in a microwave typically follows a progression, from the point of contact outward. Understanding this helps you diagnose.
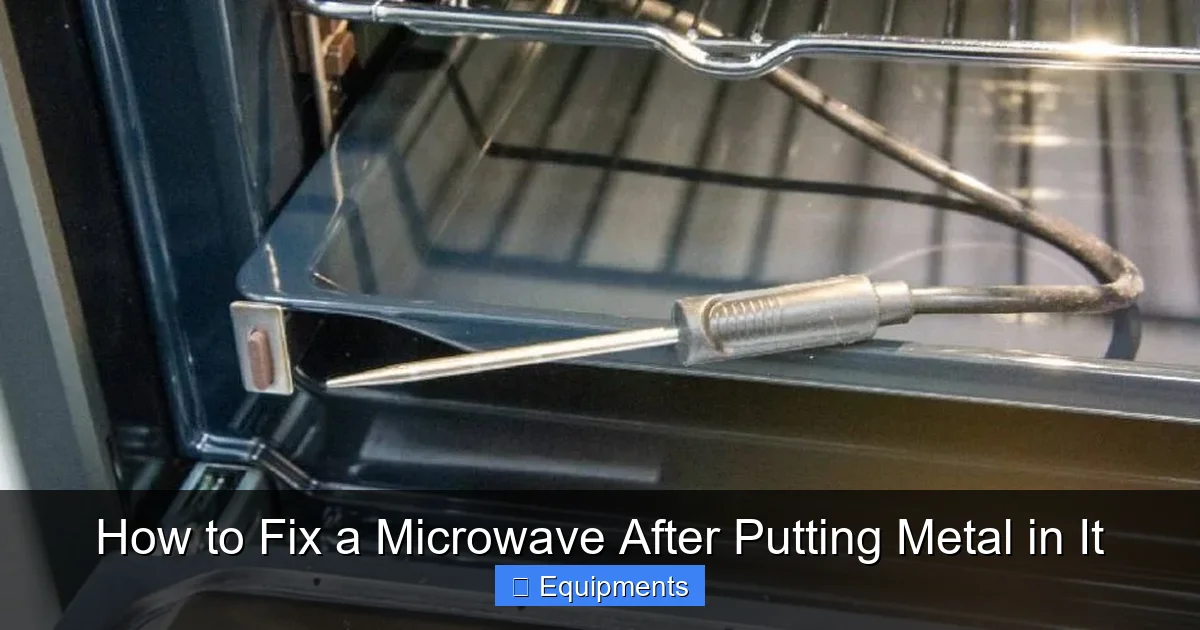
Visual guide about How to Fix a Microwave After Putting Metal in It
Image source: thekitchenix.com
The Waveguide Cover: The First Line of Defense (and Failure)
The waveguide cover protects the critical microwave emitter (the magnetron’s antenna) from food splatter and, crucially, from arcing. When metal sparks inside, that energy often gets directed right at this cover. It’s designed to be a sacrificial part. A damaged waveguide cover is the most frequent and easiest fix. If it’s just charred or has a small hole, you can often replace it. If the arcing was severe, the heat may have damaged the antenna behind it.
The Interior Paint: A Grounding Nightmare
Microwave interiors are painted with a special conductive paint that forms a Faraday cage with the metal cabinet. This paint is electrically bonded to the chassis. If a spark burns through this paint in multiple places, you create exposed metal “islands.” When the microwave runs, these islands can arc against each other or to other metal parts, causing continuous, destructive sparking even with nothing inside. Fixing this requires sanding the area smooth and applying microwave conductive paint (a special nickel-based paint), which is a finicky but possible DIY job for small areas.
The Magnetron: The Heart of the Microwave
This is the component that generates the microwaves. The antenna of the magnetron sticks directly into the waveguide. A powerful arc from nearby metal can directly damage this antenna or the internal components of the magnetron itself. Signs of a dead magnetron: The microwave runs silently (you hear the fan and light) but produces no heat. There is no humming sound (the normal sound of the magnetron energizing). If you’ve replaced the waveguide cover and fixed the paint and it still doesn’t heat, the magnetron is the prime suspect. Magnetrons are expensive and require technical skill to test and replace safely. For most people, this equates to a “total loss” scenario.
Other High-Voltage Components
The intense electrical surge from an arc can also fry:
- The High-Voltage Diode: Part of the circuit that multiplies voltage to the magnetron. A failed diode often causes the main fuse to blow.
- The Capacitor: Stores a lethal charge. A surge can cause it to short internally.
- The High-Voltage Transformer: The large, heavy transformer. Less commonly damaged by a single arc, but possible.
Diagnosing these requires a multimeter and knowledge of high-voltage circuits. If you’ve blown fuses or the microwave does absolutely nothing (no lights, no fan) after the incident, these components are suspects.
Step 3: The DIY Fixes You Can Attempt (If You’re Handy and Cautious)
If your assessment showed only damage to the waveguide cover or a small patch of interior paint, and the microwave still seems to power on normally (lights, fan, turntable work), you can attempt these repairs. Remember: The unit must remain unplugged during all repairs.
Visual guide about How to Fix a Microwave After Putting Metal in It
Image source: thekitchenix.com
Replacing the Waveguide Cover
This is the most common and rewarding fix.
- Source the Part: Find your microwave’s exact model number (on a sticker inside the door frame or on the back). Search online for “[Your Model Number] waveguide cover” or “mica sheet.” They are usually very inexpensive ($5-$15).
- Access: Remove the turntable and the roller ring. You’ll see the circular opening. The cover is held by two plastic clips or a small screw. Gently pry or unscrew it.
- Installation: Clean the area thoroughly. Place the new cover, ensuring it sits flat and seals the opening completely. Re-secure the clips or screw. Do not get any adhesive on it.
Repairing the Interior Paint
This is more delicate.
- Preparation: Sand the damaged area gently with fine-grit sandpaper (220+ grit) to remove all flaking paint and create a smooth, clean, bare metal surface. Wipe with a dry cloth to remove all dust.
- Painting: Use microwave conductive paint (often nickel-based). Regular spray paint will not work and is a fire hazard. Apply 2-3 very light, even coats, allowing drying time between coats as per instructions. The goal is a thin, continuous conductive layer that bridges the damaged area to the surrounding good paint. Do not apply thickly.
- Curing: Let it cure fully (often 24 hours) before powering on.
The Ultimate Test: The Cup of Water
After any repair, you must test. Place a microwave-safe cup with 1 cup of water inside. Set the microwave for 30 seconds on high. Do not stand directly in front of it. Listen and watch. It should hum normally. After 30 seconds, the water should be warm to hot. Smell the air inside—there should be no burning smell. If it sparks, smells burnt, or doesn’t heat, turn it off immediately. The repair failed, or there is deeper damage.
Step 4: Recognizing When to Call a Professional or Retire the Unit
There is a clear line between a DIY project and a dangerous, expensive, or futile endeavor. Here are the definitive signs you should not fix it yourself:
Signs of Magnetron or Major Component Failure
- No heat, but the turntable, light, and fan work (the classic “silent runner”).
- The microwave blows its main fuse immediately when plugged in or started.
- You smell a strong, persistent burning smell even after cleaning and replacing obvious parts.
- There is visible damage to the waveguide antenna (the metal rod inside the waveguide hole).
These issues involve high-voltage, high-current components. Testing and replacing them requires specialized tools, knowledge of microwave circuitry, and extreme caution regarding capacitor discharge. The cost of a professional service call plus parts can easily approach or exceed the cost of a new, mid-range microwave. For a unit over 5-7 years old, replacement is often the most economical and safest choice.
Structural or Fire Damage
If the metal cabinet itself is warped, the door seal is melted, or there are significant burn marks on the exterior, the integrity of the Faraday cage is compromised. This can lead to microwave radiation leakage—a serious health hazard. Any microwave with suspected radiation leakage must be disposed of properly and never used again.
Step 5: Prevention – The Only 100% Effective Fix
The absolute best way to fix a microwave after putting metal in it is to never put metal in it in the first place. The rules are simple but often misunderstood.
The “No Metal” Rule: It’s Broader Than You Think
It’s not just about foil and fork tines. Be vigilant about:
- Aluminum foil: Crumpled foil is the worst. Even smooth foil can arc if it’s too close to the walls.
- Metal trim on plates or cups: That decorative gold or silver rim will spark.
- Twist-ties: The tiny metal wire inside the paper or plastic twist-tie is a guaranteed sparker.
- Stainless steel travel mugs: Unless specifically labeled “microwave safe” (most are not), the metal body will cause arcing.
- Metal takeout containers: The foil-lined ones or the ones with metal handles.
- Parchment paper with metal staples: Check your baking supplies!
Safe Alternatives
When in doubt, transfer food to a known microwave-safe glass, ceramic, or plastic container. Use microwave-safe plastic wrap or a damp paper towel to cover food instead of foil. For browning or crisping, use a microwave crisper pan (which is designed to absorb microwave energy and heat up like a frying pan) or finish the food in a toaster oven or regular oven.
Establish Household Rules
If you share your home with teenagers, roommates, or curious kids, have a clear conversation. Post a simple note on the microwave if necessary: “NO FOIL, NO METAL.” A moment of prevention saves you from the stress, danger, and cost of a microwave repair.
Conclusion: Weighing Cost, Safety, and Sanity
So, how do you fix a microwave after putting metal in it? The answer is a flowchart of your own making, based on your assessment. Start with the simple, safe fixes: replace the waveguide cover, repair the paint. If those don’t solve the problem, or if you see signs of magnetron damage, your decision matrix becomes simple: cost vs. safety vs. sanity.
Get a quote from an appliance repair technician. Compare it to the price of a comparable new microwave. Factor in the age of your current unit. But always, always factor in safety. A microwave that sparks, smokes, or fails to heat properly is a fire hazard and a potential source of harmful radiation leakage. The $100 you might spend on a repair for a 10-year-old unit might not be worth the anxiety of wondering if it’s safe every time you use it.
In many cases, especially with older models or severe damage, the most responsible and ultimately “fixing” thing you can do is to recycle the old unit responsibly and invest in a new one. The peace of mind that comes from a safe, reliable appliance is worth far more than the cost of a repair. Remember, the goal isn’t just to make it work again—it’s to make it work safely.
Frequently Asked Questions
Can I still use my microwave if it sparked but seems fine now?
No. Even if the sparking stopped, internal damage like burned paint or a compromised waveguide cover may be present. Using it risks further damage, fire, or radiation leakage. You must unplug it and perform a full visual inspection and diagnostic test before considering use.
Is a burnt smell always a sign of a dead microwave?
Not always. A strong, acrid “electrical” smell immediately after an incident often comes from burned paint or a destroyed waveguide cover, which can be replaced. However, a persistent, oily, or “hot motor” smell after cleaning suggests damaged internal components like the magnetron or transformer, which is likely a terminal failure.
Can I just replace the fuse to fix my microwave after metal?
Replacing a blown fuse is a temporary step in diagnosis, not a fix. The fuse blew for a reason—usually a short circuit caused by the metal arcing. If you replace the fuse and it blows again immediately, there is a serious short in the high-voltage circuit (diode, capacitor, transformer, magnetron). If it doesn’t blow, the problem might be elsewhere, but the fuse itself doesn’t repair the damage that caused it to blow.
What part gets damaged most often from metal in a microwave?
The waveguide cover (the thin mica or plastic sheet covering the hole in the side wall) is damaged most frequently. It sits directly in the path of the arcing energy and is designed as a sacrificial part. It is also the easiest and cheapest part to replace, often costing under $10.
My microwave still runs but doesn’t heat. Is the magnetron definitely dead?
It’s the most likely culprit, especially after a metal incident. The “silent runner” symptom (fan and light work, no heating sound) strongly points to a failed magnetron. However, it could also be a failed high-voltage diode or capacitor. Proper diagnosis requires safely testing these components with a multimeter, which is why many technicians will simply replace the magnetron assembly based on symptoms.
Is it safe to take a microwave apart to fix it myself?
Extreme caution is required. A microwave’s capacitor can hold a lethal 2,000+ volt charge for days or weeks after unplugging. You must safely discharge it with an insulated screwdriver before touching any internal wiring. If you are not 100% confident in your ability to do this safely, do not attempt internal repairs. The risk of severe electric shock is very real.