Keeping a commercial oven clean is essential for food safety, energy efficiency, and consistent baking results. This guide walks you through daily, weekly, and deep‑cleaning routines, the tools you need, and pro tips to make the job faster and easier. Follow our simple steps and your oven will stay in top shape for years.
Key Takeaways
- Regular maintenance prevents costly breakdowns: Simple daily wipes stop grease buildup that can cause fire hazards.
- Use the right cleaners: Food‑grade, non‑abrasive solutions protect oven interiors without damaging coatings.
- Follow a cleaning schedule: Daily, weekly, and monthly tasks keep the oven running efficiently.
- Safety first: Always disconnect power, wear gloves, and ventilate the area before starting.
- Deep‑cleaning restores performance: Removing baked‑on residue improves heat distribution and reduces energy use.
- Document the process: A cleaning log helps staff stay consistent and satisfies health‑code inspections.
- Professional service isn’t optional: Schedule annual technician visits to check seals, thermostats, and electrical components.
📑 Table of Contents
- Introduction: Why Cleaning Your Commercial Oven Matters
- 1. Understanding Your Oven’s Anatomy
- 2. Building Your Cleaning Toolkit
- 3. Daily Maintenance: The Quick‑Wipe Routine
- 4. Weekly Deep Clean: Removing Built‑Up Grease
- 5. Monthly or Quarterly Deep‑Clean: Tackling Carbon Buildup
- 6. Safety and Compliance: Keeping Your Kitchen Legal
- Conclusion: Keep Your Oven Happy, Keep Your Business Thriving
Introduction: Why Cleaning Your Commercial Oven Matters
In a busy restaurant kitchen, the oven is the heart of the operation. It bakes breads, roasts meats, and finishes desserts. When that oven gets dirty, two things happen fast: food quality drops and the risk of a fire rises. Grease, food particles, and carbon deposits act like insulation, trapping heat and forcing the unit to work harder. That extra workload means higher energy bills and a shorter lifespan for the equipment.
Cleaning a commercial oven isn’t just a “nice‑to‑have” chore—it’s a safety requirement and a cost‑saving measure. The good news? With the right routine, the job can be quick, predictable, and even a little satisfying. Below you’ll find a full, step‑by‑step guide that covers everything from daily wipe‑downs to a quarterly deep clean, plus the tools, chemicals, and safety tips professionals rely on.
1. Understanding Your Oven’s Anatomy
1.1 Main components you’ll encounter
Before you start scrubbing, know what you’re looking at. Most commercial ovens share these parts:
Visual guide about How to Clean a Commercial Oven
Image source: touchstonecommercialservices.com
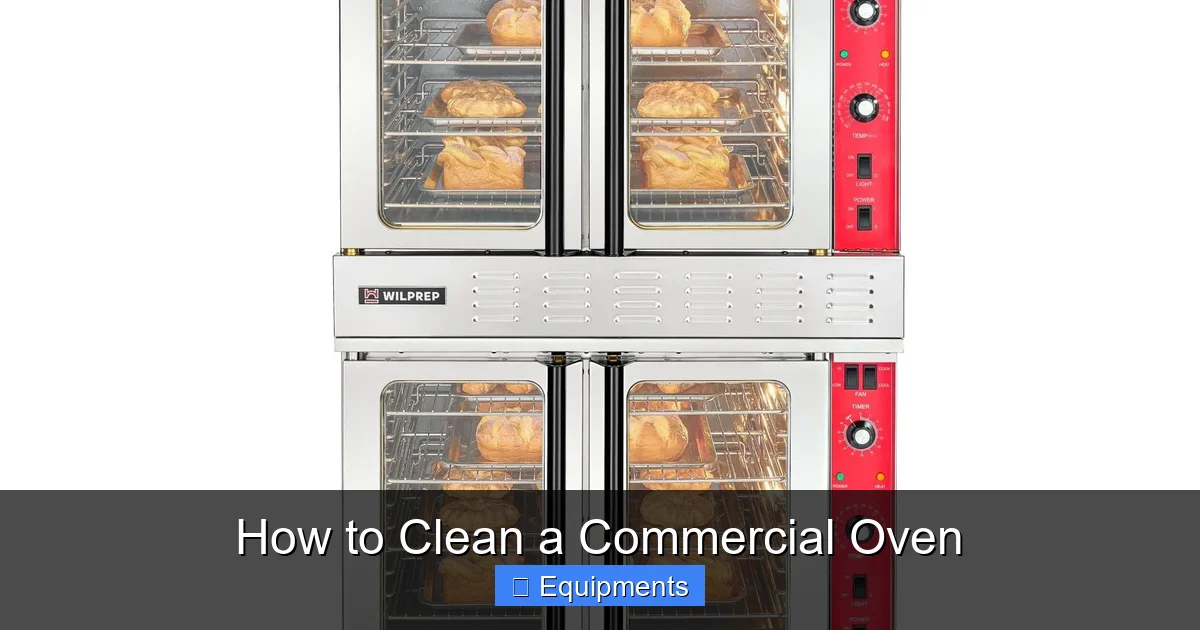
- Interior cavity: The space where heat circulates.
- Heating elements: Electric coils or gas burners.
- Racks and trays: Removable metal shelves.
- Door gasket: Heat‑resistant seal that prevents leaks.
- Fans and blowers: Move hot air for even cooking.
- Control panel: Electronics that should stay dry.
1.2 Materials and coatings
Most ovens have a stainless‑steel interior with a non‑stick, high‑temperature coating. Using abrasive pads or harsh chemicals can scratch this surface, leading to rust or reduced heat reflectivity. Stick to soft‑sponge tools and food‑grade cleaners to protect the finish.
2. Building Your Cleaning Toolkit
2.1 Essential tools
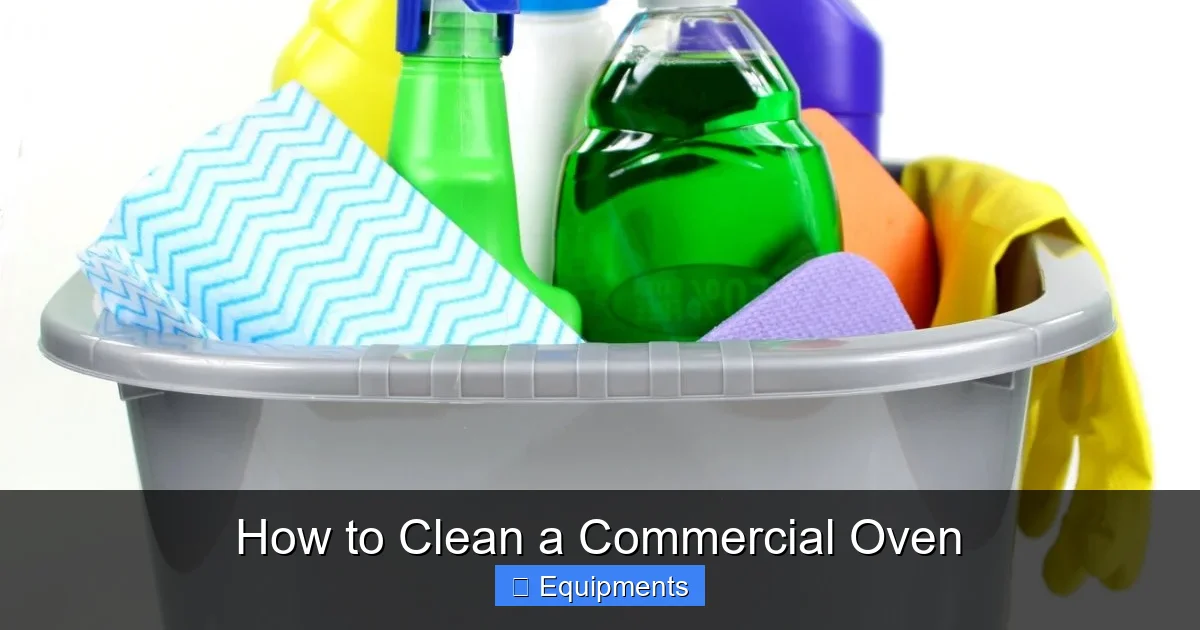
- Non‑abrasive scrub pads: Nylon or microfiber pads work well.
- Plastic or silicone spatula: For scraping without scratching.
- Heat‑resistant gloves: Protect hands from hot surfaces.
- Safety goggles: Prevent splashes from chemicals.
- Bucket with warm water: Base for mixing cleaners.
- Spray bottle: For applying solutions evenly.
2.2 Recommended cleaning solutions
| Solution | Use | Mix Ratio |
|---|---|---|
| Food‑grade degreaser (e.g., Simple Green) | Daily grease removal | 1:10 with water |
| Baking soda paste | Stubborn carbon spots | 3 parts soda to 1 part water |
| White vinegar | Mineral buildup & odor control | Undiluted or 1:1 with water |
| Commercial oven cleaner (acid‑free) | Weekly deep clean | Follow manufacturer instructions |
3. Daily Maintenance: The Quick‑Wipe Routine
3.1 When to perform daily cleaning
Do this at the end of each service shift, after the oven has cooled to ≤ 200°F (93°C). A quick wipe prevents grease from hardening.
Visual guide about How to Clean a Commercial Oven
Image source: m.media-amazon.com
Visual guide about How to Clean a Commercial Oven
Image source: realsimple.com
3.2 Step‑by‑step daily wipe
- Turn off and cool: Switch off the oven and wait for it to drop below 200°F.
- Remove racks: Take out all trays and place them on a heat‑resistant mat.
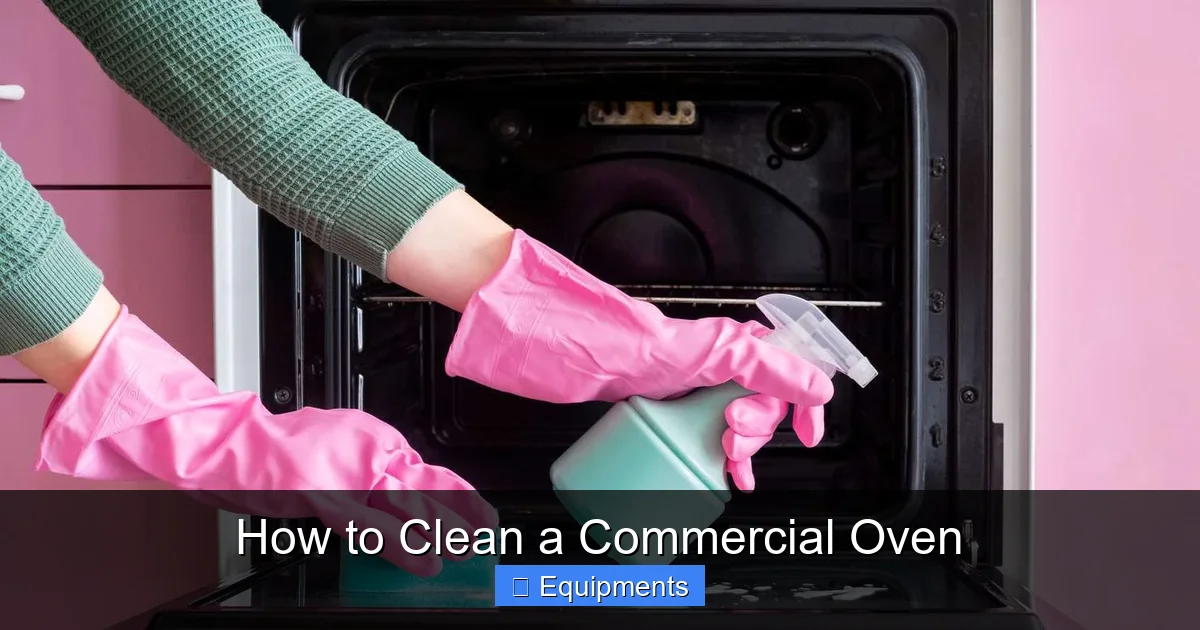
- Spray degreaser: Lightly coat interior walls and the door glass.
- Wipe with a microfiber pad: Use circular motions; focus on corners.
- Clean racks: Scrub with warm, soapy water, rinse, and dry.
- Inspect door gasket: Wipe it clean; check for cracks.
- Re‑assemble: Put racks back, close the door, and log the task.
3.3 Tips for efficiency
- Keep a “daily‑clean” checklist on the wall for staff.
- Use a spray bottle with a trigger for quick, even coverage.
- Replace microfiber pads weekly to avoid spreading old grease.
4. Weekly Deep Clean: Removing Built‑Up Grease
4.1 Why a weekly schedule?
Even with daily wipes, a thin layer of grease accumulates over a week. This layer reduces heat transfer and can ignite during high‑temperature cycles.
4.2 Preparing the oven
- Power down: Turn off the oven and disconnect the power supply (unplug or switch off the breaker).
- Ventilate: Open kitchen windows; run exhaust fans.
- Cool completely: Wait until the interior is below 120°F (49°C).
4.3 Deep‑cleaning process
- Remove all removable parts: Racks, trays, pans, and stone plates.
- Soak metal parts: Place them in a large tub of hot, soapy water for 10‑15 minutes.
- Apply oven cleaner: Spray the interior walls, floor, and ceiling evenly. Avoid the heating elements.
- Let it work: Follow the product’s dwell time (usually 10‑15 minutes). The chemicals break down baked‑on grease.
- Scrub gently: Use a non‑abrasive pad or plastic scraper to lift residue.
- Rinse with water: Wipe the interior with a clean, damp cloth to remove chemical traces.
- Dry thoroughly: Use a clean towel or let the door stay open for air drying.
- Clean racks: After soaking, scrub each rack, rinse, and dry.
- Re‑assemble and test: Put everything back, reconnect power, and run a short “warm‑up” cycle to ensure no moisture remains.
4.4 Common pitfalls
- Never spray cleaner directly onto heating elements—they can corrode.
- Avoid using steel wool; it scratches the interior coating.
- Never skip the final rinse; chemical residue can affect food taste.
5. Monthly or Quarterly Deep‑Clean: Tackling Carbon Buildup
5.1 When carbon becomes a problem
Carbon deposits appear as black, glassy layers on the oven floor and walls after repeated high‑heat cycles. They act like insulation, causing hot spots and uneven baking.
5.2 Specialized tools for carbon
- Heavy‑duty oven scraper: Plastic or silicone edge designed for carbon.
- Baking soda paste: Gentle yet effective abrasive.
- Steam cleaning kit (optional): Loosens stubborn deposits.
5.3 Step‑by‑step carbon removal
- Full power‑down: Shut off, unplug, and let the oven cool completely.
- Ventilate and seal off: Close doors, turn on exhaust fans.
- Apply baking soda paste: Spread a thick layer over carbon‑covered areas.
- Let sit 30 minutes: The paste softens the carbon.
- Scrape gently: Use the plastic scraper in a back‑and‑forth motion.
- Steam blast (if available): Direct steam at remaining spots for 2‑3 minutes.
- Wipe clean: Remove residue with a damp microfiber cloth.
- Final rinse and dry: Ensure no paste remains; dry thoroughly.
- Run a test bake: Heat to normal operating temperature and check for hot spots.
5.4 Preventive measures
- Place a drip tray on the oven floor to catch spills.
- Schedule a short “self‑clean” cycle (if the oven has one) once a month.
- Rotate racks regularly to avoid uneven grease accumulation.
6. Safety and Compliance: Keeping Your Kitchen Legal
6.1 Health‑code basics
Most local health departments require documented cleaning logs for commercial ovens. Failure to produce records can lead to fines or closure.
6.2 Personal protective equipment (PPE)
- Heat‑resistant gloves (minimum 300°F rating).
- Safety goggles or face shield.
- Non‑slip shoes.
- Respirator mask if using strong degreasers in poorly ventilated areas.
6.3 Documentation best practices
- Create a simple log sheet with columns: Date, Staff Initials, Task (Daily/Weekly/Monthly), Chemicals Used, Comments.
- Attach a copy of the Material Safety Data Sheet (MSDS) for each cleaner near the cleaning station.
- Store logs digitally for easy retrieval during inspections.
Conclusion: Keep Your Oven Happy, Keep Your Business Thriving
A clean commercial oven is a silent partner that delivers consistent taste, saves energy, and protects your staff from fire hazards. By following the daily, weekly, and monthly routines outlined above, you’ll extend the life of the equipment, stay compliant with health regulations, and avoid costly emergency repairs. Make cleaning a shared responsibility—train every kitchen employee, post checklists, and keep the right tools at hand. With a little routine effort, your oven will stay reliable, your dishes will taste better, and your bottom line will thank you.
Frequently Asked Questions
How often should I clean the oven door gasket?
The gasket should be wiped down daily with a mild degreaser and inspected weekly for cracks or hardening. Replace it if you notice any damage.
Can I use bleach to clean a commercial oven?
Bleach is not recommended because it can corrode metal parts and leave a strong odor that may transfer to food. Stick to food‑grade, acid‑free cleaners.
What temperature should the oven be before I start cleaning?
Allow the oven to cool to 120°F (49°C) or lower. This temperature is safe for handling and prevents steam burns.
Do I need a professional service for routine cleaning?
No, routine daily and weekly cleaning can be done by trained staff. However, schedule a professional technician once a year to check seals, thermostats, and electrical components.
How can I reduce the amount of grease that builds up?
Use drip trays, rotate racks regularly, and wipe spills immediately. A well‑maintained exhaust system also helps keep grease from settling on oven surfaces.
What should I do if I notice a strong odor after cleaning?
Ventilate the kitchen fully, run a short low‑heat cycle to burn off any residual chemicals, and ensure all cleaning solutions were thoroughly rinsed away.
Pingback: How to Baste a Ham - kitchenandhouseware.com