Struggling with a dark kitchen? You’re not alone. A dim cooking space can feel oppressive and unsafe, but with strategic lighting, color choices, and smart design tweaks, you can transform it into a bright, welcoming heart of your home. This guide walks you through actionable before and after steps, from assessing your current light sources to layering fixtures and choosing reflective surfaces, ensuring your kitchen becomes a cheerful, functional space you love to be in.
Have you ever walked into your kitchen and felt like you needed a flashlight just to find the spice jar? You’re not alone. A dark kitchen is one of the most common complaints in homes, especially in older houses or those with limited windows. That gloomy feeling doesn’t just make cooking less enjoyable; it can make the space feel small, cramped, and even a bit unsafe. But here’s the fantastic news: transforming a dark kitchen into a bright, airy, and welcoming room is absolutely achievable. It’s not always about a massive, expensive remodel. Often, it’s about understanding how light works in a room and applying smart, strategic design principles. This guide is your complete “before and after” blueprint. We’ll move from diagnosing why your kitchen is so dark to implementing powerful solutions in lighting, color, and decor. Get ready to see your kitchen in a whole new light.
Key Takeaways
- Layered lighting is non-negotiable: Combine ambient, task, and accent lighting to eliminate shadows and create a balanced, functional glow.
- Light colors are your best friend: Use whites, off-whites, and light neutrals on walls, ceilings, and cabinets to maximize light reflection.
- Reflective surfaces amplify existing light: Incorporate glossy tiles, metallic finishes, and mirrors to bounce light around the room.
- Maximize every bit of natural light: Keep windows clear, use sheer coverings, and place mirrors opposite windows to double daylight.
- Declutter to improve light flow: Open shelves, minimal upper cabinets, and organized countertops allow light to travel freely through the space.
- Smart bulb choice matters: Opt for bulbs with a color temperature of 3000K-4000K (bright white to cool white) and sufficient lumens for each zone.
- Professional help can be a bright idea: For major electrical or structural changes, consult an expert and always review their terms and conditions to understand the scope and warranties of the work.
📑 Table of Contents
Assess Your Kitchen’s Current Light Situation
Before you can fix a problem, you have to truly understand it. A dark kitchen can suffer from one issue or a combination of several. Taking a systematic “before” inventory is the critical first step to an effective “after” transformation. Grab a notebook and walk through your kitchen at different times of day—morning, afternoon, and evening. Note where the light is and, more importantly, where it isn’t.
Identify All Light Sources (Natural and Artificial)
Start with nature. How many windows do you have? Are they large or small? Which direction do they face? South and west-facing windows bring in the most intense light, while north-facing windows provide a softer, cooler light. East-facing windows are great for morning sun. If your kitchen has no windows at all, that’s your primary challenge. Next, audit your artificial lights. What fixtures are present? A single, central ceiling fixture is the most common and often the most inadequate. Note the type of bulbs (their brightness in lumens and color in Kelvins), their placement, and whether they cast shadows when you stand at the sink, stove, or countertops.
Spot Hidden Culprits That Steal Light
Now, look for the absorbers. Dark, heavy cabinets—especially on the upper walls—act like light sponges, soaking up any available illumination. Dark countertops and flooring have the same effect. Clutter on countertops and busy, open shelving can create visual “noise” that makes a space feel darker and more chaotic. Deep, wide crown molding or heavy, dark trim can also chop up walls and ceilings, interrupting the path of light. Finally, consider your paint. Dark paint colors on walls or ceilings will dramatically reduce the room’s reflectivity. Make a list of every element that feels heavy, dark, or visually busy. This is your “to-change” list.
Lighting Strategies That Actually Work
Lighting is the single most powerful tool in your brightening arsenal. The goal is to move beyond a single, central light source and create a layered, flexible lighting scheme. Think of it this way: ambient light fills the room, task light helps you see what you’re doing, and accent light adds depth and highlights features. When done right, you won’t just see better; you’ll *feel* better in the space.
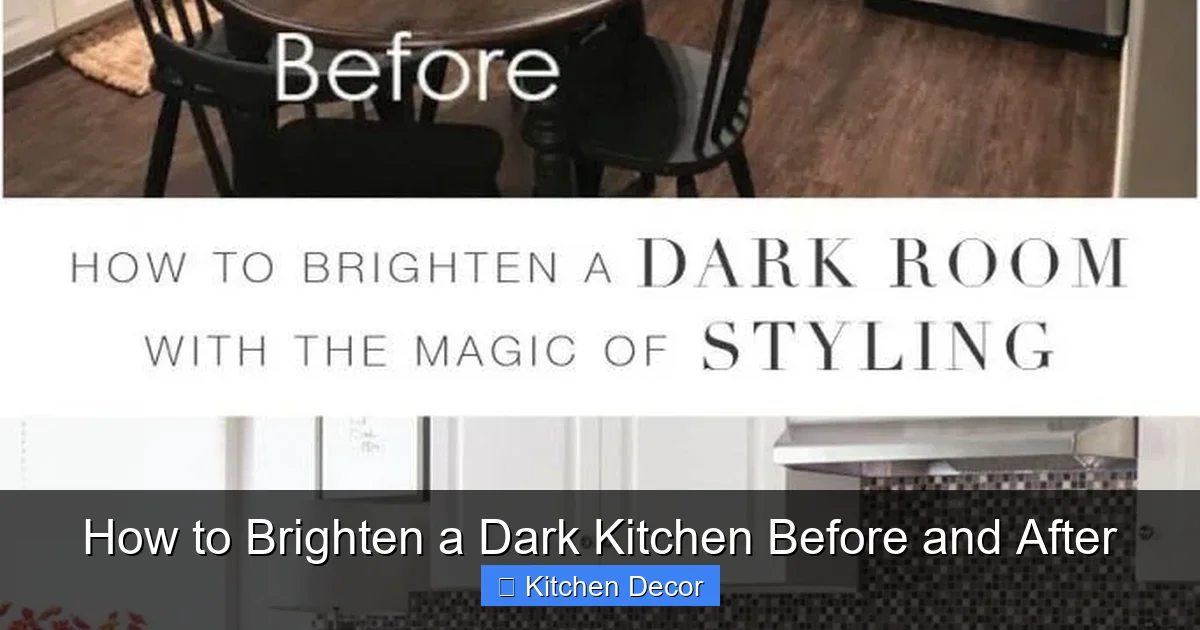
Visual guide about How to Brighten a Dark Kitchen Before and After
Image source: i.pinimg.com
The Power of Layered Lighting
Ambient Lighting: This is your base layer. It should be soft and evenly distributed. Recessed can lights are a classic choice, but if you can’t add new wiring, consider a surface-mounted LED panel or a new central fixture with a bright, diffused shade. The key is to avoid harsh downlights directly over work areas if they’re your only source.
Task Lighting: This is your workhorse. You need bright, shadow-free light on countertops, the sink, and the stove. Under-cabinet lighting is the gold standard here. LED strips or puck lights installed under your upper cabinets cast light directly onto the counter surface, eliminating the shadows your body would otherwise create. Inside cabinet doors (especially above the sink) and over the stove (a range hood with integrated lights) are also crucial task zones.
Accent Lighting: This adds drama and highlights. Use it sparingly. A small pendant light over a breakfast nook, in-cabinet LED strips to highlight glassware or open shelving, or a strategically placed floor lamp in a corner can add warmth and visual interest, making the room feel larger and more intentional.
Smart Fixture Placement and Selection
Where you put a light is as important as the light itself. For recessed lights, space them evenly, typically 4-6 feet apart, and avoid placing them directly over your body when you’re standing at the counter. This prevents you from blocking the light and casting a shadow. For pendants, hang them at the right height—typically 30-36 inches above the countertop—and cluster them for impact over an island or table. Consider the fixture’s shade. A dark, metal shade will direct light downward but also absorb it. A white, glass, or open-cage fixture will allow more light to spill out and upward, bouncing off the ceiling. Don’t forget about toe-kick lighting! A low-wattage LED strip under the bottom of your base cabinets casts a soft, upward glow that makes the floor appear to float and adds a luxurious, spacious feel.
Bulb Selection: Color Temperature and Brightness
All bulbs are not created equal. For a kitchen, you want brightness and clarity. Focus on two numbers: lumens (brightness) and Kelvins (color temperature). For task areas, aim for 300-500 lumens per square foot of counter space. For ambient light, calculate your room’s square footage and multiply by 10-20 to get total required lumens. Color temperature is key for mood. Avoid warm, yellow bulbs (2700K-3000K) as your primary kitchen light; they can make food look dull and the room feel sleepy. Instead, choose bright white (3500K-4000K) for most of your kitchen. This is a clean, energetic light that shows true colors. You can use slightly warmer bulbs (3000K) in accent or dining areas for a cozier feel. Consider smart bulbs that you can adjust from cool for cooking to warm for dining.
Color and Surface Magic
Once your light sources are optimized, you need to make sure the surfaces in your kitchen are working *with* the light, not against it. This is where paint, cabinet finishes, and materials come into play. The goal is to create a highly reflective environment that bounces every bit of light around the room, from floor to ceiling.
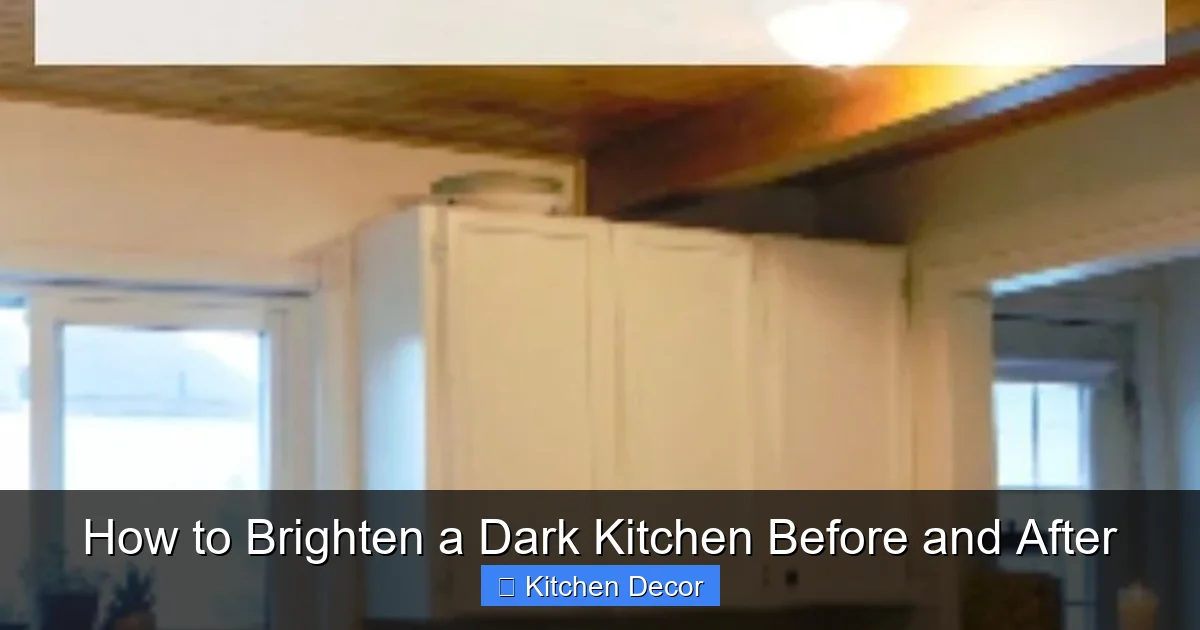
Visual guide about How to Brighten a Dark Kitchen Before and After
Image source: i.pinimg.com
Paint Choices That Reflect Light
For walls and ceilings, you cannot beat pure white or very light off-white. But not all whites are equal. For a north-facing or inherently dark room, choose a white with a slight warm undertone (like a soft cream) to add coziness without darkness. For rooms with good southern exposure, a cooler, crisp white (with blue/gray undertones) can feel very fresh and bright. Always use a satin or semi-gloss sheen for kitchen walls. The slight sheen creates a subtle reflective surface that is also more washable than flat paint. For ceilings, a flat or matte white is fine, but a very slight sheen won’t hurt. Paint the ceiling the same color as the walls for a seamless, enveloping feel that makes the space feel taller.
Cabinets and Countertops: Lighten Up
Dark wood cabinets are a major light-blocking culprit. The most impactful “after” change is often lightening them. You can paint them a glossy white, a light gray, or even a pale sage green. If painting isn’t an option, consider refacing just the door fronts. For countertops, if you have a very dark stone or laminate, consider a light-colored, reflective alternative for your next upgrade. Quartz in a white or light gray with a polished or honed finish is excellent. Even a light-colored solid surface can make a huge difference. If replacement isn’t in the budget, use light-colored cutting boards, trays, and bowls on the counter to create temporary bright zones.
Flooring and Backsplashes: The Final Reflectors
A dark floor anchors a room in shadow. Light-colored flooring—whether it’s a pale wood laminate, a large-format light tile, or a light vinyl—will dramatically lift the room. Large-format tiles with fewer grout lines create a more seamless, reflective surface. For the backsplash, this is your chance to add major reflectivity. Glossy subway tiles, a mirrored tile, or even a stainless steel backsplash will throw light back into the room. A high-gloss paint on the backsplash wall (in a light color) is a budget-friendly alternative that still offers great reflectivity.
Decorative Elements That Boost Light
With the architecture and major finishes addressed, it’s time for the decorative finishing touches. These elements add personality while strategically enhancing the feeling of brightness and space.
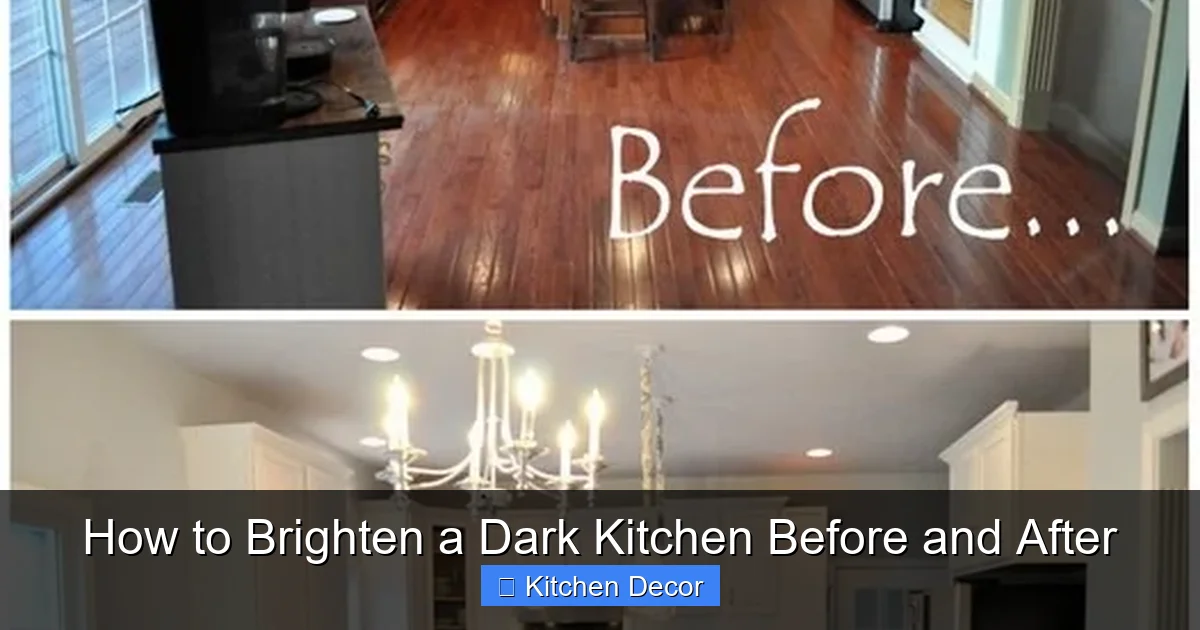
Visual guide about How to Brighten a Dark Kitchen Before and After
Image source: cleverlyinspired.com
Mirrors: The Illusion Hack
Mirrors are a decorator’s secret weapon for dark spaces. They don’t create light, but they multiply it by reflecting what’s already there. The most effective placement is directly opposite a window, where it will bounce natural light deep into the room. A large, framed mirror on a wall that faces the window can have a dramatic effect. Consider a mirrored backsplash behind the stove or sink. Even a collection of small, decorative mirrors grouped on a dark wall can break up the surface and scatter light. For a modern look, opt for frameless mirrors; for traditional, a light-colored frame works best.
Window Treatments That Don’t Block
If you’re lucky enough to have a window, treat it right. Ditch heavy drapes. Instead, use sheer curtains that filter light while providing privacy. Roman shades in a light, sheer fabric are another excellent option. For total control, layer a sheer with a simple blind (like a white Venetian or a light fabric roller shade) that you can raise fully during the day. The goal is to have zero window covering at all times when you’re home and privacy isn’t a concern. Every inch of glass should be free to welcome light.
Accessories and Artwork: Keep It Light and Airy
Now, infuse your personality without weighing the room down. Choose artwork with light backgrounds—think white frames with black-and-white photos, or landscapes with open skies. Use open shelving instead of heavy upper cabinets where possible, and style it with a few choice, light-colored pieces (white ceramics, clear glass, light wood). A large, light-colored rug can brighten a dark floor and add softness. Keep accessories minimal and intentional. Every object should either reflect light or be so visually light that it doesn’t absorb the room’s energy.
A Real-Life Before & After Case Study
Theory is great, but seeing the transformation in action makes it real. Let’s walk through a typical dark kitchen renovation, from the “before” struggles to the triumphant “after.”
The “Before” Nightmare
Meet the “Gloom Cave.” It’s a 10×12 kitchen in a 1970s home. It has one small, north-facing window over the sink. The dominant features: dark, honey-oak cabinets (both upper and lower), a dark green laminate countertop, and a single, dated brass central fixture with a dim, warm bulb. The walls are a muted beige, and the floor is a dark, busy tile. The result is a space that feels like a dungeon, even at noon. Countertops are perpetually shadowy, and you can’t see if your food is properly cooked without leaning over the stove light. It’s the opposite of a cheerful cooking hub.
The Transformation Plan
The budget was moderate, focusing on high-impact, lower-cost changes first.
Step 1: Lighten the Major Surfaces. All upper cabinets were painted a high-gloss white. Lower cabinets got a sophisticated, light gray matte finish. The beige walls were painted a warm, satin-finish white (Benjamin Moore’s “White Dove”). The dark floor was covered with large-format, light gray porcelain tile that mimics concrete but has a slight sheen.
Step 2: Revolutionize Lighting. The central brass fixture was replaced. Four recessed LED cans with 4000K bulbs were added to the ceiling for ambient light. The biggest change: LED under-cabinet lighting was installed on all countertops. A new, modern range hood with integrated LED task lighting was added over the stove. Finally, two small, white pendants were hung over the small breakfast nook.
Step 3: Add Reflectivity. The old backsplash was replaced with glossy white subway tiles. A large, frameless rectangular mirror was hung on the wall opposite the tiny window. All cabinet hardware was swapped for sleek, brushed nickel pulls.
Step 4: Declutter and Accessorize. Several upper cabinets were removed and replaced with open shelving for frequently used items. All countertop clutter was minimized. Sheer white curtains were added to the window.
The “After” Glow
The difference is night and day—literally. The room now feels open, clean, and safe. The white upper cabinets and walls bounce light everywhere. The under-cabinet lights make every countertop task effortless and shadow-free. The mirror and glossy backsplash create a sparkling, lively environment. The light floor eliminates the “heavy” feeling. The space is now a joy to cook in, feels significantly larger, and even attracts compliments. The total cost was under $5,000, proving that a strategic, layered approach can deliver a stunning before and after without a full demolition.
Conclusion: Your Bright Kitchen Awaits
Brightening a dark kitchen is a journey of understanding light and making intentional choices. It starts with a honest assessment of what’s stealing the light in your “before” space. Then, you attack the problem from three angles: supercharging your lighting with a layered approach, using light colors and reflective surfaces to maximize every lumen, and adding decorative elements like mirrors and sheer curtains to multiply natural light. Remember, you don’t have to do everything at once. Start with the highest-impact, lowest-cost changes: swap out your bulbs for bright white LEDs, add a couple of under-cabinet lights, and paint the darkest cabinets or walls a glossy white. You’ll be amazed at the immediate improvement. That gloomy kitchen you’ve been enduring can become your home’s brightest, happiest room. All it takes is a little strategy and the courage to make a change. Your bright “after” is waiting to be created.
Frequently Asked Questions
Can I brighten my kitchen without major renovations or electrical work?
Absolutely. Start with paint—a light, glossy color on walls and cabinets makes a huge difference. Add plug-in, battery-operated LED under-cabinet lights and a bright, efficient floor lamp. Swap dark rugs for light ones, and declutter ruthlessly to let existing light flow. These simple, renter-friendly changes can have a dramatic effect.
What if I rent and can’t paint or change fixtures?
>Focus on temporary and portable solutions. Use very light-colored Command™ strips to hang mirrors or lightweight art. Invest in high-quality, bright plug-in task lights for counters. Use a large, light-colored rug to cover a dark floor. Opt for open, airy storage solutions like light-colored wire racks instead of adding more closed cabinets. Sheer curtains can brighten a window without altering the frame.
My kitchen has absolutely no windows. How can I make it feel less like a cave?
This requires doubling down on artificial light quality and reflectivity. Use a high color temperature (4000K+) for all bulbs to mimic daylight. Install multiple light layers: a bright central ambient source, extensive under-cabinet task lighting, and perhaps a wall sconce or two. Paint everything white with a satin or semi-gloss sheen. Use glossy tiles for the backsplash and highly reflective countertops like white quartz. Adding a large mirror is even more critical here to bounce light around the enclosed space.
Is layered lighting really worth the cost and hassle?
Yes, it’s the single most effective upgrade for both function and mood. The cost of good LED fixtures has dropped significantly. The value it adds in safety (no more chopping in shadows), enjoyment, and even perceived space makes it a top-tier investment. Start with under-cabinet lighting—it’s relatively easy to install and offers the biggest immediate return in task illumination.
What’s the fastest, most affordable first step to brighten a dark kitchen?
Painting the upper cabinets and walls a bright white with a satin finish is the fastest and most affordable high-impact change. It instantly makes the room feel larger, cleaner, and brighter by reflecting light from every surface. Pair this with swapping your central bulb for a high-lumen, 4000K LED, and you’ll see a dramatic improvement in one weekend.
How do I choose the right bulb for a bright kitchen without it feeling clinical?
Aim for a color temperature of 3500K-4000K (bright white to cool white) for your main task and ambient lights. This provides clean, clear light perfect for cooking. To avoid a clinical feel, use slightly warmer bulbs (3000K) in your accent lighting, like over a table or in a pendant. Dimmers are also key—they allow you to soften the light for a cozy atmosphere while keeping the option for full brightness when needed.