Attaching stove pipe to a wood stove is a critical task that directly impacts safety and efficiency. It requires precise measurement, the correct high-temperature sealant, and strict adherence to manufacturer specifications and building codes. A proper connection prevents dangerous leaks of smoke and carbon monoxide, ensures optimal draft, and minimizes creosote buildup. Never skip the critical step of securing the pipe with specialized stove pipe screws and maintaining all required clearances to combustibles.
Key Takeaways
- Measure Twice, Cut Once: Always dry-fit your stove pipe sections before applying any sealant or making permanent cuts to ensure perfect alignment and fit.
- Use Only High-Temp Sealant: Never use standard silicone or caulk. You must use a specific, high-temperature, UL-listed stove pipe sealant (often red or black) rated for continuous use.
- Secure with Stove Pipe Screws: Standard sheet metal screws will melt. You must use stainless steel or galvanized stove pipe screws at every joint to prevent separation during thermal cycling.
- Respect Clearances is Law: The single most important rule. You must maintain the manufacturer-specified clearance (often 18″ or more) between the pipe and any combustible material (walls, ceilings, framing).
- Slope is Non-Negotiable: Every horizontal run must slope upwards toward the chimney/thimble at a minimum of 1/4 inch per foot to prevent creosote and condensation from pooling.
- The First Connection is Sacred: The connection at the stove’s outlet collar is the most critical. It must be perfectly sealed, supported, and free of stress on the stove itself.
- When in Doubt, Consult a Pro: If you are unsure about any step, clearances, or local code requirements, hire a certified chimney sweep or installer. The risk of a house fire is not worth guessing.
📑 Table of Contents
- The Critical Importance of a Proper Stove Pipe Connection
- Gathering Your Tools and Materials: The Right Gear for the Job
- Step-by-Step: Attaching the First Section to the Stove
- Building the Rest of the System: Joining Subsequent Sections
- Safety and Clearances: The Non-Negotiable Rules
- Common Mistakes and How to Avoid Them
- Final Inspection and First Fire
- Conclusion: Safety is the Ultimate Goal
The Critical Importance of a Proper Stove Pipe Connection
So, you’ve got your beautiful new wood stove sitting in the corner, ready to radiate cozy warmth. But that stove doesn’t work in isolation. It’s part of a system, and the humble stove pipe is its vital exhaust vein. Attaching that pipe correctly isn’t just a good idea—it’s the single most important factor in making your entire heating system safe and effective. A poor connection is a direct invitation for smoke to billow into your living room, for deadly carbon monoxide to seep into your home, and for creosote—a highly flammable tar—to build up explosively inside your chimney. Getting this right from the very first joint at the stove outlet sets the tone for the entire system’s performance and safety. This guide will walk you through every precise step, tool, and safety consideration to confidently and correctly attach your stove pipe to your wood stove.
Understanding What’s at Stake
Think about what’s happening inside that pipe. You’re channeling exhaust gases that are often still several hundred degrees Fahrenheit. They contain moisture, unburned hydrocarbons (that become creosote), and other byproducts of combustion. The connection points are potential weak links. If a joint isn’t sealed properly, hot gases and particulates can escape. If the pipe isn’t supported correctly, the weight and thermal expansion/contraction can eventually pull it apart. Every time you build a fire, you’re relying on those connections to contain this aggressive environment. That’s why we don’t just “screw it together.” We follow a methodical process with the right materials.
Gathering Your Tools and Materials: The Right Gear for the Job
Before you make a single move, you need to assemble your armory. Using the wrong tools or materials is the fastest route to a failed installation. This isn’t a generic plumbing job; it’s high-heat exhaust system construction.
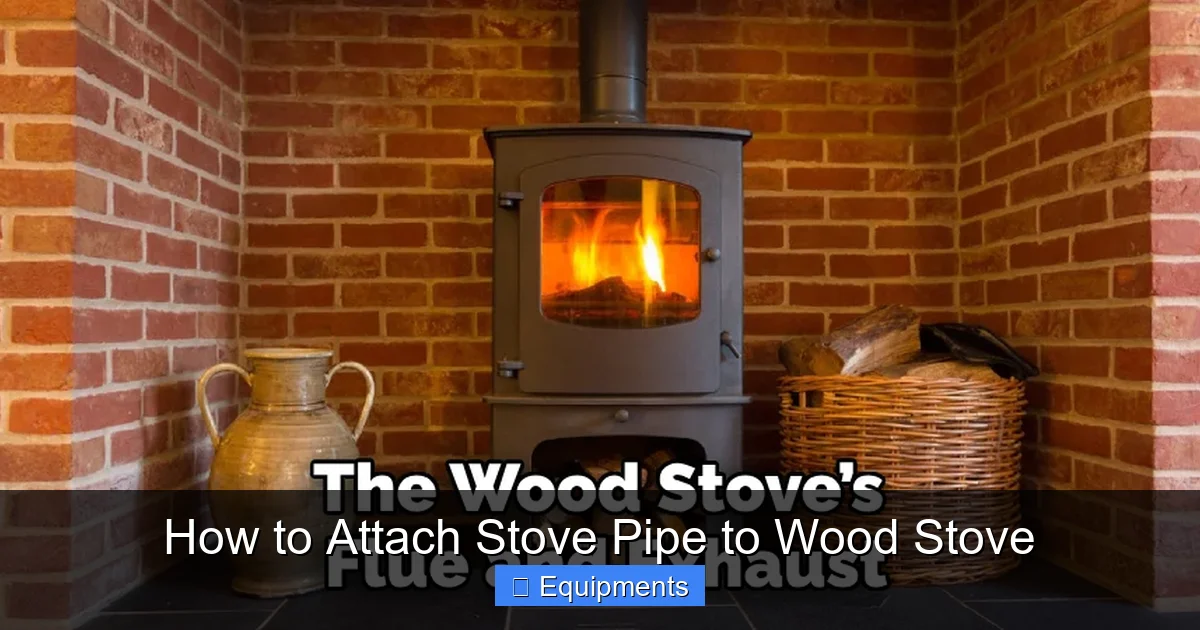
Visual guide about How to Attach Stove Pipe to Wood Stove
Image source: thekitchenix.com
Essential Tools
- Stove Pipe Crimper/Stretcher: A specialized tool for crimping the male (inner) end of a stove pipe section. This creates a smooth, tight-fitting joint that slides easily into the female (outer) end of the next section. A pipe stretcher can also be used to slightly enlarge a female end if needed.
- Drill and Drill Bits: A powerful drill to make pilot holes for your stove pipe screws. Use a bit slightly smaller than your screw diameter.
- Marker or Center Punch: For marking cut lines and hole locations accurately on the metal pipe.
- Tin Snips or Rotary Tool: Heavy-duty snips for cutting stove pipe. A rotary tool with a metal cutoff wheel can also work for precise cuts.
- Tape Measure and Level: Precision is key. A torpedo level is perfect for checking the slope of horizontal runs.
- File or Deburring Tool: To smooth any sharp, cut edges on the pipe. This prevents injury and makes sealing easier.
- Gloves and Safety Glasses: High-temperature gloves and eye protection are non-negotiable when handling hot or sharp metal.
Critical Materials
- Stove Pipe: Ensure you have the correct type—single-wall or double-wall (classified)—and diameter to match your stove’s outlet and your overall system design. Never mix types without checking manufacturer compatibility.
- High-Temperature Stove Pipe Sealant: This is your gasket in a tube. Brands like Rutland, Frost King, or 3M make red or black, silicone-based sealants rated for 1000°F+ continuous service. DO NOT use regular silicone caulk, furnace cement, or duct tape.
- Stainless Steel or Galvanized Stove Pipe Screws: These are specifically made with high-temperature alloys. They are typically #8 or #10 screws with a drill-point tip. They will not melt or weaken in the heat stream like ordinary screws.
- Stove Pipe Starter Collar (if needed): Some stoves require or benefit from a starter collar—a short, rigid section that attaches directly to the stove’s outlet to provide a stable first connection point.
- Strainers or Clean-Outs: Consider installing a clean-out tee at the base of your first vertical run for future maintenance.
Step-by-Step: Attaching the First Section to the Stove
This is the most important connection you’ll make. Everything else builds from this. Rushing or skipping steps here compromises the entire system.
Visual guide about How to Attach Stove Pipe to Wood Stove
Image source: thekitchenix.com
Step 1: Locate and Prepare the Stove Outlet
Identify the threaded or flanged exhaust outlet on the back or top of your wood stove. Consult your stove’s manual for the exact size and any specific requirements (e.g., use of a starter collar). The outlet must be clean and free of any debris or old gasket material. If your stove uses a removable flanged collar, ensure it’s securely attached to the stove body.
Step 2: Dry-Fit the First Pipe Section or Starter Collar
Take your first piece of stove pipe (or the starter collar if your system calls for one). If it’s a standard pipe section, you will likely need to crimp the male end. Use your crimper to create a 1/2″ to 3/4″ deep crimp around the entire circumference of the male end. This allows it to slide smoothly into the female end of the next section. Now, without any sealant, slide this first section onto the stove’s outlet. It should fit snugly but not require excessive force. Check for alignment. The pipe should point in the general direction of your intended chimney route without putting sideways stress on the stove’s collar.
Step 3: Apply High-Temperature Sealant
Apply a continuous, generous bead of your high-temperature stove pipe sealant to the outside of the stove’s outlet collar or the inside of the crimped male end of your first pipe section. A common and effective method is to apply a thick bead to the outer lip of the stove collar. Do not apply a thin, sketchy line—apply it like you’re caulking a bathtub. This sealant will squeeze out when assembled, creating a perfect, airtight, high-temp gasket.
Step 4: Secure the Connection
With the sealant in place, carefully slide the first pipe section onto the stove outlet. Push it on firmly until it is fully seated. You should see a small amount of sealant squeeze out all around the joint—this is good! Now, you must mechanically fasten it. Using your drill and a bit slightly smaller than your stove pipe screw, drill 3-4 pilot holes through the overlapping metal (the pipe’s wall and the stove’s collar flange). Space them evenly around the circumference. Now, drive your stainless steel stove pipe screws through these holes. Tighten them securely until the screw heads are slightly dimpled into the metal, creating a tight, metal-to-metal bond that will never loosen with heat cycling. Wipe away any excess sealant that squeezed out with a rag dampened with mineral spirits (follow sealant instructions) before it skins over.
Step 5: Support the First Section
The weight of the entire chimney system will eventually pull on this first connection. You must provide immediate support. Use a heavy-duty pipe strap or hanger attached to a wall stud or ceiling joist to support the first vertical section within 18 inches of the stove. This strap should hold the pipe securely but not crush it. The goal is to take the gravitational load off the stove’s outlet collar.
Building the Rest of the System: Joining Subsequent Sections
With your foundation solid, you can extend the system. The principles are the same, but execution and planning become even more crucial, especially for horizontal runs.
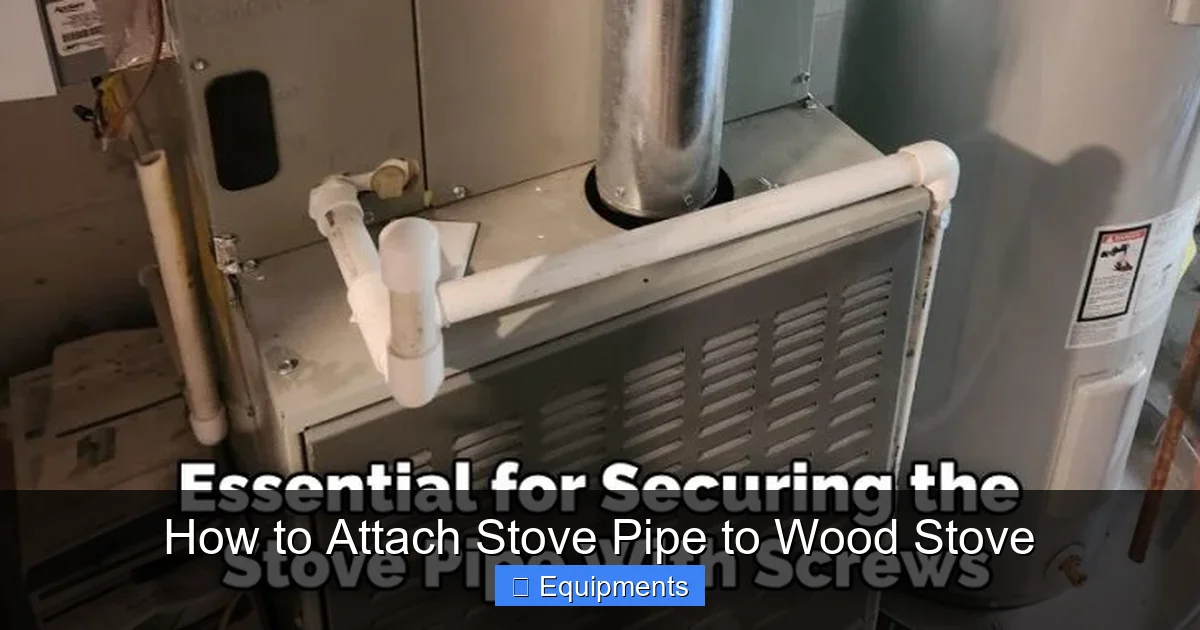
Visual guide about How to Attach Stove Pipe to Wood Stove
Image source: thekitchenix.com
Measuring and Cutting to Length
Always perform a dry run with all your pipe sections before applying any sealant. Assemble the pipe from the stove out toward your chimney thimble. Mark where each section will need to be cut to fit. Remember the golden rule: measure twice, cut once. Use your tin snips or rotary tool to make clean, straight cuts. After cutting, use your file to deburr the inside and outside edges. A sharp edge can cut through sealant and create a leak path.
The Art of the Joint: Crimping, Sealing, and Screwing
For every joint (male end into female end):
- Crimp: Crimp the male end of the pipe you are inserting. This is almost always necessary for a proper slip-fit.
- Seal: Apply a continuous, generous bead of high-temp sealant to the outside of the male end. Some prefer to apply it to the inside of the female end—both methods work if done thoroughly. Ensure the entire circumference of the joint will be sealed.
- Insert: Slide the sections together with a slight twisting motion. Push until fully seated. You should see sealant squeeze out all around.
- Screw: Drill 3-4 pilot holes through the overlapping wall of the female section into the male section. Space them evenly. Drive in your stainless steel stove pipe screws. The screw heads should be snug and slightly countersunk.
- Wipe: Immediately wipe away any excess sealant with a mineral spirits-dampened rag.
This sequence—crimp, seal, join, screw, wipe—is your mantra for every single connection.
Handling Horizontal Runs and Slope
If your system requires a horizontal section (e.g., to penetrate a wall), this is where mistakes are common.
- Slope is Mandatory: Every horizontal section must slope upward in the direction of the flow (toward the chimney) at a minimum of 1/4 inch per foot. Use your level to check this constantly. A downward slope or level run will collect creosote and condensation, leading to rapid buildup and potential chimney fires or corrosion.
- Minimize Length: Keep horizontal runs as short as possible. Long horizontal sections kill draft and increase creosote formation.
- Avoid Sharp Bends: Use long, sweeping 45-degree or 30-degree elbows. Avoid 90-degree elbows in horizontal runs if at all possible. If you must use a 90, it should only be for the final turn into a thimble or for a very short vertical offset.
- Support Every 3 Feet: Horizontal pipe must be supported every 3 feet with pipe hangers. Use non-combustible straps and anchors.
Safety and Clearances: The Non-Negotiable Rules
You can have a perfectly sealed pipe system, but if it’s too close to a wall, ceiling, or floor, you are creating a serious fire hazard. This section is not optional reading.
Understanding Clearance Requirements
Clearance is the minimum distance between the outside surface of the stove pipe and any combustible material (wood framing, drywall, insulation, etc.). This distance is determined by:
- 1. The Pipe Manufacturer: Single-wall pipe typically requires 18″ of clearance to combustibles. Double-wall (or classified) pipe often has reduced clearances (sometimes as low as 6″ or 2″ with specific wall shielding), but you must check the specific listing and label on your pipe.
- 2. Your Wood Stove Manufacturer: Your stove’s installation manual will specify clearances from the stove itself to walls and ceilings. The pipe clearances often start from the stove’s outlet.
- 3. Local Building Codes: Many jurisdictions adopt and enforce these manufacturer clearances as law. Always check with your local building inspector before starting.
How to Achieve and Maintain Clearances
If your required clearance (e.g., 18″) is larger than the space you have available, you must use a shielding system.
- Non-Combustible Shielding: This is a metal plate (often 24-gauge or heavier) that is installed between the pipe and the combustible wall. The shield must extend beyond the pipe on all sides (typically 2″ above/below and 18″ to the sides). The clearance is then measured from the pipe to the shield, and from the shield to the combustible material. This effectively creates an air gap that dissipates heat.
- Wall Thimbles/Chase Boxes: When passing through a combustible wall or ceiling, you must install a listed, non-combustible wall thimble or build a framed chase box lined with fireboard (like cement board) that maintains the required clearance through the penetration.
- Never Use Combustible Materials: No wood trim, no drywall, no plaster within the clearance zone. The area must be bare, non-combustible framing or shielding.
Always use a thermometer (a magnetic stove pipe thermometer is good) during your first few fires to verify surface temperatures are within safe limits for your clearances.
Common Mistakes and How to Avoid Them
Even with the best intentions, a few missteps can undermine your entire installation. Here are the most frequent errors and their fixes.
Mistake 1: Using the Wrong Screws or No Screws
The Error: Using standard wood screws, sheet metal screws, or worse, no screws at all, relying on sealant alone.
The Danger: Standard screws will soften, stretch, and eventually fail due to thermal cycling. Sealant alone is not a mechanical bond and can fail under the weight and vibration of the system.
The Fix: Always use listed, high-temperature stainless steel or galvanized stove pipe screws at every single joint. They are inexpensive and the only correct choice.
Mistake 2: Inadequate or Incorrect Sealing
The Error: Applying a thin, incomplete bead of sealant, using the wrong type (like silicone), or not wiping excess that can create ridges and turbulence.
The Danger: Leaks. Smoke and gases will escape at the joints. Excess sealant can burn off, creating odors and potentially igniting.
The Fix: Apply a thick, continuous bead. Use only UL-listed stove pipe sealant. Wipe away all squeeze-out smoothly before it cures. A properly sealed and screwed joint should have no gaps when inspected from the inside.
Mistake 3: Ignoring the Slope Requirement
The Error: Installing a horizontal run that is level or, worse, slopes downward.
The Danger: Creosote and acidic condensation will pool in the low spot. This creates a fire hazard (creosote fires) and accelerates pipe corrosion from the inside out.
The Fix: Before assembling any horizontal run, use your level and a straight edge to pre-plan the slope. You may need to adjust your support hangers to create this critical upward pitch toward the chimney.
Mistake 4: Poor Support and Stress on the Stove
The Error: Letting the entire weight of the chimney system hang from the stove’s outlet collar, or having inadequate supports for horizontal runs.
The Danger: The weight will eventually pull the first connection apart, especially as the metal expands and contracts. It can also crack the stove’s cast iron or steel collar.
The Fix: Support the first vertical section within 18″ of the stove with a heavy-duty strap. Support all horizontal runs every 3 feet. The stove should support only the first few inches of the first pipe section; the rest of the system’s weight must be carried by the building structure.
Final Inspection and First Fire
Before you light your first fire, a thorough inspection is mandatory.
The Cold Check
With the system completely assembled and cold, perform a visual inspection from the inside (if you have a clean-out) and outside at every joint. Look for:
- Gaps in the sealant.
- Loose or missing screws.
- Dents or damage to the pipe.
- Ensure all clearances to combustibles are exactly as specified (measure with a tape, don’t guess).
- Confirm the entire system is secure and rigid. Give it a gentle shake—there should be no wobble.
The Hot Test and Smoke Test
For your first fire, build a small, hot fire quickly to establish strong draft. Do not use a slow, smoldering fire initially.
- Watch for Smoke: Stand outside and look at the chimney top. You should see only a faint, wispy plume of smoke. If you see thick, billowing smoke, you have a draft problem or a leak.
- Check for Leaks Indoors: Carefully feel around every joint, especially the first connection at the stove, for any escaping hot air or smoke. Use a smoke pencil or incense stick held near joints (carefully!) to detect leaks.
- Monitor Temperatures: Use a magnetic stove pipe thermometer on the first section. Note the temperature range during a normal burn. This gives you a baseline for future reference and helps ensure you’re not overheating.
If you find any leaks during this test, extinguish the fire, let the system cool completely, and re-seal the joint. Do not operate a leaking system.
Conclusion: Safety is the Ultimate Goal
Attaching stove pipe to your wood stove is a rewarding DIY project that puts you in control of your home’s heart. But it’s a project where precision isn’t just about aesthetics—it’s about safety. By taking the time to use the correct high-temperature sealant, the proper stainless steel screws, maintaining unwavering clearances, and ensuring a constant upward slope, you build more than a chimney. You build peace of mind. You create a system that will efficiently heat your home for years while containing the powerful forces of fire within its designed path. Remember, your local building official and certified chimney sweeps are invaluable resources. When in doubt, pause and ask. There is no such thing as being too cautious when it comes to venting combustion gases. Now, with your system properly sealed, supported, and sloped, you’re ready to enjoy the true, safe, and cozy warmth of a correctly installed wood stove.
Frequently Asked Questions
Can I use regular silicone caulk to seal my stove pipe joints?
No, absolutely not. Regular silicone caulk is not rated for the high temperatures (often over 500°F) found in stove pipe exhaust. It will degrade, crack, and fail, creating a dangerous leak. You must use a specific, high-temperature, UL-listed stove pipe sealant designed for this exact purpose.
How far must my stove pipe be from combustible walls?
The required clearance is determined by your pipe manufacturer’s listing and your local building code. For standard single-wall pipe, it is typically 18 inches from the pipe’s outer surface to any combustible material. Double-wall or classified pipe often has reduced clearances (like 6″ or 2″), but you must verify the exact number on the pipe’s label and in your stove’s manual.
Is a horizontal run of stove pipe acceptable?
Yes, but with strict conditions. Horizontal runs must be as short as possible and must slope upward in the direction of the chimney at a minimum of 1/4 inch per foot. Level or downward-sloping horizontal sections will cause dangerous creosote and condensation pooling and are a major code violation.
What’s the difference between single-wall and double-wall stove pipe?
Single-wall pipe has one layer of metal and requires large clearances (usually 18″). Double-wall or “classified” pipe has an inner and outer layer with an air gap, which keeps the outer surface significantly cooler, allowing for much smaller clearances to combustibles (sometimes as low as 2″ with shielding). You must use the type specified for your application and never mix them without checking compatibility.
How often do I need to secure the pipe with screws?
Every single joint in the system must be secured with at least 3-4 stainless steel or galvanized stove pipe screws. This includes the connection at the stove, every connection between pipe sections, and connections to elbows, tees, and thimbles. No joint should rely on sealant alone for mechanical strength.
What are the signs of a poor stove pipe connection?
Key signs include: smoke or fumes entering the room during a fire, visible black soot or creosote staining around a joint on the outside of the pipe, a persistent smoky smell in the house, a pipe section that is hot to the touch far beyond normal operating temperatures (indicating a leak or insufficient clearance), or a chimney fire caused by excessive creosote buildup from poor draft due to leaks or improper slope.