Unlock lightning-fast boiling on your GE electric coil or smooth-top range with the Power Boil function. This dedicated burner setting delivers maximum heat output to bring water to a rolling boil significantly faster than a standard High setting. By following specific activation steps, using compatible cookware, and adhering to safety protocols, you can perfectly leverage this technology for pasta, soups, and more while optimizing energy use.
You’re standing at your GE stove, recipe in hand, staring at a pot of cold water. You need it boiling, and you need it now. That’s the moment you discover—or rediscover—the almost mythical Power Boil button on your cooktop. It promises a roaring boil in record time, but if you’ve never used it, that button can feel like a secret you haven’t been let in on. How does it work? When should you use it? And what’s the trick to making it actually do what it says? This guide will walk you through every single detail, transforming that mysterious button into your new best friend in the kitchen. We’ll move from simple activation to pro-level tips, ensuring you use this powerful feature safely, efficiently, and effectively every single time.
First, let’s demystify it. Power Boil is GE’s name for a specialized burner setting found on many of their electric coil and smooth-top (radiant) ranges. It’s not just a slightly higher “High” setting. Technically, it’s a pre-programmed cycle that pushes the burner to its absolute maximum wattage for a short, defined period. Think of it as the “turbo” or “boost” function for your stovetop. Its sole mission is to overcome the thermal inertia of a cold pot and a large volume of water as quickly as the appliance’s design allows. This is achieved by sending full, uninterrupted power to the heating element or coil, bypassing the normal power modulation that occurs even on the High setting to maintain temperature. The result? A dramatic acceleration in the time it takes to get from tap-cold to a rolling, bubble-churning boil.
Why does this matter? Speed. In the grand scheme of cooking, those five or seven minutes saved while waiting for water to boil add up. It means dinner gets on the table faster. It’s more convenient for spontaneous cooking. And when used correctly, it can even be more energy-efficient than a prolonged High setting because the total energy consumed during the shorter, more intense cycle can be less than a longer, moderate cycle. But to reap these benefits, you must use it correctly. Misuse—like using it for simmering or with the wrong pan—wastes energy, can damage your cookware or stovetop, and nullifies the safety features. So, let’s get into the how-to.
Key Takeaways
- Power Boil is a specialized, maximum-heat burner setting: It is not the same as the regular “High” setting and is designed solely for rapidly bringing liquids to a boil.
- Activation requires a deliberate two-step process: You must first select the Power Boil burner symbol and then press and hold the “Start” or “Power Boil” button for 3-5 seconds to engage it.
- Proper cookware is essential for performance and safety: Use only flat-bottomed, heavy-gauge pots or pans that fully cover the burner coil or heating element to ensure even heat and prevent damage.
- Safety features are automatic but not infallible: The stove will typically shut off after a set time (often 10-15 minutes), but you must always remain in the kitchen and monitor the process.
- It is highly energy-efficient for its intended purpose: By drastically reducing the time to reach a boil, it often uses less total energy than running a standard High setting for a longer duration.
- Not all tasks benefit from Power Boil: Reserve it for tasks requiring a rapid, vigorous boil (e.g., cooking pasta). Use High for simmering, melting, or general cooking.
- Troubleshooting often points to user error or cookware: If Power Boil doesn’t activate or heats slowly, check your button sequence, cookware fit, and ensure the burner is completely dry.
📑 Table of Contents
- Step-by-Step: Activating the Power Boil Function
- The Critical Role of Cookware: Choosing the Right Pot
- Safety First: Protocols You Must Never Skip
- Maximizing Efficiency: When and How to Use Power Boil
- Troubleshooting: Why Power Boil Isn’t Working as Expected
- Conclusion: Your Turbocharged Stovetop Ally
Step-by-Step: Activating the Power Boil Function
This is the most critical part. The process is specific and must be followed precisely. If you just turn the knob to the Power Boil symbol and walk away, you likely won’t get the full effect. Here is the universal activation sequence for most GE models with a dedicated Power Boil button or knob position.
The Standard Activation Sequence for Knob-Controlled Models
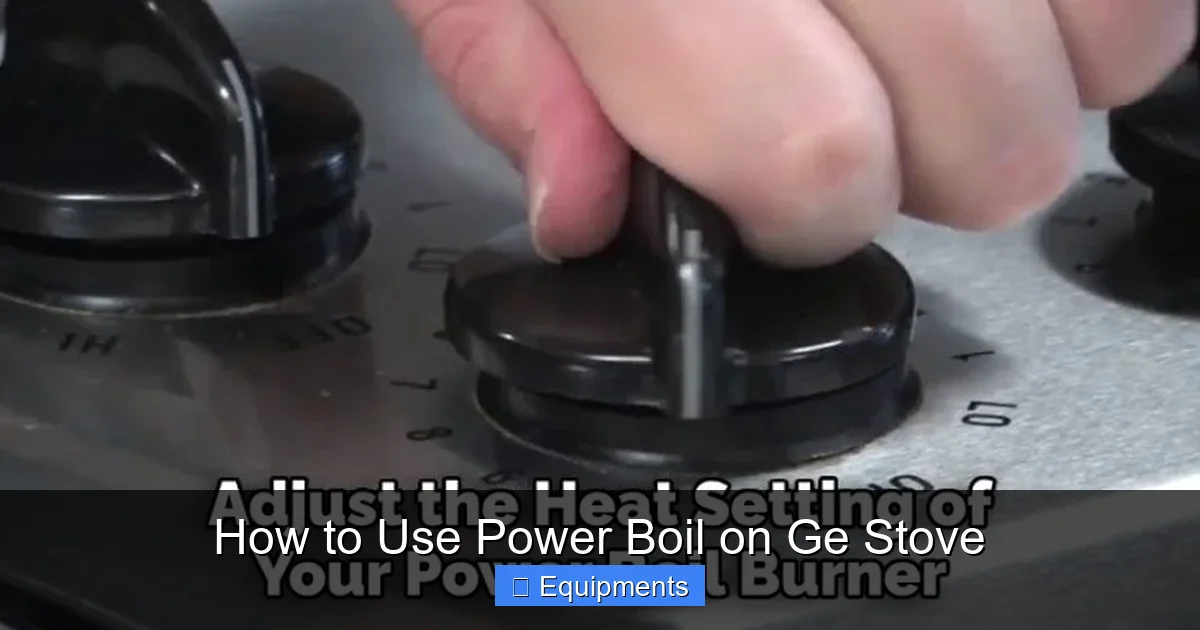
On many GE coil and smooth-top ranges, the burner control knob will have a distinct position or button labeled “Power Boil” or represented by a special symbol (often a flame or a wavy line). The activation is a deliberate two-step motion:
- Step 1: Select the Burner and Power Boil Setting. Turn the knob for your desired front or rear burner to the Power Boil position. You will usually see a corresponding light illuminate on the control panel or the knob itself, indicating the burner is powered but the high-output cycle has not yet started.
- Step 2: Press and Hold to Engage. This is the key step. After selecting the Power Boil position, you must press the knob inward (toward the stove) and hold it down firmly. You should feel a click. Continue holding it for approximately 3 to 5 seconds. During this hold, a second indicator light (often amber or a different color) will typically illuminate and may blink. Once you release the knob after holding it, the Power Boil cycle is engaged. The burner will now operate at its maximum output.
Important Note: On some newer touch-control or glass-top models, there may be a dedicated “Power Boil” touch button on the control panel for each burner. The process is similar: tap the burner selector, then tap and hold the Power Boil icon for several seconds until it activates. Always consult your specific model’s manual for the exact procedure, as the hold time and indicator lights can vary slightly.
What to Expect Once Activated
Once the cycle is engaged, the burner will glow at its brightest (for radiant tops) or the coil will turn a deep, vibrant red. It will emit a more intense heat than even the High setting. You should see small bubbles begin to form on the bottom of your pot within 1-2 minutes, depending on the volume of water and the pot’s material. The goal is to reach a full, rolling boil—where large bubbles erupt continuously to the surface—in the shortest possible time. The cycle is not meant to be maintained indefinitely.
The Critical Role of Cookware: Choosing the Right Pot
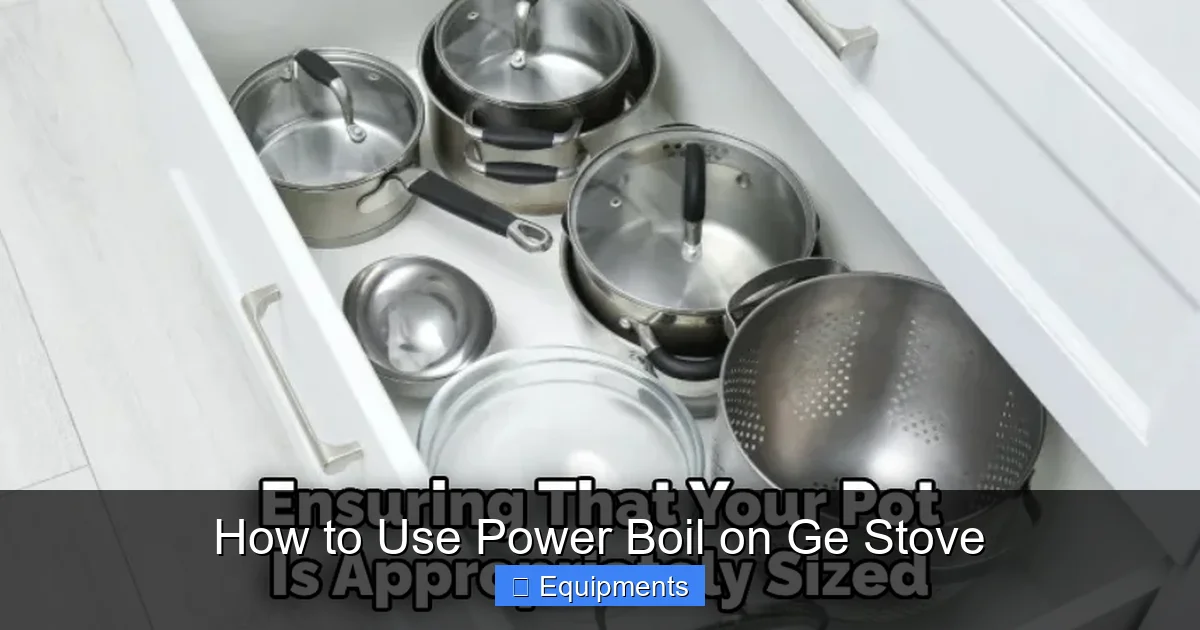
Using Power Boil with the wrong cookware is the single most common cause of poor performance, wasted energy, and potential damage. The feature places an immense, concentrated heat load on the stovetop surface and the cookware base. Your pot must be up to the task.
Visual guide about How to Use Power Boil on Ge Stove
Image source: thekitchenix.com
Material Matters: Heavy-Gauge is Non-Negotiable
Stick to heavy-gauge stainless steel, enameled steel, or cast iron. These materials have high thermal mass, meaning they absorb and distribute intense heat effectively without warping or creating dangerous hot spots. Thin, lightweight aluminum or “budget” pots with a thin base will warp violently on Power Boil. You may hear a loud “ping” or “crack” as the metal distorts. Warped pans lose contact with the burner surface, leading to inefficient heating, longer boil times, and potential overheating of the stovetop glass (on smooth-tops) or the coil itself. Invest in a good, heavy-bottomed stockpot for your Power Boil tasks.
Size and Flatness: Full Contact is Mandatory
The bottom of your pot must be completely flat and must fully cover the heating element or coil. A pot that is too small will leave the burner exposed. This exposed burner will superheat the air and the stovetop surface around it, which is a major cause of burned-on residue, cracked glass cooktops, and overheated coil elements. On a smooth-top, an undersized pot can literally crack the glass due to thermal stress. On a coil top, it can burn the coil’s insulation. Always match your pot size to the burner size you are using. For a large volume of water, use the largest burner available and the largest pot that fits it.
Safety First: Protocols You Must Never Skip
Power Boil is powerful. That power demands respect. While modern GE ranges have built-in safety timers, they are a backup, not a replacement for your attention.
Visual guide about How to Use Power Boil on Ge Stove
Image source: thekitchenix.com
The Automatic Shut-Off Timer
For your protection, the Power Boil cycle is designed to automatically shut off after a predetermined period, typically 10 to 15 minutes. This is a critical safety feature to prevent a pot from boiling dry if you get distracted. The exact time is in your user manual. When the timer expires, the burner will turn off, and an indicator light may blink or a tone may sound. You must then manually turn the knob back to “Off” or a lower setting. Never assume the automatic shut-off means you can leave the kitchen.
Non-Negotiable Monitoring Rules
- Never leave the kitchen: You must be present and monitoring the pot from the moment you engage Power Boil until you have reduced the heat to a simmer or turned it off. A rapid boil can turn to a violent, pot-over boil in under 30 seconds.
- Keep the area clear: Ensure the stovetop and surrounding area are free of towels, potholders, plastic utensils, or flammable materials. The intense radiant heat can ignite these items.
- Use lids wisely: A lid is your friend for speeding up the boil, as it traps heat. However, once a rolling boil is achieved, you may need to slightly crack the lid or remove it temporarily to prevent a foam-over, especially with pasta water or starchy soups.
- Handle with care: The pot and its handles will become extremely hot. Use potholders. Keep children and pets far from the kitchen.
Maximizing Efficiency: When and How to Use Power Boil
Using Power Boil for everything is a mistake. It’s a specialized tool. Knowing its sweet spot will save you time, energy, and protect your equipment.
Visual guide about How to Use Power Boil on Ge Stove
Image source: thekitchenix.com
Ideal Tasks for Power Boil
- Cooking Pasta: The classic use case. Getting a large pot of salted water to a fierce, rolling boil is essential for proper pasta cooking and preventing sticking. Power Boil gets you there fastest.
- Blanching Vegetables: When you need a large pot of water at a hard boil for a quick blanch (1-2 minutes), Power Boil is perfect.
- Making Stock or Soup from Cold: Starting a large batch of stock or soup with cold water? Power Boil can shorten the initial “coming to temperature” phase significantly.
- Canning/Pickling: For the initial boil of canning jars or brine, speed is valuable.
When NOT to Use Power Boil
- Simmering Sauces or Soups: Once at a boil, you must reduce the heat to a simmer. Power Boil is far too intense and will scorch or burn anything that isn’t a pure liquid.
- Melting Butter or Chocolate: Use Low or Medium-Low. Power Boil will burn these instantly.
- Reheating Leftovers: Use Medium or a specific “Reheat” setting if available.
- Small Amounts of Liquid: For a single cup of water or a small saucepan, the standard High setting is more than adequate and prevents the risk of the small pot boiling dry in seconds on the turbo setting.
The Energy Efficiency Paradox
It feels counterintuitive, but using the most powerful setting can be more efficient. The key is time. A standard High setting might take 8 minutes to bring 4 quarts of water to a boil, running at, say, 80% of its max power the whole time. Power Boil might do it in 4 minutes at 100% power. The total energy (wattage x time) used can be less or comparable, but you’ve saved 4 minutes of your time. The efficiency gain is greatest when you need that boiling point quickly. For tasks where you’d use High anyway for 10+ minutes, there’s no real savings.
Troubleshooting: Why Power Boil Isn’t Working as Expected
If you’ve followed the steps and your Power Boil seems weak, slow, or won’t engage, here are the most common culprits, in order of probability.
“It’s Not Activating!”
Cause: The most common issue is not completing the press-and-hold sequence correctly. You turned the knob but didn’t hold it long enough or with enough pressure. Solution: Consult your manual for the exact hold time (usually 3-5 seconds). Listen/feel for a definite click, and watch for the secondary indicator light.
“It’s Heating Slowly / Not Getting Hot Enough.”
Cause 1: Cookware. This is the #1 reason. Your pot bottom is warped, dirty, or too small. Solution: Inspect the pot. Place it on a flat surface; if it wobbles, it’s warped. Clean any burnt-on residue from the pot bottom and the stovetop coil or element. Use a larger, heavier, flat-bottomed pot.
Cause 2: Burner Surface. On smooth-top ranges, a dirty or scratched surface impedes heat transfer. On coil tops, a coil that is not seated properly or has damaged insulation will underperform. Solution: Clean the stovetop thoroughly with a recommended cooktop cleaner. Ensure the coil is properly seated in its housing.
“It’s Making Strange Noises or Smells.”
Cause: This often points to cookware issues. A high-pitched squeal or metallic “pinging” is usually a thin or warped pan reacting to extreme thermal stress. A burning smell could be food debris on the burner or stovetop surface carbonizing under the intense heat. Solution: Immediately reduce heat or turn off. Remove the pot. Check and clean the burner area and pot bottom. If the noise persists with a different, heavy pot, there may be an issue with the burner itself, and you should contact service.
Error Codes or Flashing Lights
If your stove displays an error code or the Power Boil indicator flashes in a pattern, it indicates a detected fault, often an overheating sensor or a communication error between the control board and the burner. Solution: Turn the stove off at the breaker for 5 minutes to reset it. If the problem persists upon restart, you need to contact a qualified GE appliance service technician. Do not attempt to repair electronic controls yourself.
Conclusion: Your Turbocharged Stovetop Ally
Mastering the Power Boil function on your GE stove is about respecting its power and applying it with precision. It’s not a set-and-forget setting; it’s a targeted tool in your culinary arsenal. By remembering the simple activation ritual—select, press, hold—and pairing it with the right heavy, flat-bottomed cookware, you unlock a significant time-saving advantage. Always prioritize safety: stay present, use lids cautiously, and trust the automatic shut-off as a last-resort backup, not your primary plan. Use it for what it’s best at—achieving a furious, rolling boil for pasta, blanching, and large batches—and switch back to High for everything else. With this knowledge, that mysterious button transforms from an ignored feature into a reliable ally, helping you get dinner on the table faster and with greater control. Now, go boil some water—the powerful way.
Frequently Asked Questions
How is Power Boil different from the regular High setting on my GE stove?
Power Boil delivers maximum, uninterrupted wattage to the burner for a short, timed cycle to achieve a boil as fast as possible. The High setting modulates power to maintain a temperature and is suitable for general cooking, simmering, and melting. Power Boil is a turbo function solely for rapidly boiling liquids.
Can I use any pot with the Power Boil setting?
No. You must use a heavy-gauge, flat-bottomed pot that completely covers the burner coil or element. Thin or warped cookware can warp further, damage your stovetop (especially glass), and cause inefficient heating and dangerous hot spots. Always match pot size to burner size.
Is it safe to leave the kitchen when Power Boil is on?
Absolutely not. While Power Boil has an automatic shut-off timer (usually 10-15 minutes), you must always remain in the kitchen and monitor the pot. A full, rolling boil can boil over in seconds, creating a burn hazard and a major mess. The safety timer is a backup, not a substitute for supervision.
Will using Power Boil use more electricity than just using High?
Not necessarily. Because it drastically reduces the time to reach a boil, the total energy consumed can be less than running a High setting for a longer period. Its efficiency comes from speed. However, if you need a sustained boil for a very long time, using High after reaching the boil is more appropriate.
What does it mean if the Power Boil light flashes or my stove beeps after I’ve started it?
>A flashing indicator or beeping usually signals that the automatic shut-off timer has expired, and the burner has turned off. You need to manually turn the knob to “Off” or a lower setting. If the light flashes in a specific pattern or an error code appears on a digital display, it indicates a fault. Turn the stove off at the breaker to reset it; if it recurs, contact GE service.
My Power Boil seems weak and slow. What’s wrong?
The most common causes are: 1) Wrong cookware: Your pot is too small, warped, or has a thin bottom. 2) Dirty burner: Food debris or residue on the coil or smooth-top surface is insulating it. Clean the burner and pot bottoms thoroughly. 3) Improper activation: You may not have held the button/knob long enough to engage the full cycle. Re-read the activation steps in your manual.