Unlock crispy, golden results using your GE oven’s built-in Air Fry feature—no extra appliance needed. This guide simplifies the process, from finding the right setting and accessories to mastering cook times for everything from fries to chicken. Learn essential techniques, delicious recipes, and maintenance tips to get the most out of your oven’s versatile air frying capability for healthier, tastier meals.
So, you’ve got a fancy new GE oven with that mysterious “Air Fry” button on the control panel. Maybe you’ve eyed it with curiosity, wondering if it’s just a gimmick or if it can actually replace your beloved countertop air fryer. Let me tell you, as someone who has tested countless kitchen gadgets, the air fry function in a modern GE oven is the real deal—and it’s a game-changer. It’s not just a buzzword; it’s a powerful, built-in cooking mode that leverages your oven’s advanced convection system to give you that irresistible, crispy-on-the-outside, tender-on-the-inside texture we all crave, but with little to no oil. The best part? You don’t have to learn an entirely new appliance. You already own the oven; now you just need to learn how to talk to it. This guide will walk you through every single step, from the very first button press to cleaning up, so you can air fry with confidence and transform everyday ingredients into extraordinary meals.
First, let’s clear up the magic behind the button. When you select “Air Fry” on a GE oven, you’re not just turning on the regular convection fan. The oven engages a specific combination: it fires up the convection fan to its highest speed to circulate air aggressively, AND it activates the top heating element (the broiler) to provide intense, direct radiant heat from above. This dual-action mimics the physics of a countertop air fryer, where super-hot air is blasted around the food at high velocity, rapidly dehydrating the surface to create a crispy crust while the inside cooks via steam. It’s essentially turbo-charged convection baking with a broiler boost. This means you can achieve that satisfying crunch on chicken wings, french fries, and even veggies without submerging them in a vat of oil. The result is food that’s often 70-90% lower in fat compared to deep frying, with less mess and no lingering greasy smell in your kitchen. Ready to dive in? Let’s get started.
Key Takeaways
- Built-In Convenience: GE’s Air Fry feature uses your oven’s convection fan and top heating element to circulate super-hot air, eliminating the need for a separate countertop air fryer.
- Essential Accessories Are Key: You must use the included perforated air fry basket (or a compatible rack) and a broiler pan to allow proper air circulation and catch drips for optimal crispiness.
- Preheating is Non-Negotiable: Always preheat the oven on the Air Fry setting for 3-5 minutes before adding food to ensure the cooking environment is instantly hot for maximum crispness.
- Temperature & Time Adjustments: Air fry temperatures are typically 20-25°F higher than conventional baking, and cook times are often 20-30% shorter; always check for doneness early.
- Don’t Overcrowd the Basket: Arrange food in a single, even layer with space between pieces to allow hot air to circulate freely; cook in batches for best results.
- Shake, Toss, or Flip Mid-Cycle: For even browning, pause the cycle halfway through to shake the basket or flip foods like fries, wings, or veggies.
- Easy Cleanup: The air fry basket and broiler pan are typically dishwasher-safe; allow them to cool completely before cleaning to prevent warping.
📑 Table of Contents
- What is “Air Fry” in a GE Oven? Understanding the Technology
- Getting Started with Your GE Air Fry Feature
- Mastering Air Frying Techniques in Your GE Oven
- Delicious Recipes and Food Ideas for Your GE Air Fryer
- Troubleshooting Common Air Fry Issues in GE Ovens
- Cleaning and Maintaining Your GE Air Fry Components
- Conclusion: Your Gateway to Crispy, Healthier Cooking
What is “Air Fry” in a GE Oven? Understanding the Technology
Before you start cooking, it helps to understand what makes the Air Fry mode special. It’s easy to confuse it with standard convection bake, but there are critical differences that affect your results.
Air Fry vs. Convection Bake: The Key Differences
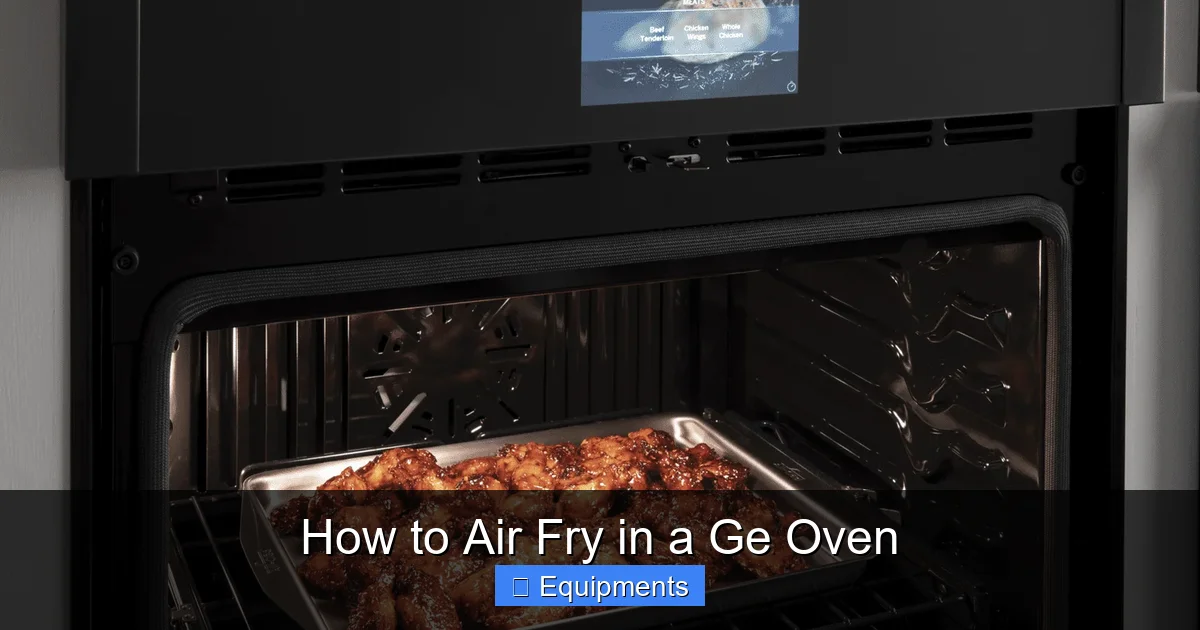
Both modes use a fan to circulate hot air, which is why they’re both great for even cooking and browning. However, the Air Fry setting is specifically engineered for maximum crispiness. Think of Convection Bake as a steady, reliable oven with good airflow. It’s perfect for baking cookies, roasting a chicken, or cooking a casserole evenly from all sides. Air Fry, on the other hand, is like a high-performance sports car. It uses the convection fan at its highest setting and pairs it with the top element (broiler) creating a more aggressive, focused heat stream that rapidly crisps the surface of food. This top-down heat is crucial for mimicking the effect of a basket-style air fryer, where food sits in a basket with air moving all around and above it. On a GE oven, you’ll typically place food on a perforated air fry basket set atop a broiler pan. The broiler pan’s ridges and holes allow air to flow underneath, while the top element sears and crisps from above.
The Role of the Perforated Air Fry Basket and Broiler Pan
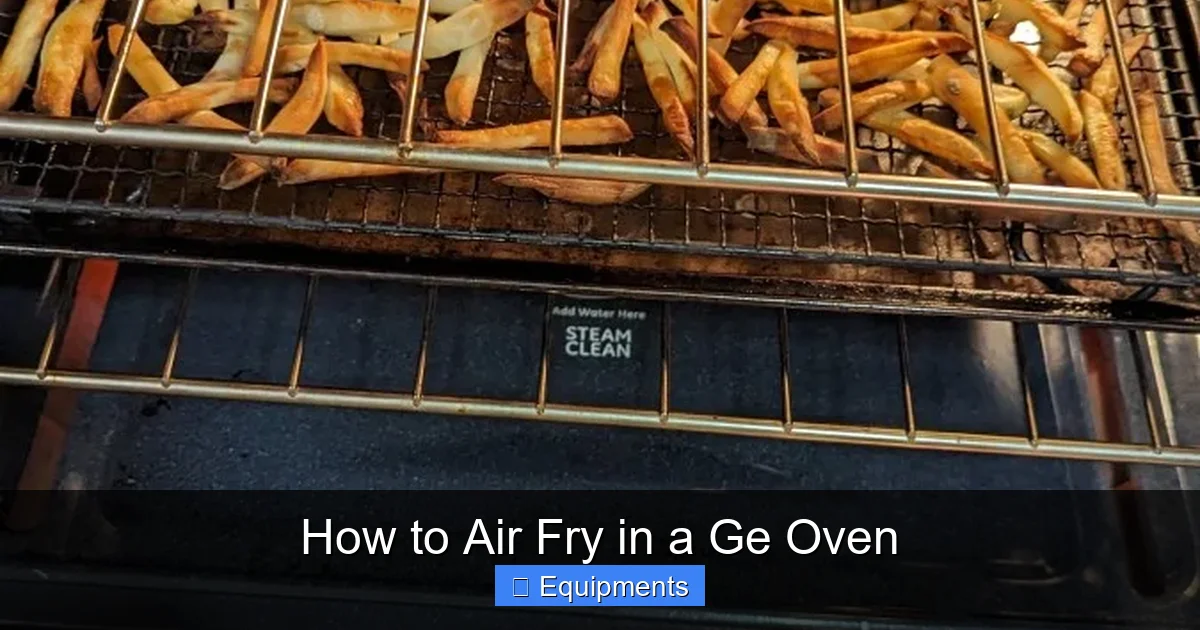
This is the most important piece of practical knowledge: you cannot achieve true air fry results by simply placing food on a regular baking sheet. The included perforated air fry basket (sometimes called an “air fry tray” or “rack”) is designed with holes to allow maximum air circulation from below and around the food. The broiler pan sits underneath it on the oven rack to catch any dripping fats or juices, preventing smoke and mess while also allowing air to flow up through the basket’s holes. This two-piece system is non-negotiable for proper air frying. If your GE oven didn’t come with one, you can purchase a compatible third-party air fry basket and broiler pan set designed for your specific oven model. Never use solid baking sheets or pans for air frying; they will steam your food instead of crisping it.
Getting Started with Your GE Air Fry Feature
Now for the hands-on part. Getting the initial setup right is 50% of the battle for crispy success.
Visual guide about How to Air Fry in a Ge Oven
Image source: images.saymedia-content.com
Locating and Selecting the Air Fry Setting
The exact location of the Air Fry button varies by GE model series (like Profile, Cafe, or standard GE). Typically, you’ll find it on the main control panel, often represented by a fan icon with a zigzag line (like a lightning bolt) above it, or labeled “AIR FRY.” On some touchscreen models, it may be within a “Cook Mode” or “Specialty” menu. Consult your owner’s manual for the exact path, but the general process is: 1) Press the “Air Fry” button. 2) Use the temperature dial or keypad to set your desired temperature (usually between 350°F and 500°F). 3) Use the time dial or keypad to set the cook time. 4) Press “Start.” The oven will often beep or display a message indicating it’s preheating. Always wait for it to signal that preheating is complete before adding your food.
Essential Accessories: Your Air Fry Kit
As emphasized, you need the right tools. Your kit should include:
- The Perforated Air Fry Basket: This is your primary cooking surface. It’s usually a shallow, rectangular or square metal tray with a grid of holes.
- The Broiler Pan: This is the slotted pan with a raised rim that sits on the oven rack below the air fry basket. It catches drips.
- Oven Racks: Position the oven rack in the middle of the oven for most jobs. This gives the top element enough space to work without scorching food too close to it.
- Long-handled tongs or a spatula: For safely shaking or flipping food mid-cycle.
Never line the air fry basket with foil or parchment paper unless you are absolutely certain it won’t block the airflow. A better practice is to place a sheet of parchment paper *under* the broiler pan to catch drips for super easy cleanup, but never under the basket itself.
Preheating Best Practices
Preheating is the secret weapon for instant crispiness. When you put cold food into a cold oven, it takes time for the oven cavity and the cooking surface to reach the target temperature. By then, the food has started to sweat and steam rather than sizzle. Always preheat your GE oven on the Air Fry setting for 3-5 minutes. The oven will beep or the display will read “PrE” or “Preheat” when it’s ready. This ensures the moment your food hits the basket, it’s hit with a blast of super-heated air, immediately starting the dehydration process that creates crunch. It’s the difference between soggy and spectacular.
Mastering Air Frying Techniques in Your GE Oven
With your oven preheated and accessories ready, technique becomes everything. These principles apply to almost everything you’ll air fry.
Visual guide about How to Air Fry in a Ge Oven
Image source: allrecipes.com
Temperature and Time Guidelines: The Golden Rules
Forget what you know about conventional baking temperatures. Air frying is hotter and faster. A good starting point is to reduce the conventional oven temperature by 25°F and significantly reduce the time. Here’s a general cheat sheet:
- Frozen Foods (fries, chicken nuggets, mozzarella sticks): 400°F – 425°F. Check package time and reduce by 25-30%. Shake halfway.
- Fresh Veggies (broccoli, Brussels sprouts, asparagus): 400°F – 450°F. 12-20 minutes. Toss halfway.
- Meats & Poultry (chicken wings, tenders, salmon): 380°F – 420°F. Cook times vary; wings take ~25-30 mins, flipping halfway. Always use a meat thermometer for poultry (165°F internal).
- Homemade Fries or Veggie Chips: 400°F – 425°F. 15-25 minutes, shaking every 5-7 minutes. Soak and dry potatoes thoroughly first for best results.
The mantra is: Start low, check early. It’s easy to overcook quickly in the intense heat of the Air Fry mode. Set your timer for 2/3 of the expected time, then check and adjust.
Arranging Food for Optimal Crispiness
This is the most common mistake. Do not overcrowd the basket. Think of it like seating in a theater—every piece needs its own seat with a clear view of the stage (the hot air). If food is touching or piled up, the hot air can’t circulate. The steam gets trapped, and you end up with steamed, not fried, results. Arrange food in a single, even layer with a small gap between pieces. For things like french fries or chicken wings, spread them out so they aren’t overlapping. If you have a lot to cook, be patient and do multiple batches. The first batch will be the crispiest because the oven is at its peak temperature. Subsequent batches may cook slightly faster as the oven stays hot.
When to Shake, Toss, or Flip
Because the top element is so powerful, food can brown unevenly if left untouched. For anything that isn’t a single solid piece (like a steak or salmon fillet), you should intervene halfway through the cook time. Use long tongs to:
- Shake: For small, loose items like fries, tater tots, or frozen snacks. Give the basket a good shake to redistribute everything.
- Toss: For veggies or chopped foods. Toss them to ensure all sides get exposed to the hot air.
- Flip: For larger items like chicken cutlets, fish fillets, or pork chops. Flip them over to cook the other side and promote even browning.
Your GE oven’s Air Fry cycle won’t pause automatically, so you’ll need to open the door, perform your shake/toss/flip, and close it quickly to maintain temperature. The oven will resume the countdown from where it left off.
Delicious Recipes and Food Ideas for Your GE Air Fryer
Now for the fun part—what to cook! The beauty of the GE Air Fry feature is its versatility. It excels at reheating leftovers to crispy perfection and cooks raw foods beautifully.
Visual guide about How to Air Fry in a Ge Oven
Image source: assets.wfcdn.com
Frozen Food Champion: Crispy & Quick
This is where the GE oven truly shines against a countertop model. The larger cavity handles bigger bags of frozen foods without overcrowding. Try these:
- Frozen French Fries: Toss with a tiny bit of oil and salt. Air fry at 400°F for 12-18 minutes, shaking halfway. They come out crispier and less greasy than baked.
- Chicken Nuggets/Tenders: Cook at 400°F for 10-14 minutes, flipping halfway. No sogginess, all crunch.
- Mozzarella Sticks or Jalapeño Poppers: 400°F for 6-10 minutes. The cheese melts perfectly without leaking out because the exterior gets so crisp so fast.
- Spring Rolls or Egg Rolls: 400°F for 8-12 minutes, flipping once. Golden and crackling.
Pro Tip: For frozen foods, do not thaw first. Cook straight from frozen for the best texture.
Fresh & From-Scratch Favorites
Why limit yourself to frozen? The air fry function is perfect for healthy, homemade versions.
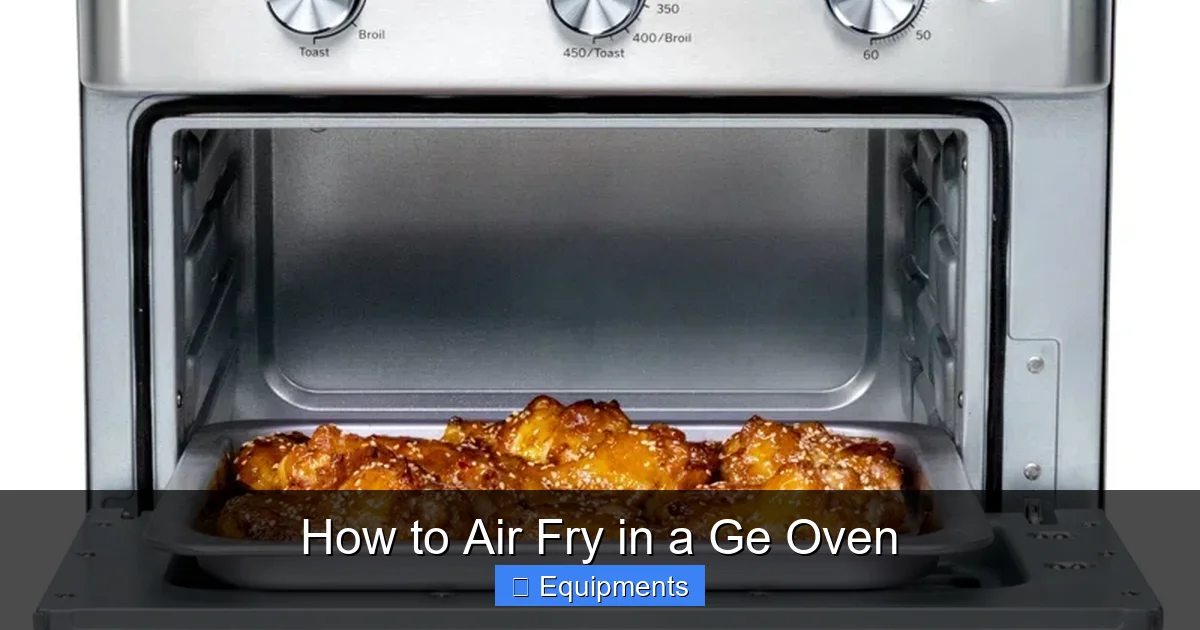
- Crispy Chicken Wings: Pat wings extremely dry. Toss with a little baking powder (the secret to ultra-crispy skin) and oil. Air fry at 400°F for 25-30 minutes, flipping every 10 minutes. No sauce until the end!
- Homemade Sweet Potato Fries: Soak cut fries in cold water for 30 mins, drain, and pat very dry. Toss with cornstarch and oil. Air fry at 425°F for 15-20 minutes, shaking often. Perfectly crisp inside.
- Roasted Vegetables: Broccoli, cauliflower, Brussels sprouts. Toss with oil, salt, and pepper. Air fry at 425°F for 12-18 minutes, shaking halfway. They caramelize and get crispy edges while staying tender inside.
- Salmon Fillets: Pat dry, season. Air fry at 380°F for 8-12 minutes depending on thickness. The skin gets unbelievably crispy, and the flesh stays moist.
- Reheating Pizza: Place slices on the air fry basket. Air fry at 375°F for 3-5 minutes. The crust becomes crisp and hot, cheese melted—far superior to the microwave.
Unexpected Wins: Beyond the Usual Suspects
Don’t stop there! Experiment with:
- Hard-Boiled Eggs: Place cold eggs directly on the rack. Air fry at 250°F for 15 minutes. Immediately plunge into ice water. Peels come off effortlessly.
- Bacon: Lay strips on the air fry basket. Air fry at 375°F for 8-12 minutes. It’s flat, perfectly crispy, and the grease drips away into the broiler pan.
- Toasted Nuts or Seeds: Spread in a single layer. Air fry at 300°F for 5-8 minutes, shaking often. Toasts quickly and evenly.
- Reheating Fried Chicken or Fried Pickles: Brings back the crunch like nobody’s business. 375°F for 3-5 minutes.
Troubleshooting Common Air Fry Issues in GE Ovens
Even with the best setup, things can go awry. Here’s how to diagnose and fix the most common problems.
“My food is soggy, not crispy.”
This is the #1 complaint, and the solution is almost always one of three things: 1) Not preheating. The oven wasn’t hot enough when food went in. Always preheat. 2) Overcrowding. Food was touching. Give it more space. 3) Too much moisture. Pat food completely dry with paper towels before seasoning. For veggies, ensure they are thoroughly dried after washing. For frozen foods, shake off any excess ice crystals.
“The food is cooking unevenly / burnt on top, raw underneath.”
This points to improper rack position or not shaking/tossing. 1) Rack Position: The middle rack is usually best. If food is too close to the top element, it will burn before the bottom cooks. If it’s too low, it won’t get enough top-down crisping. 2) Mid-Cycle Agitation: You must shake, toss, or flip halfway through. The top heat is intense and will scorch the side facing up if left alone. 3) Basket Placement: Ensure the air fry basket is sitting flat and level on the oven rack.
“There’s a lot of smoke or the oven smells burning.”
This is usually from drips. 1) Broiler Pan: Make sure the broiler pan is positioned correctly on the rack below the air fry basket to catch all drips. 2) Cleanliness: Old, baked-on grease on the broiler pan or oven bottom can smoke when heated. Clean these surfaces thoroughly before air frying. 3) Fatty Foods: Extremely fatty foods like bacon or sausage can produce more smoke. Ensure your broiler pan is very clean and consider adding a sheet of aluminum foil under the broiler pan on the rack below to catch excess grease (but never under the air fry basket).
Cleaning and Maintaining Your GE Air Fry Components
Maintenance is simple but crucial for performance and longevity.
Cleaning the Air Fry Basket and Broiler Pan
After Every Use: Let both pieces cool completely in the oven. Hot metal can warp if washed immediately. Once cool, discard any large food bits. Both the basket and broiler pan are typically dishwasher-safe (top rack recommended). Check your manual to be sure. For stubborn, baked-on residue, soak in hot, soapy water for 15-20 minutes before scrubbing with a non-abrasive sponge or brush. Never use steel wool or harsh scouring pads, as they can damage the perforations and non-stick coating (if applicable).
Cleaning the Oven Interior and Ensuring Longevity
Occasional grease splatter will happen on the oven walls and door. Use a damp cloth with a mild oven cleaner or a baking soda paste to wipe it down when the oven is cool. For the convection fan cover (usually a circular mesh on the back wall), remove it (if your model allows) and clean it periodically to maintain optimal airflow. A clogged fan reduces efficiency. Also, regularly check the broiler pan and the bottom of the oven for accumulated grease, especially after cooking very fatty foods, and clean it to prevent future smoking.
Conclusion: Your Gateway to Crispy, Healthier Cooking
There you have it—the complete roadmap to mastering the air fry function in your GE oven. It’s more than just a button; it’s a versatile cooking tool that can revitalize your weeknight dinners, make game day snacks a breeze, and help you create healthier versions of your favorite fried foods with minimal oil. The key is respecting the technology: use the right basket and pan, always preheat, avoid overcrowding, and intervene halfway through. Start with the frozen food wins to build confidence, then graduate to fresh veggies and proteins. You’ll be amazed at the texture and flavor you can achieve without ever firing up a deep fryer or even a countertop appliance. So go ahead, press that Air Fry button, and get ready for a world of crispy, golden, delicious possibilities right in your own kitchen. Your oven just got a serious upgrade.
Frequently Asked Questions
Can I use aluminum foil or parchment paper in the GE Air Fry mode?
You can place a sheet of aluminum foil or parchment paper on the broiler pan underneath the air fry basket to catch drips for easier cleanup. However, never line the air fry basket itself with foil or paper, as this will block the crucial airflow and prevent food from crisping properly.
Do I need to preheat the oven for air frying, and for how long?
Yes, preheating is essential for crispy results. Always preheat your GE oven on the Air Fry setting for 3-5 minutes before adding food. The oven will beep or display a “preheat complete” indicator. This ensures the cooking environment is instantly hot enough to start dehydrating the food’s surface immediately.
How is air frying in a GE oven different from using a countertop air fryer?
The principle is the same—hot air circulation. However, a GE oven’s Air Fry mode uses a larger cavity and a more powerful combination of the convection fan and top broiler element. This can handle larger quantities and bigger food items (like a whole fish or a tray of wings) more easily than most countertop baskets, though it may take up more energy for small batches.
Do I need to add oil when air frying in my GE oven?
For most foods, a very light coating of oil (1-2 teaspoons) significantly improves crispiness and helps seasoning adhere. Use an oil spray or toss food in a bowl with a small amount of high-smoke-point oil (like avocado, canola, or vegetable oil). For already-oily foods like bacon or certain frozen snacks, you can often skip adding more oil.
Is air frying in my GE oven healthier than deep frying?
Yes, significantly. Air frying uses little to no oil, reducing the fat and calorie content of foods by 70-90% compared to deep frying. It also eliminates theMess and hazard of hot oil. However, it’s still a method of cooking that can produce acrylamide (a chemical formed in starchy foods at high heat), so it’s best enjoyed as part of a balanced diet.
Can I cook multiple different foods at once in the air fry basket?
It’s not recommended. Different foods have different optimal temperatures and cook times. Cooking items with vastly different requirements (like delicate fish and thick-cut fries) together will result in one being undercooked and the other overcooked. For best results, cook similar items together or cook in separate batches.