Adjusting a mandoline slicer is simple once you know the basics. This guide walks you through setting blade angles, choosing thickness, and securing the tool for safe, consistent results. Follow our easy steps and start slicing like a pro today.
Key Takeaways
- Safety first: Always use the hand guard and keep fingers away from the blade.
- Blade selection matters: Different blades give different cuts; choose the right one for your recipe.
- Thickness adjustment: Most mandolines use a sliding knob or lever; learn its range and limits.
- Secure the base: A stable platform prevents wobble and uneven slices.
- Regular cleaning: Clean blades after each use to maintain sharpness and hygiene.
- Check for wear: Replace dull or damaged blades to keep cuts uniform.
- Store safely: Keep blades covered and the slicer in a dry place to extend its life.
📑 Table of Contents
- Introduction: Why Adjusting Your Mandoline Slicer Matters
- 1. Understanding the Parts of a Mandoline Slicer
- 2. Safety First: Preparing Your Workspace
- 3. How to Adjust Blade Thickness Accurately
- 4. Changing and Securing Different Blades
- 5. Maintaining Your Mandoline for Long‑Term Performance
- 6. Pro Tips: Getting the Most Out of Your Mandoline
- Conclusion: Slice with Confidence
Introduction: Why Adjusting Your Mandoline Slicer Matters
Imagine cutting a cucumber into perfect, even ribbons for a fresh salad. With a mandoline slicer, that vision is within reach—if the tool is set up correctly. Many home cooks buy a mandoline and then struggle with uneven slices, wobbly blades, or, worst of all, a cut finger. The good news? Most of those problems disappear once you know how to adjust a mandoline slicer properly.
This article is like a friendly chat over coffee. We’ll break down every adjustment you’ll ever need, from changing blades to fine‑tuning thickness. You’ll get practical examples, safety tips, and a quick troubleshooting guide. By the end, you’ll feel confident enough to slice carrots, potatoes, and even delicate strawberries with consistent results.
1. Understanding the Parts of a Mandoline Slicer
1.1 The Base and Platform
The base is the solid foundation that sits on your countertop. A good base is heavy enough to stay still but not so heavy that it’s hard to move. Most models have a non‑slip rubber foot that grips the surface.

Visual guide about How to Adjust Mandoline Slicer
Image source: thekitchenix.com
1.2 The Blade Guard (Hand Guard)
The hand guard protects your fingers. It slides along the slicer and holds the food item in place while the blade does the work. Always use it—never try to slice without the guard.
1.3 The Blade Assembly
Mandolines usually come with two or three interchangeable blades:
- Slicing blade: gives straight, even slices.
- Julienne blade: creates thin match‑stick strips.
- Wavy or crinkle blade: adds texture for decorative dishes.
Each blade is mounted on a removable holder. Some models have a quick‑release lever; others use a screw‑type lock.
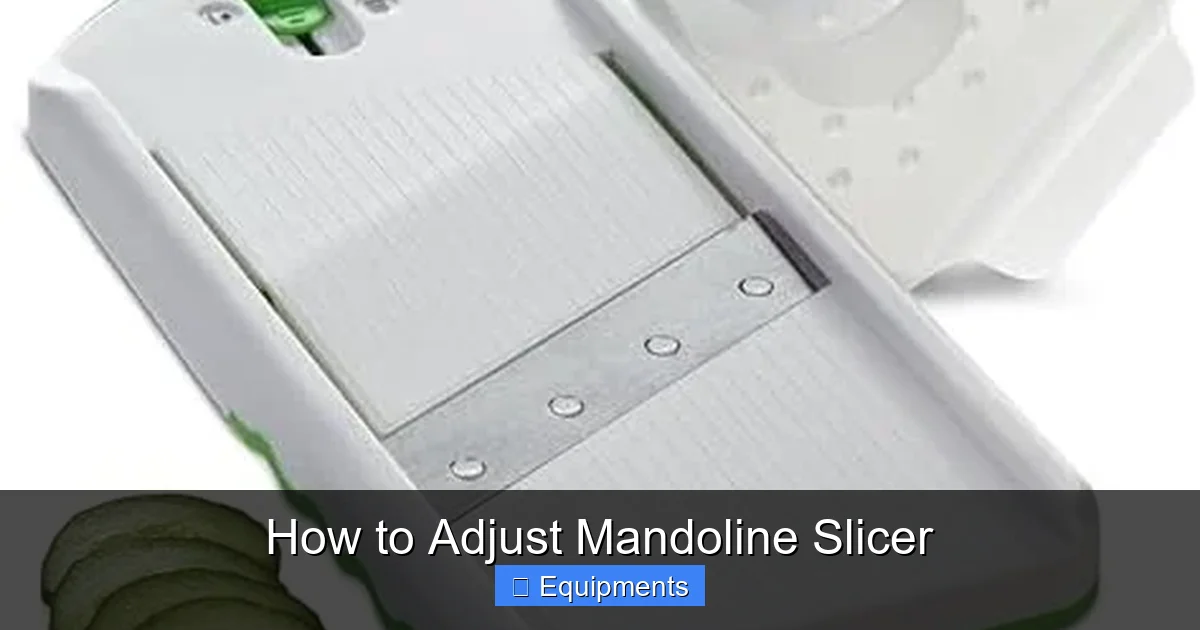
1.4 The Thickness Adjustment Mechanism
This is the heart of the adjustment process. Most mandolines use a sliding knob, a dial, or a lever that moves the blade up or down. The range typically goes from 1 mm (paper‑thin) to about 12 mm (thick steak‑cut). Knowing how far the knob travels helps you set the exact thickness you need.
2. Safety First: Preparing Your Workspace
2.1 Dress for the Job
Wear a short‑sleeved shirt or an apron, and keep long hair tied back. Slip‑on kitchen shoes with good grip are a plus.
Visual guide about How to Adjust Mandoline Slicer
Image source: m.media-amazon.com
2.2 Clear the Countertop
Remove any dishes, cutting boards, or clutter. A clean surface prevents the mandoline from shifting during use.
2.3 Gather Your Tools
Before you start adjusting, have these items handy:
- Small screwdriver (if your blade uses a screw lock)
- Rubber glove or finger protector (optional but helpful for beginners)
- Cleaning brush or soft cloth
2.4 Test the Stability
Push gently on the base. If it wobbles, place a damp towel underneath or move the slicer to a sturdier spot. A stable base ensures even cuts and reduces the risk of accidents.
3. How to Adjust Blade Thickness Accurately
3.1 Locate the Adjustment Knob or Lever
On most models, the knob sits on the side of the slicer near the blade holder. It may be labeled with numbers (1–12) or with a simple “+” and “–”.

Visual guide about How to Adjust Mandoline Slicer
Image source: homeandgardening.com.au
3.2 Set a Starting Point
Turn the knob all the way to the lowest setting (usually “1”). This gives you the thinnest possible slice. Place a piece of fruit—like a tomato—under the guard and make a test cut. If the slice is too thin, move the knob one notch up.
3.3 Fine‑Tuning for Specific Recipes
Here are common thicknesses for everyday dishes:
- 1 mm: Paper‑thin cucumber ribbons for salads.
- 2–3 mm: Classic potato chips or French fries.
- 4–5 mm: Carrot sticks for roasting.
- 6–8 mm: Thick apple slices for pies.
- 10 mm+: Steak‑cut potatoes or hearty vegetable medleys.
Adjust the knob until you hit the desired range, then lock it in place if your model has a lock feature.
3.4 Checking Consistency
After setting the thickness, slice a few pieces of the same vegetable. Lay them side by side. If they look uniform, you’re good. If not, double‑check that the knob is fully seated and not wobbling.
4. Changing and Securing Different Blades
4.1 Removing the Current Blade
Most mandolines have a release lever. Pull the lever, slide the blade holder forward, and lift the blade out. If your slicer uses a screw, turn it counter‑clockwise with a small screwdriver.
4.2 Installing a New Blade
Place the new blade into the holder with the cutting edge facing upward (away from you). Slide it back into position and engage the lock. Give the blade a gentle wiggle—there should be no play.
4.3 Aligning the Blade with the Guard
Close the hand guard and slide it along the slicer. The guard should sit snugly against the blade without gaps. If the guard feels loose, re‑tighten the blade lock.
4.4 Practical Example: Switching to a Julienne Blade
Suppose you’re making a veggie stir‑fry and need match‑stick carrots. Remove the slicing blade, insert the julienne blade, and set the thickness to 2 mm. Test with a single carrot. If the strips are too thick, adjust the knob down one notch. Once satisfied, you’re ready to julienne a whole batch.
5. Maintaining Your Mandoline for Long‑Term Performance
5.1 Cleaning After Each Use
Turn the slicer upside down, remove the blade, and rinse under warm water. Use a soft brush to clear vegetable fibers from the blade teeth. Never soak a wooden base; wipe it with a damp cloth instead.
5.2 Sharpening vs. Replacing Blades
Mandoline blades are hardened steel; they stay sharp for many months. If you notice ragged edges, it’s usually time to replace, not sharpen. Most manufacturers sell replacement blades at a reasonable price.
5.3 Storing Safely
Keep the blade covered with the supplied safety cap. Store the slicer in a dry cabinet, away from children’s reach. Some users wrap the blade in a kitchen towel for extra protection.
5.4 Troubleshooting Common Issues
- Blade wobble: Re‑tighten the lock or check for debris between the blade and holder.
- Uneven slices: Verify that the base is level and that the hand guard is fully engaged.
- Food sticks to the blade: Lightly oil the blade or use a non‑stick spray for very moist produce.
6. Pro Tips: Getting the Most Out of Your Mandoline
6.1 Use a Cutting Board Underneath
Even though the base is stable, a thin cutting board catches the slices and protects your countertop.
6.2 Pre‑Chill Hard Vegetables
Cold carrots or potatoes slice more cleanly. Pop them in the fridge for 15 minutes before slicing.
6.3 Slice in Batches
Don’t overload the guard. Slice a handful at a time for consistent thickness and to avoid crushing soft produce.
6.4 Experiment with Angles
Some mandolines allow you to tilt the blade for diagonal cuts. Try a 45° angle for decorative vegetable ribbons.
6.5 Keep a Finger Guard Spare
If you lose the original guard, most brands sell replacements. Having a spare ensures you never have to slice without protection.
Conclusion: Slice with Confidence
Adjusting a mandoline slicer is not rocket science, but it does require a little practice and attention to safety. By understanding the parts, mastering the thickness knob, swapping blades correctly, and maintaining the tool, you’ll achieve restaurant‑quality cuts at home. Remember the key rule: always use the hand guard and keep the base stable. With these habits in place, the mandoline becomes an extension of your hand, turning everyday vegetables into culinary art.
Now that you know how to adjust a mandoline slicer, go ahead and experiment. Try thin cucumber ribbons for a summer salad, julienne carrots for a colorful stir‑fry, or wavy apple slices for a dessert garnish. Your kitchen adventures are only limited by your imagination—and your newly tuned mandoline.
Frequently Asked Questions
How do I change the thickness setting on a mandoline slicer?
Locate the adjustment knob or lever on the side of the slicer, turn it to the desired number (1‑12), and lock it if your model has a lock. Test with a small piece of food to confirm the setting.
Is it safe to use a mandoline without the hand guard?
No. The hand guard protects your fingers from the ultra‑sharp blades. Always use it, even for soft foods like tomatoes.
Can I wash a mandoline slicer in the dishwasher?
Most mandolines are not dishwasher‑safe because water can damage the blade and the wooden base. Hand‑wash the blade and wipe the base with a damp cloth.
What should I do if the blade becomes dull?
Mandoline blades are usually replaceable rather than sharpened. Purchase a replacement blade from the manufacturer and install it following the instructions.
How often should I clean my mandoline slicer?
Clean it after every use. Remove the blade, rinse under warm water, brush away food particles, and dry thoroughly before storing.
My mandoline wobbles while I’m slicing—what’s wrong?
Check that the base is on a flat surface, tighten the blade lock, and make sure the hand guard is fully engaged. If wobble persists, the base may be damaged and need replacement.