Drip marks on stainless steel are caused by mineral deposits and dried liquids, not rust. The key is using gentle, non-abrasive cleaners like vinegar, citric acid, or dedicated stainless steel polishes. Always wipe with the grain and dry thoroughly to prevent their return. With the right technique, you can easily restore your stainless steel’s flawless finish.
You just cleaned your gleaming stainless steel refrigerator or sink, proud of the streak-free shine. Then you see them: those frustrating, cloudy, ring-like marks left behind by a droplet of water that sat just a little too long. They’re not rust, and they’re not permanent damage, but they sure are annoying. What you’re looking at are drip marks, a common nuisance in any home with stainless steel appliances or fixtures. The good news? Removing them is straightforward, but it requires knowing the right tools and techniques. Using the wrong method—like a scrubby sponge or harsh chemical—can make things much worse, creating permanent scratches. This complete guide will walk you through everything you need to know, from understanding what those marks really are to using simple pantry staples and professional products to restore your stainless steel to its original, mirror-like brilliance. Let’s get your surfaces sparkling again.
Key Takeaways
- Drip marks are mineral deposits, not rust: They are typically caused by hard water minerals (calcium, lime) or dried residues from soaps and cleaners, not corrosion of the steel itself.
- Avoid abrasives at all costs: Never use steel wool, abrasive powders, or scrub pads. They will permanently scratch the protective chromium oxide layer, causing more damage.
- Work with the grain: Always wipe and scrub in the direction of the brushed finish (the “grain”). Circular motions can create visible swirl marks.
- Start gentle, escalate carefully: Begin with the mildest solution (water, dish soap). If needed, move to vinegar, then citric acid, and finally a commercial stainless steel polish.
- Rinse and dry completely: Residue from any cleaner can cause new marks. A final rinse with clean water and immediate drying with a soft microfiber cloth is non-negotiable.
- Prevention is the best cure: Regular cleaning with a soft damp cloth and immediate drying after water exposure prevents mineral buildup and keeps surfaces looking new.
- Test in an inconspicuous spot: Before applying any new cleaner to a prominent area, test it on a hidden section to ensure compatibility and avoid unwanted discoloration.
📑 Table of Contents
- Understanding the Enemy: What Are Drip Marks, Really?
- The Golden Rules: Do’s and Don’ts Before You Start
- The Tiered Cleaning Approach: From Gentle to Strong
- Commercial Cleaners: When Home Remedies Aren’t Enough
- Prevention: The Ultimate Strategy for Drip-Free Surfaces
- Special Cases: Sinks, Appliances, and Cookware
- Conclusion: Patience and the Right Tools Win
Understanding the Enemy: What Are Drip Marks, Really?
Before we grab a cloth, it’s crucial to understand what we’re fighting. Drip marks are a type of water spotting or mineral scaling. They occur when a droplet of water (often from hard water) or a viscous liquid like milk, juice, or a cleaning product evaporates, leaving behind its dissolved solids. In most homes, the primary culprit is hard water. Hard water contains high levels of minerals, primarily calcium and magnesium. When the water evaporates, these minerals are left behind as a thin, white, or cloudy film. This film adheres to the microscopic peaks and valleys of the stainless steel’s brushed finish, creating a visible contrast—the dreaded drip mark.
Why Stainless Steel? It’s Not As “Stainless” As You Think
The term “stainless steel” refers to its ability to resist staining and corrosion, thanks to a passive layer of chromium oxide. This layer is incredibly thin—just a few atoms thick—and it’s what gives the metal its famous luster and protective properties. However, this layer is not impervious to physical abrasion or chemical attack from certain acids or chlorides. Drip marks themselves don’t penetrate this layer; they simply sit on top of it. Our goal in cleaning is to dissolve and lift those mineral deposits without harming the delicate passive layer underneath.
Common Culprits Behind the Marks
- Hard Water: The #1 cause. The higher the mineral content, the worse the spotting.
- Improper Cleaning Products: Using a cleaner that leaves a residue (like some soaps or all-purpose sprays not designed for stainless) can attract more minerals and create a haze.
- Drying with the Wrong Cloth:
- Letting Water Sit: A splash from the sink or a leak from an appliance that isn’t wiped up promptly will almost certainly leave a mark.
Paper towels can leave lint, and terry cloth towels can be too abrasive. A soft, lint-free microfiber is essential.
The Golden Rules: Do’s and Don’ts Before You Start
Rushing into cleaning with the wrong tool is the fastest way to turn a minor blemish into a major eyesore. These foundational rules will save your stainless steel from unnecessary harm.
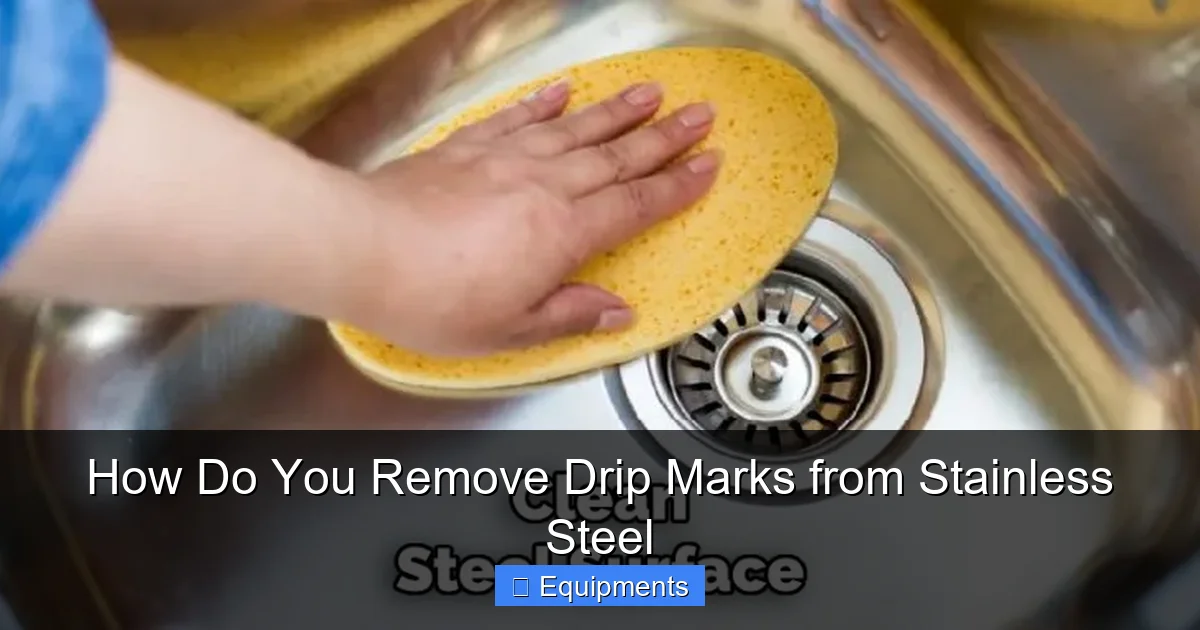
Visual guide about How Do You Remove Drip Marks from Stainless Steel
Image source: thekitchenix.com
DO: Identify the Grain
Look closely at your stainless steel surface. You’ll see it has a consistent direction—lines that run either horizontally, vertically, or diagonally. This is the “grain.” It’s created during the manufacturing process. Always wipe, scrub, and polish in the direction of this grain. Cleaning against the grain will create tiny, perpendicular scratches that catch the light and look terrible, no matter how clean the surface is.
DON’T: Use Anything Abrasive
This cannot be stressed enough. Your list of forbidden items includes:
- Steel wool (including the “soap-filled” variety)
- Scrub pads (like the green or yellow ones)
- Abrasive powders (Comet, Bar Keepers Friend in powder form unless specified for stainless)
- Anything with a gritty texture
Even “non-scratch” sponges can be too harsh on some finishes. When in doubt, use your bare hand. If you can feel any grit or roughness on the cloth, it’s too abrasive.
DO: Always Rinse and Dry
After any cleaning application, you must rinse the surface with clean water to remove all traces of the cleaning solution. Then, immediately dry it with a clean, dry, soft microfiber cloth. Letting it air dry defeats the purpose, as the water itself will leave new minerals as it evaporates.
The Tiered Cleaning Approach: From Gentle to Strong
Think of this as a ladder. Start at the first rung. If the drip mark disappears, stop. If it persists, move to the next rung. This minimizes the use of stronger chemicals and reduces any risk.
Visual guide about How Do You Remove Drip Marks from Stainless Steel
Image source: thekitchenix.com
Tier 1: The Basic Wash (For Light Residue & New Marks)
Sometimes, what looks like a mineral mark is just a smear of dried soap or food. Begin here for any new blemish.
- Mix a few drops of mild dish soap (like Dawn or Ivory) with warm water in a bowl.
- Dip a soft microfiber cloth into the solution, wring it out nearly dry, and wipe the affected area with the grain.
- Immediately rinse the cloth in clean water, wring it out, and wipe the soap residue away.
- Take a second, completely dry microfiber cloth and buff the area dry with the grain.
If the mark is gone, you’re done. If it remains faint, proceed to Tier 2.
Tier 2: The Vinegar Solution (For Most Hard Water Marks)
White distilled vinegar is a mild acetic acid that effectively dissolves calcium carbonate (the main component of limescale). It’s safe for stainless steel when used correctly and diluted.
- Create a 1:1 solution of white vinegar and water. For tougher marks, use undiluted white vinegar.
- Soak a soft cloth (microfiber or cotton) in the solution. Wring it out so it’s damp, not dripping.
- Wrap the damp cloth around a soft-bristled toothbrush (a clean one dedicated to cleaning). This gives you precision for small marks or around handles.
- Gently scrub the drip mark with the grain for 30-60 seconds. The acid needs a moment to work.
- Rinse immediately and thoroughly with a cloth dampened with clean water.
- Dry completely with a dry microfiber cloth, buffing with the grain.
For large areas like a sink basin, you can pour the vinegar solution directly onto the mark, let it sit for 5-10 minutes, then wipe and rinse.
Tier 3: Citric Acid Power (For Stubborn, Set-In Scaling)
Citric acid is a stronger, yet still stainless-steel-safe, chelating agent. It’s excellent at binding to and dissolving mineral deposits. You can use commercial citric acid-based cleaners or make your own.
- Make a paste: Mix citric acid powder (available in canning sections or online) with a tiny amount of water to form a thick paste.
- Alternatively, use lemon juice (natural citric acid) full strength.
- Apply the paste or lemon juice directly to the drip mark. For paste, use a soft cloth or your finger to spread a thin layer.
- Let it sit for 5-15 minutes. Do not let it dry out completely.
- Gently agitate with a soft cloth or the soft toothbrush, always with the grain.
- Rinse exceptionally well with a water-dampened cloth, followed by a clean water rinse.
- Dry immediately and thoroughly.
This method is highly effective for marks that have been left for weeks or months.
Commercial Cleaners: When Home Remedies Aren’t Enough
For extremely persistent marks, or for a quick, reliable solution, commercial stainless steel polishes and cleaners are formulated specifically for this task. Look for products labeled for stainless steel.
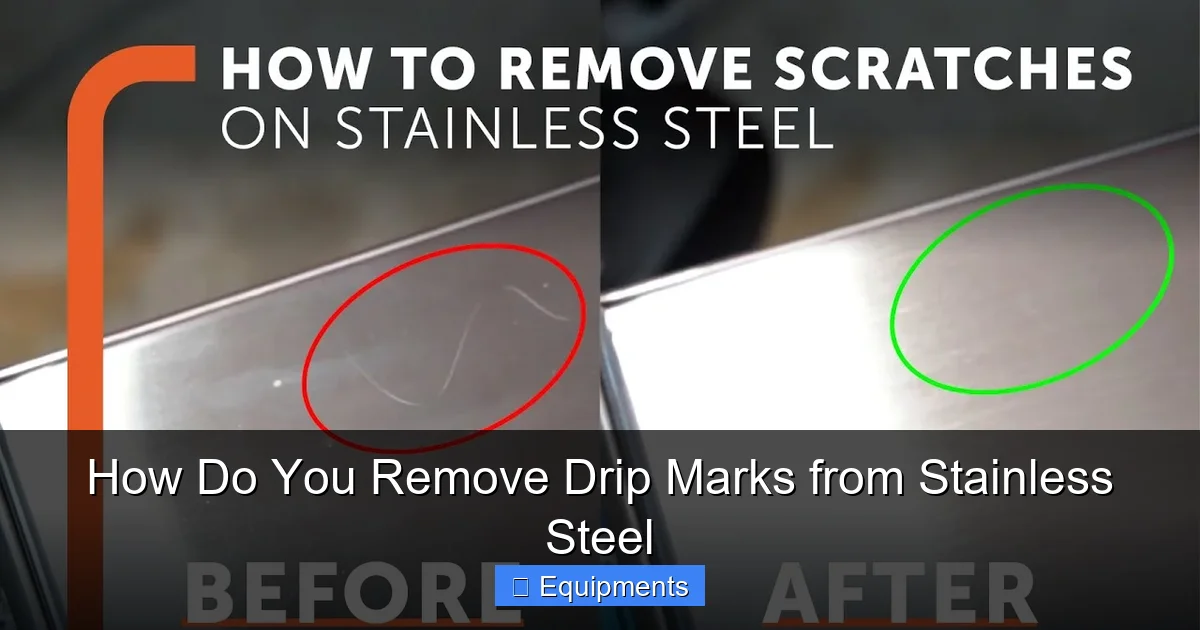
Visual guide about How Do You Remove Drip Marks from Stainless Steel
Image source: i.ytimg.com
How to Use a Stainless Steel Polish Correctly
These products often contain fine abrasives (much finer than you’d find in a kitchen scrubber) and oils that fill in the microscopic grooves, creating a uniform reflective surface.
- Shake the bottle well.
- Apply a small amount to a soft, dry microfiber cloth. A little goes a long way.
- Rub the product onto the marked area with the grain using moderate pressure. You’ll see a haze or a dark film appear. This is the polish filling the valleys and lifting the minerals.
- Let it haze over for a minute, then buff vigorously with a clean, dry section of the microfiber cloth, again following the grain. The goal is to wipe away all residue, leaving a bright, clear shine.
- If any haze remains, repeat with a fresh cloth.
Popular and effective brands include Bar Keepers Friend (the liquid version, not the powder for stainless), Weiman Stainless Steel Cleaner, and Therapy Polish. Always read and follow the manufacturer’s instructions on the bottle.
Prevention: The Ultimate Strategy for Drip-Free Surfaces
An ounce of prevention is worth a pound of cure. Once you’ve restored your stainless steel, these habits will keep it that way with minimal effort.
The Daily Wipe-Down Ritual
Incorporate this into your kitchen or bathroom cleaning routine. Once a week, or even daily in high-use areas:
- Spray the surface lightly with a dedicated stainless steel cleaner or a diluted vinegar solution (1 part vinegar to 4 parts water).
- Wipe with a soft, damp microfiber cloth, following the grain.
- Immediately buff dry with a second, perfectly dry microfiber cloth.
This removes any film before it can dry and attract minerals. It also maintains the protective layer.
Control the Water Source
If your drip marks are consistently in the same spot, you have a water problem.
- In the Kitchen: Check the sprayer on your sink. A faulty valve might drip constantly. Install a water softener if you have very hard water. This is the single best investment for all your hard-water woes, inside and out.
- Around Faucets: Use a faucet aerator to break the water stream into smaller droplets that are less likely to cling and form large drops.
- On Appliances: Ensure the ice maker or water dispenser on your fridge isn’t leaking or dripping internally. A small leak behind the panel can cause persistent marks on the door.
Special Cases: Sinks, Appliances, and Cookware
Different stainless steel items have slightly different considerations.
Stainless Steel Sinks: The Ground Zero for Drips
Sinks get the most water exposure. For daily care, a dedicated sink cleaner (often a cream-based product) is ideal. Apply, scrub gently with a soft sponge, rinse, and dry. For limescale around the drain or faucet base, use the citric acid paste method. For a deep clean and shine, use a stainless steel polish after cleaning. Consider a sink grid or mat to protect the basin from scratches from pots and pans.
Refrigerators & Dishwashers: Fingerprint-Resistant Finishes
Many modern appliances have a “smudge-proof” or “fingerprint-resistant” coating. This is a thin, clear layer over the stainless. Be extra gentle here.
- Use only cleaners labeled safe for coated surfaces or a simple vinegar/water solution.
- Never use wax-based polishes on these finishes; they can cause a hazy buildup.
- A microfiber cloth dampened with water is often all that’s needed for daily fingerprints.
Always check your appliance’s manual for specific cleaning recommendations.
Stainless Steel Cookware: The Inside Story
The inside of pots and pans is often a different grade of stainless (sometimes 18/10) and can be more prone to heat discoloration (blue or gold tints) which is different from drip marks. For interior mineral deposits (like from boiling hard water), fill the pot with equal parts water and vinegar, bring to a simmer for 10 minutes, let cool, then wash normally. For exterior drip marks on cookware, treat them as you would any other stainless surface, being mindful of any decorative logos or etching that might be more sensitive.
Conclusion: Patience and the Right Tools Win
Removing drip marks from stainless steel isn’t about brute force; it’s a gentle science. By understanding that you’re dissolving mineral deposits, not scrubbing off rust, you can choose the safest, most effective method. Start with the mildest soap and water solution, escalate to vinegar for most cases, and reserve citric acid or commercial polish for the truly stubborn offenders. The cardinal rules—work with the grain, avoid abrasives, rinse, and dry—are your constant companions. More importantly, build a simple routine of regular wiping and drying. This proactive habit will save you countless hours of scrubbing and keep your stainless steel appliances, sinks, and fixtures looking like the high-end, sophisticated surfaces you invested in. Your stainless steel is designed to last a lifetime. With this knowledge, you can keep it looking pristine for every one of those years.
Frequently Asked Questions
Can I use baking soda to remove drip marks from stainless steel?
Baking soda is a mild abrasive. While it can work on very light deposits, it carries a risk of creating fine scratches, especially on polished finishes. It’s safer to use vinegar or citric acid first. If you must use baking soda, make a very thick paste with water, apply sparingly, rub minimally with a soft cloth, and rinse extremely well.
Will vinegar damage my stainless steel refrigerator or sink?
No, when used properly. White vinegar is a weak acid (5% acetic acid) and is safe for stainless steel. The key is to dilute it with water for general cleaning and to always rinse it off completely after use. Never let undiluted vinegar sit for extended periods (more than 15 minutes) without rinsing.
What’s the difference between drip marks and rust on stainless steel?
Drip marks are white, cloudy, or chalky deposits from minerals left on the surface. Rust (iron oxide) is reddish-brown and indicates the passive chromium oxide layer has been compromised, usually by prolonged exposure to chlorides (like salt or bleach) or abrasion. Rust requires a different, often more aggressive, treatment like a dedicated rust remover or fine abrasive pad.
Is Bar Keepers Friend safe for all stainless steel?
The liquid version of Bar Keepers Friend is generally safe for stainless steel when used as directed. However, the powdered version contains oxalic acid and a mild abrasive and is more likely to cause scratching if not used with extreme care. Always test in an inconspicuous area first and rinse thoroughly. Avoid using it on brushed or satin finishes if possible.
My drip marks are inside my stainless steel water bottle. How do I get them out?
For a bottle, use the same principles. Fill the bottle with a solution of 1 part white vinegar to 4 parts warm water. Let it sit for 30 minutes to an hour. For tough deposits, add a tablespoon of baking soda (it will fizz, helping to dislodge debris). Scrub the interior with a soft bottle brush, rinse extremely well with hot water, and air dry upside down.
Why do my drip marks keep coming back even after I clean them?
This almost always means two things: 1) The surface wasn’t rinsed thoroughly enough, leaving a film that attracts new minerals, and/or 2) The surface isn’t being dried properly. The final step of drying with a clean, dry microfiber cloth is the most critical step in prevention. Also, consider if you have hard water; a water softener or a filtered water source for final rinses can be a game-changer.