Removing an infrared electric oven door is a straightforward but delicate task requiring careful preparation and the right tools. The process generally involves unplugging the oven, locating and removing hinge pins or screws, and supporting the heavy door’s weight during detachment. Always prioritize safety by disconnecting power, wearing gloves, and having a helper. While most doors follow similar principles, consulting your specific model’s manual is the ultimate authority to avoid damage.
Key Takeaways
- Safety First: Always unplug the oven from the wall outlet before beginning any work to prevent electric shock.
- Identify Your Hinge Type: Oven doors use either removable hinge pins or secured hinge screws; identifying yours is the critical first step.
- Support the Door’s Weight: Infrared oven doors are heavy and awkward; never let them swing freely or rest on the hinges, which can cause damage.
- Tools Are Essential: A basic set including screwdrivers, pliers, and a putty knife is usually needed; some models require special tools.
- Consult the Manual: Your appliance’s service manual provides the definitive, model-specific removal instructions and diagrams.
- Glass is Fragile: The inner pane of the double-paned door can shatter from impact or thermal stress; handle with extreme care and avoid touching it with metal tools.
- Reinstallation is the Reverse: Carefully note the door’s orientation and hinge alignment during removal to ensure correct and safe reattachment.
📑 Table of Contents
- Introduction: Why Would You Remove an Infrared Oven Door?
- Step 1: Essential Preparation and Safety Protocols
- Step 2: Understanding Your Door’s Hinge Mechanism
- Step 3: The Removal Process – A Methodical Guide
- Step 4: Working with the Door Assembly Itself
- Step 5: Reinstallation: Putting It All Back Together
- Step 6: Troubleshooting Common Problems and When to Call a Pro
- Conclusion: Confidence Through Careful Work
Introduction: Why Would You Remove an Infrared Oven Door?
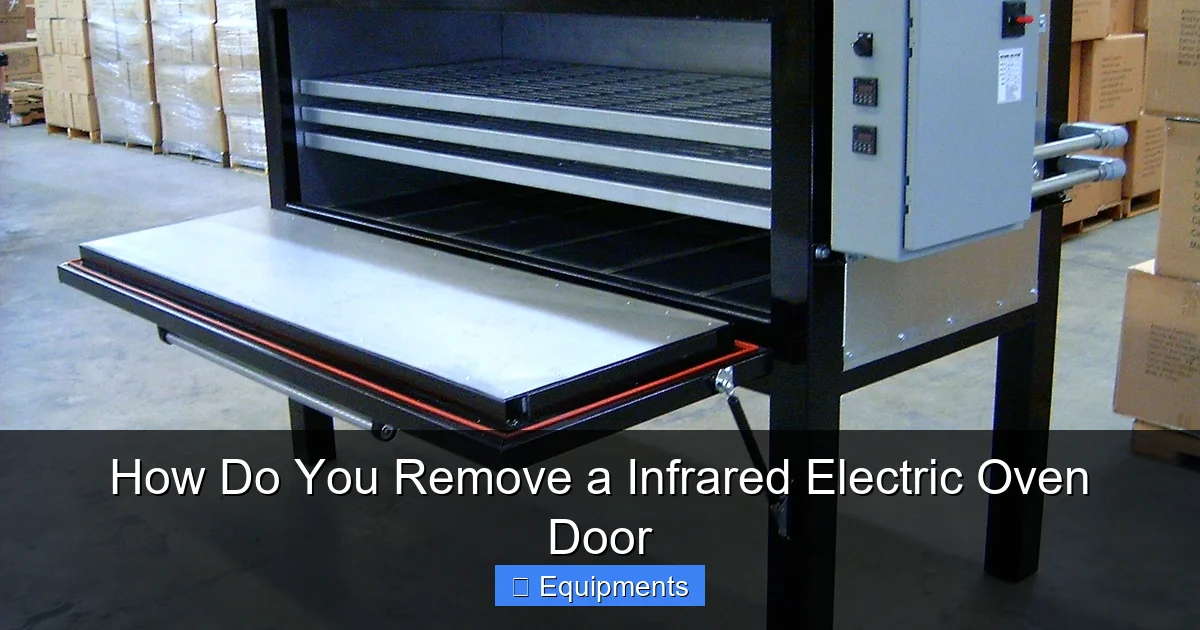
So, you’ve got a magnificent infrared electric oven. Maybe it’s a sleek countertop convection model or a built-in powerhouse. It cooks food beautifully with radiant heat, but over time, that same heat, combined with food splatters and everyday use, takes its toll on the oven door. The glass can get foggy between its panes, seals can degrade, or perhaps you need to access interior components for a deeper clean or repair. Whatever the reason, knowing how to remove an infrared electric oven door is a valuable skill for any DIY-minded homeowner.
Let’s be clear from the start: this is not a task for the impatient or clumsy. An oven door is a heavy, balanced assembly, often with sharp edges and fragile glass. The “infrared” aspect typically refers to the heating element technology, not a fundamentally different door mechanism. Most infrared electric ovens use the same hinge and latching systems as conventional electric models. Therefore, the principles of safe removal are largely universal. This guide will walk you through the entire process, from gathering your tools to safely laying the door aside, emphasizing safety and methodical action at every turn.
Step 1: Essential Preparation and Safety Protocols
Before you even glance at a screwdriver, your number one priority is creating a safe work environment. Rushing this stage is the fastest way to cause injury or damage your appliance.
Visual guide about How Do You Remove a Infrared Electric Oven Door
Image source: thekitchenix.com
Disconnect All Power Sources
This is non-negotiable. An infrared oven, despite its name, is still a high-current electrical appliance. Unplug the oven from the wall outlet. If it’s a hardwired built-in model, you must turn off the dedicated circuit breaker at your main electrical panel and verify the power is off with a non-contact voltage tester. Do not assume the oven’s control board is off; you must break the circuit at its source.
Clear the Area and Gather Help
Create a clear, flat, soft surface (like a blanket or moving pad on your kitchen floor) where you will place the door once removed. Ensure the path from the oven to this spot is obstacle-free. Strongly recruit a helper. An oven door can weigh 30 to 50 pounds or more. It is bulky, and its weight distribution can make it feel heavier. A second pair of hands is crucial for controlling the door as it comes free, preventing it from crashing to the floor or pulling you off balance.
Gather Your Tool Kit
While requirements vary by model, have these on hand:
- Set of screwdrivers: Both flathead and Phillips, in various sizes.
- Pliers: Needle-nose pliers are excellent for pulling out hinge pins.
- Putty knife or plastic pry tool: For gently prying off plastic covers without scratching.
- Work gloves: Cut-resistant gloves protect your hands from sharp metal edges and glass.
- Safety glasses: Always protect your eyes.
- Tape: Masking tape can be used to secure the door closed or to label screws.
- Your oven’s manual: Keep this nearby for reference.
Step 2: Understanding Your Door’s Hinge Mechanism
This is the core of the entire operation. Infrared electric oven doors almost exclusively use one of two hinge designs. Identifying which one you have dictates your entire approach.
Visual guide about How Do You Remove a Infrared Electric Oven Door
Image source: intekcorp.com
Type A: The Removable Hinge Pin
This is the most common design in modern ovens, including many infrared models. The hinge itself is a sturdy metal arm bolted to the oven’s frame. A long metal pin runs through the hinge’s pivot point and into a corresponding socket on the door frame. Removing this pin releases the door. You’ll often find a small plastic cap or cover on the hinge arm that needs to be pried off first to access the pin.
Type B: The Secured Hinge Screw
Some models, particularly older or certain built-in designs, secure the hinge directly to the oven cabinet with one or two long screws. The door is held on by these screws threading into the door’s frame. To remove the door, you simply unscrew these bolts completely. There is no separate pin to extract.
How to Identify Yours
Open your oven door fully. Look at the hinge arms on the left and right sides of the oven interior, where they attach to the main body. Do you see:
- A prominent metal pin sticking out, possibly with a small hole or a flat head? That’s a pin-type hinge.
- Just the head of a bolt or screw? That’s a screw-type hinge.
If you’re unsure, consult your manual’s parts diagram. Searching online for “[Your Brand & Model] door hinge diagram” can also provide quick visual confirmation.
Step 3: The Removal Process – A Methodical Guide
Now, let’s get into the step-by-step. We’ll cover the pin-type hinge first, as it’s more common and involves a specific technique.
Visual guide about How Do You Remove a Infrared Electric Oven Door
Image source: lonroy.com
For Pin-Type Hinges: Releasing the Locking Mechanism
Before the pin can be removed, a locking mechanism must be disengaged. This is crucial; if you try to pull the pin while the door is locked, you will likely break the hinge or door frame.
- Open the door fully. It should be at or near a 90-degree angle to the oven.
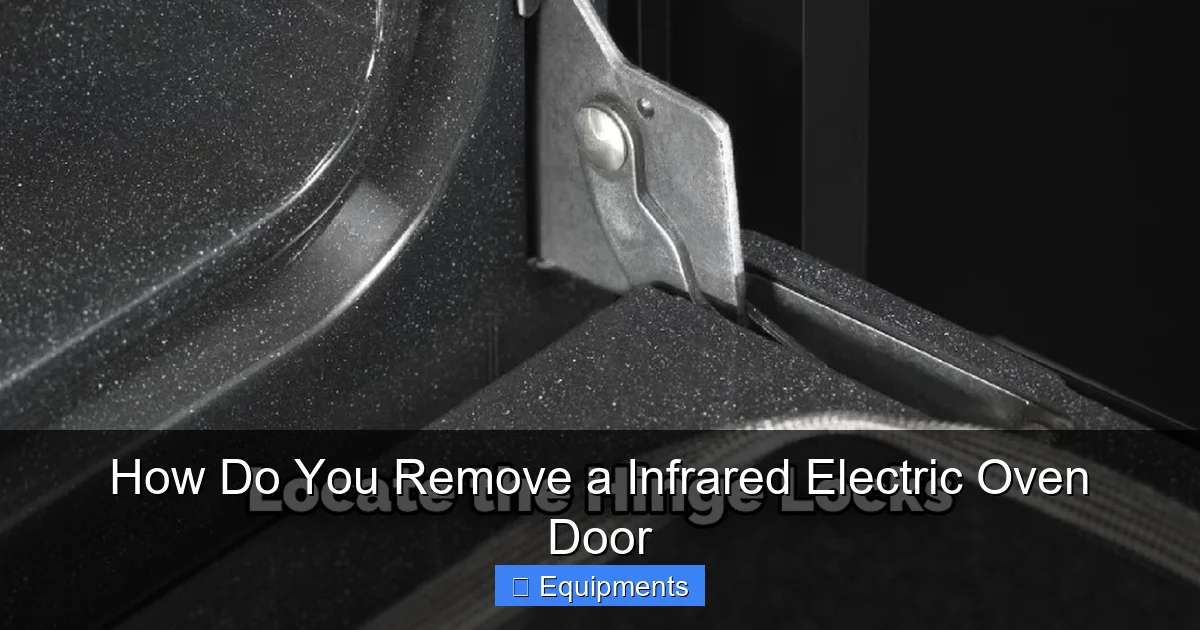
- Locate the locking tabs. On each hinge arm, near where it attaches to the door frame, you’ll see small metal levers or tabs. They might be spring-loaded. These are the door locks.
- Engage the locks. Gently but firmly push or pull these tabs into their locked position. You should hear/feel a distinct click. You may need to use a screwdriver to gently pry them if they are stiff. Do this for both hinges. The door should now be unable to close on its own; it will be “locked” in the open position.
For Pin-Type Hinges: Removing the Pin
With the door locked open:
- Remove any plastic hinge covers. Use your putty knife to gently pry them off. Set them aside safely.
- Support the door. Have your helper stand on the side of the door opposite the hinge you’re working on. They should place one hand on the bottom of the door and one on the handle, ready to take the weight.
- Extract the pin. Using pliers or your fingers, pull the hinge pin straight out. It may be tight; a gentle rocking motion can help. Do not tilt the pin. Pull it straight out. Once the first pin is out, the door’s weight will shift onto the remaining hinge.
- Repeat for the second hinge. Your helper must now support almost the entire weight of the door. Once the second pin is removed, the door will be completely free.
For Screw-Type Hinges: The Simpler Path
This process is more direct but requires careful support.
- Open the door fully. Some designs require the door to be at a specific angle (often 75-80 degrees) to access the screws. Check your manual.
- Support the door immediately. Have your helper take the weight as soon as the first screw is loosened. The door can shift suddenly.
- Unscrew both hinges completely. Use the appropriate screwdriver. There may be one long screw per hinge or two shorter ones. Remove them all and set them aside in a labeled container.
- Lift the door free. Once all screws are out, carefully lift the door straight up and off the hinge brackets attached to the oven frame.
Critical Handling During Detachment
No matter the hinge type:
- Communicate with your helper. Use clear phrases like “I have the weight,” “Lift on three,” etc.
- Never let the door dangle from one hinge. This puts immense stress on the hinge arm and the glass, risking catastrophic breakage.
- Lift with your legs, not your back. Keep the door upright; do not tilt it excessively side-to-side, as this stresses the glass seals.
- Place it down gently. Lower it onto your prepared padded surface. It’s best to lay it on its long side (the handle side) to keep the glass surface protected.
Step 4: Working with the Door Assembly Itself
Now that the door is off, your goal might be to clean between the glass panes or replace the inner glass. This is where extreme caution is needed.
Understanding the Door Construction
An oven door is a sandwich. There is an outer glass sheet (facing the kitchen), a metal frame, insulation, and an inner glass sheet (facing the oven cavity). The two glass sheets are sealed around the edges. If moisture or soot has gotten between them, it means the seal has failed. Attempting to separate the glass layers yourself is almost always a bad idea. They are sealed with high-temperature silicone or tape and are under slight pressure. Forcing them apart can shatter the glass.
Safe Cleaning and Access
If your goal is cleaning:
- Clean the accessible surfaces. With the door removed, you can easily clean the outer glass, the inner glass (now exposed), and the metal frame with appropriate oven cleaners or degreasers.
- Do NOT attempt to separate the glass. If the haze is *between* the panes, the only proper fix is to have a professional replace the entire door glass assembly or the seal. This is a specialized repair.
If you need to access internal components (like a door lock assembly or wiring for a light), consult your manual. These parts are typically accessible by removing the inner door panel, which is screwed to the main frame from the inside. This is a more advanced disassembly.
Step 5: Reinstallation: Putting It All Back Together
Reinstalling the door is simply the reverse of removal, but it requires precise alignment. A poorly aligned door won’t close properly, will leak heat, and can damage the oven’s gasket.
Alignment is Everything
Before you even think about inserting pins or screws:
- Clean the hinge areas. Wipe away any dust or grease from the hinge brackets on the oven frame and on the door’s hinge sockets. This ensures a smooth fit.
- Position the door. With your helper, carefully lift the door and align the hinge sockets on the door with the hinge arms on the oven. The door should be at the correct open angle (usually the same angle it was in when you started removal).
- For Pin-Type: Insert the hinge pins. This can be tricky. You may need to slightly raise or lower the door to get the holes perfectly aligned. Once aligned, push the pin all the way through until it’s flush. It should move smoothly but fit snugly. Reinstall any plastic covers.
- For Screw-Type: Start the screws by hand to avoid cross-threading. Tighten them securely, but do not over-tighten, as this can crack the door’s frame or prevent the hinge from moving freely.
Final Checks Before Power Reconnection
Do not plug the oven back in yet!
- Test the swing. Gently open and close the door several times. It should move smoothly, without binding or scraping. It should close fully and seal against the gasket evenly. Check for gaps.
- Listen for noises. Any clicking, grinding, or resistance means the hinges are misaligned. Unplug, remove the door, and try again.
- Check the latch. If your oven has a self-cleaning cycle or a child lock, ensure the door latch mechanism (if separate from the hinge) engages and disengages correctly.
Only when the door operates perfectly should you restore power and test the oven’s functions.
Step 6: Troubleshooting Common Problems and When to Call a Pro
Even with careful work, you might hit a snag. Knowing how to diagnose it saves time and prevents damage.
“The Pin Won’t Budge” or “The Screw is Stripped”
Hinge pins can corrode and seize. Apply a penetrating oil (like WD-40) to the pin and let it sit for 10-15 minutes. Use pliers with a good grip. For a stripped screw head, try a rubber band between the screwdriver and the screw for extra grip, or use a screw extractor bit. If it’s completely stuck, forcing it will likely break the hinge. This is a sign to stop and seek professional help.
The Door is Misaligned After Reinstallation
A small gap at the top or bottom is common. Often, simply loosening the hinge screws slightly (for screw-type), adjusting the door position, and retightening solves it. For pin-type, double-check that the pins are fully inserted and the locking tabs are fully released. If the door frame itself is warped (rare but possible from a drop), it cannot be fixed by adjustment.
When to Walk Away and Call a Technician
There is no shame in calling a professional appliance repair technician. Do so if:
- You cannot identify the hinge mechanism despite checking the manual.
- Any component is broken, bent, or missing during removal.
- The inner glass is shattered or you suspect the seal is compromised and needs replacement.
- The door has complex integrated wiring (for lights, locks, or sensors) and you are uncomfortable disconnecting/reconnecting it.
- You feel any resistance that feels “wrong” or like you might break something. Forcing it is the most common cause of costly damage.
A service call is cheaper than a new oven door or a shattered glass cleanup.
Conclusion: Confidence Through Careful Work
Removing an infrared electric oven door is a project that blends mechanical aptitude with patience. It’s less about brute force and more about understanding the mechanism, respecting the weight and fragility of the components, and following a sequence of safe, deliberate steps. By disconnecting power, identifying your hinge type, supporting the door properly, and aligning it perfectly on reinstallation, you can successfully complete this task.
Remember, the ultimate goal is a door that functions perfectly: sealing tightly, swinging smoothly, and looking clean. If at any point you doubt your ability to do this safely and correctly, pause. Consult your manual again, watch a video for your specific model, or call a qualified appliance repair professional. Your oven is a significant investment, and its door is a critical safety and performance component. Treat it with the care it deserves, and you’ll have it off, serviced, and back on with confidence.
Frequently Asked Questions
How difficult is it to remove an infrared electric oven door?
On a scale of 1-10, it’s about a 6. It’s moderately difficult due to the door’s weight and the need for precise hinge pin/screw management. The process is straightforward but requires physical strength, a helper, and meticulous attention to safety steps to avoid injury or damage.
Do I need special tools to remove the oven door?
Usually not. A standard set of screwdrivers, pliers, and a plastic pry tool is sufficient for most models. Some high-end or commercial-style ovens might use proprietary fasteners, in which case your manual will specify the required special tool, often a Torx or spanner bit.
Is it dangerous to remove the door because of the infrared heating elements?
The infrared elements themselves pose no direct danger during door removal, as long as the oven is completely unplugged or de-energized at the breaker. The real dangers are the door’s weight (risk of dropping), sharp metal edges, and the risk of breaking the fragile double-paned glass. Always wear gloves and safety glasses.
Can I remove the door to clean between the glass panes?
You can remove the door to clean the *accessible* inner and outer glass surfaces. However, if the dirt/ haze is *between* the two panes of glass, this indicates a failed seal. You cannot and should not attempt to separate the glass layers yourself. This requires professional disassembly and resealing or full glass replacement.
Should I attempt this repair myself or hire a professional?
If you are physically capable, have a helper, are methodical, and have identified a simple pin or screw hinge system, a confident DIYer can do it. Hire a professional if you are uncomfortable with the weight, cannot identify the mechanism, find any broken parts, or if the door has complex wiring. The cost of a service call is far less than repairing damage from a dropped door or shattered glass.
Do all infrared electric ovens have the same door removal process?
No. While the fundamental principles (unplug, support, release hinge) are universal, the exact method—whether it uses removable pins or securing screws, the required door angle, and the location of locking tabs—varies significantly by brand, model, and design. Your appliance’s specific service manual is the only definitive guide. Always look it up before starting.