A noisy oven fan is usually caused by debris, loose parts, or worn motor bearings. Always disconnect power before inspecting. Start by cleaning the fan area thoroughly. If noise persists, check for bent blades or a failing motor. Complex electrical issues require a qualified technician to ensure safety and prevent damage.
Key Takeaways
- Safety First: Always turn off the oven’s circuit breaker and unplug it before any inspection or repair to avoid electric shock.
- Debris is the Prime Suspect: Food particles, foil, or loose insulation are the most common cause of fan noise and are often fixed with a simple cleaning.
- Listen to the Noise: A rattling sound often means loose hardware; a grinding or humming noise typically points to worn motor bearings.
- DIY Scope is Limited: You can safely clean, tighten screws, and inspect blades. Internal motor or wiring repairs should be left to professionals.
- Tools are Simple: Most fixes require just a screwdriver, flashlight, and vacuum. Never use water or harsh chemicals inside the oven cavity.
- Ventilation is Key: A blocked external vent can cause the fan to work harder and create more noise; check the exterior vent cap.
- Age Matters: If your oven is over 10-15 years old, a noisy fan may signal it’s time for a replacement appliance, especially if repair costs are high.
📑 Table of Contents
- Understanding Your Oven’s Cooling Fan System
- Essential Tools and Safety Precautions
- Step-by-Step Diagnostic Guide: Finding the Source of the Racket
- Common Repairs for a Noisy Oven Fan
- When to Call a Professional: Knowing Your Limits
- Proactive Maintenance to Prevent Future Noise
- Conclusion: Listening to Your Oven for a Longer Life
Understanding Your Oven’s Cooling Fan System
That unsettling grinding, rattling, or buzzing noise coming from your oven isn’t just annoying—it’s your appliance’s cooling fan crying for help. This small but mighty component is critical for your oven’s health. Its primary job is to circulate hot air inside the oven cavity for even cooking and, more importantly, to draw cool air over the internal electronics and the oven’s outer shell to prevent overheating. Without it, your oven’s control board, wiring, and even the cabinet itself could suffer heat damage, leading to expensive failures.
Most modern electric and convection ovens have at least one fan: the convection fan inside the oven cavity that spins during cooking to distribute heat, and a separate cooling fan mounted to the back of the oven or behind the control panel. This cooling fan usually runs whenever the oven is on and continues for a while after to cool things down. When it gets noisy, it’s a clear sign something is wrong. Ignoring it is a gamble; what starts as a minor rattle can escalate into a complete fan failure, potentially causing your oven to overheat and break down entirely. Let’s break down what makes this fan tick and why it starts making a racket.
The Two Main Types of Oven Fans
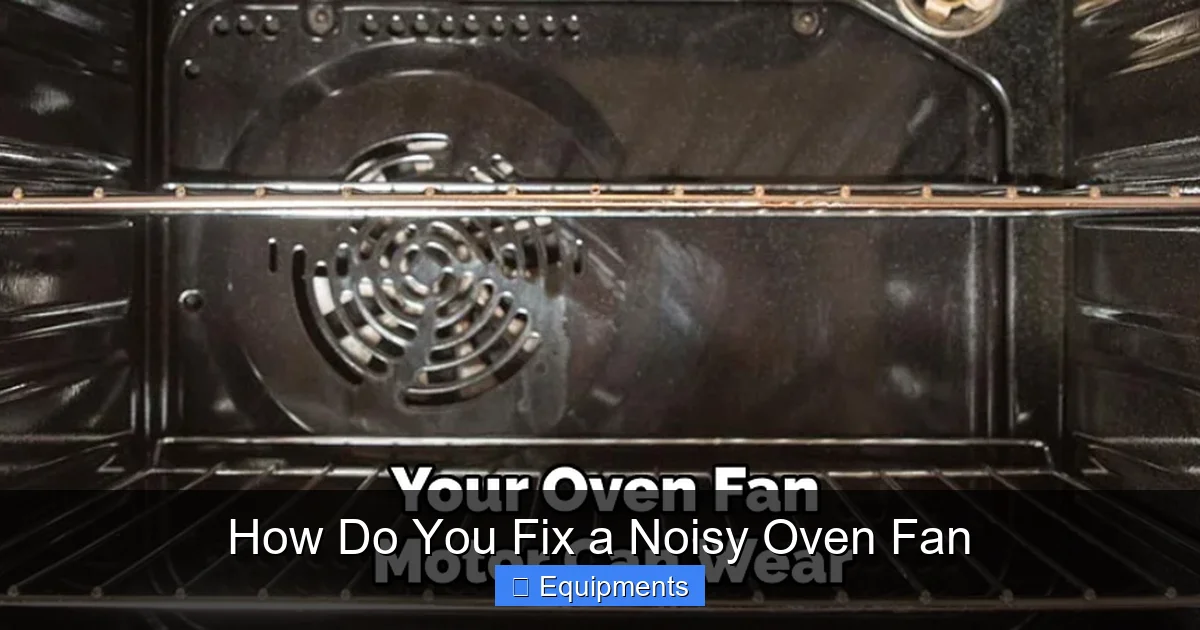
Identifying which fan is noisy is your first diagnostic step. Listen closely. Is the noise coming from inside the oven door while it’s cooking? That’s likely the convection fan, used only in convection/convection-bake modes. Or is the noise a constant hum or whirr from the back or bottom of the oven, even during a regular bake cycle? That’s almost certainly the cooling fan, also called a blower motor or exhaust fan, which runs almost anytime the oven has power. This guide focuses on the cooling fan, as its failure is more common and has broader implications for oven safety.
Why That Noise Matters
Your oven’s cooling fan is its personal air conditioner. It pulls ambient kitchen air in through vents, forces it over the hot metal casing and sensitive electronics, and exhausts the warmed air out the back or bottom. When this system is compromised, heat builds up. This can cause thermal cutoffs to trip (making your oven seem dead until it cools), shorten the lifespan of the main control board, and in extreme cases, pose a fire risk from overheating wiring. The noise is your earliest, cheapest warning sign. Fixing a noisy fan is almost always less costly and less dangerous than replacing a fried control board or dealing with heat-damaged cabinetry.
Essential Tools and Safety Precautions
Before you even think about touching a screw, you must understand the risks. An oven is a major appliance connected to high-voltage electricity and, in the case of gas ranges, a fuel line. Rushing in without proper precautions can lead to severe electric shock, gas leaks, or injury from sharp edges. This section isn’t just a suggestion; it’s a mandatory pre-repair checklist.
Visual guide about How Do You Fix a Noisy Oven Fan
Image source: thekitchenix.com
The Non-Negotiable Safety Protocol
Step 1: Power Disconnection. This is the golden rule. Do not rely on the oven’s control panel “off” switch. You must kill power at the source. Locate your home’s electrical panel and flip the circuit breaker that supplies power to the oven. If you have a gas oven, you must also shut off the gas supply valve, usually located behind the oven or in the basement. After turning off the breaker, press the oven’s buttons to confirm there is no power. Wait at least 5 minutes for any residual electricity to dissipate from capacitors.
Step 2: Gas Safety (If Applicable). For gas ovens, after shutting the valve, you should smell for any gas odor. If you detect a leak, do not proceed. Call your gas company or a professional immediately. Never use a flame to check for leaks.
Step 3: Cool Down and Access. Ensure the oven is completely cold. You’ll be working near hot surfaces and potentially sharp metal edges from the oven’s interior insulation. Wear work gloves and safety glasses. Have a flashlight handy—oven interiors are dark spaces.
Gathering Your Basic Toolkit
You don’t need a professional mechanic’s garage. For 90% of noisy fan issues, a simple toolkit will suffice:
- Screwdrivers: A set of both flathead and Phillips head screwdrivers. The exact size depends on your oven model (common sizes are #1 and #2 Phillips).
- Flashlight: A bright LED work light is invaluable for seeing into the dark fan housing.
- Vacuum Cleaner with Crevice Tool: This is your best friend for removing loose debris. A shop vac is even better.
- Soft Bristle Brush: An old toothbrush or small paintbrush helps dislodge stuck-on grime from fan blades without damaging them.
- Pliers: Needle-nose pliers can help pull out large debris or straighten a slightly bent fan blade.
- Lubricant (Sparingly!): Only if your motor has accessible oil ports (rare on modern sealed bearings). Use a lightweight machine oil, NOT WD-40, which can degrade plastic parts.
If you need to access the fan motor itself, you may require a nut driver or socket set. Consult your oven’s technical manual (often available online by model number) for specific fastener types.
Step-by-Step Diagnostic Guide: Finding the Source of the Racket
Now that you’re powered down and protected, it’s time to play detective. The goal here is to isolate the problem without immediately disassembling everything. A methodical approach saves time and prevents you from taking apart components that aren’t the issue.
Visual guide about How Do You Fix a Noisy Oven Fan
Image source: thekitchenix.com
1. The Initial Visual and Auditory Inspection
Start with the easiest, non-invasive checks. Pull the oven away from the wall carefully, being mindful of the power cord and any gas line. Look at the back and bottom of the oven. Can you see the fan? Many ovens have a removable rear access panel or a bottom kickplate. If you can see the fan, use your flashlight. Look for obvious culprits:
- Foreign Objects: Is there a piece of foil, a plastic bag fragment, a burnt food chunk, or even a mouse nest (disgusting but possible) caught in the blades or housing? This is the #1 cause of sudden, loud rattling or thumping.
- Loose Debris: A thick layer of greasy dust and lint can unbalance the fan, causing vibration.
- Damaged Fan Blades: Are any blades cracked, chipped, or noticeably bent? Even a slight bend can cause a serious wobble and noise.
- Loose Mounting: Gently try to wiggle the fan motor assembly. Excessive movement means the mounting screws or brackets are loose.
While you’re there, check the external vent cap on the exterior wall or roof. Is it blocked by leaves, a bird’s nest, or snow? A clogged vent makes the fan labor and strain, creating a different kind of hum or whine.
2. The “Spin Test” (With Power OFF)
If the fan is accessible and not obviously jammed by a solid object, try to gently spin the fan blades by hand. They should rotate smoothly and freely. What you’re feeling for:
- Grinding or resistance: This indicates worn-out bearings inside the motor. The shaft is no longer spinning smoothly on its bushings. This is a common failure point and usually means motor replacement.
- Wobble or play: If the blades tilt side-to-side as you push them, the motor shaft is likely bent, or the fan is not properly seated on the shaft.
- Blades hitting the housing: This confirms a bent blade or a misaligned fan assembly.
If the fan spins freely and quietly by hand, the noise is likely not from the fan itself but from something vibrating *because* of the fan’s operation—like a loose panel or a vibrating wire harness touching the spinning blades.
3. Listening with a Diagnostic Stethoscope
For the more subtle cases, a mechanic’s stethoscope (or a long screwdriver placed carefully against your ear) can be a game-changer. With the oven powered on for just a few seconds (be extremely careful, keep hands away from moving parts!), turn the oven on to a bake cycle. Place the stethoscope tip on various points: the fan motor housing, the mounting bracket, the oven’s back panel. The loudest point is your problem area. A loud, gritty sound directly on the motor means bad bearings. A rattling sound from the housing means a loose screw or panel.
Critical Warning: This test requires the oven to be powered. Do not do this if you are uncomfortable working near live electricity. Keep your tools and body parts far from the spinning fan blades. Have a partner ready to turn the oven off instantly if needed. If you are at all unsure, skip this step and proceed to disassembly for a closer look.
Common Repairs for a Noisy Oven Fan
Diagnosis complete? Let’s match your findings to the most common fixes, in order of simplicity. Always re-check your diagnosis after each step by reassembling and testing (with power restored briefly).
Visual guide about How Do You Fix a Noisy Oven Fan
Image source: thekitchenix.com
The #1 Fix: Deep Cleaning and Debris Removal
If you found any foreign object or a thick layer of gunk, this is your solution. How to do it:
- With the fan accessible, use the crevice tool of your vacuum to suck out all loose debris. Go slowly around the blades and inside the motor housing vents.
- Use your soft brush dipped in a mild degreaser (like diluted dish soap) to scrub the fan blades and housing. Avoid getting liquid near the motor shaft or any electrical connections.
- Wipe everything dry with a clean cloth. Ensure all soap residue is removed, as it can attract more dirt.
- Spin the fan by hand again. It should be much quieter. Reassemble, restore power, and test.
Pro Tip: A lot of noise comes from a small piece of foil or plastic that’s gotten wrapped around the blade hub. Use needle-nose pliers to carefully unwind and remove it. This simple 10-minute job solves countless “mysterious” oven noises.
Tightening Mounting Hardware and Panels
Vibration from a loose fan motor or a rattling access panel is a frequent culprit. How to do it:
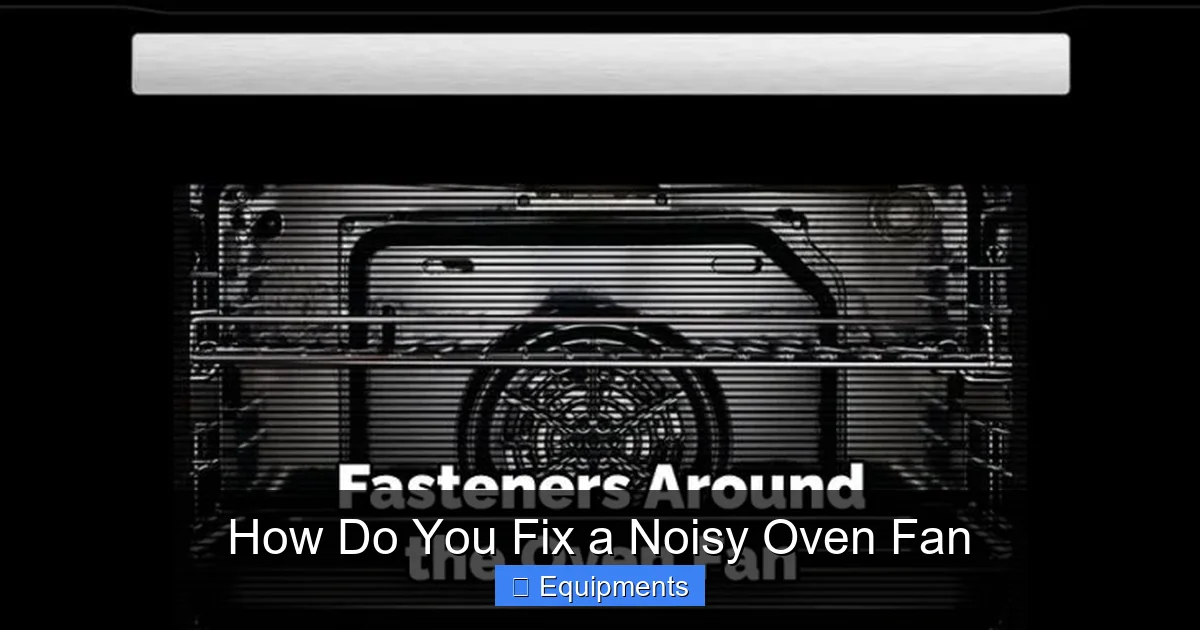
- Locate all screws securing the fan motor assembly to its bracket and the bracket to the oven chassis. These are often star or hex screws.
- Using the correct screwdriver, tighten each screw firmly. Do not over-tighten, which can strip threads or crack plastic housings.
- Check any adjacent panels (rear access panel, bottom plate). Ensure all their screws are snug. Sometimes a panel will resonate with the fan’s vibration if it’s not properly secured.
- After tightening, spin the fan. If it still wobbles, the motor itself may be internally loose, requiring replacement.
Inspecting and Straightening Fan Blades
A single bent blade throws the entire assembly out of balance, causing a pronounced thumping or wobble. How to do it:
- Remove the fan assembly from the oven if possible. This usually involves unplugging a wire harness (note the orientation!) and unscrewing the motor mount.
- Lay the fan on a flat surface. Use a ruler or straightedge to check each blade against it. Identify the bent one.
- Gently use pliers to bend the blade back into alignment. Work slowly, making tiny adjustments. Plastic blades can crack if forced.
- If a blade is cracked or severely damaged, the entire fan assembly must be replaced. Do not attempt to glue or repair it; the imbalance will persist and could cause further damage.
- Reinstall carefully, ensuring it’s seated evenly on the motor shaft.
Addressing Worn Motor Bearings
This is the “grinding” or “gritty” noise diagnosis. The internal bearings that allow the motor shaft to spin have worn out. Can you fix it? On very old motors, some have oil ports. A drop of light machine oil *might* provide temporary relief. However, 99% of modern oven fan motors are sealed for life and cannot be lubricated. The grinding sound means the bearings are permanently damaged. The only fix is to replace the entire fan motor assembly.
Replacement Process: This involves disconnecting the wire harness, uninstalling the old motor, and installing the new one. The key is getting the exact correct replacement part. You must find your oven’s model number (on a sticker inside the door jamb or on the back) and order the specific fan motor for that model. Installation is usually straightforward with basic tools, but if you are not confident with electrical connections, this is a good job for a pro.
Checking for Ventilation Blockages
A clogged exhaust vent makes the fan work against pressure, creating a strained, louder hum. How to do it:
- Locate the exterior vent cap. It may have a flap or screen.
- Remove any visible nests, leaves, or debris from the cap and the duct opening.
- From inside, you can sometimes use a flexible duct brush (like for clothes dryers) to gently sweep out the duct from the oven side. Be careful not to damage the duct.
- Ensure the duct is not crushed or kinked, which restricts airflow.
- After clearing, the fan should return to its normal, quieter sound as airflow is restored.
When to Call a Professional: Knowing Your Limits
DIY repairs save money and build confidence, but there are clear lines you should not cross with a major appliance like an oven. Knowing when to put down the screwdriver and pick up the phone is a key part of responsible homeownership.
Red Flags That Mean “Call a Pro”
If your diagnosis points to any of these, stop and call a certified appliance repair technician:
- Motor Replacement: While you *can* replace a fan motor yourself if you have the exact part and are comfortable with electrical connections, a pro will ensure it’s installed correctly, wired safely, and that the new part is genuine. A mistake here can cause the new motor to fail instantly or create a fire hazard.
- Control Board Issues: If the fan doesn’t run at all, but you have power, the fault could be in the oven’s main control board that sends power to the fan. Diagnosing and replacing a control board is complex and expensive. A pro can test it properly.
- Gas Oven Involvement: Any repair on a gas oven that requires moving the appliance or accessing components near the gas line should involve a professional. The risk of a gas leak is too high.
- Persistent Noise After All DIY Steps: If you’ve cleaned, tightened, and inspected everything and the noise remains, the problem may be internal and not immediately visible (e.g., a failing motor bearing that only makes noise under load). A pro has diagnostic tools like electronic stethoscopes and amp meters to pinpoint the exact failure.
- Lack of Tools or Confidence: If you don’t have the right tools, can’t find the model number, or feel anxious about the process, the cost of a service call is cheaper than the cost of a mistake that damages your oven further or causes personal injury.
What to Expect from a Professional Service Call
A reputable technician will typically charge a diagnostic fee (often $75-$125) which is usually waived if you proceed with the repair. They will come prepared with common parts for your brand, perform a thorough diagnosis, and provide a clear quote for parts and labor. A fan motor replacement, including the part, usually runs $150-$300+ depending on the model and your location. This is often far less than the cost of replacing a damaged control board or the entire oven. Always ask for a warranty on both parts and labor.
Proactive Maintenance to Prevent Future Noise
The best fix is the one you never need. A little routine maintenance goes a long way in keeping your oven’s cooling fan—and your entire appliance—quiet and healthy for years.
Schedule a Biannual Deep Clean
Twice a year, give your oven’s back and bottom some love. Turn off the power, pull it out, and vacuum the vents and fan area thoroughly. Use your brush to dislodge any accumulated dust bunnies and grease particles. This simple 20-minute task prevents the most common debris-related failures. If you have pets that shed, you might need to do this more frequently.
Become a Listener
Get to know your oven’s normal soundscape. When it’s running correctly, what does it sound like? A faint, steady hum from the back is normal. A new rattle, buzz, or grinding sound is an early warning. Catching it early means the fix is likely simple (a loose screw or a piece of food) rather than a major component failure.
Mind What You Cook (and How)
Some cooking habits contribute to fan problems. Avoid using excessive foil on the oven floor that can tear and be sucked into the fan area. Be careful with loose parchment paper. When using the self-cleaning cycle, be aware that the extreme heat can sometimes warp fan blades or loosen components over time. After a self-clean cycle, listen carefully to your fan.
Check the Exterior Vent Annually
Go outside and look at your oven’s exhaust vent. Make sure it’s clear of nests, debris, and obstructions. For range hoods that vent outside, this is critical. A blocked vent is a silent killer of fan motors, causing them to overwork and burn out prematurely.
Conclusion: Listening to Your Oven for a Longer Life
A noisy oven fan is more than a nuisance; it’s a communication from your appliance. It’s telling you that a critical cooling system is under stress. By approaching the problem methodically—prioritizing safety, diagnosing the sound, and executing simple fixes like cleaning and tightening—you can resolve the issue yourself in most cases and restore peace to your kitchen. Remember, the three most common causes are debris, loose mounting, and worn motor bearings. Tackle them in that order.
Embrace the role of a detective, not a daredevil. Know your limits. When the problem moves beyond a simple clean or tighten, investing in a professional repair is not an admission of defeat; it’s a smart decision to protect your larger investment in the oven itself and ensure the safety of your home. A quiet, efficiently running cooling fan means a longer-lasting oven, more accurate cooking temperatures, and one less headache in your household. So the next time you hear that unfamiliar buzz or rattle, don’t just turn up the TV—take a deep breath, turn off the power, and start listening. Your oven will thank you for it.
Frequently Asked Questions
Is a noisy oven fan dangerous?
Yes, it can be. A failing fan means your oven’s electronics and cabinet can overheat, potentially causing damage or, in rare cases, a fire risk. It also indicates a component is wearing out and may fail completely. You should diagnose and fix the issue promptly.
How much does it typically cost to fix a noisy oven fan?
If it’s a simple debris cleaning or screw tightening, the cost is zero if you do it yourself. For a professional fan motor replacement, including parts and labor, expect to pay between $150 and $350, depending on the oven brand and model. A service call diagnostic fee may apply.
Can I lubricate my oven fan motor to stop the noise?
Almost never. Modern oven fan motors are sealed, permanent-lubricated units. They have no oil ports. Attempting to force oil into a sealed motor will likely damage it. Grinding noises from a motor almost always mean the internal bearings are worn out and the motor must be replaced.
Should I attempt to fix a noisy fan on a gas oven myself?
We strongly advise against DIY repairs on gas ovens unless the task is purely external cleaning (like vacuuming debris). Any work that involves moving the appliance, accessing internal components near the gas line, or dealing with electrical systems carries a high risk of causing a gas leak or other serious hazard. Hire a certified technician for gas appliance repairs.
What is the most common cause of a noisy oven cooling fan?
The overwhelming most common cause is debris. Small pieces of foil, plastic from bags, food chunks, or a large accumulation of greasy dust and lint can get caught in the fan blades or housing, causing imbalance, rattling, or thumping. A thorough cleaning fixes this issue 70% of the time.
How can I prevent my oven fan from getting noisy in the future?
Practice proactive maintenance: (1) Vacuum the oven’s back and bottom vents every six months with the power off. (2) Be mindful of loose foil or parchment paper inside the oven. (3) Check the exterior vent cap annually for blockages like nests or leaves. (4) Get familiar with your oven’s normal sound so you can catch new noises early.