Properly drying the inside of silicone oven mitts is crucial to prevent bacterial growth and unpleasant odors. Avoid using a clothes dryer or direct heat sources, as this can degrade the silicone material. Instead, focus on enhanced air circulation and absorbent materials to remove all trapped moisture before storage.
You’ve just pulled a bubbling lasagna from the oven, your trusty silicone oven mitts protecting your hands from the scorching heat. You set them aside to cool, and later, you give them a quick rinse and lay them on the counter. But have you ever flipped one inside out and checked? The outer surface might feel dry, but the interior—the part that hugged your wrist and absorbed all that steam—could still be hiding a reservoir of moisture. This hidden dampness is a silent invitation to bacteria, mold, and that persistent, musty smell that seems impossible to wash away. Learning how to properly dry the inside of silicone oven mitts isn’t just a minor chore; it’s a critical step in kitchen hygiene and equipment longevity. Forget everything you thought about drying kitchen textiles; silicone is a different beast, and treating it like a cloth glove will only lead to problems. Let’s break down exactly why this matters and, more importantly, how to do it right, every single time.
Key Takeaways
- Silicone traps moisture: The flexible, sealed design of mitts can trap steam and water inside, creating a hidden damp environment.
- Heat is the enemy: Never use a tumble dryer, radiator, or oven to dry mitts; high heat will damage and harden the silicone over time.
- Airflow is essential: The most effective drying method is maximizing air circulation inside the mitt’s cavity using fans or strategic positioning.
- Absorbents help: Inserting clean, dry towels or paper rolls wicks away moisture from the interior surfaces efficiently.
- Storage matters: Always store mitts upright and fully open in a well-ventilated area to prevent re-wetting and maintain shape.
- Clean before you dry: Always wash mitts thoroughly after use; residual food grease inhibits drying and promotes bacterial growth.
- Patience prevents problems: Ensure mitts are completely dry to the touch inside and out before putting them away to avoid long-term issues.
📑 Table of Contents
The Hidden Danger: Why Drying the Inside Matters
It’s easy to assume that because silicone is a non-porous, waterproof material, it doesn’t need special drying attention. You wipe it down, maybe rinse it, and it *looks* dry. This assumption is the root of the problem. The design of an oven mitt—a hollow, flexible sleeve with an enclosed cuff—is a perfect trap for steam and water. When you handle hot, moist foods, vapor penetrates the interior. When you wash the mitt, water inevitably seeps into the wrist area and along the seams. Without a deliberate drying process, this water has no escape route and can sit for hours, even days, in the dark, warm confines of the mitt.
Silicone’s Non-Porous Nature vs. Moisture Trapping
This is the key paradox. Silicone itself doesn’t absorb water like a cotton towel. That’s why it’s such a great oven mitt—it won’t get soggy and transfer heat through a wet layer. However, its smooth, non-absorbent surface means that water forms beads and pools in the lowest points, primarily the cuff and the palm curve. There’s no fabric to “wick” the moisture away; it simply sits there, evaporating very slowly in still air. Think of it like a plastic bag you rinsed out—it takes forever to dry completely because the water clings to the interior surface with nowhere to go. The mitt’s shape exacerbates this, creating pockets where air cannot circulate.
Health Risks: Bacteria, Mold, and Odors
A consistently damp interior is a petri dish. Warmth and moisture are the two primary requirements for microbial growth. Bacteria from your hands, food splatters, and even environmental dust can proliferate in this hidden zone. Mold spores, always present in the air, can take root on the damp silicone surface. The result isn’t just a bad smell; it’s a potential cross-contamination risk for your food. That musty odor is a clear sign of microbial activity. Furthermore, some molds can produce allergens or irritants. Simply wiping the outside does nothing for this interior ecosystem. Proper drying is your first and most effective line of defense against these invisible hazards.
What NOT To Do: Common Drying Mistakes
Our instincts, shaped by years of doing laundry, often lead us astray with silicone. The most common mistakes are born from applying textile-care logic to a rubber-like polymer. Avoiding these errors is half the battle.
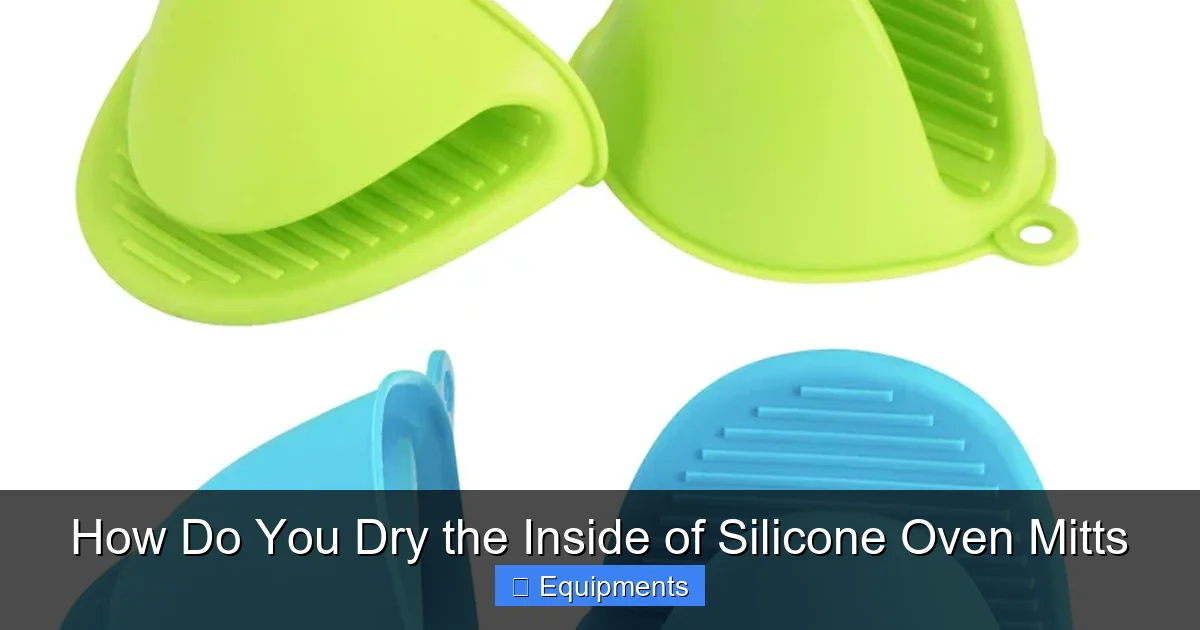
Visual guide about How Do You Dry the Inside of Silicone Oven Mitts
Image source: neosilicone.com
The Dryer Trap: Heat Damage and Material Degradation
This is the number one, most damaging mistake. Tossing your silicone mitts into the clothes dryer seems logical—it’s how we dry everything else. However, the high, sustained heat of a dryer (often exceeding 135°F / 57°C) is catastrophic for silicone. While silicone has a high heat tolerance for brief contact (like grabbing a pan), prolonged exposure to dry heat causes polymer breakdown. The material becomes brittle, loses its flexible grip texture, and can develop small cracks or a chalky surface. The heat also accelerates the degradation of any integrated grips or patterns. You might get a dry mitt, but you’ll significantly shorten its useful life and compromise its safety. Never, under any circumstances, use a tumble dryer for silicone oven mitts.
Direct Heat Hazards: Radiators and Ovens
Similarly, placing mitts on a radiator, toaster oven, or inside a warm oven to “speed up” drying is equally harmful. The concentrated heat source cooks the silicone from the inside out. It can cause warping, where the mitt loses its shape and no longer fits properly. It can also cause irreversible hardening, making the mitt stiff and difficult to flex. The “low” or “warm” setting on an oven is still far too hot for this purpose. Silicone kitchen tools are designed for conductive heat from food, not radiant heat from an element.
The “Set It and Forget It” Fallacy
Simply draping a damp mitt over a chair back or laying it flat on the counter is not a drying strategy; it’s a guarantee of a damp interior. In this position, the cuff area remains collapsed, trapping moisture against the inner surface. Air cannot reach the deepest parts of the mitt’s cavity. You might check it an hour later and feel a dry exterior, but the interior wrist area will still be cool and damp to the touch. This passive approach is why so many people experience recurring odors—the mitt was never truly dry before being stored, starting the bacterial cycle anew.
Proven Methods to Effectively Dry the Inside
Now for the solutions. The goal is to create maximum surface area exposure to moving air *inside* the mitt while also physically drawing moisture away. These methods are simple, low-cost, and highly effective.
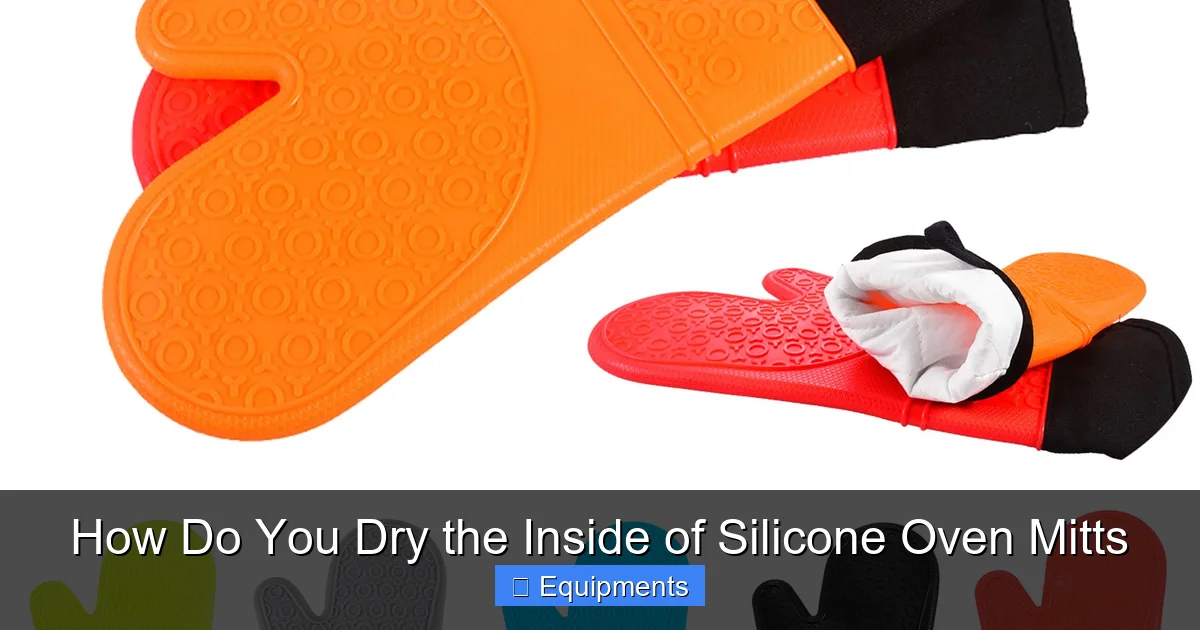
Visual guide about How Do You Dry the Inside of Silicone Oven Mitts
Image source: usdesignpromos.com
Method 1: Enhanced Air Drying with Circulation
This is the foundational technique. After washing, shake out excess water. Do not wring or twist, as this can stress seams. Instead, follow these steps:
- The “Mitts-Up” Position: Hang the mitt by its loop or cuff over a sturdy hook, dowel, or the handle of a cabinet. The key is that the mitt must be fully open, with the palm facing outward and the cuff hanging straight down. This uses gravity to help water drain away from the interior wrist area and prevents the sides from clinging together.
- Strategic Placement: Place the hanging mitt in a location with natural airflow. Near an open window is ideal. A bathroom with an exhaust fan running can also work. Avoid humid kitchens right after cooking; the ambient moisture will slow evaporation.
- Fan Assistance: For the fastest results, point a small oscillating fan directly at the open mitt. The moving air dramatically increases the evaporation rate from the interior surfaces. You can even place the fan so it blows *into* the open cuff, forcing air through the entire length of the mitt.
Method 2: Absorbent Material Insertion
This is the secret weapon for stubborn moisture, especially in the cuff. The principle is simple: use a dry, absorbent material to physically pull water from the silicone surface via capillary action.
- The Towel Roll: Take a small, clean, lint-free kitchen towel or a microfiber cloth. Roll it tightly into a cylinder that is slightly smaller in diameter than the mitt’s interior. Insert this roll all the way into the cuff, pushing it down into the palm area if possible. The towel will conform to the shape, pressing against the inner walls and absorbing trapped water. Check and replace the towel every 1-2 hours until it comes out dry.
- Paper Towel or Newspaper: For a disposable option, loosely crumpled paper towels or newspaper sheets can be stuffed inside. They are highly absorbent and can be discarded once damp. This is great for a quick fix before company arrives.
- Dryer Lint Trap Sheets: Those soft, perforated sheets used in dryers are excellent. They are designed to absorb lint and moisture. Insert one or two into the mitt; they will wick away water and their thin profile allows good air circulation around them.
Method 3: The Fan-Assisted “Cuff-Flap” Technique
For maximum efficiency, combine the above methods. After inserting an absorbent towel roll:
- Hang the mitt as described in Method 1.
- Position a fan so it blows across the open cuff and into the mitt’s interior.
- Gently flap the cuff area with your hand every few minutes for the first 10-15 minutes. This manual movement breaks up any surface tension of water beads and exposes fresh, damp surfaces to the airflow.
- Leave the fan running for several hours. The combination of internal absorption (towel) and external airflow (fan) will dry even the most stubbornly damp mitt in 3-4 hours in a average room.
Storage Strategies to Prevent Re-Wetting
Drying is only half the equation. How you store your mitts determines if they stay dry or immediately begin re-absorbing moisture from the environment.
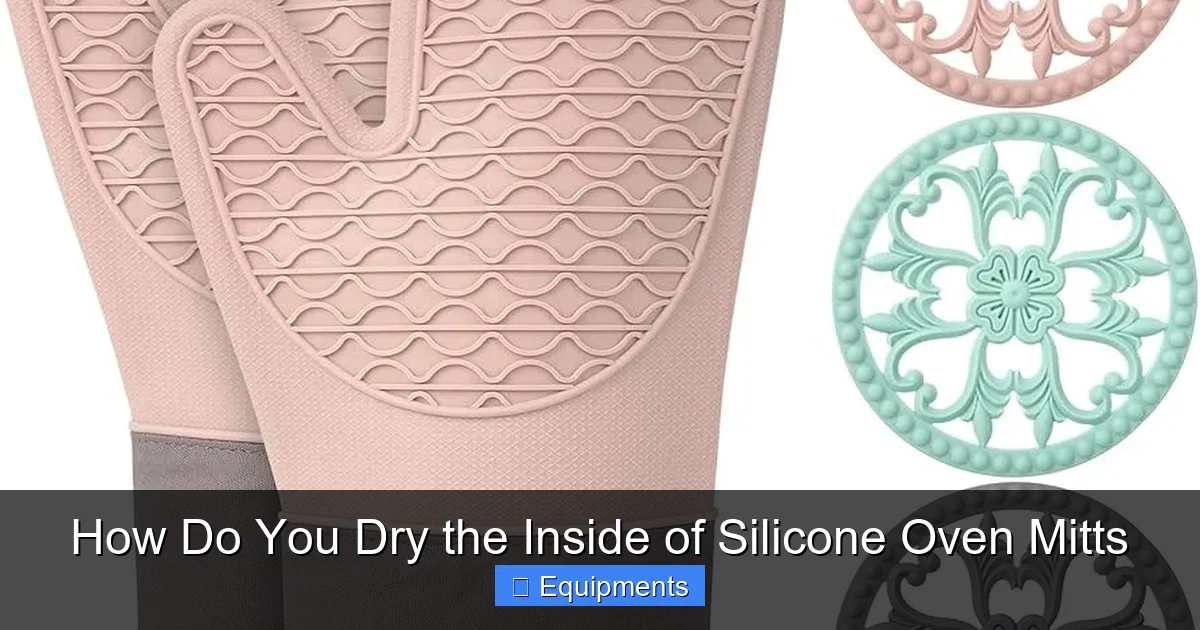
Visual guide about How Do You Dry the Inside of Silicone Oven Mitts
Image source: ingcotoolsuganda.com
The “Mitts-Up” Position (Again)
This is non-negotiable for storage. Never store mitts folded, rolled, or lying flat with the cuff compressed. Always store them upright, either hanging or standing in a holder, with the cuff fully open and the palm splayed out. This maintains the shape, prevents the interior surfaces from touching and creating a new damp pocket, and allows any residual ambient moisture to evaporate freely. Consider using a dedicated hook on the inside of a pantry door or a decorative holder on your pot rack.
Breathable vs. Airtight Containers
If you must store mitts in a drawer or container (e.g., for a seasonal kitchen), choose breathability over seal. A fabric drawer or a basket with gaps is far superior to a plastic bin with a tight lid. An airtight container will trap any microscopic amount of leftover moisture, creating a humid microclimate that guarantees odor development. If using a container, leave the lid slightly ajar or use one with ventilation holes. The goal is constant, gentle air exchange.
Integrating Drying into Your Kitchen Routine
Consistency is key. The best drying method is one that becomes automatic. Build these simple steps into your post-cooking cleanup.
Post-Use Protocol: Immediate Steps
The moment you finish cooking, before you even think about washing:
- Turn them inside out briefly: Give the mitt a quick flip inside out over the sink or trash can. This releases any trapped steam and dislodges loose food particles before they stick.
- Shake vigorously: Shake the mitts several times to expel as much water and condensation as possible.
- Wash promptly: Don’t let food residues dry on. Use warm, soapy water and a soft sponge. Avoid the dishwasher, as harsh detergents and extreme heat cycles can also degrade silicone over time. Rinse thoroughly.
- Initiate the drying sequence: Immediately after rinsing, perform your chosen drying method (hanging with fan, towel insertion). Don’t leave them in the sink or on a wet counter.
Regular Inspection and Deep Cleaning Schedule
Once a month, give your mitts extra attention. Even with perfect drying, microscopic residue can build up.
- Deep Clean: Wash the mitts inside and out with a baking soda paste (baking soda and water) or a diluted vinegar solution (1 part vinegar to 3 parts water). Use a soft bottle brush or an old toothbrush to scrub the interior surfaces and the cuff seam where gunk accumulates. Rinse incredibly well.
- Sanitize: For a sanitizing boost, after washing, soak the mitts for 5 minutes in a solution of 1 tablespoon of unscented household bleach per gallon of cool water. Rinse thoroughly afterward. This kills any lingering microbes.
- Inspect: During this deep clean, feel the interior for any sticky, gummy, or hardened spots. Check for tiny pinholes or tears, especially at stress points like the thumb seam. A compromised mitt is a hygiene risk and should be replaced.
Troubleshooting: When Drying Isn’t Enough
What if you’ve followed all the advice but still get a whiff of something off? It might be time for more aggressive intervention or recognizing it’s time for a replacement.
Persistent Odors: Sanitizing Solutions
If a sour or mildew smell returns quickly after drying, the silicone may have become microscopically porous from past heat damage or age. A standard wash won’t reach the biofilm. Try a two-step process:
- Overnight Soak: Fill a basin with warm water and add 1/2 cup of baking soda and 1/4 cup of white vinegar. Submerge the mitts and let them soak for several hours or overnight. The fizzy reaction helps lift residues.
- Boiling Water Bath (Caution): As a last resort, you can attempt to sanitize by boiling. Ensure the mitt is fully submerged in a large pot of water. Bring to a gentle simmer for 5 minutes. Remove with tongs and dry immediately using the accelerated methods above. Warning: This is only for mitts in good condition with no cracks. Boiling can accelerate the failure of already degraded silicone and may cause some mitts to release an odor as residues burn off. Do this in a well-ventilated area and outside if possible.
Signs of Internal Degradation
Silicone has a lifespan. Constant exposure to high heat, oils, and repeated washing takes a toll. If your mitt exhibits these signs, no amount of drying will fix the hygiene issue—it’s time for a new pair:
- Permanent Hardening: The material feels stiff and doesn’t flex easily, especially at the cuff.
- Sticky or Gummy Texture: The surface feels tacky or slightly melted. This is a sign of polymer breakdown from heat or oil exposure.
- Discoloration: Deep, set-in stains that you cannot scrub out, particularly a yellowish or brownish tint throughout the material.
- Pinpoint Tears or Holes: Even a tiny hole compromises the integrity. Moisture and bacteria can now enter the interior layers of the mitt where they can never be cleaned.
- Lingering Odor After Sanitizing: If the smell returns within a day or two of a thorough clean and dry, the internal structure is compromised and harboring microbes.
Ultimately, drying your silicone oven mitts properly is a small act of care that pays huge dividends. It protects your investment, ensuring the mitts remain flexible and effective for years. More importantly, it safeguards your family’s health by eliminating a hidden source of bacteria and mold. By making these simple steps—enhanced air circulation, absorbent aids, and smart storage—a non-negotiable part of your kitchen cleanup, you turn a potential hygiene hazard into a reliably safe and fresh piece of kitchen gear. Your future self, reaching for a clean, dry, and odor-free mitt, will thank you.
Frequently Asked Questions
Can I put silicone oven mitts in the clothes dryer to speed up drying?
No, you should never use a clothes dryer. The sustained high heat will degrade the silicone, making it brittle and prone to cracking over time. It can also damage any textured grip surfaces. Always air dry using the methods described above.
How long does it typically take for the inside of silicone oven mitts to dry completely?
With proper technique—hanging open with a fan and an absorbent towel inserted—they should be completely dry to the touch inside and out within 3 to 5 hours in a typical room. In high humidity, it may take up to 8 hours. Never store them until they feel fully dry.
What are the clear signs that my mitts aren’t drying properly on the inside?
The most obvious sign is a persistent sour or musty odor, even after washing. You can also test by feeling the interior cuff area when the outside seems dry; it will feel cool and damp. If condensation forms on the inside when you hold the mitt in your hands, it’s still wet.
Can I use a hairdryer on a cool setting to dry the inside of my mitts?
While a cool-shot hairdryer is safer than heat, it’s generally not recommended. The focused airflow can be effective for spot-drying the cuff, but it’s easy to miss the deepest pockets. It’s also inefficient for the entire mitt. A standard room fan directed at the open mitt is more effective and covers more surface area.
Does washing my silicone mitts in the dishwasher affect how I need to dry them?
Yes, and it’s another reason to avoid the dishwasher. The intense heat and harsh detergents in a dishwasher can accelerate the aging and hardening of silicone. If you do accidentally wash them there, they will likely require a much longer drying time and may have a degraded texture sooner. Hand washing is always the safest method for longevity.
How often should I do a deep clean and sanitize my silicone oven mitts, beyond regular washing?
It’s wise to perform a deep clean with a sanitizing soak (like a baking soda/vinegar solution or a mild bleach solution) at least once a month, or immediately if you notice any odor. This tackles biofilm that regular soap might miss and ensures the interior remains hygienic.