Drying the inside of silicone oven mitts is crucial to prevent mold, mildew, and unpleasant odors, as trapped moisture is their biggest enemy. Unlike fabric, silicone’s non-porous surface doesn’t wick away water, so you must actively remove interior moisture after washing or exposure to steam. The most effective methods involve a combination of shaking, towel-drying, and strategic air circulation using tools like a fan or a turned-off oven’s residual heat.
Key Takeaways
- Trapped moisture is the primary threat: Water inside the mitt creates a dark, warm environment perfect for mold and bacteria, leading to stains, smells, and material degradation.
- Silicone’s non-porous nature is a double-edged sword: While it doesn’t absorb spills, it also doesn’t “breathe” or wick moisture away on its own, making manual drying essential.
- Shaking and towel-drying are your first critical steps: Physically removing as much water as possible before any air-drying phase dramatically reduces drying time and effectiveness.
- Airflow is your most powerful tool: Using a fan directed into the mitt’s opening or placing the mitt over a vent exploits convection to pull moisture out efficiently.
- Avoid high, direct heat: Never use a dryer, radiator, or direct sunlight, as excessive heat can degrade the silicone, causing it to become brittle over time.
- Storage must be completely dry: Always ensure mitts are 100% dry inside and out before storing them in a closed drawer or bag to prevent a sealed, humid environment.
- Regular inspection is key: Make a habit of feeling the interior seam and palm area for any lingering coolness or dampness after your drying routine.
📑 Table of Contents
- Why Drying the Inside of Your Silicone Oven Mitts Isn’t Optional
- The Science of Silicone: Why It Holds Water Differently
- Step-by-Step: The Definitive Drying Protocol
- Common Mistakes That Trap Moisture (And How to Avoid Them)
- Long-Term Care: Prevention Is Better Than Cure
- Troubleshooting: “But It Still Feels Damp!”
- Conclusion: Making It a Habit
Why Drying the Inside of Your Silicone Oven Mitts Isn’t Optional
You just pulled a perfect roast from the oven, your trusty silicone oven mitts protecting your hands from the searing heat. After letting the pan cool, you wash the mitts—maybe just a quick rinse under the tap, or a full soap-and-water cycle. They look clean on the outside. But what about the inside? That space where your hand sits, warmed by your own body heat and the mitt’s insulation, is a hidden world. If it’s even slightly damp, you’re rolling the dice on a future filled with musty smells, mysterious pink or black spots, and a mitt that feels unpleasant to put on. Drying the inside of silicone oven mitts isn’t just a best practice; it’s a non-negotiable step in their care that directly impacts their hygiene, longevity, and performance.
Think about it: your hands sweat. Steam from hot pans rises and condenses inside the mitt. Water from washing inevitably finds its way into the seams and the interior cavity. Silicone, for all its incredible heat resistance and grippy qualities, is fundamentally a barrier. It doesn’t absorb liquid like a cotton towel, but it also doesn’t allow that liquid to escape on its own. It creates a sealed, humid microenvironment. Without intervention, that moisture just… sits there. It becomes a petri dish. The goal of this guide is to move you from hoping they’re dry to knowing they’re dry, using safe, effective methods that won’t damage your investment.
The Science of Silicone: Why It Holds Water Differently
Non-Porous, But Not Self-Drying
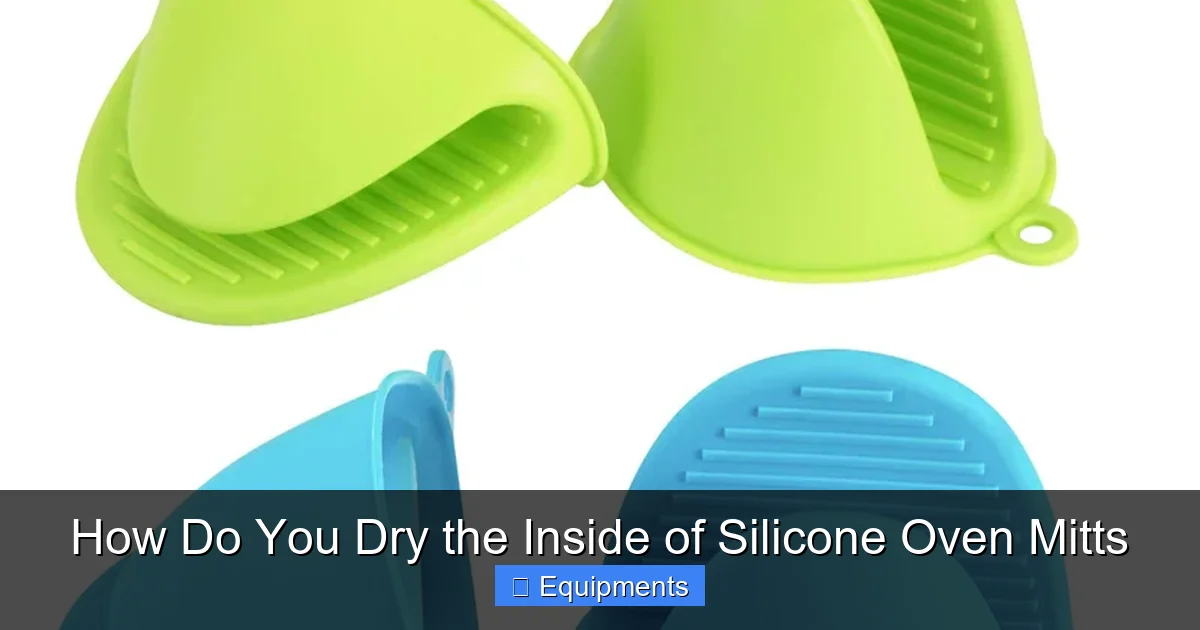
To master drying, you must understand your material. Silicone rubber used in kitchen mitts is a synthetic polymer. Its key characteristic is being non-porous. A spill on a silicone mat beads up and can be wiped away entirely; it doesn’t soak in. This is fantastic for surface cleaning. However, this same property means that any water that gets inside the mitt—between the silicone layers, in the stitching holes, in the interior cavity—has nowhere to go through absorption. It’s physically trapped. There is no capillary action to pull it into the fabric’s weave (because there is no fabric weave on the interior). The moisture is a guest that refuses to leave unless you politely but firmly escort it out.
Visual guide about How Do You Dry the Inside of Silicone Oven Mitts
Image source: neosilicone.com
The Insulation Factor: A Double-Edged Sword
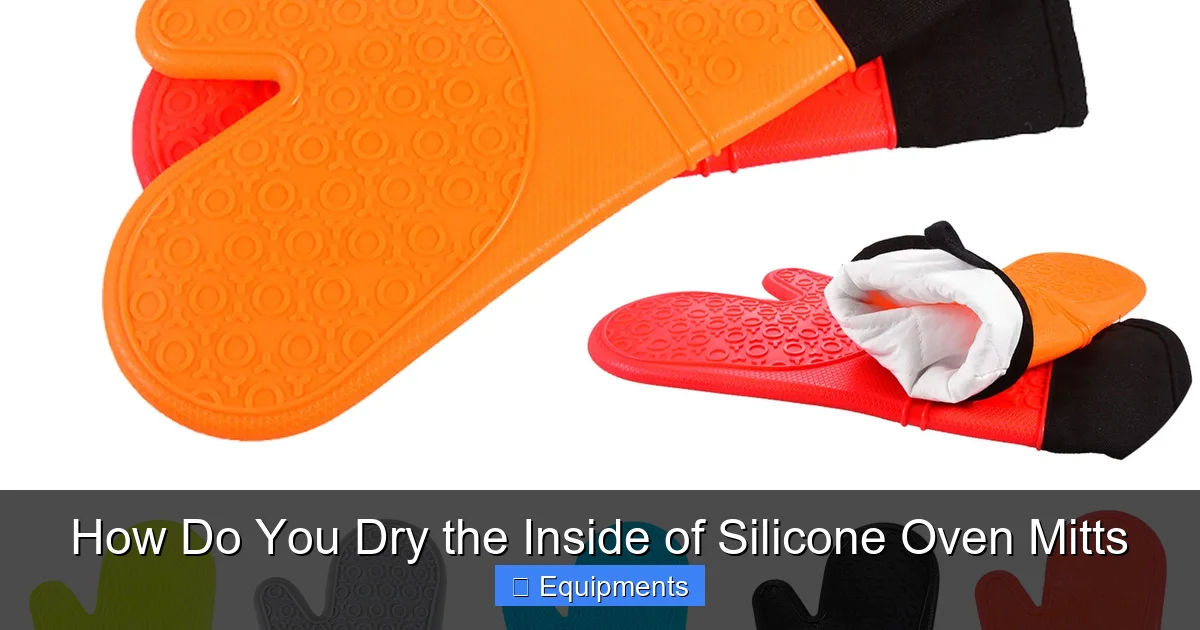
Silicone oven mitts are insulated, typically with a layer of polyester batting, cotton, or a blend between an outer and inner layer of silicone. This insulation is what keeps your hand cool. But that fluffy layer is a moisture magnet. When you sweat or steam penetrates, this inner batting can hold onto water vapor like a sponge, even if the silicone layers themselves feel dry to the touch. This hidden reservoir of moisture is the most common source of lingering dampness. Your drying method must address this inner liner, not just the smooth silicone surfaces.
Step-by-Step: The Definitive Drying Protocol
Forget just leaving them on the countertop. A proper drying routine is an active process. Follow these steps in order for best results. This protocol works for mitts washed by hand or in the dishwasher (though hand washing is gentler on seams).
Visual guide about How Do You Dry the Inside of Silicone Oven Mitts
Image source: usdesignpromos.com
Step 1: The Aggressive Shake & Initial Wipe
Immediately after washing, take the mitt and hold it by the cuff. Give it several firm, sharp shakes downward. This uses centrifugal force to fling out as much free-flowing water as possible from the interior cavity and seams. Don’t be gentle here. Next, use a clean, dry, absorbent towel. Insert your hand into the mitt and rub the towel against the interior walls, turning your hand to reach all areas. Pay special attention to the thumb area and the heel of the palm, where water pools. Wring out the towel and repeat. This mechanical removal is the single most important step; you’re reducing the volume of water that later methods have to evaporate.
Step 2: The Strategic Fan Method (Most Effective)
This is your go-to method for thorough, safe drying. You need a household fan (a small desk fan works perfectly) and a little space.
- Setup: Position the mitt on a counter or table. Open the cuff fully. If the mitt has a hanging loop, use it. If not, you can clip a clothespin to the cuff to hold it open.
- Placement: Place the mitt directly in the path of the fan’s airflow, about 12-18 inches away. The goal is to have the fan blow air into the open cuff. This creates positive pressure, forcing air through the interior cavity and over the insulating layer, carrying moisture with it.
- Duration: Run the fan for at least 2-4 hours, or until you physically feel the interior is room temperature and dry. For thicker mitts or after a dishwasher cycle (which uses hot water and leaves more moisture), extend this to 6-8 hours or overnight.
Step 3: The Oven Residual Heat Trick (Use with Caution)
Your oven can be a fantastic drying cabinet if used correctly. This method uses gentle, ambient warmth, not active heating.
- Procedure: After using your oven for cooking, turn it OFF. Wait for it to cool down to a warm, not hot, temperature (around 100-150°F / 38-65°C is ideal). Place the mitts on a baking sheet or directly on the rack, with the cuffs propped open using a rolled towel or a silicone utensil so air can circulate inside.
- Critical Warning: NEVER put mitts in a preheated or active oven. They will melt or catch fire. NEVER use this method with gas ovens where pilot lights are present, due to fire risk. This is strictly for the residual heat of an electric oven that is completely off and cooling.
- Why it works: The warm air inside the closed oven cavity is still and humid. The mitts absorb this gentle warmth, which raises the temperature of the trapped moisture, increasing its vapor pressure and encouraging evaporation into the surrounding air. Leave them in there for 1-2 hours as the oven cools.
Step 4: The Final “Feel Test” and Air Curing
After using either the fan or oven method, perform the definitive test. Insert your hand fully into the mitt. Close your fingers and press your palm against the interior. You are checking for two things: coolness and dampness. A dry interior will feel like room temperature—neutral. A damp interior will feel cool (due to evaporative cooling) and may feel slightly sticky or clammy. Run the back of your hand along the inner seam. If there’s any doubt, leave the mitt in a warm, dry room with the cuff open for another few hours. Patience here prevents future problems.
Common Mistakes That Trap Moisture (And How to Avoid Them)
Mistake 1: Storing Them Damp or Rolling Them Up
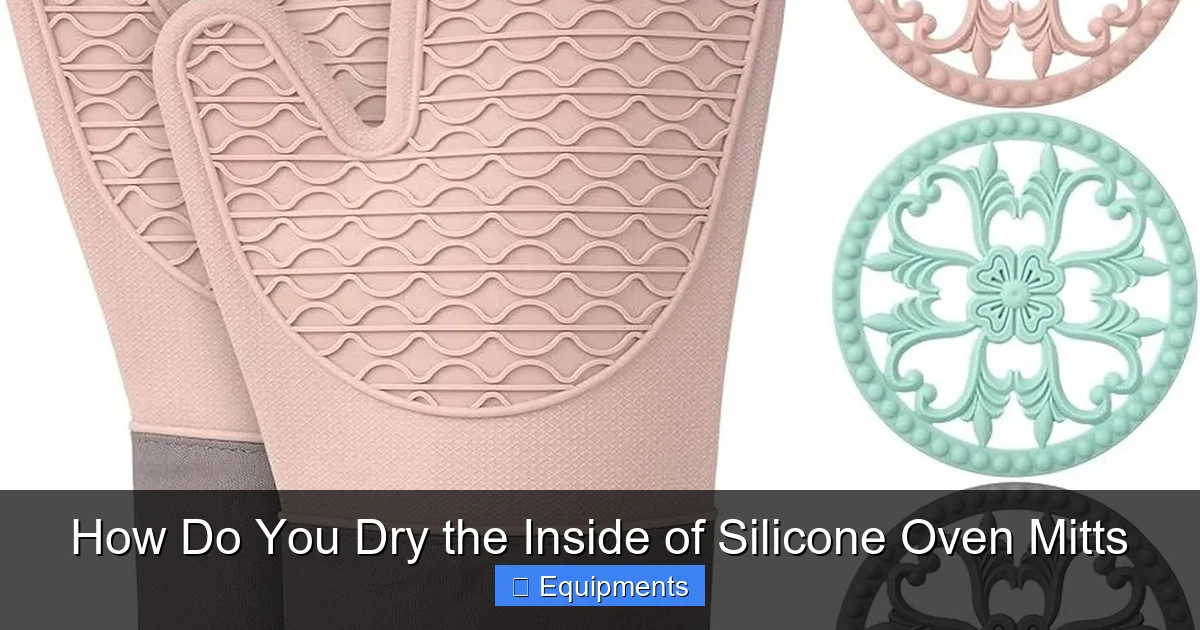
This is the cardinal sin. Taking a mitt that’s 90% dry and rolling it up to store in a drawer creates a sealed, warm, dark environment. The last 10% of moisture has nowhere to go and will actively work to grow mold. Solution: Always store mitts flat or hanging by their loop, with the cuff fully open, in a well-ventilated area. Only store them when they are completely, verifiably dry.
Visual guide about How Do You Dry the Inside of Silicone Oven Mitts
Image source: ingcotoolsuganda.com
Mistake 2: Relying on “Air Drying” Alone
Simply placing a damp mitt on a countertop is passive and ineffective. The interior air is still. Without forced airflow (a fan) or a temperature gradient (like in a cooling oven), evaporation from the deep interior is extremely slow. The outer silicone may dry and feel hard, while the inside remains a moist sponge. Solution: Combine the initial towel-drying with active airflow from a fan.
Mistake 3: Using High, Direct Heat Sources
It’s tempting to toss mitts in the dryer or place them on a radiator to speed things up. Don’t. High, concentrated heat can cause several problems: it can warp or melt the silicone, degrade the insulating material making it crumbly, and damage any reflective coatings or prints. It can also bake any lingering odors or residues into the material permanently. Solution: Stick to ambient warmth (oven residual heat) or room-temperature airflow. Slow and safe is better than fast and destructive.
Mistake 4: Ignoring the Seams and Thumb Area
Water loves to hide in the stitching holes and the crook of the thumb. During your towel-drying phase, you must be meticulous. Solution: When towel-drying, use your fingers to press into the seam allowance and the thumb gusset. For the fan method, you can even gently pull the thumb away from the palm to create a small opening for air to penetrate that tricky spot.
Long-Term Care: Prevention Is Better Than Cure
Wash Smart, Dry Smarter
Your washing habits directly impact drying difficulty. Avoid using excessive detergent or fabric softener, as residues can coat the interior fibers, making them repel air and trap moisture. A small amount of mild dish soap is sufficient. If using a dishwasher, use the top rack (away from the heating element) and select a normal or light cycle, not the heated dry setting. Immediately after any wash cycle, commence your drying protocol. Don’t let them sit in the washer or dishwasher overnight.
Regular Deep Cleaning and Deodorizing
Even with perfect drying, mitts can develop odors from accumulated oils. Once a month, give them a deep clean. Fill a sink with warm water and add 1/2 cup of white vinegar or a tablespoon of baking soda. Soak the mitts for 30 minutes, then scrub the interior with a soft brush. Rinse thoroughly. The vinegar/baking soda will help neutralize odors at a molecular level. Follow this with your full drying routine. Sunlight is a natural disinfectant and deodorizer; if you have a very dry, sunny climate, you can hang mitts outside with the cuff open for a few hours, but monitor to prevent UV degradation of the silicone color.
Know When to Retire
Silicone is durable, but not indestructible. If you notice persistent, musty smells that survive deep cleaning, visible mold spots that won’t scrub out, or if the interior batting feels lumpy, damp, or disintegrated, it’s time for replacement. A compromised mitt is a hygiene risk and a potential burn hazard if the insulation fails. A well-cared-for silicone mitt can last 3-5 years, but one that stays perpetually damp will fail in under a year.
Troubleshooting: “But It Still Feels Damp!”
You followed the steps, but that thumb seam still feels cool. Here’s your escalation plan.
- Problem: Interior feels cool/damp after 4 hours on a fan.
Solution: Increase airflow. Point a second fan at it from a different angle. Unroll the cuff as wide as possible and use a clean, dry hair dryer on the cool setting only to blow air directly into the cavity for 10-15 minutes. The moving air will help. - Problem: A musty smell returns after a few days of storage, even though it felt dry.
Solution: You likely had microscopic residual moisture in the batting. Perform a full vinegar soak, rinse extremely well, and then use the oven residual heat method followed by 24 hours on a strong fan. Be religious about the “feel test” before storage. - Problem: Water is visibly trapped between the silicone layers at the cuff.
Solution: This is a design flaw in some mitts. You need to separate the layers. Gently pull the inner silicone liner away from the outer layer at the cuff opening and blot the space between them with a dry towel. You may need to do this several times. Then, use a fan to blow directly into this gap. In the future, be extra vigorous when shaking and towel-drying the cuff area.
Conclusion: Making It a Habit
Caring for silicone oven mitts, especially drying their interiors, is less about a complex ritual and more about building a simple, consistent habit. The formula is straightforward: Shake vigorously → towel-dry meticulously → apply active airflow (fan is best) → verify with the hand-feel test → store only when 100% dry. By respecting the unique properties of silicone—its non-porous strength and its inability to self-dry—you transform these kitchen workhorses from potential mold incubators into reliable, hygienic tools for years. The few extra minutes spent on proper drying today saves you from the unpleasantness of a stinky, stained mitt tomorrow. It’s a small investment of time for a huge return in kitchen safety, cleanliness, and the simple satisfaction of reaching for a mitt that is as fresh and ready as you are.
Frequently Asked Questions
Can I put silicone oven mitts in the clothes dryer to dry them?
No, you should never use a clothes dryer. The high, direct heat can warp the silicone, degrade the inner insulation, and potentially cause the mitt to melt or catch fire. Always use low, ambient heat methods like a fan or a turned-off oven’s residual warmth.
How long does it typically take to dry the inside of silicone oven mitts properly?
With the recommended fan method, it takes approximately 2-4 hours for mitts that are just slightly damp, and 6-8 hours or overnight for mitts that were thoroughly wet, such as after a dishwasher cycle. The “hand-feel test” is the only true indicator of completion.
What’s the fastest safe way to dry them if I need them again soon?
The fastest safe method is to use a household fan directed into the open cuff for at least an hour, combined with the initial vigorous shaking and towel-drying. You can supplement this by placing the mitts in a warm (not hot) oven that has been turned off for 10-15 minutes, but never use an active oven.
Why does the inside of my silicone mitt still smell musty even after I’ve washed and dried it?
A persistent musty smell indicates mold or bacteria growth within the inner insulating batting, usually from chronic, incomplete drying. The odor molecules have embedded themselves in the material. A deep soak in a vinegar-water solution, followed by an extremely thorough drying cycle using a fan for many hours, is required. If the smell remains, the mitt is likely permanently contaminated and should be replaced.
Is it normal for water to get between the inner and outer layers of my silicone mitt?
It can happen, especially at the cuff where the layers are stitched together. While not ideal, it’s often a design limitation. The key is to actively separate the layers at the cuff opening after washing, blot the space between them with a dry towel, and ensure that area gets focused airflow from your fan during drying.
Can I use a hair dryer on hot to dry the inside quickly?
You should only use a hair dryer on the cool or no-heat setting. Hot air from a hair dryer is concentrated and can easily overheat and damage the silicone, causing it to soften, warp, or become brittle over time. Cool air is perfectly effective for moving moisture out when combined with the other steps.
