Using a Masterbuilt smoker is simpler than you think, blending old-school smoke flavor with modern electric convenience. This guide walks you through every critical step—from unboxing and seasoning to mastering temperature and wood selection—ensuring you achieve delicious, consistent results. By following these updated 2026 best practices, you’ll move from beginner to confident pitmaster, avoiding common pitfalls and maximizing your smoker’s potential for everything from ribs to brisket and beyond.
Key Takeaways
- Seasoning is non-negotiable: Always burn off manufacturing residues before first use. This creates a protective layer and prevents bitter tastes.
- Temperature stability is king: Masterbuilt smokers excel at maintaining set temps. Let the unit preheat fully and avoid peeking to keep heat and smoke consistent.
- Wood choice defines flavor: Use the right wood for your meat (e.g., hickory for pork, apple for poultry). Soak chips for 30 minutes if your model requires it to control burn rate.
- The water pan is your secret weapon: It stabilifies temperature, adds humidity for juicier meat, and catches drippings to prevent flare-ups.
- Patience prevents the stall: Smoking is a low-and-slow process. Trust the thermometer, not the clock, and wrap meat (Texas crutch) to power through the stall if needed.
- Cleanliness impacts flavor: Grease and ash buildup cause off-flavors and fire hazards. Regular cleaning after each use and a deep clean monthly are essential.
- Your 2026 upgrade: Integrate a wireless probe thermometer for real-time remote monitoring, a game-changer for long cooks without constant checking.
📑 Table of Contents
- Unboxing and Setting Up Your Masterbuilt Smoker: The Foundation
- Seasoning Your Smoker: The Crucial First Step
- Mastering Temperature Control: The Heart of Smoking
- The Smoking Process Step-by-Step: From Prep to Pull
- Advanced Techniques and 2026 Pro Tips
- Cleaning, Maintenance, and Storage: Protecting Your Investment
- Conclusion: Your Journey to Smoked Perfection Starts Now
Unboxing and Setting Up Your Masterbuilt Smoker: The Foundation
Congratulations on choosing a Masterbuilt smoker! You’ve selected a fantastic gateway into the world of authentic smoked foods. These electric smokers are beloved for their user-friendliness and reliable results, but even the best tool needs a proper start. Rushing setup is the #1 mistake new owners make, leading to frustration and subpar results. Let’s get your new smoker ready for its debut cook, ensuring it’s safe, calibrated, and ready to perform.
Initial Inspection and Part Identification
Before you do anything, carefully unpack all components. Lay everything out and compare it to the parts list in your manual. You should have the main smoker body, a cooking rack (or multiple racks), a water pan, a drip tray (often the same as the water pan), a wood chip tray or loader, the heating element cover, and the temperature control unit/probe. Check for any shipping damage. This is also the time to locate the model number—usually on a sticker on the back or inside the door—as specific features can vary between the 560, 800, or 2026 updated series.
Placement and Safety First
Where you put your smoker matters immensely. Choose a level, stable, and non-flammable surface like concrete or pavers. Maintain at least a 3-foot clearance from all sides to any structures, railings, or overhanging trees. Never use your smoker inside a garage or under an enclosed patio—the smoke and heat need open air. Ensure it’s near an electrical outlet, but use a heavy-duty outdoor extension cord rated for the smoker’s amperage if needed (check your manual). Wind is a big enemy; position the smoker so its back or side faces prevailing winds to help the exhaust draw properly.
Initial Cleaning Before First Use
All manufacturing residues—oils, dust, and protective coatings—must be burned off. Remove all racks, the water pan, and the chip tray. Wash these components with warm, soapy water, rinse thoroughly, and dry. Wipe down the interior walls and the heating element cover with a damp cloth. Reassemble everything empty. Plug in the smoker, set the temperature to its maximum (usually 275°F or 135°C), and let it run empty for at least 2-3 hours. You’ll smell plastic and oil at first—this is normal. The smoke will turn from thick and white to thin and blue as it burns off. After it cools, wipe the interior again with a cloth. Your smoker is now seasoned and ready.
Seasoning Your Smoker: The Crucial First Step
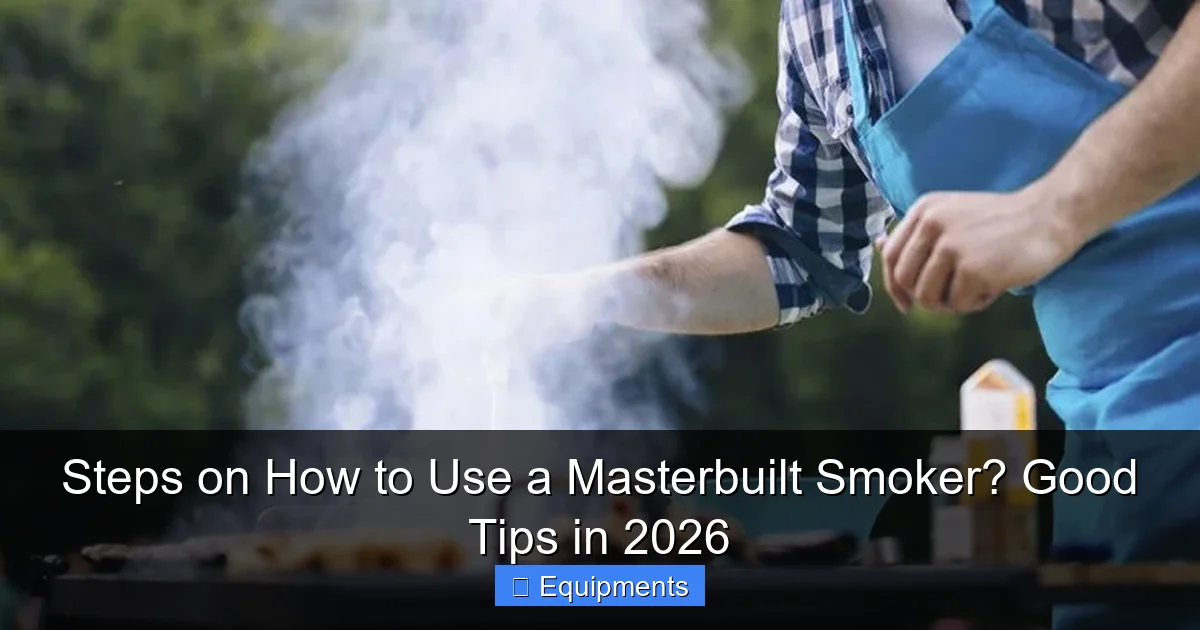
We just touched on this, but it deserves its own deep dive. Seasoning is the process of creating a protective, non-stick layer inside your smoker’s cooking chamber. It polymerizes the oils from your first cook onto the metal, preventing rust and creating a surface that releases food easily. Skipping this step can lead to rust, food sticking, and worst of all, off-flavors from burning factory oils mixing with your smoke.
Visual guide about Steps on How to Use a Masterbuilt Smoker? Good Tips in 2026
Image source: barbecuemen.com
The Oiling Method (For 2026 Models & Beyond)
While the “burn-off” method above is standard, many pitmasters in 2026 advocate for a light oiling to enhance the seasoning layer. After your initial burn-off and once the smoker is cool, use a paper towel dipped in a high-smoke-point oil (like grapeseed or avocado oil) to lightly coat the interior walls, the heating element cover, and the racks. Avoid the heating element itself. Then, run the smoker empty at 225°F for another hour. The oil will smoke and bond to the metal, creating a darker, more robust patina. Repeat this oil-and-heat cycle 2-3 times for an exceptionally well-seasoned smoker that will only improve with age.
What Not to Do During Seasoning
Never use aerosol oils (like cooking spray) as they contain propellants that can leave a gummy residue. Never use butter or low-smoke-point oils—they will burn and create acrid smoke. And never, ever season your smoker with meat on the first cook. The first 2-3 cooks should be with fatty foods like bacon or a whole chicken. The fat will render and naturally oil the interior, building that valuable seasoning layer. Think of it as breaking in a new cast iron skillet.
Mastering Temperature Control: The Heart of Smoking
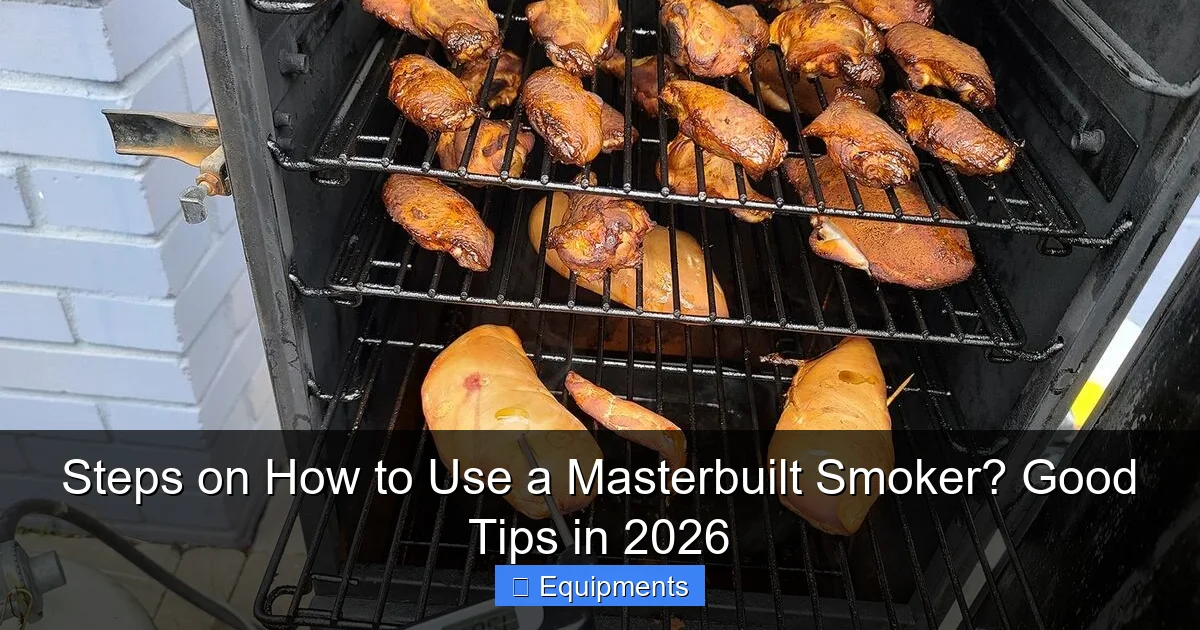
This is the skill that separates frustrated beginners from confident pitmasters. The magic of a Masterbuilt electric smoker is its set-it-and-forget-it nature, but “set-it” requires understanding. Temperature is not just a number; it’s the engine of your smoke, dictating how connective tissue breaks down and how smoke flavor penetrates. A 10-degree swing can be the difference between tender bark and a dry, tough piece of meat.
Visual guide about Steps on How to Use a Masterbuilt Smoker? Good Tips in 2026
Image source: recipes.net
Understanding Your Thermostat and Probe
Your Masterbuilt has a built-in thermostat that cycles the heating element on and off to maintain your set temperature. The temperature probe that comes with it is your primary tool. However, its placement is critical. Always insert the probe into the thickest part of the meat, avoiding bone and fat. For large cuts like brisket, insert it horizontally from the side into the center. Never trust the built-in chamber gauge alone; it measures air temp, which can vary from the meat’s internal temp. For 2026, consider upgrading to a dual-probe wireless thermometer (like a Thermoworks Smoke or Meater+) that monitors both meat and chamber temps on your phone. This is the single biggest quality-of-life upgrade you can make.
The Role of Vents and the Water Pan
Electric smokers like Masterbuilt have minimal airflow control compared to charcoal or pellet units. Your primary “vent” is often just the door seal and a small exhaust vent at the top. The key is to keep the door closed! Every time you open it, you lose heat and smoke, forcing the element to work harder and causing temperature swings. The water pan is your best friend for stability. Fill it with hot water (or a liquid like apple juice, beer, or wine for added flavor) before turning on the smoker. The water mass absorbs and radiates heat evenly, preventing wild spikes and drops. It also adds humidity to the smoke chamber, which helps keep meat moist and improves smoke ring formation.
Preheating and Recovery Time
Always preheat your smoker empty. Set your desired cooking temperature (usually 225°F for low-and-slow) and let it stabilize for 30-45 minutes. You’ll see the temperature overshoot slightly and then settle. This preheat ensures the entire metal chamber is hot, so when you add cold meat, the temp drop is predictable and the element can recover quickly. After adding your meat, the chamber temp will drop. Don’t panic and crank up the dial! Let the smoker’s thermostat bring it back up naturally. A good rule of thumb: for every 5 lbs of cold meat added, expect a 15-20°F drop and a 15-20 minute recovery time.
The Smoking Process Step-by-Step: From Prep to Pull
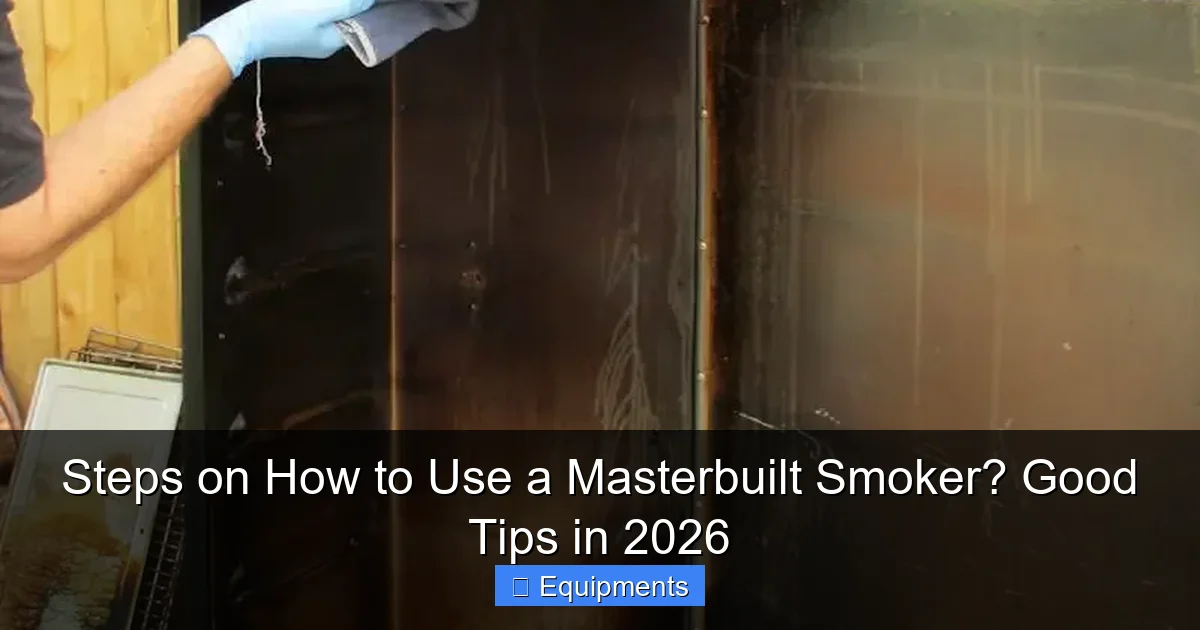
Now for the main event. With your smoker set up, seasoned, and preheated, it’s time to smoke. This process has distinct phases, each requiring a different mindset. Rushing or neglecting any phase compromises the final product. Follow this sequence religiously for consistent, award-winning results.
Visual guide about Steps on How to Use a Masterbuilt Smoker? Good Tips in 2026
Image source: pioneersmokehouses.com
Step 1: Meat Preparation and Dry Brining
Great smoke starts with great meat. Choose quality, well-marbled cuts like pork shoulder, beef brisket, or chicken. The night before, apply a simple dry brine: coat the meat evenly with kosher salt (about ½ tsp per pound). This draws out moisture, then reabsorbs it, seasoning deeply and helping the meat retain juices during the long cook. Place it on a rack uncovered in the refrigerator overnight. This also dries the surface, creating a better “bark” (that flavorful crust). In the morning, apply your chosen dry rub. A basic, balanced rub is fine: equal parts coarse salt, coarse black pepper, paprika, and garlic powder. Let it sit at room temperature for 30-60 minutes while your smoker preheats.
Step 2: Wood Chip Management
This is where flavor happens. Masterbuilt smokers use wood chips. For consistent smoke, you need to manage them actively. Soak your chips in water, beer, or juice for at least 30 minutes (some 2026 models perform better with unsoaked chips for hotter, faster ignition—check your manual). Drain them well. Add a handful (about 1 cup) to the chip tray when you first put the meat in. You want a thin, blue-ish smoke, not a thick, white billow. Thick white smoke is bitter and acrid. Once the initial batch smokes out (after 45-60 minutes), add another small handful. The goal is to maintain a light, steady stream of smoke for the first half of the cook, usually the first 3-4 hours for large cuts. After that, the meat has absorbed most of the smoke flavor it will, and you can stop adding chips to avoid over-smoking.
Step 3: The Early Cook and The Stall
Place your meat directly on the racks (use a drip pan below if your smoker doesn’t have one built-in). Close the door and do not open it for at least 90 minutes. Let the smoke and heat work. For large, fatty cuts like pork shoulder or brisket, you will encounter “the stall.” This occurs around 150-170°F internal temperature when collagen breaks down into gelatin, releasing moisture that evaporates and cools the meat, causing the temperature to plateau for hours. This is normal and frustrating! You have two choices: wait it out (the traditional way, which builds a great bark) or employ the “Texas crutch.” Once the meat hits the stall temp, wrap it tightly in butcher paper (or foil for a steamier effect) and return it to the smoker. The wrap traps heat and moisture, allowing it to power through the stall much faster. Unwrap for the last 30-60 minutes to re-form the bark.
Step 4: The Finish and Rest
Your target internal temperature is your guide, not time. For pulled pork: 195-205°F. For brisket: 203°F is the gold standard. For chicken: 165°F in the breast, 175°F in the thigh. Once it hits temp, remove it. For large cuts, resting is mandatory. Tent it loosely with foil and let it rest for at least 1 hour (2 is better). This allows the juices, which have been driven to the center by heat, to redistribute throughout the meat. If you cut it immediately, all those juices will run out onto your cutting board. After resting, slice, pull, or chop against the grain and serve. The final product should be tender, juicy, and infused with a clean, complex smoke flavor.
Advanced Techniques and 2026 Pro Tips
You’ve mastered the basics. Now, let’s elevate your game with techniques that leverage new technology and old-world wisdom. Smoking in 2026 is about precision, efficiency, and flavor layering.
Layering Smoke with Different Woods
Don’t feel locked into one wood type. For a complex flavor profile, use a blend. A classic combination for pork is a base of hickory (strong, bacon-like) with a finish of cherry or apple (sweet, fruity). Start with hickory for the first 3 hours, then switch to cherry for the final 2. You can even mix chips in the tray. For poultry, stick to milder fruitwoods like apple or pecan. For beef, oak is a reliable, medium-bodied choice, or use a touch of mesquite for a bold, earthy kick (use sparingly). Experiment! Keep a log of what wood you use with what meat and for how long.
Cold Smoking and Cheese
Your Masterbuilt can do more than hot smoke. With an additional cold smoke attachment (available from Masterbuilt and third parties), you can cold smoke cheeses, nuts, salts, and even cocktails at temperatures below 80°F. This infuses a delicate smoke flavor without cooking the food. For cheese, use a mild wood like apple or alder. Place cheese blocks on a rack in your smoker, add a few wood chips to the burner (set to the lowest temp if your model allows), and smoke for 2-4 hours. The cheese will soften slightly; chill it afterward to firm it up. This is a stunning party trick and a great way to use your smoker year-round.
Smart Tech Integration for 2026
The biggest trend for 2026 is connectivity. While Masterbuilt’s own app connectivity can be spotty, third-party wireless probe systems are flawless. Invest in a system that connects via Bluetooth or Wi-Fi to your phone. Set high and low temperature alarms for both your smoker’s chamber and your meat’s internal temp. Get notified the moment your brisket hits 203°F or if your smoker’s temp drops below 200°F due to wind or a chip refill. This frees you to mow the lawn, watch a movie, or sleep through the night without anxiety. Some systems even have predictive cook time algorithms. This is the ultimate set-and-forget upgrade.
Smoking Vegetables and Desserts
Don’t reserve your smoker for meat. Vegetables take on smoke beautifully. Thick slices of onion, bell peppers, zucchini, and portobello mushrooms are excellent. Toss in oil, salt, and pepper, and smoke at 225°F for 1-2 hours until tender and charred. For dessert, try smoked apples (core and stuff with butter and brown sugar), smoked peaches, or even a smoked pound cake. The smoke adds an incredible depth that pairs with caramelized sugars. You can also smoke salt or sugar by spreading them on a tray in the smoker for a few hours, creating a finishing seasoning.
Cleaning, Maintenance, and Storage: Protecting Your Investment
Your Masterbuilt smoker is a workhorse. Treat it well, and it will serve you for a decade or more. Neglect, and you’ll face rust, poor performance, and fire hazards. Cleaning isn’t glamorous, but it’s the most important habit you can build.
After Every Cook: The 10-Minute Routine
Once your smoker has cooled down (but is still warm), get in the habit of this quick routine. Remove all racks, the water pan, and the chip tray. Dump ashes and unburned chips. Use a plastic scraper to remove any built-up residue from the walls and heating element cover. Never use metal tools on the interior—you’ll scratch the seasoning. Wipe everything down with a damp cloth. Empty the drip tray/water pan and wash it with soapy water. This prevents grease from baking on and becoming a stubborn, flammable mess.
Monthly Deep Clean
Once a month, or after a particularly smoky cook, do a deeper clean. With the smoker unplugged and completely cold, remove all interior parts. Use a vinegar-water solution (1:1) or a dedicated grill cleaner in a spray bottle. Spray the interior walls, let it sit for 5 minutes to break down grease, then scrub with a non-abrasive brush or nylon scrub pad. Pay special attention to the heating element cover—caked-on grease here can cause uneven heating or smoking. Rinse thoroughly with a damp cloth. Wash all removable parts in warm, soapy water. Dry everything completely before reassembling. This deep clean maintains efficiency and prevents dangerous grease fires.
Long-Term Storage and Off-Season Care
If you won’t be using your smoker for a few months (winter), prepare it for storage. Do a final deep clean. Apply a very thin coat of cooking oil to the interior walls and racks to prevent rust. Store it in a dry place, ideally under a breathable, high-quality cover. Never store it with the door latched shut—this can trap moisture and cause mildew. Leave the door slightly ajar. Before its first cook of the season, do a full burn-off and re-season as described in Section 2. A little upkeep goes a long way in ensuring your smoker is ready to perform whenever you are.
Conclusion: Your Journey to Smoked Perfection Starts Now
Using a Masterbuilt smoker isn’t about complex formulas or arcane rituals. It’s a beautiful blend of science and patience. You’ve now got the roadmap: a properly set-up and seasoned unit, a deep understanding of temperature control, a clear step-by-step smoking process, and the knowledge to maintain your equipment for years. Remember, every great pitmaster started exactly where you are today. Your first cook might not be perfect—the bark might be a little dark, the smoke flavor a bit light or strong. That’s okay! Take notes. Adjust next time. The beauty of smoking is that every cook teaches you something new. In 2026, with smart tools at your disposal and these time-tested principles in your mind, you have everything you need to create smoked meats, vegetables, and cheeses that will wow your family and friends. Fire up your Masterbuilt, embrace the process, and enjoy the incredible, rewarding journey from raw ingredient to smoky, delicious masterpiece. The best smoked meat you’ve ever had is waiting for you to make it.
Frequently Asked Questions
How long should I smoke a pork shoulder in my Masterbuilt smoker?
Plan for approximately 1.5 to 2 hours per pound at 225°F. A 8-pound shoulder will take 12-16 hours. The true guide is internal temperature: cook until it reaches 195-205°F, then let it rest for at least an hour before pulling.
Do I need to soak my wood chips for a Masterbuilt electric smoker?
Yes, soaking chips for at least 30 minutes is generally recommended for Masterbuilt models. Soaked chips smolder and produce steam and smoke for longer periods, preventing them from burning too quickly and creating bitter, acrid smoke. Always drain them well before adding to the tray.
Why is my smoker’s temperature fluctuating so much?
>Fluctuations are usually caused by opening the door too frequently, not having enough water in the pan, or a dirty heating element. Ensure the door seal is intact, preheat fully, and avoid peeking. A full water pan adds thermal mass to stabilize temperature. If problems persist, check for ash buildup around the element.
Can I use my Masterbuilt smoker in the rain or snow?
No. Never operate an electric smoker in precipitation. Water can enter the electrical components and cause a short circuit, fire, or electrocution risk. Always use it in a dry, covered location with good airflow. A dedicated smoker garage or canopy is a safe investment.
What’s the best way to store my Masterbuilt smoker?
Store it in a dry place, ideally under a breathable cover. Leave the door slightly ajar to prevent moisture buildup and mildew. Before long-term storage, give it a thorough clean, apply a thin coat of cooking oil to the interior to prevent rust, and ensure it is completely dry.
Is the temperature probe that comes with the smoker accurate?
The included probe is adequate for general use but can be off by 10-15 degrees. For critical cooks like brisket, we strongly recommend using a high-quality, independently calibrated digital probe thermometer (like Thermapen or a wireless dual-probe system) to verify both meat and chamber temperatures for perfect results.