Unlock the full potential of your juicer with our definitive 2026 guide. We walk you through every step—from safe setup and perfect produce prep to efficient juicing and effortless cleanup—with futuristic tips for maximum nutrition and zero waste. Whether you’re a beginner or a seasoned pro, this article transforms juicing from a chore into a joyful, health-boosting ritual.
Key Takeaways
- Master the Setup: Always assemble your juicer on a stable, dry surface near a power source and trash can, reading the manual for model-specific locking mechanisms to ensure safety and efficiency.
- Prep is Everything: Wash produce thoroughly, chop to fit your juicer’s feed chute, and remove hard pits, large seeds, or thick skins from items like peaches, mangoes, and pineapples for optimal yield and motor health.
- Sequence for Flavor & Yield: Juice soft, high-water produce (cucumber, celery) first to lubricate the mechanism, followed by harder veggies (carrot, beet), and finish with leafy greens or herbs for maximum extraction.
- Pulp is a Treasure, Not Trash: Save nutrient-rich pulp for soups, smoothie bowls, crackers, or compost. In 2026, zero-waste juicing is the ultimate sustainability trend.
- Clean Immediately: Rinse all parts under running water right after juicing. Use the included brush for mesh filters and soak stubborn parts in a vinegar-water solution to prevent dried-on residue.
- Listen to Your Machine: Unusual noises or slow speeds indicate overloading or a dull blade. Feed produce slowly and pause to clear pulp if needed. Modern 2026 juicers often have auto-reverse and overload sensors—trust them.
- Embrace Smart Features: New 2026 models offer app connectivity for recipes, nutrition tracking, and maintenance alerts. Use these to optimize your routine and extend your appliance’s lifespan.
📑 Table of Contents
- Welcome to the Future of Fresh: Why Perfect Juicing Matters in 2026
- Step 1: Choosing & Understanding Your 2026 Juicer Ally
- Step 2: The Golden Hour – Safe Setup & Pre-Juicing Prep
- Step 3: The Art of the Feed – Your Juicing Process, Perfected
- Step 4: Post-Juicing Protocol – The Smart, Sustainable Cleanup
- Step 5: Beyond the Glass – Maximizing Your Harvest & Machine
- Conclusion: Your Juicing Journey Starts Here
Welcome to the Future of Fresh: Why Perfect Juicing Matters in 2026
Juicing isn’t just a trend; it’s a vibrant, delicious pathway to concentrated nutrition. But let’s be honest—the magic of a fresh, glowing glass of carrot-ginger juice can quickly turn into a messy, frustrating ordeal if you don’t know the steps by steps on how to use a juicer. That’s where we come in. This guide cuts through the noise. We’re not just repeating basic instructions; we’re arming you with the 2026-edge techniques, sustainability hacks, and machine-smart habits that make juicing a seamless, joyful part of your daily life. Think of this as your friendly, expert walkthrough from unboxing to that final, satisfying sip.
The landscape of home juicing has evolved. Today’s machines are smarter, quieter, and more efficient, but the fundamental principles of great extraction remain the same. Whether you wield a sleek centrifugal juicer, a patient masticating slow juicer, or a versatile turbo extractor, mastering the process is key. Get it right, and you’ll enjoy peak flavor, maximum nutrient retention, and a clean machine that lasts for years. Get it wrong, and you face pulpy disappointment, a struggling motor, and a cleanup nightmare. We’re here to ensure you’re firmly in the former camp.
Step 1: Choosing & Understanding Your 2026 Juicer Ally
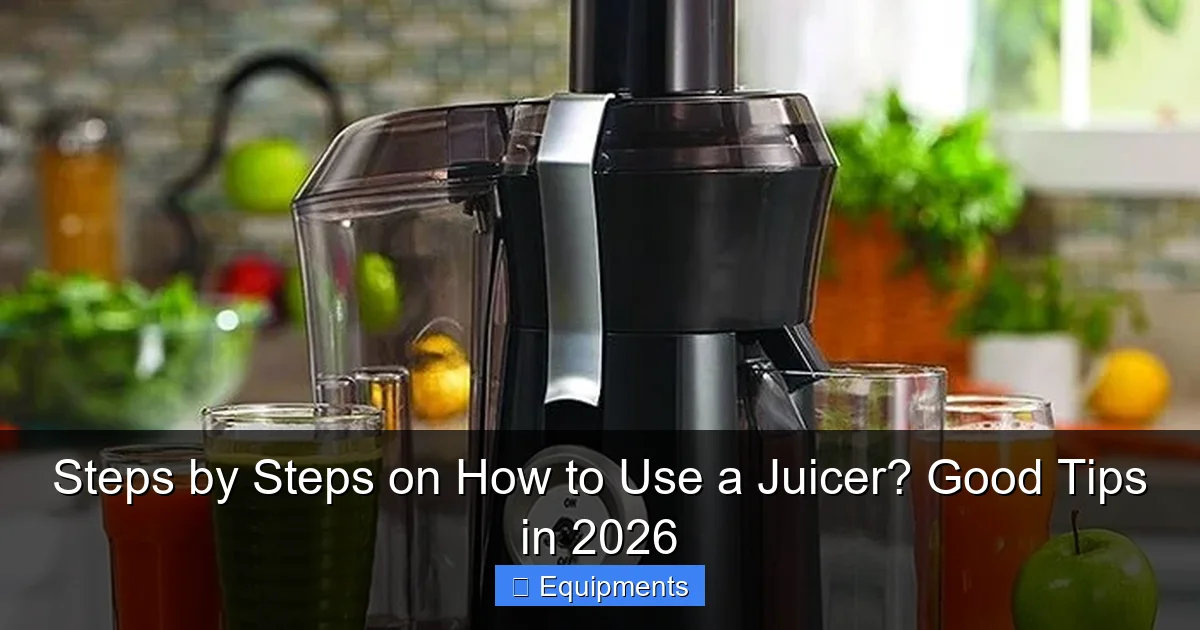
Before you juice a single leaf, you must know your machine. The steps by steps on how to use a juicer begin long before the first apple hits the chute. In 2026, juicers come in several sophisticated families, each with a distinct personality.
Visual guide about Steps by Steps on How to Use a Juicer? Good Tips in 2026
Image source: thequarterrestaurant.com
Centrifugal Force: The Speed Demon
These are the classic, high-RPM juicers. They grate produce against a mesh basket and use spin to separate juice from pulp. Pros: Extremely fast, great for hard fruits/veggies like apples, carrots, and beets. Usually more affordable. Cons: Louder, generates more heat (which can degrade some enzymes), and struggles with leafy greens. The pulp is often wetter, indicating slightly lower yield. Modern 2026 models have improved noise-dampening and pulp dryness.
Masticating/Slow Juicers: The Nutrient Guardian
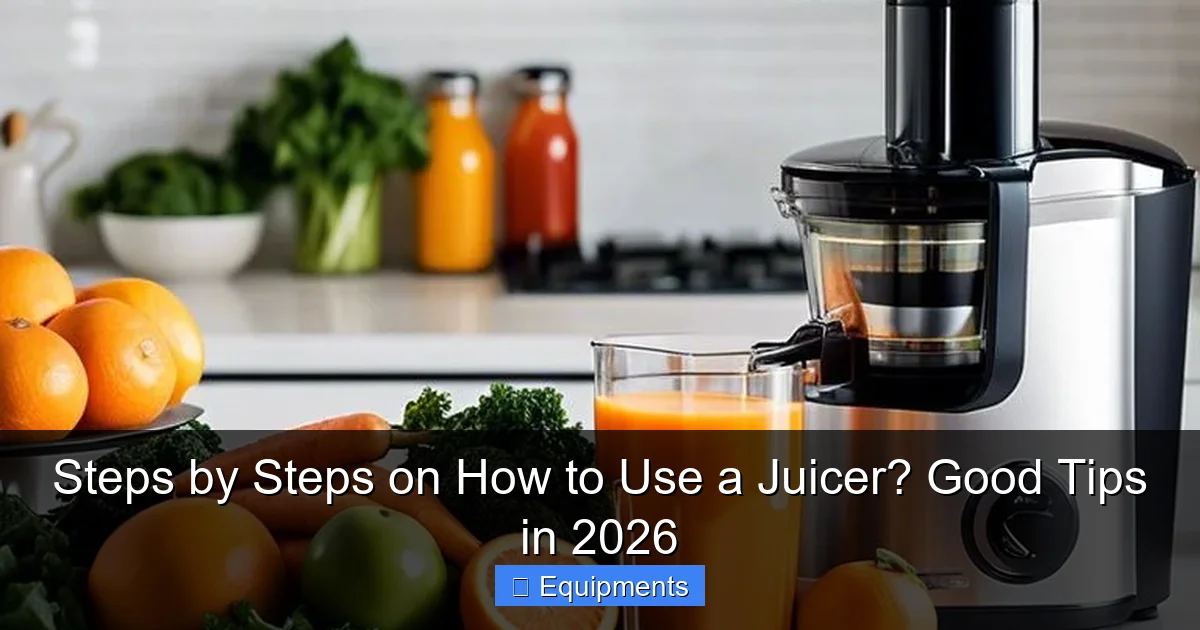
These use an auger that crushes and squeezes produce at low RPMs (often 40-110 RPM). Pros: Quieter, generates minimal heat, excels with leafy greens (kale, spinach), wheatgrass, and soft fruits. Yields drier pulp and more juice overall. Better at preserving sensitive nutrients and enzymes. Cons: Slower, narrower feed chutes (so more prep chopping), and typically a higher price point. The 2026 trend is dual-stage augers and even quieter operation.
Turbo/Extractor Models: The Versatile Powerhouse
A hybrid category gaining massive traction in 2026. These often use a combination of shredding discs and pressurization to achieve high yields from both hard and soft produce, with efficiency approaching masticating models but at faster speeds. They frequently come with attachments for nut milks, sorbets, and purees.
Your Action Step: Identify your model. Is it centrifugal, masticating, or a turbo extractor? This dictates your prep size, feeding speed, and ideal produce choices. Your manual is your best friend here—keep it accessible.
Step 2: The Golden Hour – Safe Setup & Pre-Juicing Prep
Assembly and preparation are the unspoken heroes of a great juicing session. Rushing this step leads to spills, poor extraction, and potential machine damage. Let’s build your perfect juicing station.
Visual guide about Steps by Steps on How to Use a Juicer? Good Tips in 2026
Image source: consumer-picked.com
Assemble with Intention
Always assemble your juicer on a stable, level, and dry countertop. A damp surface is a hazard. Ensure the area is clear of other appliances or clutter. Plug it into a dedicated outlet if possible, especially for high-power models. Follow your manual’s assembly sequence to the letter. Most modern 2026 juicers have safety interlocks—the machine won’t start unless the collection jug and pulp container are locked correctly. Test this before adding produce.
The Mise en Place of Juicing
This French culinary term (“everything in its place”) is your mantra. Gather: your washed and prepped produce, a sharp knife, a sturdy cutting board, a large bowl for pulp, your juice collection vessel, and a compost bin or trash can right beside you. This minimizes movement and mess.
Produce Perfection: The 2026 Wash & Chop Protocol
Wash: This is non-negotiable. Even organic produce has waxes and environmental residues. Use a produce brush for firm items like apples and cucumbers. For delicate greens, soak in a bowl of cold water with a splash of white vinegar (1:4 ratio), then rinse thoroughly under cool running water. This removes grit and pesticides.
Chop: This is the most critical prep step tied to your machine. Measure your feed chute. A 3-inch chute means whole apples can go in; a 1.5-inch chute means everything must be diced into 1-inch pieces. General Rule: If it looks like it could get stuck, chop it smaller. Remove any hard pits (peaches, apricots, mangoes) and large seeds (watermelon). For pineapples, peel and core. For citrus, peel completely (the white pith is bitter) and remove any seeds.
- 2026 Pro-Tip: Invest in a good mandoline or food processor with a dicing blade if you have a narrow-chute juicer. It makes prep 10x faster.
Step 3: The Art of the Feed – Your Juicing Process, Perfected
Now, the moment of truth. How you feed your produce dramatically impacts juice yield, pulp dryness, and machine strain. This is where the real technique lives.

Visual guide about Steps by Steps on How to Use a Juicer? Good Tips in 2026
Image source: appliancesforlife.com
Pace, Pressure, and Sequence
Feed Slowly and Steadily: Never force or cram produce. Use the pusher tool provided. Gentle, consistent pressure is key. Forcing causes the motor to bog down, increases heat, and can lead to jams. Let the machine do the work.
The Strategic Sequence: For the best extraction and to “clean” the mechanism between different produce types, follow this order:
- High-Water Veggies First: Start with 1/4 cucumber (peeled if waxed) or a few stalks of celery. This acts as a lubricant, priming the auger or basket.
- Hard Roots & Fruits: Move to carrots, beets, apples, pears. These are dense and will push the softer material through.
- Leafy Greens & Herbs: Finish with kale, spinach, parsley, mint. Tightly roll or compact leafy greens into small bundles before feeding to prevent them from wrapping around the auger.
Intermission for Pulp: Stop halfway through a large batch (e.g., after 5-6 carrots) to empty the pulp container. A full pulp container can back up the extraction process and reduce yield.
Troubleshooting Jams & Slowdowns
If the machine slows or stops:
- Immediately stop and unplug.
- Reverse function: Most 2026 models have this. Use it briefly to dislodge the clog.
- Disassemble carefully: Remove the cover and use the brush or a wooden tool (never metal!) to clear the blockage from the mesh basket or auger. Never use your fingers.
- Identify the culprit: Was it too much celery fiber? A piece of unpeeled lemon? Learn for next time.
Step 4: Post-Juicing Protocol – The Smart, Sustainable Cleanup
Cleanup doesn’t have to be a 20-minute scrubbing session. The secret is immediate, smart action. The steps by steps on how to use a juicer aren’t complete without this crucial phase.
The 5-Minute Rinse
As soon as you pour your last drop of juice, take 60 seconds to disassemble the juicer. Take the basket/mesh filter, auger, and cover to the sink. Rinse each part under lukewarm running water. Use the small cleaning brush (usually included) to gently scrub the mesh filter from the inside out to push pulp out. Do not use abrasive sponges on mesh screens.
Soak for Stubborn Residue
For dried-on pulp, especially from carrots or beets, fill your sink or a large bowl with hot water and add 1/4 cup of white vinegar or a denture tablet. Soak the affected parts for 10-15 minutes. The mild acid breaks down the fibrous residue. After soaking, a gentle brush will make them sparkle.
Drying & Storage for Longevity
Air-dry all parts completely on a dish rack before reassembling or storing. Trapped moisture leads to odors and mold, especially in the nooks of the pulp container and juice jug. Store your juicer assembled but without the power cord coiled tightly on it, or in a dedicated cabinet. This protects the seals and gaskets.
- 2026 Zero-Waste Upgrade: Keep a small countertop compost bin with a lid right next to your juicing station. Scrape all pulp directly into it. This pulp is gold! We’ll talk uses next.
Step 5: Beyond the Glass – Maximizing Your Harvest & Machine
You’ve got a beautiful glass of juice and a bowl of pulp. Now what? The modern juicer owner thinks beyond the immediate drink.
The Incredible Edible Pulp
Pulp is not waste; it’s fiber-rich, nutritious food. Store it in an airtight container in the fridge for 3-4 days, or freeze it in ice cube trays for smoothies.
- Savory Uses: Add veggie pulp (carrot, zucchini, spinach) to soups, stews, meatballs, or veggie burgers as a binder and nutrient booster.
- Baking: Incorporate fruit pulp (apple, berry) into muffins, pancakes, or oatmeal for natural sweetness and moisture.
- Crisps & Crackers: Mix pulp with seeds, oats, and a little egg or flax “egg,” then dehydrate or bake into savory crackers.
Your Juice: Storage & Nutrition
Freshly pressed juice is a living beverage. Drink it immediately for peak enzyme and vitamin activity. If storing, use an airtight glass jar (not plastic) filled to the top to minimize oxidation. Refrigerate and consume within 24 hours. For longer storage, a 2026 cold-pressed, nitrogen-flushed bottle can extend life to 72 hours, but quality will decline. Always give your juice a stir before drinking, as separation is natural.
Machine Maintenance – The 2026 Calendar
Beyond daily cleaning, schedule these checks:
- Weekly: Inspect the blade/auger for nicks. Check the mesh filter for holes by holding it up to light.
- Monthly: Deep clean all parts with the vinegar soak. Wipe down the motor base with a damp cloth. Check the sealing gaskets for cracks or wear.
- Yearly: Depending on use, consider replacing the mesh filter basket or auger. Many 2026 models have parts with estimated lifespans (e.g., 500 cycles) tracked via a companion app.
Conclusion: Your Juicing Journey Starts Here
Mastering the steps by steps on how to use a juicer transforms a simple kitchen task into a cornerstone of your wellness routine. It’s about respect—for the fresh ingredients, for the machine that extracts their essence, and for your own health. By choosing the right technique for your model, prepping with care, feeding with patience, and cleaning with immediacy, you unlock consistent, delicious results. Embrace the 2026 mindset: see pulp as potential, listen to your machine, and leverage smart features for an effortless experience. Now, wash that first bundle of kale, assemble your gleaming juicer, and take that first confident, empowered sip. Your healthiest, most vibrant self is waiting in that glass.
Frequently Asked Questions
What’s the absolute best produce to start with as a beginner?
Start with high-water, easy-to-process items like cucumber, celery, and apples (cored and chopped). They produce a lot of juice with minimal fuss and are very forgiving. Avoid tough, fibrous stems like kale stalks until you’re more experienced.
Can I juice citrus peels and cores?
No. Citrus peels contain bitter oils and potential pesticides. Always peel citrus completely. Apple cores have tough, inedible seeds. For other fruits like pears, the core is fine to juice, but large seeds (like in peaches) must be removed as they can contain trace toxins.
Is it better to drink juice on an empty stomach?
Many nutritionists recommend drinking fresh juice on an empty stomach or between meals for optimal nutrient absorption, as the digestive system isn’t busy with other foods. However, listen to your body. Some people with sensitive stomachs may prefer it with a small meal.
How long does fresh juice actually last, and how should I store it?
For maximum nutrition, drink immediately. If storing, use an airtight glass jar filled to the top to limit oxidation, refrigerate, and consume within 24 hours. It will separate and lose some nutrients over time. Give it a good shake before drinking.
My juicer pulp is very wet—am I doing something wrong?
Wet pulp is common with centrifugal juicers due to their high-speed spin. To improve yield, ensure you’re not overloading the chute, feed produce slowly, and consider running the pulp through a second time. Masticating juicers naturally produce drier pulp. Also, very fibrous produce like celery will always yield wetter pulp.
What’s the #1 mistake people make that ruins their juicer?
Not cleaning it immediately. Allowing pulp and juice to dry inside the mesh filter and on the auger creates a concrete-like layer that’s incredibly hard to remove, strains the motor over time, and leads to odors and mold. Always do a quick rinse right after juicing.