Unlock the full potential of your Ninja Foodi by mastering its dedicated slow cooker function. This guide walks you through every button, setting, and technique, from basic stews to advanced layered flavors. Learn the key differences from traditional slow cookers, essential prep steps, and how to use the Keep Warm and Delay Start features for effortless, delicious meals.
Key Takeaways
- The Ninja Foodi slow cook function is a true, dedicated low-temperature setting: It operates at 190°F (Low) and 300°F (High), matching or exceeding traditional slow cooker performance for tender, flavorful results.
- Always use the lid that came with your Foodi: The domed glass lid is essential for trapping steam and maintaining consistent temperature. Never substitute with other lids.
- Liquid ratios are critical: Because the sealed environment retains more moisture, you typically need 25-50% less liquid than a conventional slow cooker recipe.
- Layer ingredients correctly: Place denser, slower-cooking veggies (potatoes, carrots) on the bottom and more delicate items (herbs, dairy) on top or in the final 30 minutes.
- Utilize the Keep Warm and Delay Start functions: These are game-changers for meal planning. Delay Start lets you prep ahead, while Keep Warm safely holds food at serving temperature for hours.
- Browning/Sautéing is a separate step: The slow cook function does not brown meat. You must use the Sauté/Brown function first for a crispy texture and deeper flavor, then switch to Slow Cook.
- Never attempt pressure cooking with the slow cook lid on: For safety, the pressure-cooking lid is completely different and must be used for pressure functions. The slow cook lid is for low-and-slow only.
📑 Table of Contents
- Introduction: Welcome to Effortless, Flavor-Packed Cooking
- Understanding Your Ninja Foodi: It’s Not Just a “Crockpot”
- Essential Prep: The Foundation for Perfect Slow-Cooked Meals
- Cooking Modes & Functions: Beyond the Basic Button
- Troubleshooting Common Slow Cooker Issues on the Ninja Foodi
- Beyond the Basics: Creative Recipes & Techniques
- Conclusion: Your Journey to Slow-Cooked Mastery
Introduction: Welcome to Effortless, Flavor-Packed Cooking
So, you’ve unboxed your shiny new Ninja Foodi—the multi-cooker that promises to Pressure Cook, Air Fry, Steam, and Slow Cook. It’s a kitchen powerhouse, but that very versatility can be a bit overwhelming. You might be staring at the control panel, wondering, “Where’s the simple slow cooker button I’m used to?” or “Is this ‘Slow Cook’ setting the same as my old crockpot?”
First, take a breath. Using the slow cooker on the Ninja Foodi is, in many ways, even better than a traditional standalone unit. It’s precise, it’s integrated with other functions like Sauté, and it holds temperature incredibly well. But there are a few key differences and best practices that, once you know them, will transform your weeknight dinners and weekend feasts. This isn’t just about pushing a button; it’s about understanding the *why* behind the steps to become a confident, creative cook. Think of this guide as your friendly, detailed walkthrough from that first hesitant push of the ‘Slow Cook’ button to effortlessly whipping up fall-off-the-bone pulled pork or a rich, hearty chili.
Understanding Your Ninja Foodi: It’s Not Just a “Crockpot”
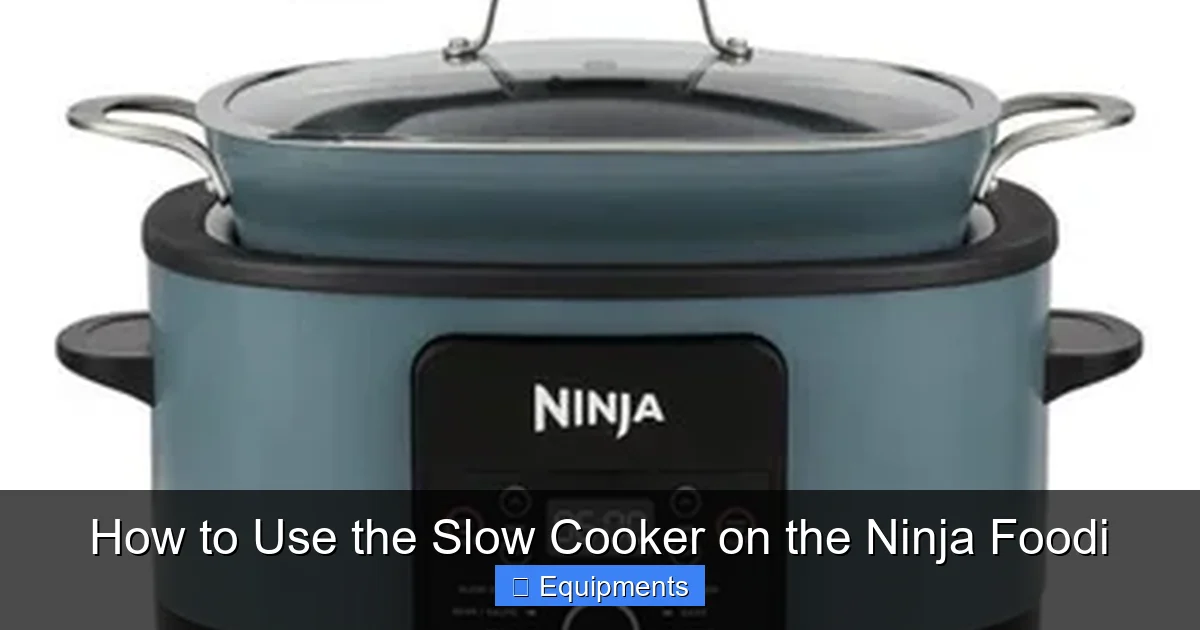
Before we dive into recipes and settings, we need to demystify the appliance itself. The Ninja Foodi’s slow cooking capability is part of its “Pressure & Slow Cook” lid—the one with the glass dome and the black sealing ring. This is your dedicated slow cooking lid. It’s crucial to distinguish this from the Pressure Cooking lid (the one with the metal locking mechanism and pressure valve). Using the wrong lid for a function is not just ineffective; it’s a safety hazard.
Visual guide about How to Use the Slow Cooker on the Ninja Foodi
Image source: d1rn0fpps50lyd.cloudfront.net
The Two Slow Cook Settings: Low vs. High
On your control panel, you’ll find the ‘Slow Cook’ button. Pressing it typically gives you a choice between Low and High. But what do these *actually* mean?
Low Setting (~190°F / 88°C): This is the classic “set it and forget it” setting. It maintains a gentle, simmering temperature that breaks down tough connective tissue in meats and melds flavors over many hours without risking scorching. It’s perfect for tougher cuts like chuck roast, brisket, or pork shoulder, and for dishes you want to cook all day while you’re at work (typically 6-10 hours on Low).
High Setting (~300°F / 149°C): Don’t let the name fool you. This is not a “fast” setting. It’s a more vigorous simmer, roughly equivalent to the “High” setting on a traditional slow cooker. It cooks food more quickly—usually in about half the time of the Low setting—but still at a temperature low enough to prevent boiling or burning. Use it for more tender cuts of meat, soups, or stews when you’re in a bit more of a hurry (typically 3-5 hours on High).
Important Note: These temperatures are internal pot temperatures, not air temperatures. The Foodi’s sealed environment and thick, stainless steel pot distribute heat with exceptional efficiency, often cooking food slightly faster than an older ceramic slow cooker. This leads us to our next critical point…
Essential Prep: The Foundation for Perfect Slow-Cooked Meals
Success with the Ninja Foodi slow cooker starts long before you turn it on. The prep work you do in those first 15 minutes sets the stage for the entire meal. Rushing this step is the most common cause of disappointing results.
Visual guide about How to Use the Slow Cooker on the Ninja Foodi
Image source: thetopmeal.com
1. The Golden Rule: Brown Your Meat First (Use the Sauté Function!)
This is the single most important flavor-building step and a feature that makes the Foodi superior to a basic slow cooker. The Sauté/Brown function uses direct, high heat at the bottom of the pot to create a Maillard reaction—that beautiful, savory browning on the surface of meat. This step:
- Locks in juices: A properly browned piece of meat will be juicier after long cooking.
- Adds complex flavor: Those browned bits (fond) stuck to the pot are pure flavor. After browning, you’ll deglaze with a little broth, wine, or water, scraping up those bits to incorporate them into your dish.
- Improves appearance: Gray, boiled-looking meat is unappetizing. Browning gives it a rich, appetizing color.
How to do it: Pat your meat dry (wet meat steams instead of browns). Add a tablespoon of oil to the *dry* pot. Select Sauté, set to High. Brown meat in batches—don’t overcrowd the pot—until nicely colored on all sides. Remove and set aside. Proceed with your recipe.
2. Mastering Liquid Ratios: Less is More
Because the Ninja Foodi’s pot and lid create an incredibly tight seal, very little moisture evaporates during the cooking process. In fact, the sealed environment can cause *more* liquid to be released from ingredients themselves. Therefore, you almost always need 25-50% less liquid than a recipe designed for a traditional slow cooker would call for.
Rule of Thumb: Start with the minimum liquid amount a recipe suggests. For most stews and soups, you want the ingredients to be *just* covered or nearly covered by liquid at the start. You can always add more liquid later if needed, but you can’t take it out if it’s too watery. For a classic pot roast, you might only need ½ cup of beef broth, not 2 cups.
3. Layering Ingredients for Even Cooking
How you stack things in the pot matters. Heat rises from the bottom.
- Bottom Layer: Dense, slow-cooking root vegetables (potatoes, carrots, parsnips) and onions. They need the most direct heat.
- Middle Layer: Your browned meat.
- Top Layer: More delicate vegetables (zucchini, peas, spinach), herbs, and spices. This prevents them from disintegrating. Dairy (cream, milk, coconut milk) should never be added until the last 30 minutes of cooking to prevent curdling.
Cooking Modes & Functions: Beyond the Basic Button
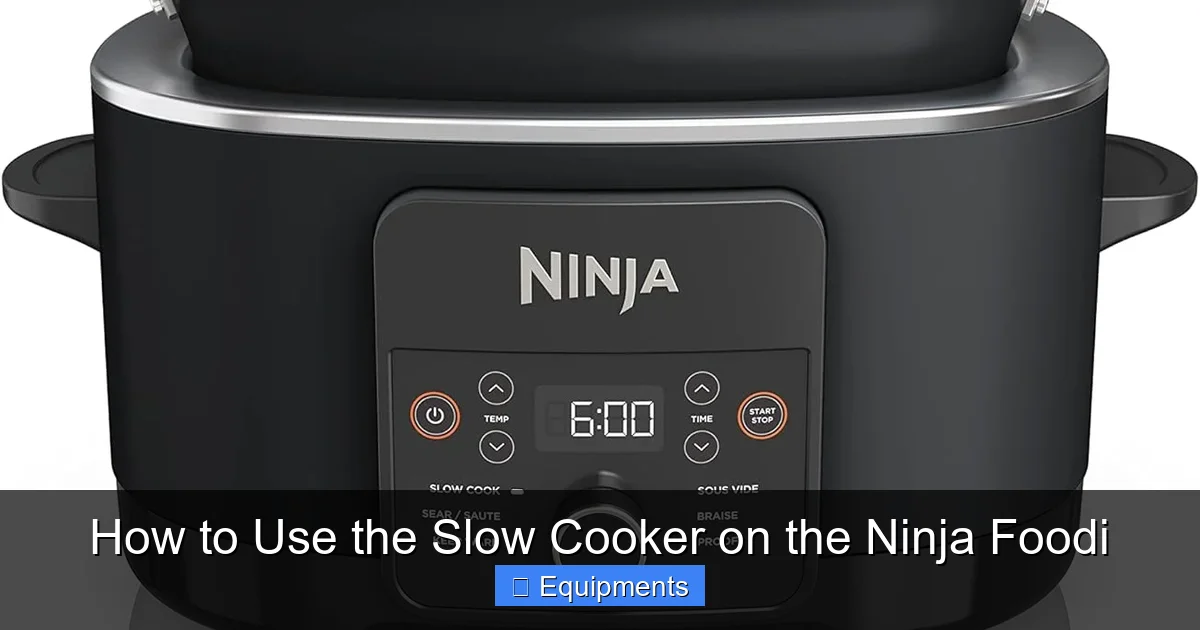
Once your ingredients are prepped and layered, it’s time to program your Foodi. The interface is intuitive but has some powerful, often-overlooked features.
Visual guide about How to Use the Slow Cooker on the Ninja Foodi
Image source: m.media-amazon.com
Setting Your Time and Temperature
After pressing Slow Cook and choosing Low or High:
- Adjust the Time: Use the +/- buttons to set your cook time. The display will show hours and minutes. Remember the Foodi cooks efficiently; start with the lower end of a recipe’s time range.
- Start Cooking: Press the large, central Start/Stop button. The display will show the countdown and the current mode (SLOW COOK).
Pro Tip: The Foodi’s “Keep Warm” cycle begins automatically when the timer reaches zero. This is a fantastic safety and convenience feature.
The Magic of “Keep Warm”
When your slow cook cycle ends, the Foodi seamlessly switches to a Keep Warm setting. This maintains your food at a safe, food-safe holding temperature (typically around 145°F – 165°F) for up to 12 hours. This means:
- You can cook a meal in the morning and have it ready and warm when everyone gets home for dinner.
- You can transport the entire unit to a potluck (it’s portable!) and keep food hot without an oven.
- It prevents overcooking. The temperature is low enough that food won’t continue to cook aggressively, just stay perfectly warm and ready to serve.
You can manually cancel the Keep Warm cycle if you want to serve immediately or switch to a different function.
Planning Ahead with Delay Start
This is the ultimate set-it-and-forget-it tool. The Delay Start function allows you to load your pot with all ingredients, set the program, and have the cooking begin at a future time.
How to use it:
- Complete all your prep (browning, layering, adding liquids).
- Press Slow Cook, select Low or High.
- Set your desired cook time (e.g., 6 hours on Low).
- Press the Delay Start button. Use the +/- to set how many hours from *now* you want cooking to begin (e.g., 8 hours). The display will show the future start time.
- Press Start/Stop. The Foodi will count down the delay period and then begin the slow cook cycle automatically.
Safety Note: Do not use Delay Start for recipes containing perishable ingredients like fresh dairy, pre-cooked meats, or seafood. The food would sit at room temperature for the delay period, which is unsafe. Best for dry rubs, hardy vegetables, and frozen ingredients.
Troubleshooting Common Slow Cooker Issues on the Ninja Foodi
Even with the best planning, things can go awry. Here’s how to fix the most common hiccups specific to the Foodi’s sealed environment.
“My food is too watery/soupy.”
Cause: The sealed lid prevented evaporation. You likely used too much initial liquid or added watery vegetables (like frozen peas) too early.
Fix: About 30 minutes before the end of cooking, carefully remove the lid. Turn the Foodi to the Sauté function on Low or Medium-Low. This will allow the excess liquid to simmer and reduce, thickening your sauce. Stir frequently to prevent scorching on the bottom. You can also mix a tablespoon of cornstarch with a few tablespoons of cold water and stir it in to thicken.
“My food is dry or stuck to the bottom.”
Cause: Not enough liquid, or cooking on High for too long. The intense, direct heat at the bottom of the stainless steel pot can cause scorching if there’s insufficient moisture to create a buffer.
Fix: Always ensure you have *at least* ½ to 1 cup of liquid (broth, water, sauce, tomatoes) for a full pot. If it’s already happened, carefully scrape off any burnt bits from the bottom (they’ll ruin the flavor) before stirring in more liquid and continuing to cook on Low.
“The food didn’t cook in the time I expected.”
Cause: The Foodi’s efficient heat distribution cooks faster than an old ceramic slow cooker. Overfilling the pot (more than ⅔ full) or starting with frozen ingredients (which take longer to come to temperature) can also affect timing.
Fix: Treat your Foodi as its own benchmark. Use the recipe’s time as a starting point, but check for doneness 1-2 hours earlier than you would with a traditional slow cooker. Invest in a good instant-read meat thermometer to ensure meats reach safe internal temperatures (195°F+ for pulled pork, 145°F for chicken).
Beyond the Basics: Creative Recipes & Techniques
Now that you know the mechanics, let’s talk creativity. The Foodi’s slow cooker function is a gateway to incredible depth of flavor.
Building Layers of Flavor
Don’t just dump ingredients in. Think in layers:
- The Sear: Brown your meat. Sauté aromatics (onion, garlic, celery) in the rendered fat after removing the meat.
- The Deglaze: Pour in a splash of wine, beer, or broth and scrape the fond.
- The Spice Bloom: Add dried spices (cumin, chili powder, paprika) to the hot liquid/aromatics for 30 seconds to toast them and intensify their flavor before adding other liquids.
- The Fresh Finish: Stir in fresh herbs (parsley, cilantro, basil), a squeeze of citrus (lime, lemon), or a dollop of yogurt/cream right before serving to brighten the rich, slow-cooked base.
Perfect for These Dishes
- Classic Pulled Pork: Shoulder roast, dry rub, a tiny bit of apple juice or cider vinegar. 8 hours on Low. Shred and mix with your favorite BBQ sauce in the last 30 minutes on Sauté.
- Hearty Beef Stew: Browned chuck cubes, potatoes, carrots, peas (added last), and a rich beef gravy. The sealed pot creates an unbelievably thick, glossy sauce.
- French Onion Soup: Caramelize onions on Sauté for 45 minutes (this is key!), then add beef broth, thyme, and a splash of sherry. Slow cook for 4 hours on High for deep, complex flavor. Top with toast and cheese, then use the Air Fryer lid to melt!
- Overnight Oats & Breakfast Beans: Yes, you can make breakfast! Mix steel-cut oats, milk, and sweetener. Cook on Low for 6-8 hours. For beans, soak dried beans overnight, then drain, add to pot with seasonings and water, and cook on High for 4-6 hours.
Conclusion: Your Journey to Slow-Cooked Mastery
Using the slow cooker on your Ninja Foodi isn’t just a feature—it’s a cornerstone of versatile, hands-off cooking. By understanding that it’s a true, dedicated low-temperature appliance with a superior seal, you’ve already won half the battle. Remember the holy trinity: Brown first, use less liquid, and layer smartly. Embrace the Keep Warm and Delay Start functions as your personal kitchen assistants, working for you while you live your life.
Don’t be afraid to experiment. Start with a simple chili or pot roast to build confidence. Then, try layering flavors with a toasted spice bloom or a bright finish of fresh herbs. The Ninja Foodi’s slow cooker function rewards patience and technique with melt-in-your-mouth tenderness and deep, restaurant-quality flavor. It turns the daunting task of a weeknight dinner into a simple, scheduled joy. So, go ahead—pat that meat dry, heat up that pot, and let the magic of slow, steady heat work for you. Your most flavorful, effortless meals are just a few button presses away.
Frequently Asked Questions
Can I use the pressure cooking lid for slow cooking?
No, absolutely not. The pressure cooking lid locks and seals to build pressure. Using it for slow cooking is dangerous and will not function properly. Always use the clear, domed “Pressure & Slow Cook” lid for the Slow Cook function.
Do I need to add more liquid during the cooking process?
Generally, no. The sealed lid on the Ninja Foodi prevents evaporation. Opening the lid to add liquid will release heat and steam, significantly increasing cook time. Only open it in the last 30-60 minutes if you need to reduce a sauce or add delicate ingredients like pasta or greens.
Can I cook a frozen roast directly in the slow cooker?
You can, but it’s not ideal. Starting with frozen meat will dramatically increase the time it takes for the interior to reach a safe temperature, potentially putting the outer layers in the “danger zone” (40°F-140°F) for too long. For safety and best texture, always thaw meat in the refrigerator first, then brown and slow cook.
Is the “Keep Warm” setting safe for 12 hours?
Yes. The Keep Warm function is designed to hold cooked food at a safe, bacteria-inhibiting temperature (above 140°F) for up to 12 hours. However, for optimal quality and texture, it’s best to serve food within 4-6 hours of the cook cycle ending.
Why did my beans not get tender after 8 hours?
This is a common issue, often caused by hard water or old beans. The acidity from ingredients like tomatoes, vinegar, or wine can also prevent beans from softening. Always add acidic ingredients in the last hour of cooking. For older beans, try soaking them overnight and discarding the soak water before using.
Can I use my own ceramic slow cooker recipes?
Yes, but with adjustments. Reduce the liquid by about 25-30%. Expect the cooking time to be slightly shorter (check 1-2 hours earlier). Also, ensure your recipe fits within the Foodi’s capacity—do not fill more than ⅔ full for optimal circulation.