Want perfect toasted sandwiches without the guesswork? This guide shows you exactly how to use a sandwich maker—from prepping ingredients to cleaning up—so you can enjoy crispy, golden results every time. Follow the simple steps and start creating delicious meals in minutes.
Key Takeaways
- Preparation matters: Properly preheat and lightly oil the plates for even browning.
- Choose the right bread: Thicker, sturdier breads hold fillings better and prevent tearing.
- Don’t overfill: Keep fillings to ½‑inch thickness to avoid spills and uneven cooking.
- Temperature control: Most sandwich makers work best at medium‑high (350‑400°F) for 3‑5 minutes.
- Cleaning tips: Let the unit cool, wipe plates with a damp cloth, and avoid abrasive cleaners.
- Versatility: Use the maker for paninis, quesadillas, and even mini desserts.
- Safety first: Always unplug before cleaning and keep cords away from heat.
📑 Table of Contents
- Introduction: Why a Sandwich Maker Is a Kitchen Game‑Changer
- 1. Getting Started: Unbox, Set Up, and Preheat
- 2. Choosing the Right Bread and Fillings
- 3. Assembling and Cooking the Sandwich
- 4. Cleaning and Maintenance
- 5. Creative Uses Beyond Classic Sandwiches
- 6. Troubleshooting Common Issues
- Conclusion: Mastering Your Sandwich Maker in Minutes
Introduction: Why a Sandwich Maker Is a Kitchen Game‑Changer
Imagine having a crispy, melty sandwich ready in under five minutes. No stovetop, no grill, just a compact appliance that does the work for you. That’s the promise of a sandwich maker. Whether you’re a college student with a tiny dorm kitchen, a busy parent juggling breakfast and lunch, or a food‑lover who enjoys experimenting with flavors, a sandwich maker can save you time, energy, and dishes.
In this article we’ll walk you through how to use sandwich maker step by step. From selecting the right bread to cleaning the plates, we’ll cover every detail so you can get perfect results without any guesswork. Let’s dive in!
1. Getting Started: Unbox, Set Up, and Preheat
1.1 Unboxing and Safety Check
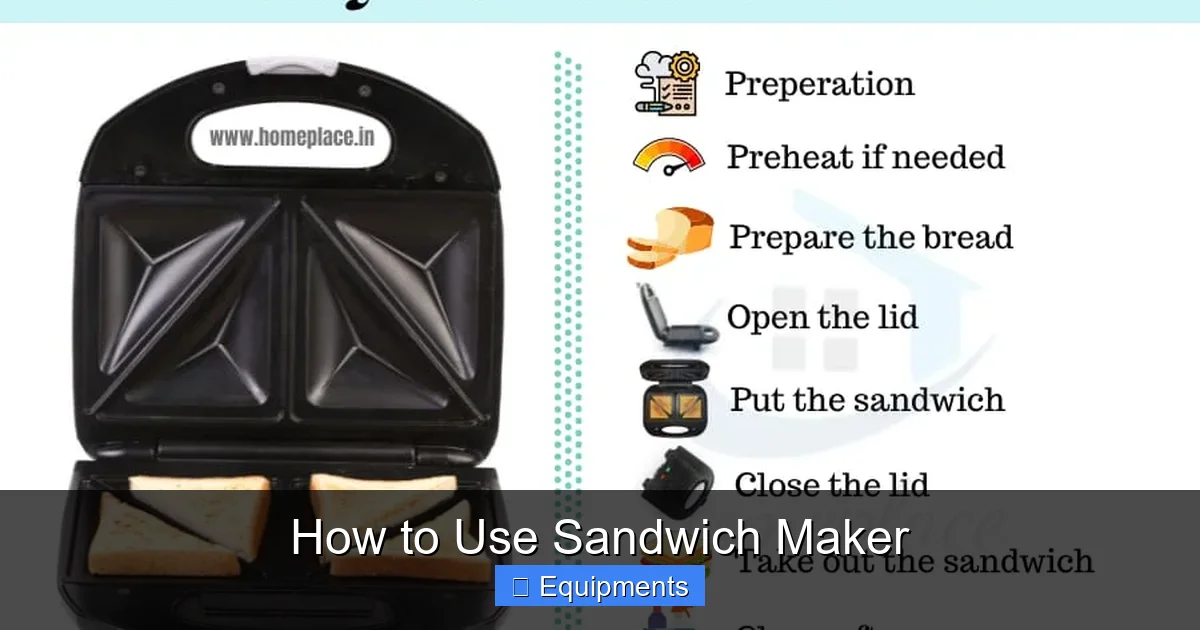
First things first—take the sandwich maker out of the box and inspect it. Look for any visible damage, missing parts, or loose screws. Most models come with two removable plates, a cord, and a user manual. Keep the manual handy; it often includes model‑specific temperature recommendations.
Visual guide about How to Use Sandwich Maker
Image source: consumeradvise.in
1.2 Placement and Power
Place the unit on a stable, heat‑resistant surface. Avoid countertops near the sink or where water could splash. Plug the cord into a grounded outlet and make sure the power switch is in the “off” position before you start.
1.3 Preheating the Plates
Press the power button and let the indicator light (or beep) tell you when the plates are hot. Most sandwich makers need 2–3 minutes to reach optimal temperature. While you wait, gather your ingredients—this prevents the machine from cooling down while you’re busy.
2. Choosing the Right Bread and Fillings
2.1 Bread Types That Work Best
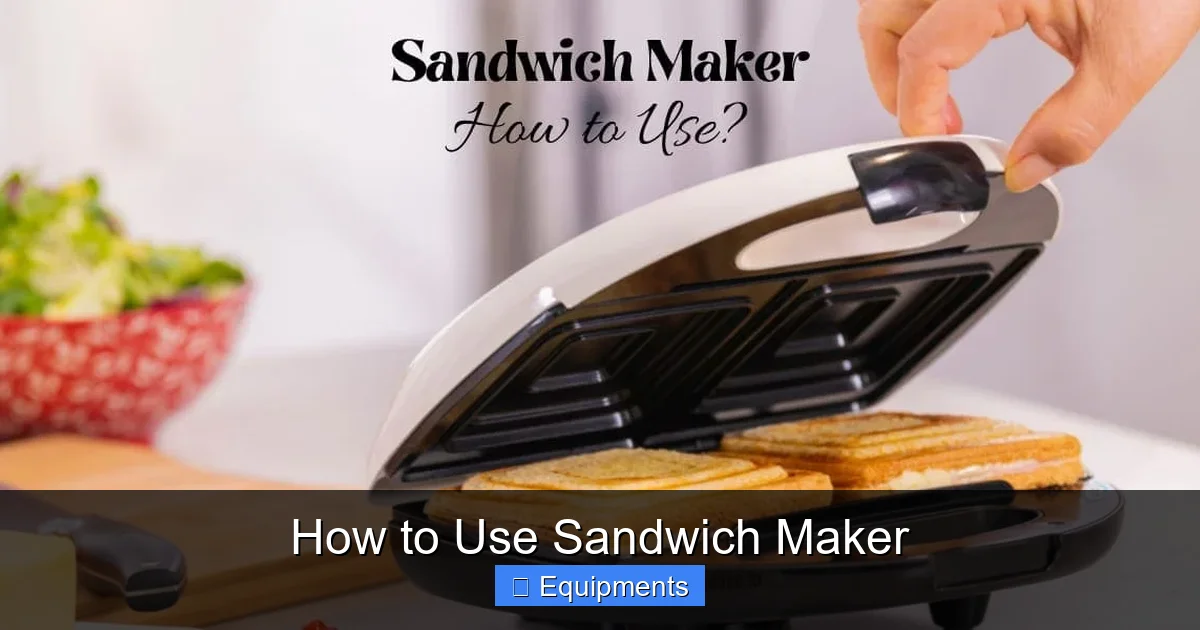
Thick‑cut white, whole‑grain, sourdough, and ciabatta are ideal because they hold up to pressure and heat without falling apart. Thin sliced breads can become soggy or burn quickly, so either use a sturdier slice or add a thin layer of butter on the outer sides to protect them.
Visual guide about How to Use Sandwich Maker
Image source: consumeradvise.in
2.2 Portion Control for Fillings
Overfilling is a common mistake. Aim for a filling layer about ½ inch thick. Too much cheese or sauce can leak out, creating a mess and uneven cooking. Here are some safe combos:
- Cheese + ham + a slice of tomato
- Peanut butter + banana + a drizzle of honey
- Grilled veggies + feta + pesto
2.3 Pre‑Cooking Certain Ingredients
If you’re adding raw meat, eggs, or dense veggies, give them a quick sauté first. The sandwich maker’s cooking time (usually 3‑5 minutes) isn’t enough to fully cook raw protein, and you don’t want food safety issues.
3. Assembling and Cooking the Sandwich
3.1 Lightly Oil the Plates (Optional)
Some non‑stick plates work fine dry, but a light brush of oil or a spray of cooking spray can help achieve extra crispness and prevent sticking, especially with cheese‑heavy sandwiches.
Visual guide about How to Use Sandwich Maker
Image source: shop.ttkprestige.com
3.2 Layering the Sandwich
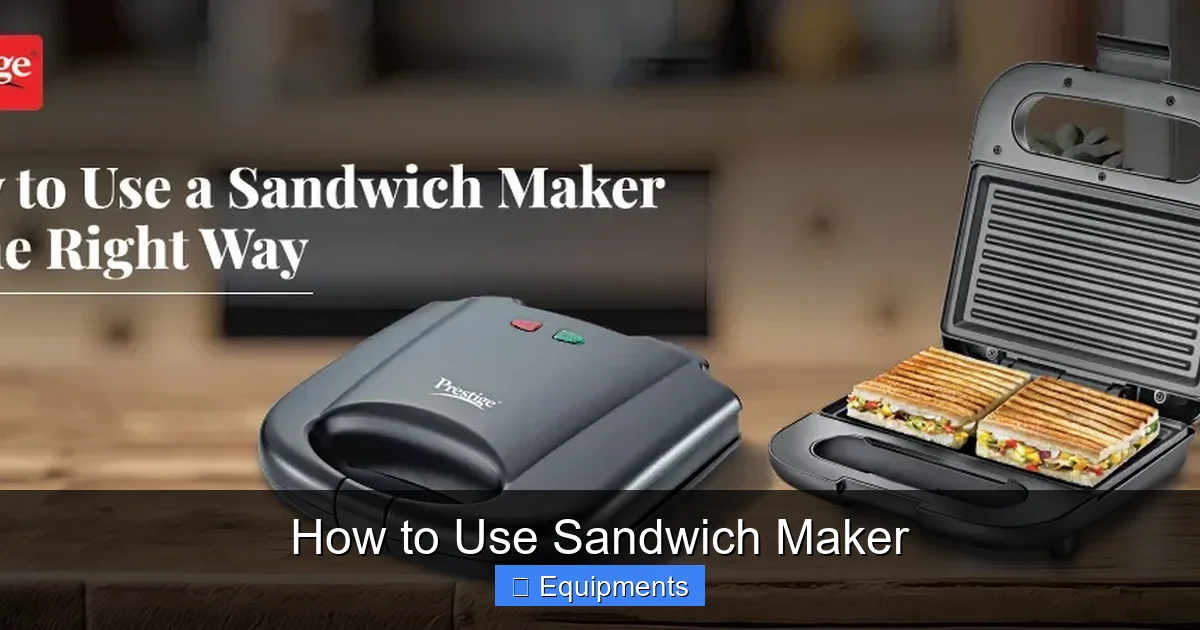
Place the bottom slice of bread on the lower plate. Add your fillings, then top with the second slice of bread, buttered side up if you used butter. Close the lid gently—most sandwich makers have a spring hinge that will lock in place.
3.3 Cooking Time and Indicators
Most models have a built‑in timer that beeps when the sandwich is ready. If yours doesn’t, set a kitchen timer for 3‑5 minutes. Open the lid carefully; steam will escape. The bread should be golden brown and the cheese melted.
3.4 Adjusting for Desired Crispness
If you prefer extra crunch, leave the sandwich in for an additional 30‑60 seconds. Just watch closely to avoid burning.
4. Cleaning and Maintenance
4.1 Let It Cool
Never attempt to clean a hot sandwich maker. Unplug the unit and allow the plates to cool for at least 10 minutes. This also prevents accidental burns.
4.2 Wipe the Plates
Use a soft, damp cloth or sponge to wipe away crumbs and melted cheese. For stubborn residue, a mixture of warm water and a few drops of mild dish soap works well. Avoid abrasive pads—they can scratch the non‑stick coating.
4.3 Cleaning the Exterior and Cord
Wipe the outside with a dry cloth. Keep the cord away from water and store the appliance upright to prevent dust buildup.
4.4 Deep Cleaning (Occasional)
Every few weeks, remove the plates (if your model allows) and soak them in warm, soapy water for 5 minutes. Rinse thoroughly and dry completely before reassembly.
5. Creative Uses Beyond Classic Sandwiches
5.1 Paninis and Pressed Wraps
Use ciabatta or focaccia, add mozzarella, roasted veggies, and a drizzle of olive oil. The press function gives you that classic panini grill look.
5.2 Quesadillas and Wraps
Place a tortilla on the bottom plate, sprinkle cheese, add cooked chicken or beans, fold another tortilla on top, and close. In 3 minutes you have a crispy quesadilla.
5.3 Mini Desserts
Try a sweet version: spread Nutella on one slice of bread, add sliced strawberries, top with another slice, and grill for 2 minutes. The result is a warm, gooey treat.
5.4 Breakfast Options
Egg and cheese breakfast sandwiches work well. Pre‑scramble the egg, pour a thin layer onto the bread, add cheese, and close. The heat will finish cooking the egg while melting the cheese.
6. Troubleshooting Common Issues
6.1 Sandwich Sticks to the Plate
Make sure the plates are clean and lightly oiled. If the non‑stick coating is worn, consider replacing the plates or the unit.
6.2 Uneven Browning
Check that the sandwich is centered. Overfilling can cause the lid to sit unevenly, resulting in one side cooking faster.
6.3 Burning Smell
Remove any excess butter or oil before cooking. A thin layer of oil is enough; too much can drip and burn.
Conclusion: Mastering Your Sandwich Maker in Minutes
Now you know exactly how to use sandwich maker from start to finish. The key is preparation—choose the right bread, keep fillings moderate, and preheat the plates. With a few simple habits—like lightly oiling the plates and cleaning after each use—you’ll enjoy flawless, golden sandwiches every time. Plus, the versatility of the appliance means you can expand from classic ham‑and‑cheese to paninis, quesadillas, and even sweet treats. So plug in, load up your favorite ingredients, and let the sandwich maker do the work while you sit back and enjoy the tasty results.
Frequently Asked Questions
Can I use a sandwich maker without oil?
Yes, most non‑stick plates work fine dry. Adding a thin layer of oil or butter can give extra crispness, especially with cheese‑heavy sandwiches.
What temperature should I set my sandwich maker to?
Most models have a fixed medium‑high setting (about 350‑400°F). If yours has adjustable heat, start at medium and adjust up if the bread isn’t browning quickly enough.
Is it safe to cook raw meat in a sandwich maker?
Only if the meat is pre‑cooked. The sandwich maker’s short cooking time isn’t enough to fully cook raw poultry or beef, which could pose a food‑safety risk.
How do I prevent my sandwich from getting soggy?
Use thicker bread, avoid overly wet ingredients, and lightly toast the bread before adding very moist fillings like tomatoes.
Can I clean the plates in the dishwasher?
Most manufacturers advise against dishwasher cleaning because high heat can damage the non‑stick coating. Hand‑wash with a soft sponge instead.
What other foods can I make with a sandwich maker?
Besides sandwiches, you can make paninis, quesadillas, toasted bagels, mini pizzas, and even sweet desserts like Nutella‑strawberry melts.
Pingback: Reuben Sandwich - kitchenandhouseware.com