Unlock the full potential of your Ninja Blender with our comprehensive 2026 guide. Learn essential setup steps, master every button and preset, and discover the correct blades for any task. We provide critical cleaning and maintenance routines to ensure longevity, plus troubleshooting for common issues. Follow these expert tips to transform your blending from basic to brilliant.
So, you’ve unboxed that shiny new Ninja Blender. It sits on your counter, a promise of silky smoothies, creamy soups, and perfectly emulsified dressings. But all those buttons, blades, and attachments can feel like a spaceship dashboard without the manual. In 2026, Ninja blenders are smarter and more powerful than ever, but the core principles of great blending remain the same. This guide cuts through the complexity. We’ll walk you through everything from that first unboxing to advanced techniques, ensuring you use your Ninja Blender safely, effectively, and with total confidence. Let’s turn that powerful appliance into your most trusted kitchen partner.
Key Takeaways
- Safety First: Always ensure the lid is locked and the pitcher is seated properly before operating to prevent leaks and spills.
- Blade Specificity: Use the correct blade assembly for your task—the stacked blades for smoothies, the dough blade for baking, and the single blade for liquids.
- Cleaning is Non-Negotiable: Clean the gasket, lid, and blades immediately after use to prevent food buildup and odors, using the self-cleaning cycle for convenience.
- Settings Matter: Understand when to use Auto-iQ presets versus manual speed control for optimal texture and to avoid over-processing.
- Troubleshooting Basics: A leaking pitcher often means a worn gasket or misaligned lid; loud noises can indicate an overloaded pitcher or dull blades.
- Leverage 2026 Features: Newer models smartly adjust speed based on load and connect to apps for recipes—explore these to enhance efficiency.
📑 Table of Contents
- 1. Unboxing, Setup, and Your First Safety Check
- 2. Decoding the Control Panel: Buttons, Presets, and Auto-iQ
- 3. Mastering the Blade System: Which Blade for Which Job
- 4. The Golden Rules of Cleaning and Maintenance
- 5. Troubleshooting 101: Fixing Common Ninja Blender Problems
- 6. Pro Tips and Advanced Techniques for 2026
1. Unboxing, Setup, and Your First Safety Check
Before you blend that first strawberry, a proper setup is crucial for safety and performance. Rushing this step is the #1 cause of user frustration and leaks.
The Initial Unboxing and Parts Identification
Carefully open the box. You’ll typically find: the motor base, a large pitcher (often 72oz), a smaller single-serve cup with to-go lid, multiple blade assemblies, a lid with a removable cap, a gasket (the rubber seal), and a user manual. Take five minutes to lay everything out and match each part to the diagrams in your manual. Identify the different blades: the stacked “Ninja” blades for crushing ice and frozen fruit, the dough blade for mixing batters, and the single “Extract” blade for pureeing liquids and soft foods. Familiarity now prevents mistakes later.
Essential First-Time Assembly and Locking Mechanism
The most critical step is understanding the lid and pitcher lock. Place the gasket into the lid’s groove—it must sit flat and even. Align the lid’s tabs with the pitcher’s slots and press down firmly until you hear a distinct click. You should feel the lid lock into place. Now, place the pitcher onto the motor base. Align the pouring spout with the front of the base and twist clockwise until it locks. You will not be able to turn the pitcher on until both the lid and pitcher are correctly locked. This is your primary safety feature. Give each a firm tug to confirm they are secure.
Your First Test Run: The Water Test
Before adding expensive ingredients, do a water test. Fill the pitcher halfway with cool water, secure the lid, lock it on the base, and select a low speed (1 or 2) for 5 seconds. Listen for any unusual grinding sounds. Then, increase to a high speed for 10 seconds. Check for leaks around the lid and pitcher-base connection. If it’s dry and quiet, you’re ready. If not, re-seat everything. This simple test saves you from a countertop disaster.
2. Decoding the Control Panel: Buttons, Presets, and Auto-iQ
Modern Ninja blenders, especially 2026 models, boast intelligent programs. But you must know what each button does to harness their power.
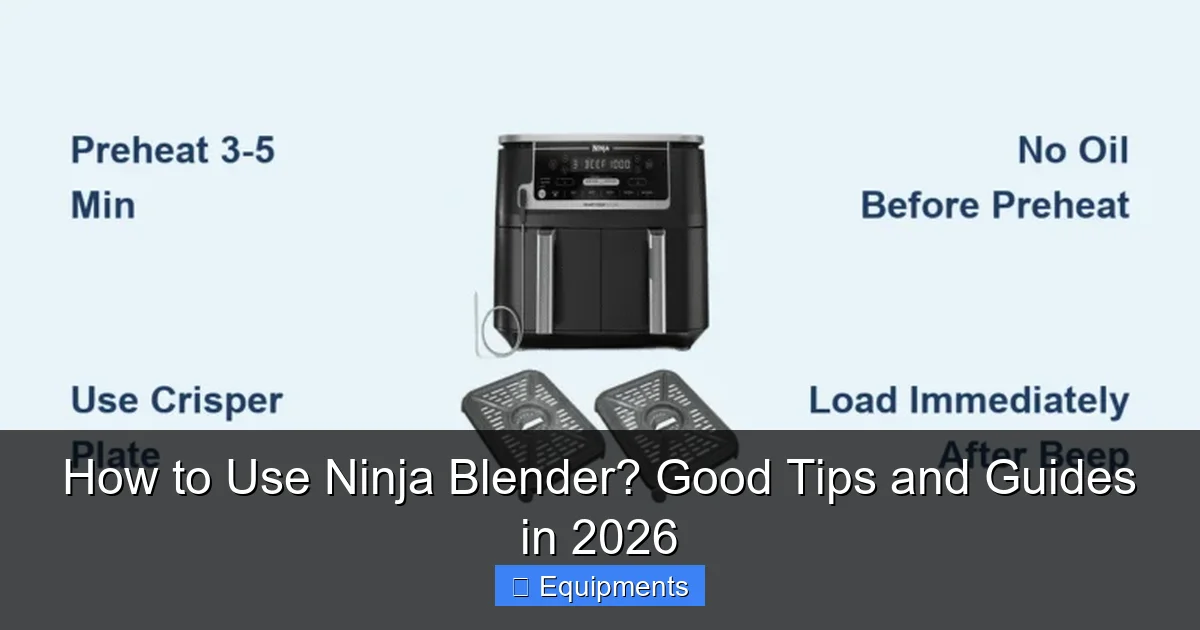
Visual guide about How to Use Ninja Blender? Good Tips and Guides in 2026
Image source: ninjachoice.blog
Manual Controls: The Foundation of Skill
The pulse button (often a dedicated icon) gives you short bursts of power for chopping or folding ingredients—ideal for chunky salsas or mixing in add-ins after blending. The speed dial or numbered buttons (1-10) offer progressive control. Start low (1-3) to pull ingredients down, then increase to high (7-10) for smooth results. The key is to learn the “sweet spot” for different tasks: speed 3-5 for dressings, 7-9 for smoothies, and 1-2 for emulsifying mayo.
Auto-iQ Presets: Smart Programs for Perfect Results
Auto-iQ is Ninja’s intelligent program that combines precise timing, speed, and pattern variations. Common presets in 2026 include:
- Smoothie: Starts with a slow stir to pull ingredients down, then alternates high-speed bursts to crush ice without overheating the motor.
- Ice Cream: Uses a longer, consistent high-speed cycle to break down frozen fruit and dairy into a creamy, soft-serve texture.
- Soup: A long, high-speed run that generates friction heat to cook raw ingredients into a steaming soup directly in the pitcher.
- Dough: A slow, consistent mix that mimics a stand mixer’s paddle action, perfect for bread and cookie dough.
Always use the correct blade for the preset—the dough blade for the “Dough” program, stacked blades for “Smoothie.” These programs take the guesswork out of timing and speed.
Smart Features in 2026 Models: Connectivity and Sensors
Newer Ninja models may feature Bluetooth connectivity to a companion app. This allows you to access hundreds of guided recipes, where the app sends instructions directly to your blender. Some have smart load sensors that automatically adjust blending time based on how full the pitcher is. While handy, these are supplements, not replacements, for understanding the basic functions. Always read the on-screen prompts if your model has a digital display.
3. Mastering the Blade System: Which Blade for Which Job
Using the wrong blade is a fast track to poor results and potential damage. Here’s your definitive guide.
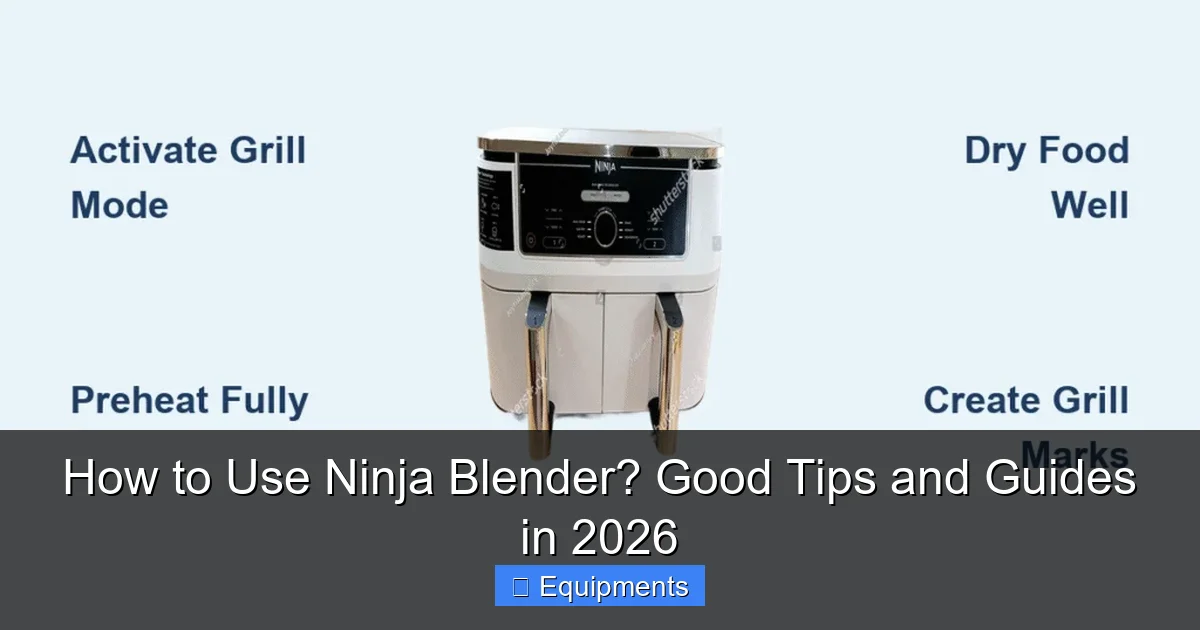
Visual guide about How to Use Ninja Blender? Good Tips and Guides in 2026
Image source: ninjachoice.blog
The Stacked “Ninja” Blades: The All-Purpose Crusher
This is the iconic four-blade assembly with blades at multiple heights. Its design creates a powerful cyclonic action, pulling ingredients from the top and bottom simultaneously. Use this for anything with ice or frozen fruit: smoothies, frozen margaritas, crushed ice for cocktails, and thick protein shakes. It’s also your go-to for nut butters, hummus, and pureeing soups. Its multi-level design ensures nothing gets stuck.
The Single “Extract” Blade: For Liquids and Soft Foods
This is a single, flat blade mounted on a post. It’s designed for high-speed emulsification and blending liquids or very soft foods without incorporating too much air. Perfect for salad dressings, mayonnaise, pancake batter, pureeing cooked vegetables, and making baby food. It creates a smoother, more homogenous liquid texture than the stacked blades, which can sometimes leave small ice chunks in a thin smoothie.
The Dough Blade: For Baking and Mixing
This is a thick, paddle-shaped blade with a blunt edge. It’s built for gentle, consistent mixing without cutting or shearing. Use exclusively for bread dough, pizza dough, cookie dough, and cake batters. Never use it for ice or frozen items. Its purpose is to knead and mix, not chop. Using the wrong blade for dough can result in a tough, over-worked final product.
4. The Golden Rules of Cleaning and Maintenance
A clean blender is a happy blender. Neglecting cleaning leads to stuck-on food, lingering odors, and seal failure. Here’s the 2026-approved routine.
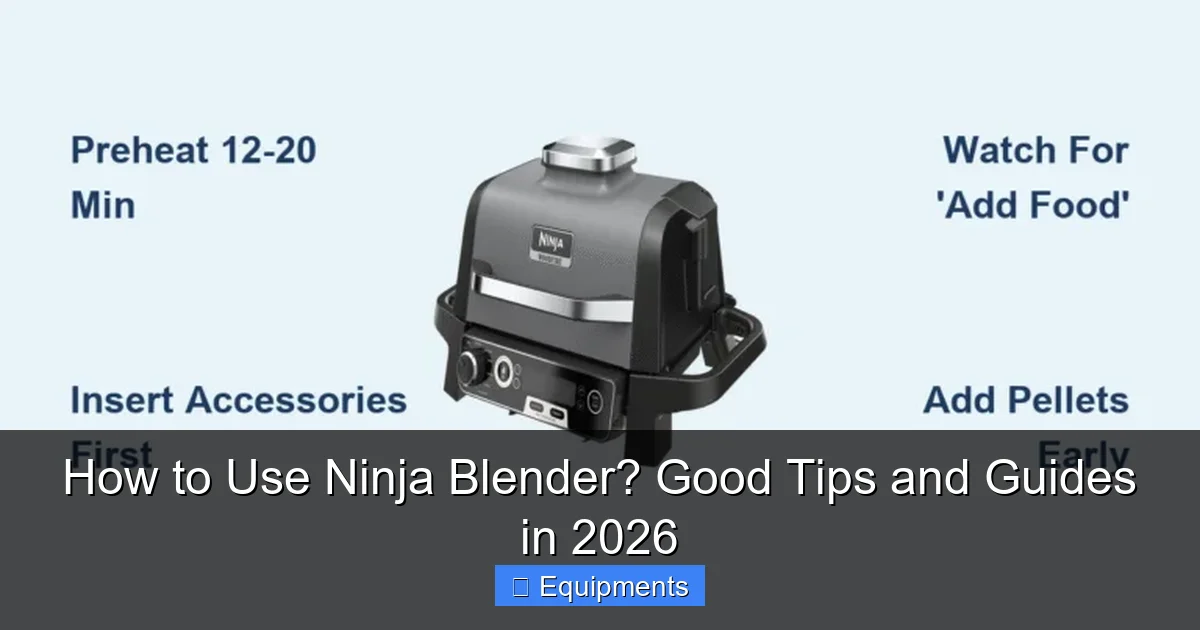
Visual guide about How to Use Ninja Blender? Good Tips and Guides in 2026
Image source: ninjachoice.blog
The Immediate Rinse: Your Most Important Habit
Right after you pour out your creation, disassemble the pitcher. Remove the blade assembly, lid, and gasket. Rinse each part under warm running water. Pay special attention to the gasket’s groove and the underside of the lid where food hides. A quick rinse prevents anything from drying and becoming impossible to remove. If you can’t wash immediately, fill the pitcher with warm soapy water and let it soak.
The Self-Cleaning Cycle: Your Best Friend
Ninja’s self-cleaning function is a game-changer. Add a drop of dish soap and warm water to the pitcher (fill about 1/4 full). Secure the lid and lock the pitcher. Select the “Clean” cycle or run on low speed for 30-45 seconds. The swirling water and soap will clean the walls and blades. Always rinse thoroughly after a self-clean cycle to remove all soap residue. For stubborn odors (like garlic or spices), add a tablespoon of baking soda or a cut lemon to the soapy water for the cycle.
Deep Cleaning the Gasket and Blade Housing
Once a week, do a deep clean. Remove the gasket from the lid and inspect it for tears or food particles. Use a soft brush (an old toothbrush works perfectly) and soapy water to scrub the gasket’s groove and the lid’s sealing surface. Check the blade assembly’s center post for food trapped in the crevices. For mineral deposits from hard water, soak parts in a 1:1 solution of white vinegar and water for 15 minutes, then scrub.
What NOT to Do: Common Cleaning Mistakes
- Don’t immerse the motor base in water. Wipe it with a damp cloth only.
- Don’t use abrasive scrubbers on the pitcher or blades; they can scratch.
- Don’t put the gasket in the dishwasher repeatedly; it degrades the rubber faster. Hand wash is best for longevity.
- Don’t ignore a cloudy or cracked gasket. Replace it immediately to prevent leaks. You can order official Ninja gaskets online—using non-OEM parts may affect performance and warranty. Always check your terms and conditions for warranty coverage on replacement parts.
5. Troubleshooting 101: Fixing Common Ninja Blender Problems
Even the best blenders hit a snag. Most issues are simple fixes you can do at home.
Problem: The Pitcher is Leaking
Solution: This is almost always a seal issue. First, ensure the lid is locked—listen for the click. Second, remove the lid and check the gasket. Is it seated correctly in its groove? Is it torn, stretched, or has food debris underneath? A misaligned or damaged gasket is the prime culprit. Clean the gasket groove and reinsert the gasket evenly. If the gasket is damaged, replace it. Also, check that the pitcher is properly locked onto the base.
Problem: Unusually Loud Grinding or Rattling Noise
Solution: Stop the blender immediately. An overloaded pitcher is the most common cause. You’ve added too much or too many hard ingredients (ice, nuts). Remove half the contents and blend in batches. If it’s still loud, inspect the blade assembly. Is it bent or damaged? A dull blade can also cause more noise. If the noise persists with an empty pitcher and a known-good blade, the motor bearings may be wearing out—contact Ninja support.
Problem: Blender Won’t Start or Stops Mid-Cycle
Solution: This is a safety lock failure. Re-check that the lid is fully locked and the pitcher is securely twisted onto the base. Look for any food debris on the pitcher’s locking tabs or the base’s contact points. Clean them. If using an Auto-iQ program, the overload protection may have tripped. Let the motor cool for 5 minutes, then try again with a smaller batch. If it continues, there may be an electrical fault.
Problem: Food is Stuck or Not Blending Smoothly
Solution: You have a “bridging” issue. Ingredients are stuck above the blades. Use the tamper (if included) through the lid’s opening to push ingredients down. Always use the tamper only when the blender is running and keep hands clear of the opening. For future blends, use the correct liquid-to-solid ratio (usually 1/2 to 1 cup liquid per 2 cups solids) and start on low speed to pull everything down before increasing. Also, ensure you’re using the correct blade—stacked blades for frozen items.
6. Pro Tips and Advanced Techniques for 2026
Now that you’ve mastered the basics, elevate your blending with these expert strategies.
The Layering Technique for Flawless Smoothies
Order matters. For perfect texture, layer ingredients in this order: liquids (milk, juice, water) first, then soft fruits/veggies (banana, spinach), then frozen items or ice on top. This ensures the blades grab the liquid immediately, creating a vortex that pulls down the heavier frozen items efficiently, preventing the “dry blend” where blades spin in air.
Hot Soup and Nut Butters: Harnessing Friction Heat
Your Ninja’s high-speed blades generate significant friction heat. Use the “Soup” preset or run on high for 5-6 minutes with raw, chopped vegetables and broth to cook them directly in the pitcher. For nut butters, use the stacked blades and process nuts on high for 2-3 minutes, stopping to scrape the sides. The heat from the motor will release the natural oils, creating a creamy butter without added oil.
Maintaining Peak Performance: Blade Sharpness and Motor Care
Ninja blades are engineered for durability, but they will dull over years of use, especially with frequent ice crushing. If you notice smoothies are consistently chunky despite correct technique, your blades may be dull. Order replacement blade assemblies from Ninja. For motor care, avoid running the blender empty for more than 10-15 seconds at a time, as this causes unnecessary wear. Let the motor cool for 30 seconds between long, heavy-duty cycles (like nut butter or dough). Adhering to these practices aligns with the care instructions detailed in your terms and conditions for optimal product lifespan.
Exploring Beyond Recipes: Creative Uses
Think outside the smoothie. Use your Ninja to:
- Make whipped cream: Chill the pitcher and blade, then use the single blade on high for 60-90 seconds with heavy cream and a touch of sugar.
- Grind spices: Use the stacked blades on pulse to make fresh spice blends from whole seeds.
- Emulsify vinaigrettes: The single blade creates a stable, creamy emulsion in 30 seconds.
- Mix pancake or waffle batter: The dough blade on low speed prevents over-mixing gluten.
Frequently Asked Questions
Can I put hot liquids in my Ninja Blender?
Yes, but with caution. Hot liquids can create pressure and potentially force the lid off. Always start with the lid securely locked and the cap removed. Begin blending on the lowest speed and gradually increase. Never fill the pitcher more than halfway with hot liquids to allow space for steam expansion. Let very hot liquids cool slightly before blending.
Why does my blender smell like it’s burning?
A burning smell usually indicates the motor is overheating from overuse or overload. Immediately turn it off and unplug it. Let it cool completely for at least 30 minutes. Next time, blend in smaller batches and avoid running continuously for more than 60 seconds. If the smell persists after cooling and using lighter loads, the motor may be faulty and require service.
Are Ninja Blender parts dishwasher safe?
Most parts are top-rack dishwasher safe: the pitcher, lid (without gasket), and blade assemblies. However, hand washing is recommended for the gasket and to prolong the life of all parts. The motor base is never dishwasher safe and should only be wiped with a damp cloth. Always check your specific model’s manual, as some newer 2026 models may have different recommendations.
How often should I replace the gasket?
There’s no set timeline. Inspect it monthly for cracks, tears, stiffness, or food odor retention. With regular use and proper hand washing, a gasket can last 1-2 years. Replace it immediately if you see any damage or notice leaks, as a compromised gasket is the main cause of pitcher leakage.
Can I crush ice in the single-serve cup?
No. The single-serve cup and its corresponding blade are designed for liquids and soft foods. Crushing ice or frozen fruit in it will damage the blade and potentially crack the cup. Always use the large pitcher with the stacked blade assembly for any task involving ice or frozen ingredients.
My Auto-iQ program stops before finishing. What’s wrong?
The most common reason is an overload. The motor senses too much resistance and shuts off to protect itself. Let it cool, then blend in smaller batches. Another reason could be a loose connection between the pitcher and base. Remove the pitcher, wipe the contact points on the base and pitcher, and re-lock it firmly. If the problem continues, consult your manual or contact Ninja support.