Using a cleaver knife is about power, precision, and safety. Unlike a chef’s knife, its weight and broad blade are designed for heavy-duty tasks like cutting through bones and tough vegetables. The key is to use a controlled, pendulum-like motion with a proper grip, letting the knife’s weight do most of the work. Always maintain a stable cutting surface and keep your fingers safely tucked away.
Key Takeaways
- It’s a Tool, Not a Hatchet: A cleaver’s power comes from its weight and momentum, not brute force chopping. Use a smooth, controlled motion.
- The Claw Grip is Non-Negotiable: Always tuck your fingertips under your knuckles (the “claw”) to guide the knife and protect your fingers.
- Identify the Right Task: Use it for bones, hard squash, thick root vegetables, and crushing garlic. Avoid using it for fine mincing or intricate vegetable work.
- Stability is Everything: Ensure your cutting board is secure on a non-slip surface. A moving board is a major hazard.
- Maintain a Sharp Edge: A sharp cleaver is safer and more efficient than a dull one. Dull blades slip and require dangerous force.
- Respect the Heel: The thick, heavy part near the handle (the heel) is for powerful cuts through tough materials. The tip is for precision.
- Clean and Dry Immediately: Hand wash and thoroughly dry your cleaver, especially if it has a carbon steel blade, to prevent rust.
📑 Table of Contents
- Introduction: The Mighty Cleaver – More Than Just a “Meat Axe”
- Understanding Your Cleaver: Anatomy & Types
- Foundations of Safety: Grip, Stance, and Setup
- Core Techniques: The Four Primary Motions
- Mastering Common Tasks: From Chicken to Kabocha
- Cleaver Care: Keeping Your Edge and Your Tool
- Common Mistakes & How to Avoid Them
- Conclusion: Practice Makes Perfect
Introduction: The Mighty Cleaver – More Than Just a “Meat Axe”
Walk into any professional kitchen or a serious home cook’s block, and you’ll likely see it: the cleaver. It sits there, heavy and imposing, with a broad, rectangular blade that looks like it could tackle anything. Often misunderstood as a simple “meat axe” for brute force, the cleaver is actually a remarkably versatile and precise tool when used correctly. Knowing how to use a cleaver knife properly transforms it from a scary piece of metal into your most powerful ally for prep work.
The fundamental difference between a cleaver and a chef’s knife lies in its design philosophy. A chef’s knife rocks back and forth on its tip for a fine mince. A cleaver, with its heavy spine and wide blade, moves in a more direct, vertical, or slight pendulum arc. Its mass—often concentrated in the blade’s spine—generates the force needed to slice through poultry bones, crack open a winter squash, or crush a clove of garlic with a satisfying thwack. But wielding this power safely requires technique, respect, and practice. This guide will walk you through everything you need to know, from grip to maintenance, to use your cleaver with confidence and control.
Understanding Your Cleaver: Anatomy & Types
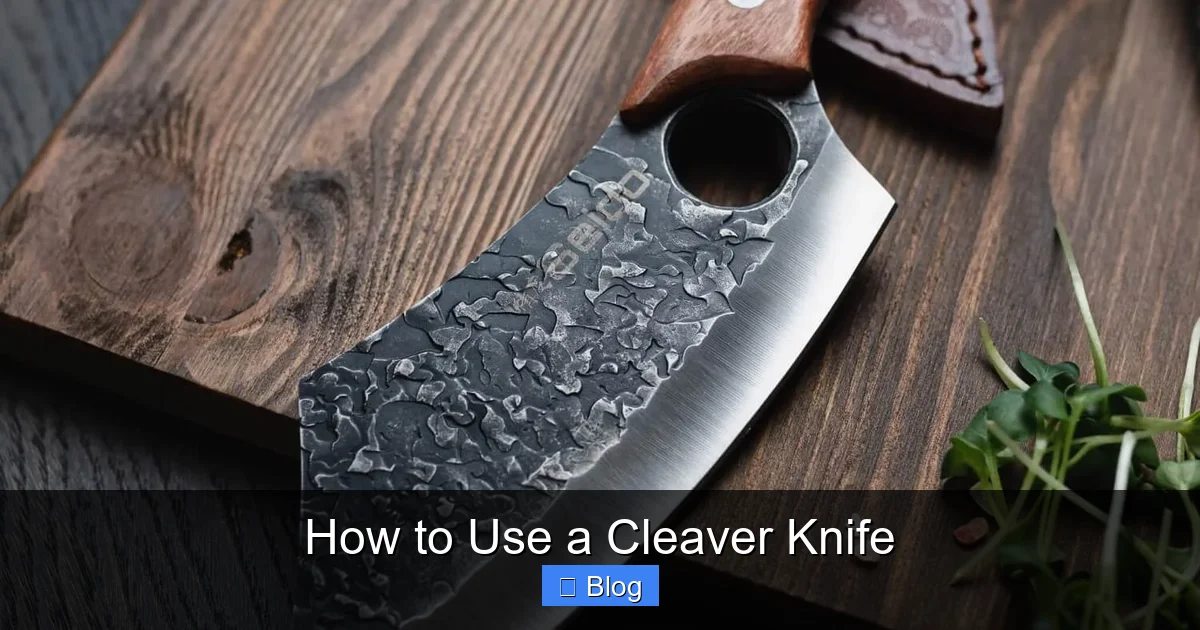
Before you pick it up, get to know your tool. Not all cleavers are created equal, and understanding the parts will help you choose the right one for the job and use it more effectively.
Visual guide about How to Use a Cleaver Knife
Image source: seidoknives.com
The Key Components of a Cleaver Blade
A typical cleaver blade has three distinct zones, each with a purpose:
- The Heel: This is the thickest, heaviest part of the blade, right at the base near the handle. It’s the powerhouse. When you need to cut through a chicken spine or a tough sweet potato, you engage the heel. Its weight and thickness provide the necessary momentum and durability.
- The Belly (or Edge): This is the sharp, curved cutting edge running from the heel to the tip. While less curved than a chef’s knife, it still allows for a rocking motion for slicing through meat or vegetables. For most chopping tasks, you’ll be using the middle section of the belly.
- The Tip: The pointed front end of the blade. Don’t underestimate it! The tip of a cleaver is surprisingly agile and can be used for more precise work, like scoring a duck skin or trimming fat, much like you would with a smaller knife.
Choosing the Right Cleaver for You
Cleavers generally fall into two camps:
- Chinese Cleaver (Cai Dao): Often lighter and has a more tapered, triangular shape with a sharper, more versatile edge. It’s a true all-purpose workhorse, excellent for vegetables, boneless meats, and even some fish work. The blade is usually thinner behind the edge.
- Western/Butcher’s Cleaver: Heavier, with a thicker, more rectangular blade and a pronounced, robust heel. It’s built for heavy-duty tasks like splitting carcasses and cutting through large bones. The spine is often very thick and may have a hole for hanging.
For most home cooks, a medium-weight Chinese-style cleaver offers the best versatility. If you regularly break down whole chickens or large cuts of meat, a heavier Western-style cleaver might be a better fit.
Foundations of Safety: Grip, Stance, and Setup
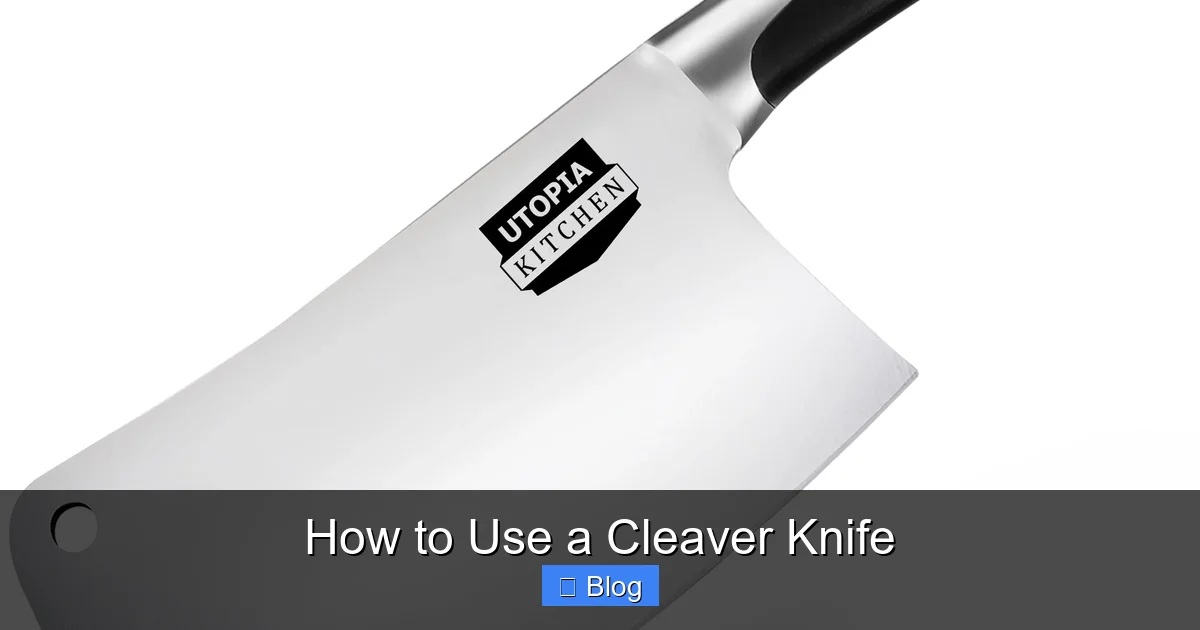
Safety is the absolute prerequisite for how to use a cleaver knife. All the technique in the world is useless without a secure foundation. Let’s build that foundation from the ground up.
Visual guide about How to Use a Cleaver Knife
Image source: m.media-amazon.com
The Essential “Claw” Grip on Your Guiding Hand
Your non-dominant hand (the “guiding hand”) is responsible for holding the food steady. Its job is to be a human pushing block, not a target. The technique is called the “claw.”
- Curl your fingertips inward, tucking your thumb behind them.
- Your knuckles should be the leading point, facing the knife blade.
- The knife blade should ride gently against the side of your knuckles (the first knuckle of your index finger is a common reference point).
- This posture keeps your vulnerable fingertips safely tucked away and gives you excellent control over the thickness of your slices or the size of your chop.
Visualize: Imagine you’re holding a small, fragile egg in your palm. Your knuckles form a protective cage around it. That’s the essence of the claw.
The Proper Knife Grip: Pinch and Control
Your dominant hand’s grip on the handle is about control, not just holding on.
- Pinch the blade’s “neck” (the area just in front of the handle) between your thumb and the side of your index finger.
- Wrap your remaining three fingers loosely but securely around the handle.
- This “pinch grip” gives you superior precision and leverage, allowing the knife to become an extension of your arm. Avoid the “hammer grip” where all fingers are wrapped solely around the handle; it limits your dexterity and power.
Your Stance and Cutting Surface
Stand with your feet shoulder-width apart for a stable base. Position your cutting board so you don’t have to hunch over. The most critical setup element is a non-slip cutting board. Place a damp cloth or a non-slip mat underneath your wooden or plastic board. A board that skids across the counter is a major accident waiting to happen.
Core Techniques: The Four Primary Motions
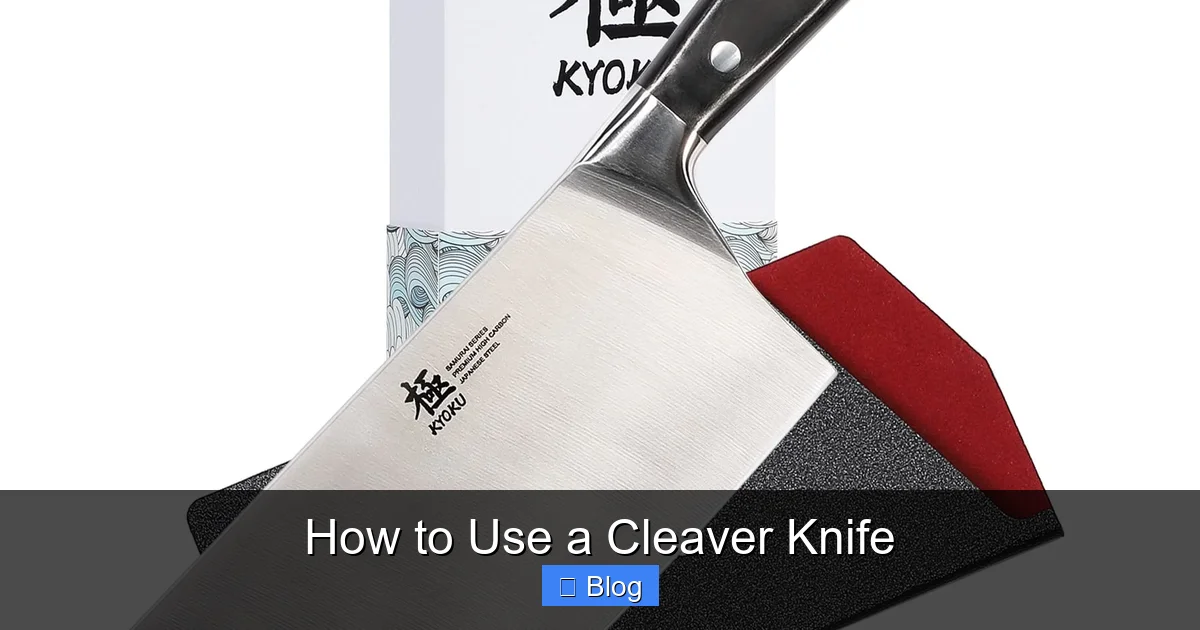
With a safe grip and setup, it’s time to learn the motions. The cleaver is not a chopping weapon; it’s a controlled tool. Think “slicing” and “chopping” with intent, not “hacking.”
Visual guide about How to Use a Cleaver Knife
Image source: m.media-amazon.com
1. The Vertical Chop (The Power Move)
This is the classic cleaver motion for cutting through tough, dense materials like squash, melons, or thick bone-in meat.
- How: Hold the cleaver by the handle with your pinch grip. Lift it straight up, with the blade perpendicular to the board. Let the weight of the knife do the work as you bring it straight down in a controlled, swift motion. Your wrist should be firm; the power comes from your forearm and a slight drop of your shoulder, not a wild wrist flick.
- Tip: For very hard items (like a pumpkin), you can start the cut by pressing the tip firmly into the skin to create a guide groove, then proceed with the vertical chop through the heel.
- When to use: Cutting through chicken backs, splitting a spaghetti squash, halving a dense root vegetable like a rutabaga.
2. The Pendulum/Swing (For Bones and Large Pieces)
Used for tasks requiring more arc and momentum, like sectioning a pork shoulder or cutting through a fish spine.
- How: Similar to the vertical chop but with a slight arc. The pivot point is your shoulder, not your wrist. You raise the knife slightly back and then swing it forward and down in a smooth, pendulum-like motion. The blade often makes contact with the food first at the heel.
- Tip: This motion is about rhythm and follow-through. Don’t stop the blade abruptly upon impact; let it swing through the cut.
- When to use: Cutting through rib bones, sectioning a large fish, breaking down a chunk of meat.
3. The Slicing/Rocking Motion (For Meat and Larger Veggies)
For cleaner cuts through boneless meats, fish fillets, or large vegetables like cabbages.
- How: Place the tip of the cleaver on the cutting board. Use a gentle rocking motion, pushing the blade forward and down through the food, then pulling it back to the starting position. The curve of the belly facilitates this rocking.
- Tip: Use your guiding hand’s claw to gently push the food toward the blade with each rock, maintaining even thickness.
- When to use: Slicing a roast for serving, cutting a head of cabbage into wedges, filleting a large fish.
4. The Crush (The Garlic Smash)
One of the cleaver’s most satisfying and useful secondary functions.
- How: Place a clove of garlic on the board. Flip the cleaver over so the *flat side of the blade* (the spine) is facing down. Place the spine over the garlic clove and press down firmly with the heel of your hand on the handle. The garlic will crush and split, making peeling effortless.
- Tip: You can then use the sharp edge to quickly mince the crushed garlic. This method also works for ginger, seeds (like cumin), and nuts.
Mastering Common Tasks: From Chicken to Kabocha
Let’s apply these techniques to specific, common kitchen challenges. Practice these to build muscle memory.
Breaking Down a Whole Chicken
The cleaver excels here due to its power for bone cuts and agility for joint separation.
- Remove Legs: Place the chicken breast-down. Find the thigh joint and use the tip of the cleaver to slice through the skin and connective tissue. Pop the joint with your hand, then use the heel to cut cleanly through the joint to separate the leg quarter. Repeat.
- Separate Thighs from Drumsticks: Lay the leg quarter skin-side down. Find the joint between the thigh and drumstick. Use the tip to cut through the connective tissue, then use the heel to snap and cut through the joint.
- Remove Wings: Pull a wing away from the body to locate the joint. Use the tip to cut through the joint.
- Split the Breast: Place the carcass breast-up. Use the tip to make a shallow incision down the center of the breastbone (the keel). Then, use the heel to cut through the cartilage and bone, splitting the breast into two halves.
Conquering Hard Winter Squash (Kabocha, Butternut)
These can be intimidating, but the cleaver makes them manageable.
- First, microwave the squash for 2-3 minutes to soften the skin and flesh slightly.
- Slice a small, flat bottom off so it sits steadily on the board.
- Place your guiding hand’s claw firmly on top of the squash, away from where you’ll cut.
- Position the cleaver’s heel at the top (stem end) and use the vertical chop motion. You may need to rock the blade slightly to get it started. Let the weight of the cleaver do the work.
- Once split, you can use the cleaver’s tip to remove the seeds and then slice or cube the flesh.
Crushing and Mincing Garlic & Ginger
As described in the “Crush” technique, this is a two-step process. After crushing, use a claw grip on the cleaver handle and a claw on your guiding hand to rock the blade back and forth through the pile, rotating the pile and repeating until finely minced. The broad blade contains the mess better than a small knife.
Cleaver Care: Keeping Your Edge and Your Tool
A well-maintained cleaver is a safe and effective cleaver. This is non-negotiable.
Sharpening: The Most Important Maintenance Task
A dull cleaver is dangerous because it slips and requires excessive force. You should hone it before each use and sharpen it regularly (every few months, depending on use).
- Honing (Realigning): Use a honing steel. Hold the steel vertically, point down on a towel on your counter. Angle the cleaver’s edge at about 15-20 degrees (cleavers are often a bit more obtuse than chef’s knives). Sweep the blade down and across the steel, alternating sides, 5-10 times per side. This straightens the microscopic edge.
- Sharpening (Removing Metal): Use a whetstone (coarse then fine grit) or a quality electric sharpener designed for thick blades. Follow the existing bevel angle (often 20-25 degrees for a Western cleaver). Push the blade across the stone in a controlled motion, maintaining the angle, working from heel to tip. Repeat on both sides.
Cleaning and Storage
- Always Hand Wash: The dishwasher’s harsh detergents and rattling can damage the blade’s edge and handle. Wash with mild soap and water immediately after use.
- Dry Thoroughly: This is critical, especially for carbon steel cleavers which rust easily. Pat it completely dry with a towel before storing.
- Store Properly: Use a knife block, a magnetic strip on your wall, or a blade guard in a drawer. Never toss it loose in a drawer with other utensils.
Common Mistakes & How to Avoid Them
Even experienced cooks can fall into these traps. Be mindful of them.
Mistake 1: Using a Wrist-Flick “Chopping” Motion
The Error: Lifting the cleaver high and bringing it down with a wild, wrist-driven chop, like an axe.
The Danger: This lacks control, can cause the blade to slip or skip, and puts immense stress on your wrist. The blade can easily glance off hard food and into your hand.
The Fix: Use your forearm and a controlled drop of the shoulder. Think “letting the knife fall” with guidance, not “hacking.” The motion should be more vertical and direct.
Mistake 2: Ignoring the Board’s Stability
The Error: Cutting on a board that slides on the countertop.
The Danger: The board moves, the food moves, your hand slips. This is a prime cause of serious cuts.
The Fix: Always use a non-slip base. A damp cloth or paper towel under the board works wonders. For extra security, place the board on a damp towel.
Mistake 3: Dull Blade, Dangerous Work
The Error: Trying to power through a cut with a dull blade, applying excessive force.
The Danger: A dull blade is unpredictable. It slips, crushes food instead of slicing it, and requires you to press down hard, increasing the chance of a slip.
The Fix: Sharpen and hone regularly. If you find yourself forcing the knife, stop and sharpen it. A sharp cleaver should fall through most foods with its own weight and minimal downward pressure.
Conclusion: Practice Makes Perfect
The cleaver is a magnificent tool that deserves respect and understanding. It’s not about brute strength; it’s about harnessing the tool’s natural weight and geometry with proper technique. Start slowly. Practice your vertical chop on a carrot or a cabbage quarter. Master the claw grip until it’s second nature. Focus on control, not speed.
As you become comfortable, you’ll discover the cleaver’s true joy: its efficiency. One tool can replace several—it can be your bone saw, your vegetable splitter, your garlic crusher, and your meat tenderizer. By learning how to use a cleaver knife correctly, you not only make prep work faster and more powerful but also safer. So pick up that heavy blade with confidence, respect its power, and let it become the cornerstone of your culinary arsenal. Happy cleaving!
Frequently Asked Questions
Can I use a cleaver for fine mincing like herbs?
No, a cleaver is poorly suited for fine mincing. Its weight and broad blade make it clumsy for delicate work. Use a chef’s knife or santoku for mincing herbs, shallots, or garlic after crushing. The cleaver’s job is power, not precision finesse.
How often should I sharpen my cleaver?
It depends on use, but a good rule is to hone it with a steel before each cooking session to realign the edge. You should sharpen it on a whetstone or have it professionally sharpened every 2-4 months for a home cook. If you notice it crushing tomatoes or slipping on onions, it’s time to sharpen.
Is it safe to cut through bones with a cleaver?
Yes, that’s one of its primary purposes, but only with the right technique and the right bones. Use the powerful heel and a controlled vertical or pendulum chop. Never use a twisting or prying motion. Avoid cutting through very large, dense weight-bearing bones (like a femur) as it can damage the blade. Chicken, pork, and fish bones are generally fine.
What’s the difference between a cleaver and a chef’s knife?
The cleaver is heavier, with a thicker, rectangular blade and a pronounced heel for power. Its motion is more direct (up-and-down or slight arc). A chef’s knife is lighter, thinner, and more curved, designed for a rocking motion for versatile chopping, slicing, and mincing. They are complementary tools, not direct substitutes.
Can left-handed people use a cleaver?
Absolutely. The key is to mirror the technique. Your dominant (left) hand holds the knife with a pinch grip. Your right hand becomes the guiding hand, using the claw grip. The same safety principles and cutting motions apply, just on the opposite side. Ensure your knuckles on your guiding hand are still the guide for the blade.
My cleaver has a hole in the spine. What’s it for?
The hole, common on traditional Chinese cleavers and some Western styles, serves a few purposes. Historically, it was for hanging the knife on a hook in a butcher shop. Practically, it reduces the weight of the blade slightly and can provide a convenient grip for your non-dominant hand when you need to apply extra force for a tough cut (like crushing garlic with the spine), though the claw grip should still be your primary guide.
