Storing water in Mason jars is a simple, cost-effective way to ensure a clean water supply for emergencies, gardening, or daily use. The key is using proper jars, thorough cleaning, correct filling techniques, and storing in a cool, dark place. Always label with dates and rotate your supply every six months to a year for freshness. This versatile method supports sustainable living and preparedness with minimal equipment.
Key Takeaways
- Choose the right jars: Use only new or gently used, undamaged, food-grade Mason jars with proper two-piece lids for safe water storage.
- Sanitization is non-negotiable: Thoroughly wash and rinse jars and lids with hot, soapy water. A final rinse with a diluted bleach solution (1 tablespoon unscented bleach per gallon of water) is recommended for maximum safety.
- Fill correctly and leave headspace: Fill jars with clean, potable water, leaving about 1/4-inch of headspace at the top to allow for expansion. Wipe rims dry before sealing.
- Store in ideal conditions: Keep sealed jars in a cool (below 70°F/21°C), dark, and dry location away from direct sunlight, chemicals, and temperature extremes.
- Label and rotate consistently: Always date each jar. Use a “first-in, first-out” system and consume or replace stored water within 6-12 months for best quality.
- Understand the limitations: Stored water is for non-potable uses like gardening or emergency flushing, or for potable use if sourced from a safe supply. It is not a method for long-term sterilization like canning.
- Repurpose with purpose: Stored Mason jar water is perfect for garden irrigation, recipe bases, pet water, emergency kits, and creating flavored waters.
📑 Table of Contents
- Why Store Water in Mason Jars? The Unexpected Power of a Simple Glass Jar
- Selecting the Perfect Mason Jars for Water Storage
- The Critical First Step: Sanitizing Your Jars and Lids
- Filling and Sealing: Technique is Everything
- Optimal Storage Conditions: Location, Location, Location
- Rotating and Using Your Stored Water
- Beyond the Basics: Creative and Practical Applications
- Conclusion: A Small Step Toward a More Prepared, Sustainable Home
Why Store Water in Mason Jars? The Unexpected Power of a Simple Glass Jar
We often think of Mason jars as the champions of canning, holding vibrant jams and crisp pickles. But what if we told you this humble glass jar is also one of the most elegant, sustainable solutions for storing plain water? It’s true. Learning how to store water in Mason jars taps into a tradition of preparedness, eco-friendly living, and simple household ingenuity. In a world of plastic bottles and complex systems, returning to this basic method offers control, safety, and peace of mind.
Why would you even want to store water? The reasons are more practical than you might think. It’s not just for doomsday preppers. A small stash of clean water is invaluable for unexpected tap water outages, weekend camping trips, watering delicate houseplants or seedlings, having a dedicated supply for recipe-making (like bread or coffee), or even as an emergency supply for pets. Using glass jars eliminates concerns about plastic leaching, especially if the water is stored for several months. They are reusable indefinitely, dishwasher safe for cleaning, and create a beautiful, organized pantry or storage shelf. This guide will walk you through every step, transforming you from a curious beginner to a confident water-storing expert.
Selecting the Perfect Mason Jars for Water Storage
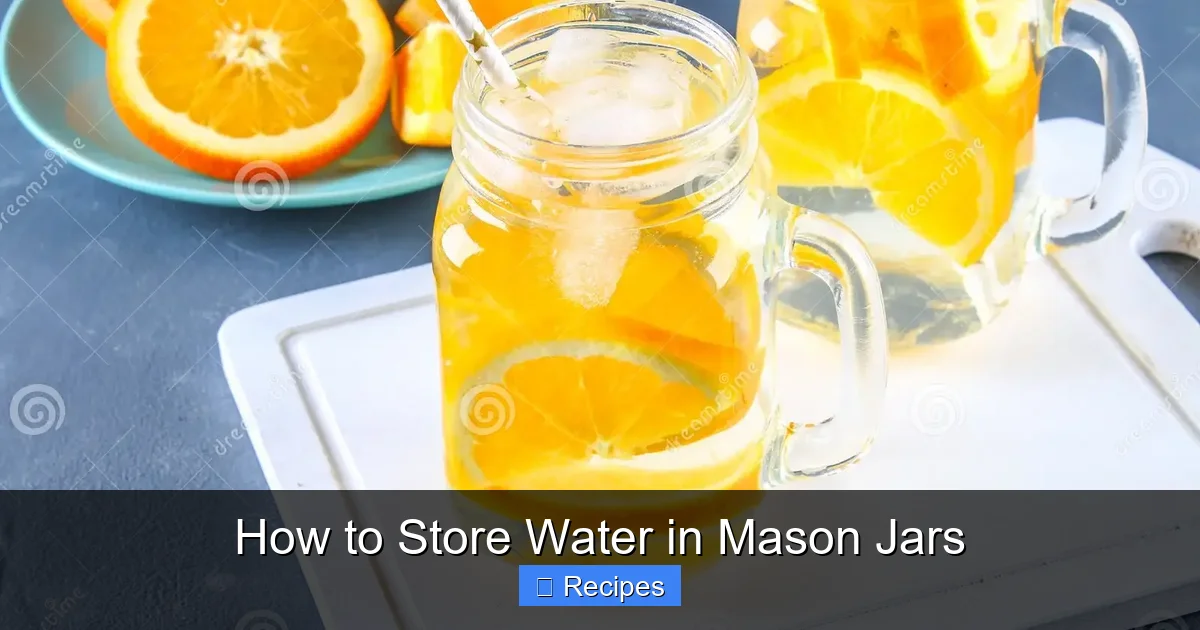
Not all jars are created equal, and choosing the right one is your first critical step. The goal is a container that is chemically inert, sealable, and physically sound. Mason jars, specifically the classic two-piece lid variety (flat metal sealing disc and threaded ring), are the gold standard. They are designed for a vacuum seal, which, while not creating a sterile environment like pressure canning, does protect the water from airborne contaminants and dust.
Visual guide about How to Store Water in Mason Jars
Image source: thumbs.dreamstime.com
New vs. Used Jars: What’s Best?
For absolute peace of mind, especially if storing water for potable (drinking) use, new Mason jars are ideal. They come sterile and free of any microscopic scratches or residue from previous contents. However, gently used jars you’ve saved from jams or sauces are perfectly acceptable for water storage, provided they are in excellent condition. The key is a meticulous inspection and cleaning process, which we’ll detail in the next section. Avoid jars that once held strong-smelling foods like garlic or fish, as odors can sometimes permeate the glass over long periods.
Size Matters: Choosing Your Capacity
Mason jars come in a delightful array of sizes, from tiny 4-ounce “jelly” jars to massive 64-ounce “gallon” jars. For water storage, practicality is key. Pint (16 oz) and quart (32 oz) jars are the most versatile. They are easy to handle, fit neatly on shelves, and their smaller volume encourages more frequent rotation (you use a pint of water faster than a gallon). A quart jar holds about 4 cups or 1 liter of water—a useful unit for cooking or drinking. Larger half-gallon and gallon jars are excellent for bulk garden water storage but are heavy when full and more cumbersome to move. Consider your primary use: emergency drinking water suggests smaller, individual servings; garden use points to larger containers.
Inspecting for Damage: The Deal-Breakers
Before you commit to a jar, give it a thorough once-over. Run your fingers over the entire surface. You are looking for any chips, cracks, or nicks, especially around the rim. Even a tiny flaw in the sealing surface can compromise the entire jar’s integrity, allowing air and contaminants in. Also, check the threading where the lid screws on. It must be perfectly smooth and intact. A damaged thread won’t allow the lid to seal properly. Finally, look at the glass itself. Is it clear, or is there a hazy, etched appearance? Haze can be from mineral deposits (which clean off) or from etching (which is permanent and indicates the glass surface has been compromised). When in doubt, retire the jar to a craft project and use a sound one.
The Critical First Step: Sanitizing Your Jars and Lids
You cannot overstate the importance of cleanliness here. You are storing a substance that, if contaminated, can become a health hazard. The goal is to start with a sterile container to give your clean water the best possible chance of staying clean. This process is different from the sterilization required for canning low-acid foods, but it’s still rigorous.
Visual guide about How to Store Water in Mason Jars
Image source: thumbs.dreamstime.com
Step-by-Step Cleaning Protocol
1. Disassemble: Separate the jar, lid, and ring. The sealing lid is a one-time-use item for canning, but for water storage, you can often reuse the flat lid *if* it is perfectly flat, unblemished, and free of rust. The threaded ring is always reusable. For maximum safety with potable water, consider using new lids each time.
2. Wash: Scrub each component with hot, soapy water and a dedicated bottle brush or sponge. Pay special attention to the lid’s sealing surface and the jar’s rim and threads. Rinse everything exceptionally well under hot running water to remove all soap residue.
3. Sanitize (The Bleach Bath): This is the most effective and accessible method for home users. Prepare a sanitizing solution by mixing 1 tablespoon of regular, unscented household bleach (5-8% sodium hypochlorite) per 1 gallon of cool water. Submerge the clean jars, lids, and rings completely in the solution for at least 1 minute. Use tongs to handle the items. This kills any remaining bacteria, yeast, or mold spores.
4. Final Rinse and Air-Dry: Remove the items from the bleach solution and rinse them thoroughly with clean water. The best practice is to let them air-dry completely on a clean rack or towel. Do not wipe them dry with a cloth, as cloths can re-introduce contaminants. Letting them air-dry also ensures any remaining water evaporates, leaving the interior dry.
A Note on Dishwashers
A dishwasher’s “sanitize” cycle (which uses very high heat) can be an excellent substitute for the bleach step for jars and rings. However, the plastic-coated lids of Mason jars are not dishwasher safe and can warp, ruining their seal. Therefore, even if you use the dishwasher for jars, you must still hand-wash and bleach the lids. For absolute consistency, the manual bleach bath is the recommended all-in-one method.
Filling and Sealing: Technique is Everything
Now you have sparkling clean, dry jars. It’s time to fill them. The quality of your water source dictates the need for further treatment.
Visual guide about How to Store Water in Mason Jars
Image source: thumbs.dreamstime.com
Water Source: Tap, Filtered, or Boiled?
Municipal Tap Water: If your tap water is from a regulated, safe public supply and you plan to use the stored water within 6-12 months, it is generally safe to store as-is. The chlorine in most tap water actually helps inhibit microbial growth. For long-term storage (over a year) or for ultimate peace of mind, you can boil the water for 1 minute first (to kill all microorganisms), let it cool, and then fill jars.
Private Well or Untested Source: Water from a well, spring, or rainwater collection system must be treated before storage. Boiling is the simplest and most reliable home method. Bring the water to a rolling boil for 1 full minute, then let it cool completely before filling your sanitized jars. For sediment-heavy water, filter it through a coffee filter or fine mesh strainer first.
Filtered or Bottled Water: This is a great, convenient option. It’s already been treated and is low in minerals that could cause scaling. You can use it directly.
The Filling Process: Avoid Contamination
Use a clean ladle, funnel, or pitcher to transfer water. Never dip anything (like your hand or a dirty spoon) into your main water source. Fill the jar, leaving approximately 1/4-inch of headspace at the top. This empty space is crucial because water expands slightly as it cools and, in rare cases, if the storage area freezes. Overfilling can force the lid to bulge or leak.
Wipe the entire rim of the jar with a clean, dry cloth or paper towel. This is vital. Even a single droplet of water on the rim can prevent the lid from making a proper seal and can introduce bacteria under the lid. Place the flat sealing lid on the rim, then screw the ring on firmly and evenly until just snug—do not overtighten. As the jar cools, a vacuum will form, pulling the lid down into a concave seal. You’ll often hear a “ping” sound as this happens.
Optimal Storage Conditions: Location, Location, Location
Your filled and sealed jars are ready for their new home. Where you store them is almost as important as how you filled them. Think of your storage space as a preservation chamber.
The Ideal Environment: Cool, Dark, and Dry
The three main enemies of stored water are heat, light, and chemical fumes.
- Temperature: Store jars at a consistent, cool temperature, ideally below 70°F (21°C). Basements, cellars, or interior closets are excellent. Garages and attics are terrible due to extreme temperature swings. Heat accelerates chemical reactions and can promote microbial growth if any contaminants are present.
- Light: Keep jars in total darkness. Light, especially sunlight, can degrade plastic components (if any) and can promote algal growth if spores are present. A dark pantry, cupboard, or storage tote is perfect.
- Chemical Exposure: Store jars away from gasoline, paint, solvents, cleaning supplies, and pesticides. Glass is porous to some vapors over long periods, and these chemicals can seep through and contaminate the water.
Practical Storage Tips and Safety
Place jars on a solid shelf or platform, not directly on concrete floors which can be damp. Use cardboard or wood between the jar and the shelf to prevent chipping. Store them upright. Do not stack heavy items on top of glass jars. For earthquake or heavy-knock areas, consider using a wooden crate or bin with dividers to keep jars from smashing into each other. Always ensure you can access your stored water easily; there’s no point having it if you can’t reach it when needed.
Rotating and Using Your Stored Water
Stored water is not a “set it and forget it” item. A disciplined rotation system is the hallmark of a reliable water storage plan.
The Golden Rule: Label and Date
The moment you screw on a lid, grab a permanent marker and write the fill date clearly on the lid or a piece of masking tape stuck to the jar. This is your single most important piece of information. Without it, you have no idea what is fresh and what is old.
Rotation Schedule and Shelf Life
For water stored from a safe, municipal source in clean, sealed Mason jars, a rotation every 6 to 12 months is a safe and manageable standard. This ensures optimal taste and quality. The water doesn’t necessarily “go bad” in a dangerous way at 13 months if stored perfectly, but it may develop a flat taste as dissolved gases escape. For well water or water that required boiling, a more conservative 6-month rotation is wise. Implement a “first-in, first-out” system. Place new jars behind older ones. Once a year (or at your 6-month mark), plan to use the oldest water for a non-critical purpose like watering plants, washing your car, or as the base for a large pot of soup or stock. Then, immediately refill and date those jars.
How to Test Your Stored Water
Before using a rotated jar for drinking or cooking, give it a quick check. Open it and look. Is the water clear? Any floating particles or cloudiness? Smell it. Does it have any odor, even a slight one? If the answer is yes to either, discard the water and the jar contents (you can pour it down the drain or use it for plants). A properly sealed jar of clean water should look and smell like fresh, cold tap water. If the lid is concave (sucked down) and the ring is loose, that’s a good sign the seal held. If the lid is bulging upward, discard immediately—this indicates gas production from bacterial activity.
Beyond the Basics: Creative and Practical Applications
Once you master the fundamentals, the uses for your Mason jar water storage system are limited only by your imagination. This is where the method truly shines and integrates into a sustainable lifestyle.
Building Your Emergency Kit
The classic application. Store a case of pint-sized jars in a heavy-duty plastic tote with your emergency supplies. Each person needs at least 1 gallon (four quarts) for a 3-day period. The individual jar sizes are perfect for portioning. Keep a few in your car kit and at your workplace. Remember to rotate these every 6 months, just like your main supply.
The Gardener’s Secret Weapon
Tap water, especially if chlorinated, can be harsh on sensitive seedlings and soil microbes. Stored water has off-gassed its chlorine, making it a gentle, room-temperature delight for your plants. Keep a dedicated half-gallon jar on your potting bench for your most delicate starts. It’s also perfect for watering houseplants that are sensitive to minerals in hard tap water.
Culinary and Household Uses
Never start a soup, stew, or pot of beans with cold tap water again. Keep a quart of stored water on your countertop for instant use. It’s also ideal for making coffee or tea, as it lacks the “flat” taste of water that has sat in pipes overnight. Use it to rinse rice or grains. Fill a jar to have a dedicated, clean supply for your pet’s water bowl, refilling it daily from your stored source. You can even create beautiful, naturally flavored waters by adding slices of cucumber, lemon, or berries to a jar of stored water and letting it infuse in the fridge.
Conclusion: A Small Step Toward a More Prepared, Sustainable Home
How to store water in Mason jars is more than a DIY project; it’s a foundational skill for self-reliance. It connects us to a simpler, more intentional way of managing household resources. By taking control of this one element—your water—you reduce your vulnerability to supply disruptions, cut down on single-use plastic, and create a beautiful, functional system in your own home. The process is straightforward: select sound jars, sanitize them meticulously, fill with clean water from a safe source, seal tightly, label clearly, and store in a cool, dark place. Commit to a rotation schedule, and you will always have fresh, reliable water on hand. Start small this week. Find a few clean jars, fill them with your tap water, and date them. You’ve just taken your first, powerful step toward a more prepared and peaceful household. That’s the real magic in the jar.
Frequently Asked Questions
How long can you safely store water in Mason jars?
For water from a safe municipal source, stored in properly sanitized, sealed Mason jars in a cool, dark place, a 6-12 month rotation is recommended for best quality and taste. Water from a well or that required boiling should be rotated every 6 months. The sealed jar prevents new contamination, but over time, water can absorb flavors from the lid gasket or become flat.
Do I need to boil the water before storing it in Mason jars?
It depends on your water source. If you have a reliable municipal supply with chlorine, boiling is not strictly necessary for short-term storage (under a year). However, for absolute safety, for private wells, or for long-term storage, bringing the water to a rolling boil for 1 minute and then cooling it before filling jars is the best practice to eliminate all microorganisms.
Can I reuse the metal lids from previous canning projects for water storage?
You can reuse the threaded metal rings indefinitely if they are not rusted or bent. The flat sealing lids are designed for a single-use seal in pressure canning. For water storage, you can often reuse a flat lid if it is perfectly flat, undented, and free of any rust or food residue. For potable water storage with maximum safety assurance, using new flat lids each time is the most conservative approach.
What is the best place to store my filled Mason jars of water?
The ideal storage location is cool (below 70°F/21°C), completely dark, and dry. A basement shelf, a closet in the interior of your home, or a dedicated pantry cabinet are excellent choices. Avoid garages, attics, or areas near furnaces, water heaters, or chemical storage, as temperature extremes and fumes can compromise the water.
How can I tell if a stored jar of water has gone bad?
First, check the seal. If the lid is bulging upward, discard the jar immediately. If the seal is intact (lid is concave), open it. Look for cloudiness or particles. Smell the water. It should have no odor. If it smells musty, stale, or otherwise off, or if it looks anything less than crystal clear, do not consume it. You can safely pour it down the drain or use it for non-potable purposes like gardening.
Can I store water in recycled jars from grocery store products (like pickle or sauce jars)?
It is not recommended. These jars are not designed for a vacuum seal and have a different lid system (often with a pull-tab seal). They are more likely to fail and allow contamination. Stick to true Mason jars with the two-piece lid and band system for a reliable, tested seal. Repurpose those grocery jars for dry goods storage instead.