Storing food in Mylar bags is the gold standard for long-term food preservation, locking in freshness for years or even decades. By using the right combination of Mylar bags, oxygen absorbers, and proper sealing, you can create a formidable barrier against moisture, light, and pests. This method is cost-effective, scalable, and perfect for building a resilient emergency food supply or simply preserving bulk ingredients.
Key Takeaways
- Oxygen is the #1 Enemy: Always use the correct size and quantity of oxygen absorbers for your bag and food type to remove oxygen and prevent spoilage and insect eggs from hatching.
- Moisture is a Close Second: Ensure food is bone-dry (less than 10% moisture) before bagging. Any residual moisture will cause mold and ruin your entire batch, regardless of oxygen removal.
- Seal Integrity is Non-Negotiable: A proper, continuous heat seal along the entire bag opening is critical. Even a tiny pinhole or unsealed section lets in oxygen and ruins the preservation effect.
- Cool, Dark, and Dry is the Rule: Stored bags must be kept in a stable environment with temperatures below 75°F (24°C), no light, and low humidity to maximize shelf life and prevent bag degradation.
- Not All Foods Are Equal: Low-moisture, low-fat foods like white rice, dried beans, oats, and powdered milk store exceptionally well. High-fat or oily foods (like nuts, brown rice) have a significantly shorter shelf life.
- Label Immediately and Clearly: Write the contents and storage date on the bag *before* sealing, or use a separate label. Forgetting what’s inside is a common and frustrating mistake.
- Protect from Physical Damage: Store sealed Mylar bags inside food-grade plastic buckets, bins, or heavy cardboard boxes to protect them from rodents, punctures, and light.
📑 Table of Contents
- Why Mylar Bags Are the Ultimate Choice for Long-Term Food Storage
- Gathering Your Essential Supplies: What You Actually Need
- The Step-by-Step Process: From Bag to Sealed Storage
- The Best (and Worst) Foods for Mylar Bag Storage
- Optimal Storage Conditions: Location, Location, Location
- Common Mistakes and How to Avoid Them
- Conclusion: Building Your Long-Term Food Security
Why Mylar Bags Are the Ultimate Choice for Long-Term Food Storage
So, you want to store food for the long haul. Maybe you’re building an emergency pantry, taking advantage of bulk purchases, or preserving a harvest. You’ve likely heard about Mylar bags. But what makes this thin, metallic-looking material so special? The answer lies in its construction and the science of food decay.
Mylar is a brand name for a type of polyester film, specifically BoPET (Biaxially-oriented polyethylene terephthalate). In plain English, it’s an incredibly strong, flexible, and impervious barrier. It blocks light, moisture, and—most critically—oxygen with near-perfect efficiency. Oxygen and moisture are the two primary agents that cause food to spoil, develop rancidity in fats, and allow insect pests to complete their life cycles. By eliminating these from the storage environment, you essentially hit the pause button on food aging.
Barrier Properties: The Science of Preservation
Unlike standard plastic bags or even food-grade buckets alone, Mylar provides a true hermetic seal. It is non-porous, meaning gas molecules cannot seep through the material over time. This is why the combination of a sealed Mylar bag and an oxygen absorber is so powerful. The absorber chemically removes the oxygen trapped inside the bag, and the Mylar ensures no new oxygen can get in. The result? An anaerobic (oxygen-free) environment where bacteria and most insects cannot survive. Light, especially UV light, degrades nutrients and fats; Mylar’s opaque, metallic layer reflects light away completely.
Cost vs. Value: An Investment in Security
While the initial cost of Mylar bags and oxygen absorbers might seem like an extra step compared to just tossing food in a bucket, the value is immense. A 1-gallon Mylar bag costs pennies. When you consider the cost of bulk dry goods (rice, beans, oats), the small investment in proper packaging protects hundreds of dollars worth of food from spoilage and waste. It transforms a simple purchase into a long-term asset for your household’s food security.
Gathering Your Essential Supplies: What You Actually Need
Before you dump a single bean into a bag, you need the right tools. Using improper or low-quality supplies is the fastest way to fail at long-term storage. Let’s build your kit.
Visual guide about How to Store Food in Mylar Bags
Image source: packagingbee.com.au
1. Food-Grade Mylar Bags
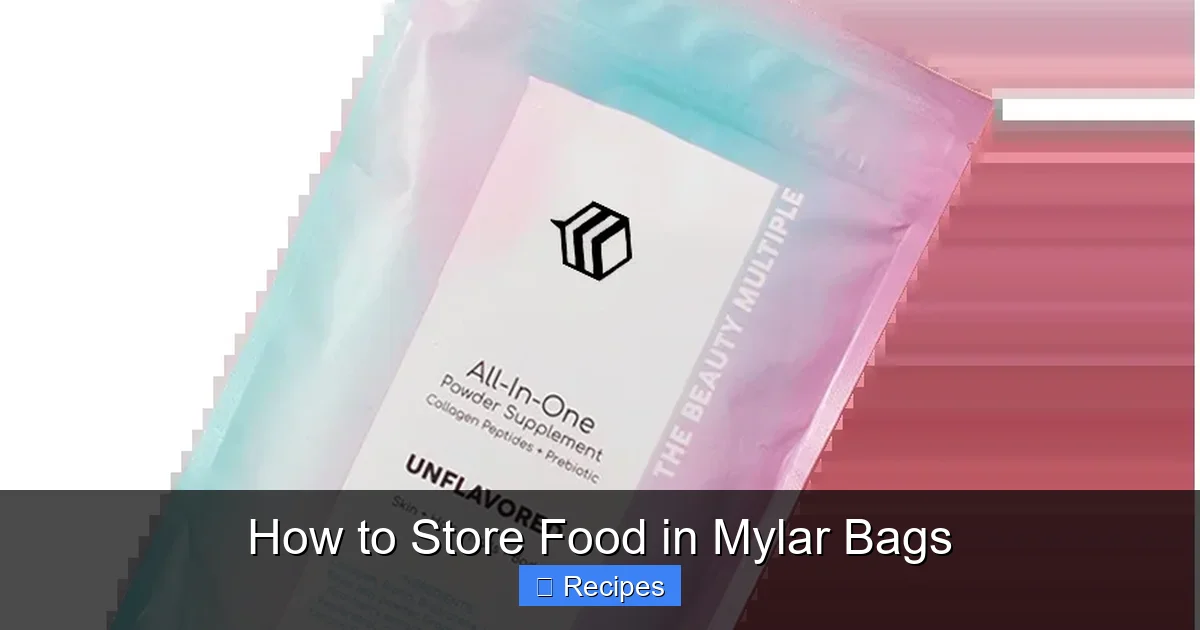
Not all Mylar is created equal. You must use food-grade Mylar bags. These are manufactured without harmful plasticizers or chemicals that could migrate into your food. Look for bags labeled “food-safe” or “food-grade.” They come in various mil thicknesses (a measure of thickness). For long-term storage, a 4.5 to 7 mil bag is recommended. Thicker bags (7 mil) are more puncture-resistant but stiffer and harder to seal. For most home users, 4.5 or 5 mil offers a great balance of strength and ease of use. Common sizes are 1-gallon, 5-gallon, and 1/2-gallon. Choose based on how much of a single item you want to store together.
2. Oxygen Absorbers (The Magic Ingredient)
These are not optional for multi-year storage. Oxygen absorbers are small packets containing iron powder and salt. They work through a simple chemical reaction: the iron rusts (oxidizes) when exposed to oxygen, consuming the O2 molecules in the process. The packet fills with rust and the bag is left with mostly nitrogen and other inert gases. You must match the absorber’s capacity (measured in cubic centimeters, or cc) to the volume of your bag and the type of food. For a 1-gallon bag storing low-moisture foods, a 300cc or 500cc absorber is standard. For a 5-gallon bag, use 2000cc or 3000cc absorbers. Always use fresh, unopened absorbers. Once exposed to air, they begin working and become useless. Keep them sealed in their original airtight pouch until the moment you need them.
3. A Reliable Heat Sealer
This is the tool that makes it happen. You cannot use a standard clothes iron or a kitchen vacuum sealer meant for soft plastic pouches. You need a constant heat impulse sealer or a handheld impulse sealer designed for Mylar. These sealers have a heated element that activates for a set time (usually 0.5 to 2 seconds) to melt the Mylar layers together, creating a strong, continuous weld. The seal width should be at least 3mm. A 12-inch handheld impulse sealer is a fantastic, affordable starting point for most home preppers. Practice on scrap pieces first to get the timing right for your bag thickness.
4. Supporting Tools
- Food-Grade Buckets or Bins: For physical protection. Store your sealed Mylar bags inside new, food-grade plastic buckets with gasket lids, heavy-duty plastic storage bins, or sturdy cardboard boxes. This shields them from rodents, light, and puncture.
- Funnel or Scoop: To get food into bags cleanly without spills.
- Permanent Marker: For labeling. A Sharpie works perfectly on Mylar.
- Measuring Cups/Scale: For portioning food and calculating absorber needs.
The Step-by-Step Process: From Bag to Sealed Storage
Now, let’s get hands-on. The process is simple, but precision matters. Here is the fail-proof method.
Visual guide about How to Store Food in Mylar Bags
Image source: gosafepackaging.us
Step 1: Prepare Your Workspace and Food
Work in a clean, dry, low-humidity area. Your food must be bone-dry. If you’re dehydrating fruits, vegetables, or meat, ensure they are leathery or crisp, not pliable. For store-bought bulk goods, they are typically dry enough. If there’s any doubt, spread the food on a baking sheet and dry it in a very low oven (150-200°F / 65-93°C) for 1-2 hours, stirring occasionally, then let it cool completely. Any moisture trapped in the bag will cause mold, regardless of oxygen removal.
Step 2: Fill the Bag and Add the Oxygen Absorber
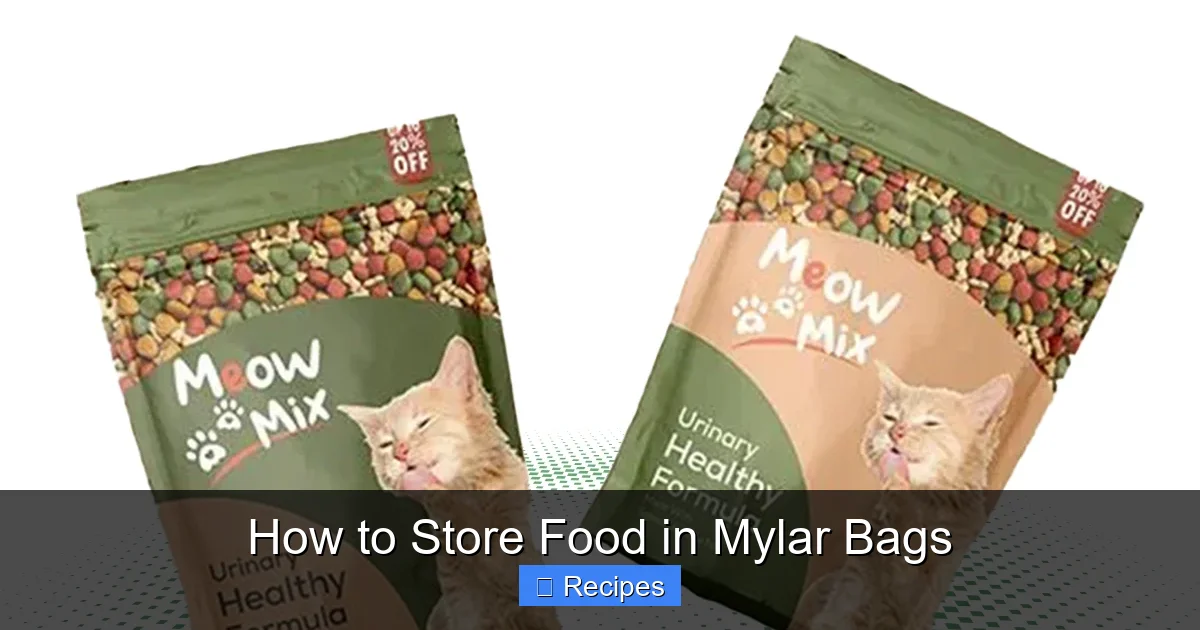
Using your funnel or scoop, fill the Mylar bag with your prepared food. Do not overfill. Leave at least 3-4 inches of empty space at the top of the bag. This “headspace” is crucial for two reasons: it gives the oxygen absorber room to work without being buried under food, and it allows you to press out excess air and create a clean seal. Do not pack the bag full. Once filled, gently shake and tap the bag to settle the contents and remove as much air as you can by pressing from the bottom upward. Now, carefully open your oxygen absorber packet (using scissors if needed) and pour it onto the top layer of food. It will immediately start working. Quickly move to the next step.
Step 3: Seal the Bag – The Most Critical Step
Fold the top of the Mylar bag over once or twice to create a straight, clean edge. This prevents food particles from getting into the seal area. Place the folded edge into the sealer’s jaws, ensuring it’s centered. Activate the sealer. You should hear a crisp “snap” or see a clear, continuous seal line. The seal should be smooth, without wrinkles, gaps, or bubbles. Let the seal cool for a second before handling. For maximum security on large bags (5-gallon), some experts recommend a double seal: make your first seal, then fold the bag top over again and seal a second time a half-inch below the first. This creates a “belt-and-suspenders” backup.
Step 4: Label and Store
Before you forget, write directly on the Mylar bag with your permanent marker. Include: Food Item, Date of Storage, and optionally, the Oxygen Absorber Size used (e.g., “500cc”). If you plan to use buckets, you can label the bucket instead, but labeling the bag itself is foolproof. Immediately place the sealed bag into your protective bucket or bin. Seal the bucket. Store in your designated cool, dark, dry location.
The Best (and Worst) Foods for Mylar Bag Storage
Not every food item is a good candidate for 20-year storage. Success depends on the food’s inherent properties: moisture content and fat content are the deciding factors.
Visual guide about How to Store Food in Mylar Bags
Image source: gosafepackaging.us
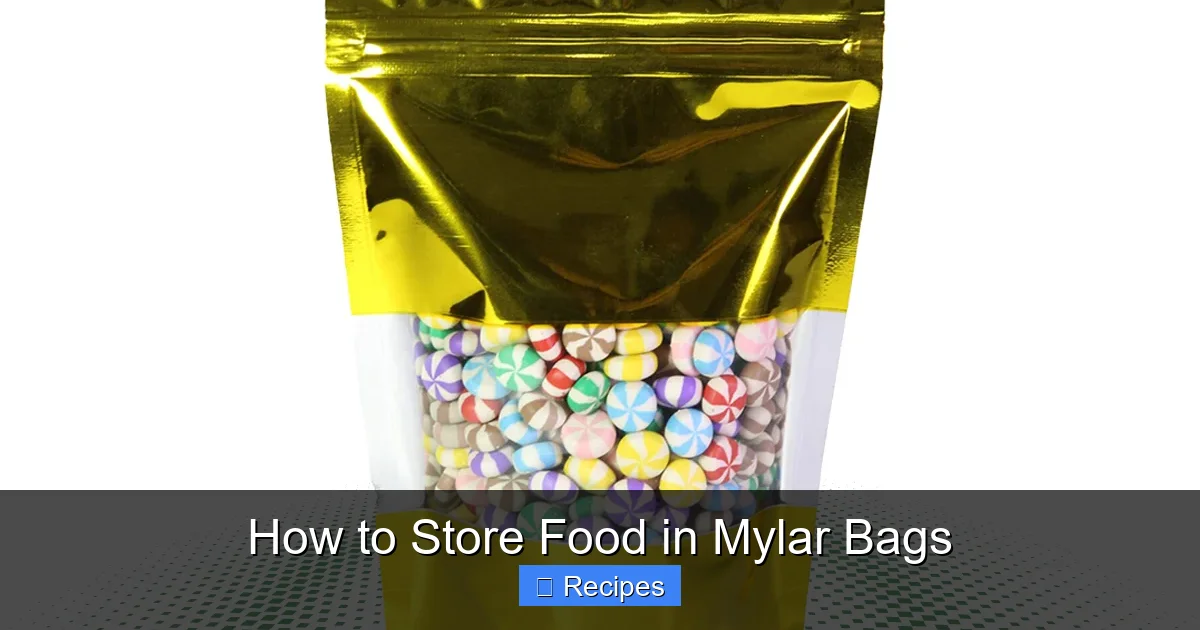
Top-Tier Candidates: Low-Moisture, Low-Fat Staples
These are the champions of the long-term pantry. They store exceptionally well for 25-30+ years when properly packaged.
- Grains: White rice (not brown), wheat berries, oat groats, rolled oats, barley, pasta, cornmeal.
- Legumes: Dried beans (pinto, kidney, black, navy), lentils, split peas. Note: older beans may take longer to rehydrate.
- Powdered Foods: Non-fat dry milk, powdered eggs, powdered cheese, powdered potatoes.
- Sugars & Salts: White sugar, salt, baking soda, baking powder (shelf life is shorter due to leavening agents).
- Seeds: Sunflower seeds, pumpkin seeds (ensure very dry).
Good with Caveats: Moderate Shelf Life
These can be stored but have a shorter window due to oil content or structure.
- Nuts and Seeds: Due to high oil content, they typically last 1-2 years even in Mylar. Store in smaller bags and use first.
- Brown Rice and Whole Grains: The oil in the bran and germ leads to rancidity in 6-12 months. Best stored in the freezer for shorter-term use.
- Dehydrated Fruits & Vegetables: If truly dry (crisp), they can store for 5-10 years. Home-dehydrated items have a higher moisture risk than commercially freeze-dried.
Poor Candidates: Avoid These
Do not attempt long-term storage of these in Mylar bags.
- High-Moisture Foods: Fresh fruits, vegetables, meats, cheeses, any wet or oily food. They will mold.
- Leavened Baked Goods: Bread, cakes, etc. They contain moisture and will spoil.
- Live Yeast: It will die.
- Anything with a Strong Odor: Mylar is not odor-proof. Spices, coffee, and garlic will permeate the bag and any nearby bags.
- Whole-Fat Dairy: Powdered whole milk, cheese powder with fat. The fat will turn rancid.
Optimal Storage Conditions: Location, Location, Location
Your perfectly sealed Mylar bag is only as good as its environment. The “where” is as important as the “how.”
The Holy Trinity: Cool, Dark, and Dry
Strive for a consistent temperature below 75°F (24°C). Every 10°F rise in temperature roughly halves the projected shelf life of stored food. Basements, cellars, and interior closets are often ideal. Avoid attics (too hot) and garages (temperature and humidity extremes). The space must be dark to prevent light degradation. And it must be dry—relative humidity below 60% is ideal. A dehumidifier in a basement storage area can be a wise investment.
Protection from Physical Threats
Always store your Mylar bags inside a secondary container. A 5-gallon food-grade bucket with a gasket lid is the gold standard. It provides an impermeable, rigid shell against rodents, insects, and physical puncture. It also helps block any stray light. If using cardboard boxes, place them on a pallet off the concrete floor and ensure they are in a location with no pest history.
Organization and Inventory Management
Implement a “first-in, first-out” system. Store your newest purchases behind older ones. Keep a detailed inventory list (a simple notebook or spreadsheet) that notes what you have, the storage date, and the estimated rotation date. This prevents the “mystery bucket” syndrome and ensures you use food while it’s at its peak quality.
Common Mistakes and How to Avoid Them
Even with the best intentions, small errors can compromise your entire storage project. Here are the most frequent pitfalls.
Mistake 1: Skipping or Under-Sizing Oxygen Absorbers
This is the #1 error. Some think they can just “shake out the air.” You cannot remove oxygen by shaking; it requires a chemical reaction. Using an absorber that’s too small for the bag volume won’t remove all the oxygen. Always check the manufacturer’s guidelines for absorber size vs. bag volume. When in doubt, use a slightly larger absorber. It won’t harm the food.
Mistake 2: Storing Food with Too High Moisture Content
That batch of home-dehydrated apples that’s still a little pliable? It will grow mold inside its Mylar bag, and the mold will consume the food and potentially produce mycotoxins. The rule is absolute: food must be crispy dry. Invest in a reliable food dehydrator and test a piece by bending it—it should snap, not bend.
Mistake 3: Poor Sealing Technique
A seal with a tiny gap, a wrinkle, or food particles in the seam is a failure point. Practice on empty bags first. Clean the sealing area meticulously. Ensure the sealer’s temperature and timing are correct for your bag’s mil thickness. A double seal on large bags adds insurance.
Mistake 4: Inadequate Secondary Protection
Leaving Mylar bags loose on a shelf invites rodents to chew through them (they can) and exposes them to light and physical damage. The bucket is not optional for serious, multi-year storage.
Mistake 5: Forgetting to Label
Three years from now, that sealed bag of off-white powder is a mystery. Is it powdered milk, flour, or dried eggs? Label everything immediately with contents and date. Use a marker that won’t fade.
Conclusion: Building Your Long-Term Food Security
Storing food in Mylar bags is not a complex, industrial process. It is a simple, accessible, and profoundly effective method for taking control of your food supply. It bridges the gap between a two-week grocery run and true resilience. By understanding the principles—oxygen and moisture are the enemies, heat sealing is the gatekeeper, and cool/dark/dry is the sanctuary—and by following the step-by-step process, you can transform ordinary bulk staples into a long-lasting, nutritious food reserve.
Start small. Buy a 1-gallon bag of white rice, a 300cc oxygen absorber, and practice the sealing process. The confidence you gain from that first successful, perfectly sealed bag will empower you to scale up. In a world of supply chain uncertainties and rising costs, the skill of storing food in Mylar bags is a practical, empowering form of self-reliance. It’s not about fear; it’s about foresight. It’s about knowing that you have the knowledge and the resources to feed your family, no matter what tomorrow brings. Your future self, opening a bag of perfectly preserved beans five years from now, will thank you for the effort you put in today.
Frequently Asked Questions
Can I reuse Mylar bags for food storage?
Generally, no. Once a Mylar bag is opened and sealed, the material has been stressed, and the seal integrity is compromised. Cleaning it thoroughly is nearly impossible without risking contamination. The small cost of a new bag is not worth the risk of spoiling your food. Use them as a single-use, long-term packaging solution.
How long can food stored in Mylar bags actually last?
When done correctly—using low-moisture, low-fat foods, proper oxygen absorbers, and ideal storage conditions—shelf lives of 25-30 years are realistic for items like white rice, dried beans, and rolled oats. High-fat items like nuts or brown rice will only last 1-2 years. Always label with the storage date and aim to rotate your stock within a reasonable timeframe.
Can I store Mylar bags in the freezer?
It is not recommended. Freezing can cause the Mylar to become brittle and potentially crack. More importantly, if you put a room-temperature bag into a freezer, condensation will form on the inside as the air cools, introducing moisture that will cause spoilage. Store in a consistently cool, dry place instead.
What happens if I forget to use an oxygen absorber?
Without an absorber, you are only removing the bulk air by pressing the bag, not the oxygen itself. Insects and their eggs can survive, and slow oxidation will occur, leading to rancidity in fats and nutrient loss over a much shorter timeframe (1-5 years instead of decades). The bag will not be hermetically sealed for long-term preservation.
Can I store any type of food, like spices or coffee, in Mylar?
You can store low-moisture spices (whole peppercorns, dried herbs) in Mylar, but be aware that Mylar is not odor-proof. Strong-smelling items like coffee, garlic powder, or cumin will permeate the bag and can transfer odors to other foods stored nearby. It’s best to store potent items separately in their own dedicated containers.
How do I know if my stored food has gone bad?
When you open a bag, use your senses. Smell: Any sour, musty, “off,” or rancid odor is a clear sign of spoilage. Look: Check for visible mold, insect activity (webbing, larvae, live bugs), or clumping that wasn’t there before. Taste: If it passes smell and sight, taste a small amount. Anything with an unpleasant or bitter taste should be discarded. When in doubt, throw it out.
Pingback: Food to Have When Power Goes Out - kitchenandhouseware.com