Storing beet greens properly is the key to enjoying their earthy, nutritious flavor long after harvest. The secret lies in minimizing moisture and maximizing airflow in your refrigerator. For long-term storage, blanching and freezing is your best bet, locking in flavor and nutrients for months. Follow these simple steps to transform perishable greens into a ready-to-use kitchen staple and eliminate food waste.
Key Takeaways
- Do Not Wash Before Storing: Moisture is the enemy. Wash beet greens only right before you plan to use them to prevent premature spoilage.
- Dry Thoroughly is Crucial: Any residual water from washing or the plant itself will cause sliminess and rot. Use a salad spinner or paper towels.
- The Paper Towel Method Works Best: Wrapping dry greens loosely in a dry paper towel and placing them in an open or perforated bag creates the ideal humid-but-breathable environment in the crisper drawer.
- Temperature Matters: Store in the coldest part of your fridge, typically the crisper drawer, but avoid the very back wall where freezing can occur.
- Blanching is Essential for Freezing: To preserve color, texture, and nutrients for months, you must blanch greens in boiling water briefly before shocking in ice water and freezing.
- Use Within a Week for Peak Quality: Even stored perfectly, beet greens are best used within 5-7 days for optimal flavor and nutrient retention.
- Inspect Regularly: Check your stored greens every couple of days. Remove any leaves that are starting to yellow or soften to prevent them from spoiling the rest.
📑 Table of Contents
- How to Store Beet Greens: A Complete Guide to Freshness and Flavor
- Step 1: The Critical Prep Work—What to Do Immediately
- Step 2: The Drying Ritual—Your Secret Weapon Against Sliminess
- Step 3: Refrigeration—The Short-Term Storage Solution
- Step 4: Long-Term Storage—Freezing for Future Feasts
- Step 5: Common Mistakes That Ruin Your Greens (And How to Avoid Them)
- Step 6: From Storage to Table—Inspiration for Your Stored Greens
- Conclusion: Embrace the Whole Vegetable
How to Store Beet Greens: A Complete Guide to Freshness and Flavor
You’ve just bought a beautiful bunch of beets, their ruby bulbs gleaming beside a vibrant cloud of deep green, leafy tops. Or perhaps you’ve just harvested them from your own garden, the soil still clinging to their roots. You know the beets themselves will store wonderfully in a cool, dark place. But what about those gorgeous greens? Those nutrient-packed, slightly earthy, beet-y flavored tops are a culinary treasure, often discarded far too soon. Learning how to store beet greens properly is the simple, transformative skill that turns a potential waste into a week’s worth of sautéed sides, pesto, smoothie boosts, and more. This isn’t just about keeping food; it’s about respecting the whole plant, maximizing your grocery dollar, and ensuring you have incredibly fresh, healthy greens at the ready. Let’s dive into the step-by-step process that will have you storing beet greens like a pro.
Why This Humble Green Deserves Your Attention
Before we get to the “how,” let’s acknowledge the “why.” Beet greens are not an afterthought; they’re a nutritional powerhouse. They’re packed with vitamins A, C, and K, along with folate, potassium, iron, and fiber. Their flavor is uniquely delicious—a cross between Swiss chard and spinach, with a subtle, earthy sweetness that mellows beautifully when cooked. When you toss them, you’re tossing a free, fantastic vegetable. Proper storage is the bridge between harvesting/buying and enjoying. Without it, that vibrant green turns sad, slimy, and yellow in just a day or two. With it, you unlock consistent, fresh flavor.
Step 1: The Critical Prep Work—What to Do Immediately
The moment you bring your beet greens home, the clock starts ticking. But don’t rush to the sink! The very first step in how to store beet greens is actually to *not* wash them. This might feel counterintuitive, but it’s the golden rule. Any moisture on the leaves—whether from washing or just from the plant’s natural transpiration—will create a damp environment perfect for bacteria and decay. Your goal is to keep the leaves as dry as possible until the moment you use them.
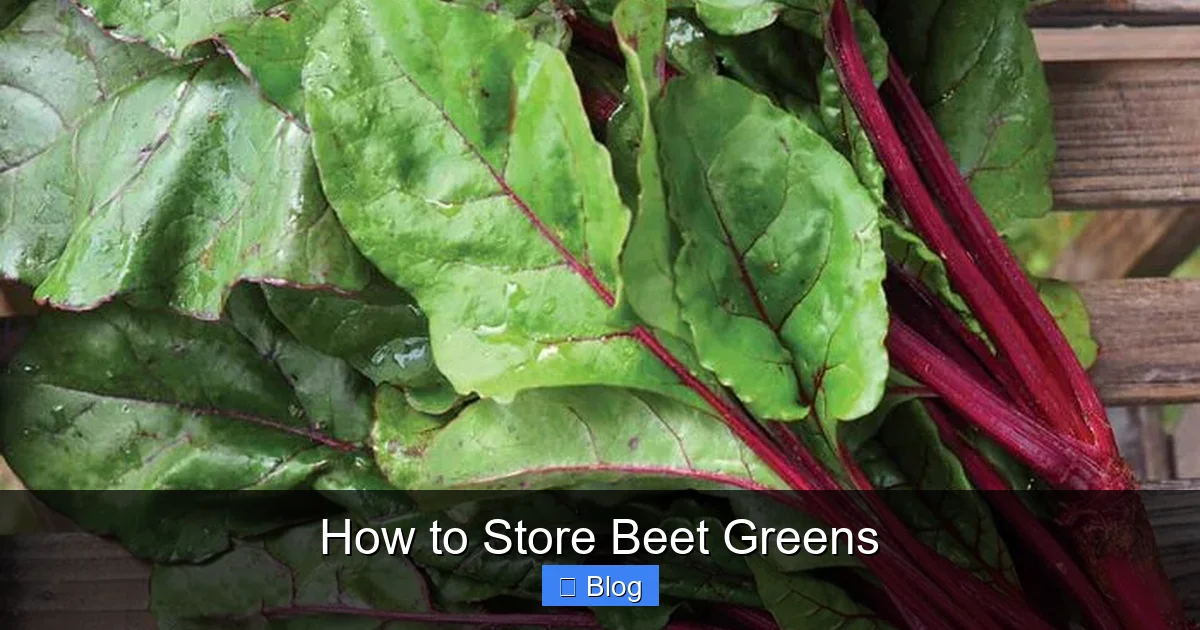
Visual guide about How to Store Beet Greens
Image source: howtocook-guide.com
Separate Greens from Beets (If Still Attached)
If your beets came with their greens still attached, your first task is to separate them. The roots and the greens have different storage needs. Leaving them attached will cause the greens to draw moisture from the beetroot, leading to limp leaves and a potentially compromised beet. Use a sharp knife to cut about 1-2 inches above the bulb, leaving a bit of stem on the green bunch. You can store the beetroots separately in a cool, dark place like a pantry or root cellar.
Gentle Handling and Initial Inspection
Now, handle your greens with care. They are delicate. Give the bunch a gentle shake outdoors or over a sink to dislodge any loose dirt or tiny bugs. Do a quick inspection. Remove any leaves that are already damaged, bruised, or yellowing. One bad leaf can speed up the spoilage of the entire bunch. This initial culling is a small step with a big impact on the longevity of the rest.
Step 2: The Drying Ritual—Your Secret Weapon Against Sliminess
As established, dryness is non-negotiable. Even if you didn’t wash them, beet greens can be damp from the garden or the produce department’s misting system. You must remove this surface moisture. This step is what separates wilted greens in two days from crisp greens in ten.
Visual guide about How to Store Beet Greens
Image source: earthboundfarm.com
The Salad Spinner Method (Ideal for Larger Batches)
If you have a large harvest, a salad spinner is your best friend. After your initial shake, give the greens a very brief, gentle rinse under cool water if they are visibly dirty—but only if necessary. Then, load them into the spinner basket in batches. Spin until no more water is flying off the sides. The centrifugal force is incredibly effective at removing water from between the leaf folds without bruising the greens.
The Paper Towel Method (Perfect for Store-Bought or Smaller Bunches)
For a standard store-bought bunch, a salad spinner can be overkill. Instead, lay out a few layers of paper towels on a clean counter or cutting board. Spread the beet greens in a single layer on the towels. Gently pat the tops and undersides with more dry paper towels. Pay special attention to the base of the stems and the undersides of leaves, where moisture loves to hide. You can also roll the greens loosely in the paper towels to absorb moisture from all sides. The goal is a leaf that feels dry to the touch, not damp.
Step 3: Refrigeration—The Short-Term Storage Solution
For consumption within the week, your refrigerator is the perfect tool. But it’s not as simple as tossing the bag into the crisper drawer. The method you use here is critical for maintaining that just-purchased crunch and color. We’re aiming for high humidity with good airflow—a paradox that the paper towel solves beautifully.

Visual guide about How to Store Beet Greens
Image source: shuncy.com
The Airtight Container vs. Perforated Bag Debate
You have two excellent options, both relying on the paper towel. First, the container method: Line an airtight plastic or glass container with a dry paper towel. Place your dry greens on top, then cover them with another dry paper towel before sealing the lid. The container traps a bit of humidity from the greens themselves, while the paper towels wick away excess moisture. Second, the bag method: Place the dry greens in a reusable produce bag or a regular plastic bag. Do NOT seal it tightly. Either leave the bag open or, even better, poke a few small holes in it with a toothpick or skewer. This allows for gas exchange while the paper towel inside manages moisture. Both methods are highly effective.
Crisper Drawer Placement: Hot or Not?
Where in the fridge? The crisper drawer is designed for produce, maintaining a higher humidity level than the rest of the fridge. This is good. However, not all crisper drawers are equal. Some have humidity control sliders. For beet greens, you generally want a medium to high humidity setting. If your drawer has no controls, just place your wrapped/containered greens inside. Avoid the very back of the fridge, near the cooling element, as temperatures can dip low enough to cause chilling injury (black, watery spots) on the delicate greens. The middle or front of the crisper is the sweet spot.
How Long Will They Last?
With this perfect storage setup, you can expect your beet greens to stay fresh, crisp, and vibrant for 7 to 10 days, sometimes even up to two weeks. You’ll know they’re still good when the leaves are sturdy, the stems are firm, and there’s no smell of decay. They may wilt slightly from their initial harvest firmness, but they should not be slimy or yellowed.
Step 4: Long-Term Storage—Freezing for Future Feasts
What if you have a massive harvest from your garden or find a fantastic deal at the farmers market? You need a way to preserve those greens for months, not just days. Freezing is the answer, but there’s a crucial step you cannot skip: blanching. Blanching—briefly boiling vegetables—deactivates the enzymes that cause loss of color, flavor, and texture during frozen storage. Skipping it will result in dull, mushy, off-tasting greens later.
The Blanching Process Demystified
It’s simple and fast. First, bring a large pot of water to a rolling boil. Have a large bowl of ice water ready nearby. While waiting, give your greens a final wash (this is the last wash they’ll get) and roughly chop them or leave them whole—blanching time will vary slightly. Once the water boils, submerge the greens using a slotted spoon or spider strainer. For tender beet green leaves, blanch for just 30 to 60 seconds. You’ll see the color brighten to a vibrant, beautiful green. The moment that happens, quickly remove them and plunge them into the ice water bath to stop the cooking process instantly. Let them chill for the same amount of time they were boiled.
Drying and Packing for the Freezer
After chilling, drain the greens thoroughly. Now, you must get them as dry as possible again. Spread them on a clean kitchen towel or paper towels and gently press or roll to remove water. Excess ice crystals will form if they are wet. Once dry, you have two packing options. For loose-packed greens, portion them into freezer bags, squeeze out as much air as possible, seal, and lay flat to freeze. For pre-portioned convenience, use an ice cube tray! Pack the blanched, dried greens into the trays, top with a little water or olive oil, and freeze. Once solid, pop out the cubes and store them in a bag. These are perfect for adding directly to smoothies, soups, or sautés.
Shelf Life and Best Use for Frozen Greens
Properly blanched and frozen beet greens will maintain top quality for 10 to 12 months in a standard freezer. They will be safe beyond that, but quality will decline. Note that frozen greens will have a softer texture than fresh, so they are best used in cooked applications: stirred into pasta sauces, mixed into quiches and frittatas, added to soups and stews, or sautéed as a simple side. They are not ideal for raw salads after freezing.
Step 5: Common Mistakes That Ruin Your Greens (And How to Avoid Them)
Even with the best intentions, it’s easy to make errors that shorten the life of your beet greens. Knowing these pitfalls is half the battle. Let’s troubleshoot the most frequent missteps.
Mistake 1: Storing Damp Greens
This is the #1 cause of slimy, sad greens. Whether from a wash or natural moisture, wet leaves in a sealed bag create a mini greenhouse for rot. The fix is simple but non-negotiable: dry, dry, dry. Invest in a salad spinner or become best friends with your paper towel roll.
Mistake 2: Sealing Them in a Completely Airtight Environment
While you want to protect them from drying out, sealing them in a completely airtight plastic bag traps ethylene gas (the natural ripening gas plants emit) and moisture, accelerating decay. Always allow for some breathability—a perforated bag, a loosely closed container, or the paper towel method that absorbs excess humidity.
Mistake 3: Forgetting to Remove the Rubber Band or Twist Tie
That tight band holding your bunch together? It’s crushing the stems and restricting airflow, creating a perfect spot for rot to start. Immediately upon getting them home, remove any binding. If you need to keep them together for storage, use a loose rubber band or just place the whole bunch gently in your container/bag.
Mistake 4: Ignoring the Stems
The thick, central stems are often discarded, but they are edible and tasty! However, they are also denser and take longer to cook. For storage, they are fine, but if you want to use the greens quickly, consider separating the tender leaves from the stems. Store the stems together with the leaves, but know you might want to start cooking the stems a minute or two earlier than the leaves.
Step 6: From Storage to Table—Inspiration for Your Stored Greens
All this storage knowledge is for naught if you don’t use your beautiful greens. Having them readily available is the best motivator. Here’s how to turn your stored beet greens into delicious meals.
The Simple Sauté: A Classic for a Reason
This is the fastest, most classic preparation. Heat a tablespoon of olive oil or butter in a large skillet over medium heat. Add a minced garlic clove for 30 seconds until fragrant (optional but recommended). Add your washed, dried, and roughly chopped beet greens. They will look like a lot, but they wilt down dramatically. Toss with tongs until completely wilted, about 3-5 minutes. Season with salt, pepper, a squeeze of lemon juice, or a pinch of red pepper flakes. Serve as a side dish for fish, chicken, or steak.
Pesto Powerhouse
Swap out some or all of the basil in your favorite pesto recipe with blanched, well-dried beet greens. Their earthy flavor adds a wonderful depth. Blend with nuts (pine nuts or walnuts), garlic, Parmesan, olive oil, and lemon juice. This vibrant green pesto is incredible on pasta, roasted vegetables, or as a sandwich spread.
Smoothie Stealth Boost
For a nutrient bomb you won’t even taste, add a handful of raw or frozen blanched beet greens to your morning smoothie. Their flavor is mild enough to be masked by banana, mango, or berries. You’ll get a huge dose of vitamins without any grassy aftertaste.
Conclusion: Embrace the Whole Vegetable
Mastering how to store beet greens is more than a kitchen hack; it’s a mindset shift towards zero-waste cooking and celebrating the entire harvest. By taking those few extra minutes to dry them carefully and choose the right storage method—whether a paper towel in the fridge for the week or a blanch-and-freeze for the months—you honor the farmer’s work and your own investment. You guarantee that a burst of fresh, green, earthy flavor is always at your fingertips. So next time you see that beautiful bunch, don’t toss the tops. Store them with confidence, and let them inspire your next simple, wholesome, and absolutely delicious meal. Your taste buds—and your wallet—will thank you.
Frequently Asked Questions
How long do beet greens last in the fridge?
When stored properly using the paper towel method in an open or perforated bag in the crisper drawer, fresh beet greens will last for 7 to 10 days, sometimes up to two weeks. Always check for sliminess or yellowing before use.
Can you freeze beet greens without blanching them first?
You can, but it is not recommended. Freezing without blanching will cause the enzymes in the greens to remain active, leading to a loss of color, flavor, and texture—resulting in mushy, dull, and potentially off-tasting greens after thawing. Blanching is essential for quality.
What’s the best way to revive wilted beet greens?
If your greens are just slightly wilted but not slimy, you can often revive them. Trim the stem ends and submerge the greens in a bowl of very cold water for 15-30 minutes. Change the water once if it gets dirty. They can perk up significantly, though they won’t be as crisp as newly harvested greens.
Should I store beet greens with the beets attached?
No, it’s best to separate them immediately. The greens will draw moisture from the beetroot, causing the greens to wilt faster and potentially compromising the beet’s storage life. Store the unwashed beets in a cool, dark, humid place like a root cellar or the crisper drawer in a bag.
Can I store beet greens in a jar of water like herbs?
This method is not ideal for beet greens. While it might keep them upright, the submerged stems will become waterlogged and slimy very quickly. The high moisture environment at the base promotes rapid rot. The dry-paper-towel method is far superior.
How can I tell if my stored beet greens have gone bad?
Signs of spoilage include a strong, unpleasant sour or rotten smell, leaves that are slimed, excessively soft, or mushy to the touch, and widespread yellowing or dark spots. If only a few leaves are affected, remove them immediately. If the majority show these signs, it’s best to compost them.