Keeping a Shun knife razor‑sharp is easier than you think. This guide walks you through the best tools, techniques, and safety tips so you can restore a perfect edge at home. Follow the simple steps and your kitchen will thank you.
Key Takeaways
- Right tools matter: A quality whetstone (or Shun’s own stone) plus a honing guide give consistent results.
- Angle is everything: Shun’s 15‑degree edge requires a precise, repeatable angle for optimal sharpness.
- Two‑stage process: Coarse grit shapes the edge; fine grit refines and polishes it.
- Safety first: Secure the stone, keep fingers away from the blade, and use a non‑slip mat.
- Maintenance prolongs sharpness: Honing after each use and proper storage keep the edge longer.
- Know when to stop: A burr test tells you when the edge is ready for the fine grit.
- Alternative methods: Ceramic rods and pull‑through sharpeners work for quick touch‑ups but can’t replace a proper stone.
📑 Table of Contents
- Introduction: Why Sharpening Your Shun Knife Matters
- 1. Choosing the Right Sharpening Tools
- 2. Preparing Your Workspace
- 3. The Two‑Stage Sharpening Process
- 4. Testing Sharpness and Maintaining the Edge
- 5. Alternative Sharpening Methods (When You’re in a Hurry)
- Conclusion: Keep Your Shun Knife Cutting Like New
Introduction: Why Sharpening Your Shun Knife Matters
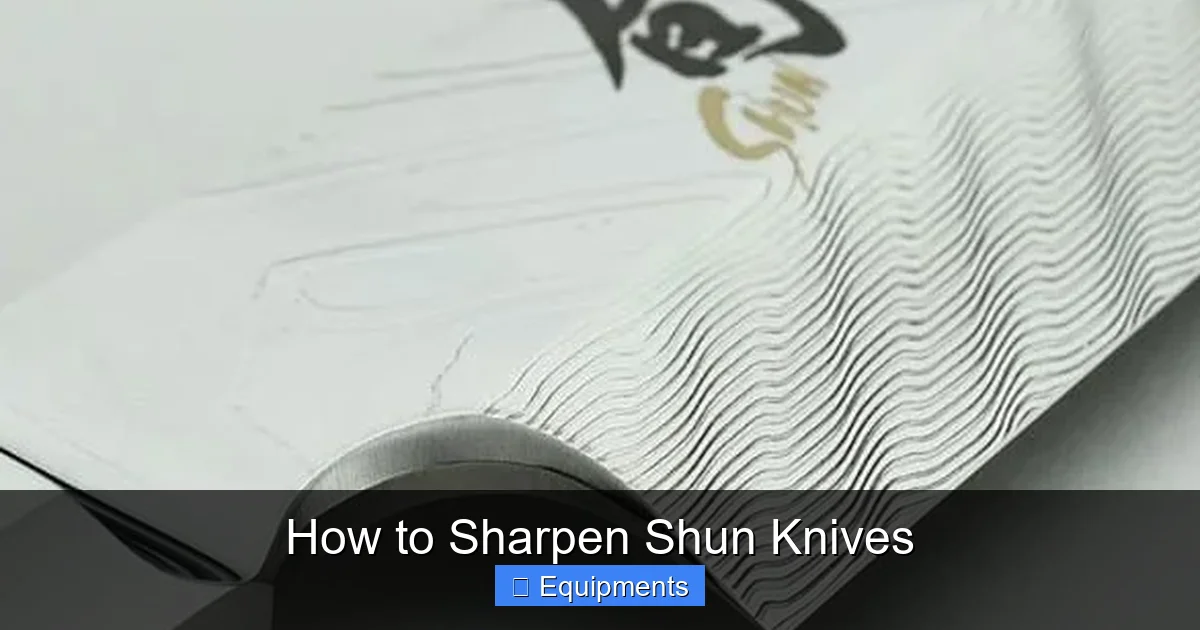
Shun knives are beloved for their ultra‑thin, 15‑degree edges and beautiful Damascus‑style steel. That edge gives you clean cuts, less crushing, and a safer chopping experience. But even the best steel dulls over time. A dull Shun not only makes food prep slower, it can actually be more dangerous because you have to press harder.
Knowing how to sharpen Shun knives lets you keep that kitchen masterpiece performing at its peak. The good news? You don’t need an expensive electric grinder. With a few basic tools and a little patience, you can bring a blunt blade back to a mirror‑like finish that slices like a hot knife through butter.
1. Choosing the Right Sharpening Tools
1.1. The Whetstone – Your New Best Friend
Shun recommends a natural Japanese water stone or a high‑quality synthetic stone with a grit range of 1000–3000 for everyday maintenance. The two‑step system works like this:

Visual guide about How to Sharpen Shun Knives
Image source: knivesadvice.com
- Coarse side (1000‑1500 grit): Removes material, re‑establishes the edge geometry.
- Fine side (3000‑8000 grit): Polishes the edge, removes the burr, and creates a razor‑sharp bevel.
Make sure the stone is large enough to accommodate the full length of your Shun blade (usually 8‑10 inches). A larger surface gives you more room to maintain a steady angle.
1.2. Honing Guides and Angle Guides
Maintaining a consistent 15‑degree angle by hand can be tricky, especially for beginners. A honing guide clamps onto the blade and holds it at the correct angle while you push the stone across. Look for a guide that works with both 8‑inch and 10‑inch knives.
1.3. Supporting Tools
- Non‑slip mat: Places under the stone to keep it from sliding.
- Water spray bottle: Keeps the stone lubricated during sharpening.
- Leather strop: Optional, for the final polish after the fine grit.
- Blade cleaning cloth: Wipes away metal filings after each stage.
2. Preparing Your Workspace
2.1. Safety First
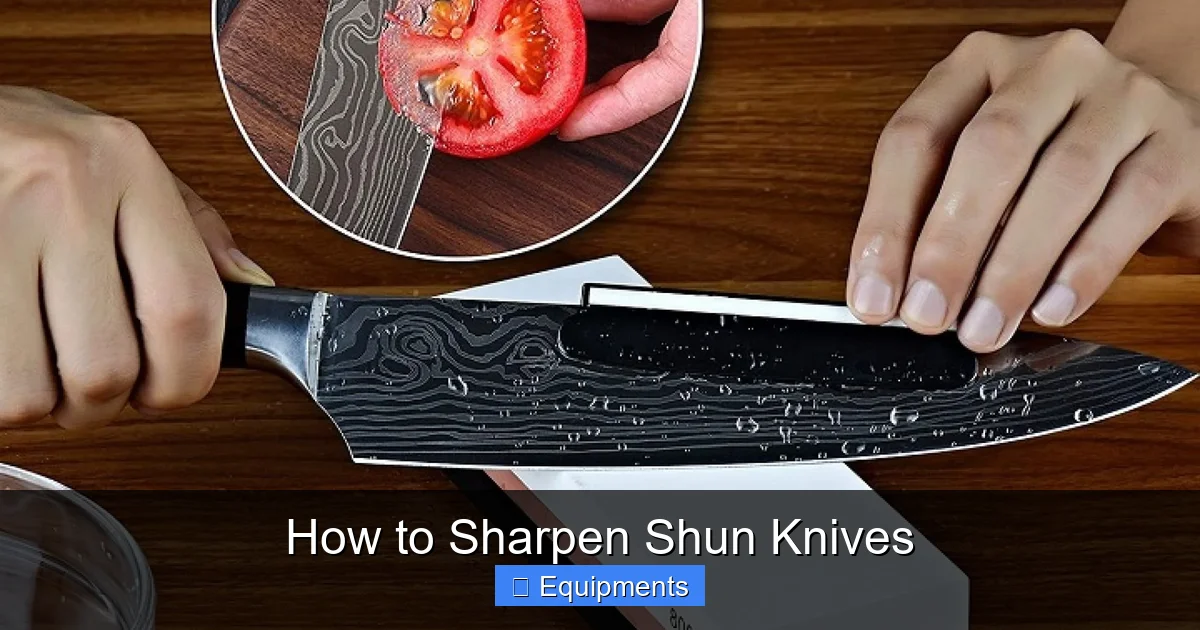
Before you even touch the stone, clear a flat surface and place a non‑slip mat underneath. Wear cut‑resistant gloves if you’re nervous about the blade slipping. Keep your fingers well away from the cutting edge—use the thumb side of the knife as a guide, not the sharp side.
Visual guide about How to Sharpen Shun Knives
Image source: knivestask.com
2.2. Soaking the Stone
Most water stones need to be saturated before use. Submerge the stone in a bowl of water for about 5‑10 minutes, or until bubbles stop rising. If you’re using a synthetic oil stone, follow the manufacturer’s instructions for oil application.
2.3. Checking the Blade
Inspect the Shun knife for chips or severe nicks. If you find a deep chip, you may need a coarser stone (around 600 grit) or professional repair. For normal dullness, the 1000‑1500 grit side is sufficient.
3. The Two‑Stage Sharpening Process
3.1. Stage One – Shaping with Coarse Grit
1. Place the stone on the mat, coarse side up.
2. Clamp the honing guide onto the blade, aligning the guide’s angle to 15°.
3. Hold the knife handle firmly with one hand, and with the other, push the stone across the blade from heel to tip, maintaining even pressure.
Visual guide about How to Sharpen Shun Knives
Image source: foodsguy.com
Repeat this motion 10‑12 times on each side of the blade. You’ll feel a slight “gritty” resistance—that’s the stone grinding away metal to form a new bevel.
3.2. Detecting the Burr
After the coarse passes, run your thumb lightly along the opposite side of the edge (never the sharp side). You should feel a tiny burr—a raised metal lip—indicating the edge is sufficiently ground. If no burr appears, add a few more passes.
3.3. Stage Two – Polishing with Fine Grit
Flip the stone to the fine side (3000‑8000 grit). Keep the same 15‑degree guide in place. Perform the same push‑pull strokes, but this time use lighter pressure—just enough to feel the stone’s texture.
Do 15‑20 passes per side. The burr will begin to disappear, and the blade will start to feel “silky.” This is the stage where the edge becomes truly razor‑sharp.
3.4. Final Hone with a Leather Strop (Optional)
If you have a leather strop, apply a tiny amount of honing compound and gently draw the blade across the strop, alternating sides. This removes any microscopic burrs and adds a mirror finish.
4. Testing Sharpness and Maintaining the Edge
4.1. The Paper Test
Hold a piece of printer paper by one edge and slice through it with a smooth, effortless motion. A properly sharpened Shun will glide through without tearing.
4.2. The Tomato Test
Place a ripe tomato on a cutting board. A sharp blade should cut cleanly through the skin with minimal pressure. If you have to crush the fruit, the edge needs more work.
4.3. Regular Honing
After each use, run the knife across a fine ceramic honing rod (around 8000 grit) at the same 15‑degree angle. This removes the tiny burr that forms during cutting and prolongs the period between full stone sharpenings.
4.4. Proper Storage
Store Shun knives in a wooden block, magnetic strip, or knife sheath. Avoid tossing them in a drawer where the blades knock against each other.
5. Alternative Sharpening Methods (When You’re in a Hurry)
5.1. Pull‑Through Sharpeners
These devices have preset angles and are convenient for quick touch‑ups. They work best for minor dullness, not for re‑creating the original 15‑degree bevel. Over‑use can wear down the edge faster.
5.2. Electric Sharpening Systems
High‑end electric sharpeners can replicate a two‑stage stone process with automated angle control. They are pricey, and the abrasive belts can generate heat that may affect the fine grain structure of Shun’s VG‑10 steel.
5.3. Professional Sharpening Services
If you notice chips, severe wear, or simply lack confidence, sending the knife to a professional who specializes in Japanese knives is a safe bet. Expect a cost of $15‑$30 per blade.
Conclusion: Keep Your Shun Knife Cutting Like New
Learning how to sharpen Shun knives is an investment in both safety and culinary enjoyment. With a reliable whetstone, a simple angle guide, and a few practiced strokes, you can restore that legendary Japanese edge at home. Remember to respect the 15‑degree angle, work from coarse to fine grit, and finish with a gentle hone. Regular maintenance—light honing after each use and proper storage—will keep your Shun performing at its best for years to come.
So next time your sushi‑grade chef’s knife feels a little sluggish, grab your stone, follow these steps, and watch it spring back to life. Your vegetables, meat, and even your confidence will thank you.
Frequently Asked Questions
How often should I sharpen my Shun knife?
For home cooks, a light hone after each use and a full stone sharpening every 2–3 months is typical. Heavy use (professional kitchens) may require sharpening monthly.
Can I use a regular kitchen knife sharpener on a Shun blade?
Most pull‑through sharpeners are not set to the 15‑degree angle Shun knives need, so they can round the edge. Use them only for very minor touch‑ups and not as a primary method.
Do I need to oil my Shun knife after sharpening?
No. Shun’s VG‑10 steel does not require oil. Simply wipe the blade clean with a dry cloth to remove metal filings.
Is a ceramic rod enough to keep my Shun sharp?
A ceramic honing rod maintains the edge between stone sharpenings, but it cannot rebuild a dulled bevel. Use it regularly and reserve the stone for full restorations.
What if I over‑sharpen and remove too much steel?
Removing excessive material can shorten the blade’s lifespan. Stick to the recommended number of passes and stop once the burr appears and then disappears on the fine grit side.
Can I sharpen a Shun knife with a belt grinder?
While possible, belt grinders generate high heat and can damage the fine grain structure of Shun’s steel. They are best left to professionals who can control speed and cooling.