Setting the clock on your Samsung SmartThings oven is a simple but crucial task for accurate cooking timers and scheduled operations. You can typically set it directly through the oven’s control panel, but the most reliable method is using the SmartThings mobile app. This guide provides clear, step-by-step instructions for both methods, along with essential tips for handling time zones, daylight saving time, and common issues like power outage resets.
So you’ve just installed your shiny new Samsung SmartThings oven, or maybe the power went out, and now the little digital clock on the front is blinking 12:00. It’s a small thing, but that blinking clock can feel like a tiny barrier between you and your kitchen’s full smart capabilities. You want your timers to be accurate, your scheduled roasts to start on time, and your oven to be in sync with the rest of your connected home. Setting the clock on a Samsung SmartThings oven isn’t complicated, but the method can differ based on your specific model and how you prefer to interact with your appliances. This guide will walk you through every method, from the quickest app-based solution to the manual panel controls, ensuring your oven’s time is always correct.
First, let’s demystify the “SmartThings” part. This oven connects to your home Wi-Fi network and integrates with the SmartThings ecosystem. This means you can often control it from your phone, receive notifications, and manage settings remotely. The clock is one of those settings. While many traditional ovens have a dedicated clock-setting button, your SmartThings oven often defers this to the connected app because it allows for automatic time zone and daylight saving adjustments. However, you usually retain the ability to set it manually on the device itself. We’ll start with the most reliable method and then explore the alternatives.
Key Takeaways
- Prerequisite: Your oven must be powered on and connected to your home Wi-Fi network for app-based clock setting and full smart features.
- Primary Method: The most consistent way to set the clock is through the SmartThings app, which syncs the time automatically or allows manual adjustment.
- Manual Panel Alternative: You can usually set the clock directly on the oven’s touchscreen or via the control knob, but the steps vary slightly by model series.
- AM/PM & Time Zone: Pay close attention to the 12-hour (AM/PM) format and ensure your oven’s time zone setting matches your physical location for correct scheduling.
- Power Loss Impact: A prolonged power outage will often reset the oven’s clock to the default, requiring you to set it again, usually via the app for speed.
- Why It Matters: An accurate clock is essential for using the oven’s timer, delay start, and scheduled cooking features correctly.
- Troubleshooting: If the clock won’t set or keeps resetting, check your Wi-Fi connection, restart the oven, and ensure the SmartThings app and oven firmware are updated.
📑 Table of Contents
Why an Accurate Clock is Non-Negotiable
Before we dive into the “how,” let’s quickly address the “why.” Why does setting this one little clock matter so much? It’s far more than just knowing the time while you cook.
- Timer Accuracy: Your oven’s built-in timer for baking, roasting, and broiling relies on this clock. An incorrect clock means an inaccurate timer, leading to undercooked or burnt food.
- Delay Start & Scheduled Cooking: This is a flagship smart feature. Want dinner to start cooking while you’re at work? The delay start function uses the oven’s clock to calculate the start time. If the clock is wrong, your meal won’t be ready when you expect it.
- SmartThings Integration: When you create a routine in the SmartThings app—like “Start oven at 5 PM”—the command is based on the oven’s internal clock. Synchronization is key.
- Energy & Convenience: Accurate scheduling helps you cook efficiently, avoiding unnecessary pre-heating or forgotten ovens.
In short, a correctly set clock is the foundation for your oven’s smart scheduling and reliable timer functions.
Method 1: The Recommended Way – Using the SmartThings App
This is the most straightforward and future-proof method. The SmartThings app acts as the central command center for your oven. It can often sync the time automatically based on your phone’s settings, but you can also set it manually if needed. This method is especially useful after a power outage, as the app will push the correct time to the oven once it reconnects to Wi-Fi.
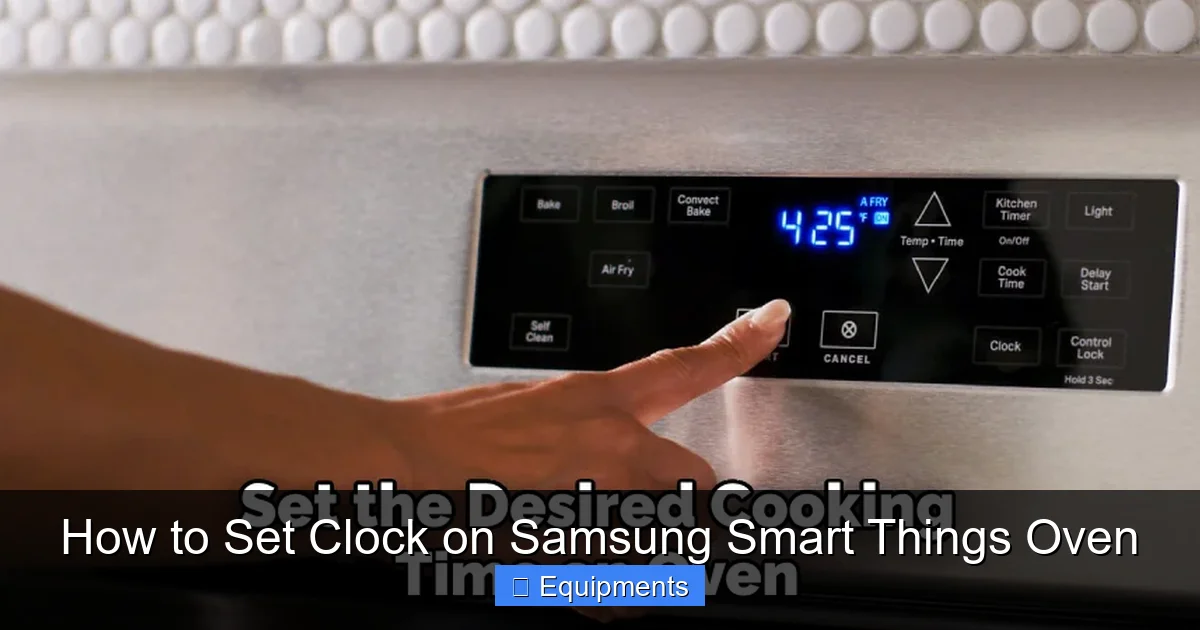
Visual guide about How to Set Clock on Samsung Smart Things Oven
Image source: thekitchenix.com
Prerequisites for App-Based Setup
- Your Samsung SmartThings oven must be powered on.
- It must be successfully connected to your home Wi-Fi network. (You typically do this during the initial oven setup via the app or the oven’s network settings menu).
- The SmartThings app must be installed on your smartphone or tablet (iOS or Android).
- You must be logged into the same Samsung account that the oven is registered to.
- The oven should appear as a device within the SmartThings app.
Step-by-Step App Instructions
- Open the SmartThings App: Launch the app on your mobile device. Ensure you are on the same Wi-Fi network as your oven.
- Find Your Oven: On the main “Devices” or “Home” tab, locate the tile or icon for your oven. Tap on it to open the oven’s control dashboard.
- Access Settings: Look for a “Settings” gear icon (⚙️) or a “More” (three dots) menu within the oven’s control screen. Tap it.
- Navigate to Time/Clock: In the settings menu, scroll to find an option labeled “Time & Date,” “Clock,” or “Set Time.” The exact wording can vary by app version and oven model (e.g., NE* series, NX* series).
- Set the Time:
- Automatic (Recommended): There is often a toggle for “Set Automatically” or “Use Network Time.” If this is enabled, the oven will sync its clock with the time provided by the SmartThings cloud/server, which is based on your registered time zone. This is the best option as it handles Daylight Saving Time automatically.
- Manual: If you need to set it manually (e.g., automatic sync is off), tap on the time display. A digital clock interface will appear. Use the + / – buttons or scroll wheels to adjust the hour and minutes. Be extremely mindful of AM vs. PM.
- Confirm Time Zone (If Manual): If setting manually, also verify the Time Zone setting in the same menu is correct for your physical location (e.g., “Eastern Time (US & Canada)”). An incorrect time zone will offset your manual time.
- Save/Apply: Once the correct time is displayed, look for a “Save,” “Apply,” or checkmark (✓) button. Tap it. The app will send the new time setting to your oven over Wi-Fi.
- Verification: Wait about 10-30 seconds. Check the clock display on your oven’s front panel. It should update to reflect the new time you set in the app.
Pro Tip: If the time doesn’t update, ensure your oven is still connected to Wi-Fi (you can check in the app’s device details). You may need to restart the oven by turning it off at the breaker for 30 seconds and back on, then repeat the sync.
Method 2: Setting the Clock Manually on the Oven
If your Wi-Fi is down, or you simply prefer not to use the app, you can set the clock directly on the oven’s control panel. The exact button sequence differs between Samsung’s various model lines (like the 30” Slide-In ranges vs. the 48” Dual Fuel ranges), but the general principle is the same: you enter a “settings” or “clock” mode via the control knob or dedicated buttons.
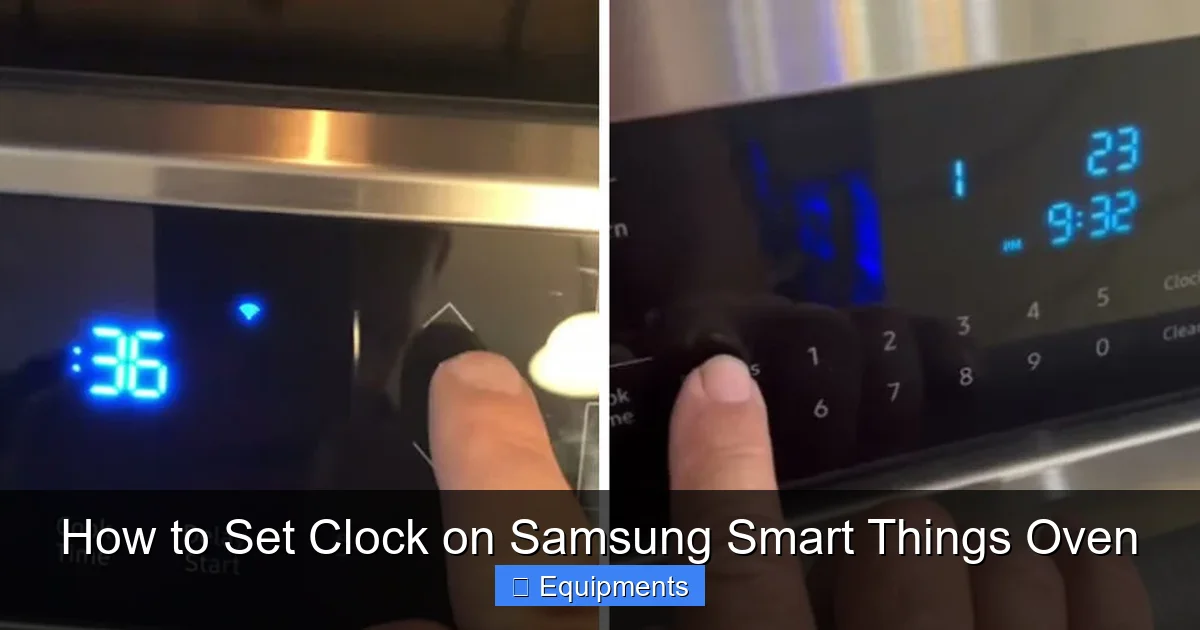
Visual guide about How to Set Clock on Samsung Smart Things Oven
Image source: thekitchenix.com
General Pathway for Most Touchscreen Models
For many modern Samsung SmartThings ovens with a full-color touchscreen (like the NE6* series or NX* series):
- From the idle home screen, look for a “Settings” icon (usually a gear ⚙️) or a “Tools” menu. Tap it.
- Scroll through the settings list to find “Time” or “Clock.”
- Tap on it. The current time will be highlighted.
- Use the on-screen keypad or + / – arrows to adjust the hours and minutes. Ensure the AM/PM indicator is correct.
- Tap “Save” or “Enter.” The clock on the main display should update immediately.
General Pathway for Models with a Control Knob & Buttons
For models that use a central control knob (like many NX* Dual Fuel or some NE* ranges):
- Enter Settings Mode: Press the “Settings” or “Menu” button (often labeled with a gear icon).
- Navigate: Rotate the central knob to scroll through the menu options. Look for “Clock,” “Time,” or “Set Time.” Press the knob to select it.
- Adjust Time: The hour portion will likely blink. Rotate the knob to change the hour. Press the knob to move to the minutes. Rotate to change the minutes. Press the knob again to toggle between AM/PM if applicable.
- Confirm & Exit: Once the correct time is set, rotate the knob to highlight “Enter,” “Save,” or “OK.” Press the knob. The display should revert to the main screen with the new time showing.
Important Manual Setting Notes
- Consult Your Manual: Your specific model’s user manual is the ultimate authority. Model numbers are on a sticker inside the oven door or on the back. You can often find digital manuals on the Samsung support website by entering this number.
- Look for “Tools” or “Options”: If you don’t see a direct “Clock” option, it may be nested under a broader “Options,” “Configuration,” or “General” menu.
- No “Set Time” Option? Some very recent models may hide the manual clock setting entirely, forcing use of the SmartThings app. If you can’t find it on the panel, the app is your only path.
- Power Cycle: If you set the time manually and it won’t save or reverts, try a full power cycle (turn off at the wall breaker for 60 seconds).
Handling Daylight Saving Time and Time Zones
This is where the SmartThings app truly shines. Manually adjusting your oven twice a year for Daylight Saving Time (DST) is a chore you can avoid.
Visual guide about How to Set Clock on Samsung Smart Things Oven
Image source: thekitchenix.com
- Automatic DST (App Method): If you have “Set Automatically” enabled in the SmartThings app’s clock settings, your oven’s time will update seamlessly when DST begins and ends. The SmartThings cloud service handles this globally based on your registered time zone.
- Manual DST Adjustment: If you set the clock manually on the oven panel, you are responsible for changing it forward or backward by one hour when DST starts/ends. There is no automatic switch for manual mode.
- Time Zone Changes: If you move to a new time zone, you must update the time zone setting. This is easily done in the SmartThings app (usually in the same Time & Date menu). For manual panel setting, you may need to adjust the hour manually by the full difference between your old and new time zones.
Best Practice: Always use the SmartThings app with automatic network time enabled. It eliminates human error, handles DST, and keeps your oven perfectly synced with your other smart devices.
Troubleshooting: When the Clock Won’t Set or Keeps Resetting
You followed the steps, but the clock is still wrong, or it resets to 12:00 every time you turn the oven on. Let’s diagnose.
Issue: The clock won’t change via the app or panel.
- Check Wi-Fi Connection: Is the oven connected? In the SmartThings app, go to the oven’s device page and check its status. A disconnected oven won’t receive settings. Ensure your router is on and the oven is within Wi-Fi range.
- Restart the Oven: Perform a full power cycle. Turn off the oven at the dedicated circuit breaker in your home’s electrical panel. Wait 60 seconds. Turn it back on. Wait 2-3 minutes for it to fully boot and reconnect to Wi-Fi. Try setting the time again.
- App & Firmware Updates: Open your phone’s app store (Google Play/App Store) and check for updates to the SmartThings app. Install any. Also, in the SmartThings app, go to your oven’s settings and check for a “Firmware Update” or “Software Update” option. Install it. Outdated firmware can cause communication glitches.
Issue: The clock resets to 12:00 after a power outage or when I turn the oven off.
- Normal Behavior: This is actually normal for many ovens, even smart ones. The internal clock battery (or capacitor) that maintains time during a short power loss may be weak or non-existent. The oven will reset to a default time (often 12:00) on a full power cycle.
- The Solution: You must reset the time after any significant power interruption. The fastest way is via the SmartThings app, as long as the oven reconnects to Wi-Fi post-outage. You do not need to be in the kitchen.
- Persistent Reset: If the clock resets every time you simply turn the oven off (not a power outage), there may be a deeper issue with the oven’s main control board. Contact Samsung Support.
Issue: The time in the app is correct, but the oven’s display is wrong.
- Sync Failure: The command from the app may not have been received. Try the save/sync step again in the app.
- Display Lag: Give it 30-60 seconds. Sometimes the update isn’t instantaneous.
- Oven Screen Glitch: Restart the oven (power cycle). This often forces a refresh of the display.
Conclusion: Your Oven, On Your Time
Setting the clock on your Samsung SmartThings oven is a small but empowering task. It transforms your appliance from a simple cooking tool into a scheduled, automated part of your smart home. While the manual panel method works, we strongly recommend establishing and maintaining a connection to the SmartThings app and using its automatic network time setting. This one-time setup saves you from ever having to think about DST or manually correcting the time after a power flicker. Your oven will simply know the correct time, just like your phone and computer. Take five minutes now to ensure it’s set correctly—your future self, eagerly awaiting a perfectly timed roast, will thank you.
Frequently Asked Questions
Why can’t I find the clock setting on my oven’s control panel?
On many newer Samsung SmartThings models, the manual clock setting is intentionally hidden to encourage use of the SmartThings app for centralized control. If you can’t find it in the “Settings” or “Tools” menu on the oven, the app is your only option. Ensure your oven is connected to Wi-Fi to use this method.
Will setting the time in the SmartThings app automatically update the oven’s display?
Yes, once you save the time in the app, it sends a command over your Wi-Fi network to the oven. The oven’s display should update within 10-30 seconds. If it doesn’t, check that the oven is still connected to Wi-Fi and try restarting the oven.
Does the oven’s clock update for Daylight Saving Time automatically?
It does, but only if you have set the time via the SmartThings app with the “Set Automatically” or “Use Network Time” option enabled. If you set the clock manually on the oven’s panel, you must change it yourself twice a year for DST.
Can I set the oven clock if my Wi-Fi is down?
Yes, but only if your specific model has a manual clock setting accessible directly on the oven’s control panel (via the touchscreen or knob). Refer to your user manual for the exact steps. If your model lacks a manual setting, you will need to wait until Wi-Fi is restored to set the clock via the app.
My oven’s clock is correct, but the timer is off. Is this a clock problem?
Yes, the oven’s timer functions are directly tied to the accuracy of its internal clock. If the timer is inaccurate, the first step is to verify and reset the clock using either the SmartThings app (preferred) or the manual panel method. After resetting the clock, test the timer with a short duration (e.g., 1 minute) to confirm it’s working.
What should I do if the clock keeps resetting to 12:00 every time I power cycle the oven?
This is a common symptom of a failed backup power source (a small internal battery or capacitor) that maintains the clock during brief power losses. While annoying, it’s often fixable. First, ensure you are saving the time correctly via the app. If the problem persists after a correct save, the internal component may need replacement. Contact Samsung Customer Support or a qualified appliance technician for diagnosis.