Tackling baked-on carbon in your oven requires patience, the right tools, and a strategic approach. This guide demystifies the process, offering step-by-step instructions for both gentle DIY methods using baking soda and vinegar, and the use of stronger commercial cleaners. Safety is paramount—always ventilate, wear protection, and never mix chemicals. Ultimately, consistent, light cleaning is far easier than battling a decades-old layer of carbonized grease and food residue.
Key Takeaways
- Identify the Enemy: Baked-on carbon is a hardened, polymerized layer of burnt food and grease, not just simple grease, requiring breakdown through time, heat, or alkalinity.
- Safety First: Always ensure the oven is completely cool, work in a well-ventilated area, and wear gloves and eye protection, especially with commercial caustic cleaners.
- DIY Power Duo: A thick paste of baking soda and water, left overnight, is a highly effective, non-toxic method for lifting carbon layers through gentle alkaline action.
- Commercial Cleaners: Products containing sodium hydroxide (lye) are powerful but hazardous; follow instructions precisely, avoid skin contact, and never use them in a self-cleaning oven.
- Prevention is Key: Regularly wipe spills after the oven cools, use a liner or tray, and run a monthly light clean with a baking soda paste to prevent carbon from ever building up.
- Know When to Stop: If carbon is exceptionally thick, on heating elements, or you are uncomfortable, consulting a professional or considering oven replacement may be safer and more cost-effective.
[FEATURED_IMAGE_PLACEHOLDER]
📑 Table of Contents
- Understanding the Beast: What Is Baked-On Carbon?
- Essential Preparation: Your Safety & Your Oven’s Safety
- Method 1: The Gentle, Natural Approach (Baking Soda & Vinegar)
- Method 2: The Heavy-Duty Commercial Cleaner
- Method 3: Tackling the Racks and Hard-to-Reach Spots
- Prevention: Your Best Offense Against Carbon Buildup
- When to Call a Professional or Consider Replacement
- Conclusion: Reclaiming Your Oven
Understanding the Beast: What Is Baked-On Carbon?
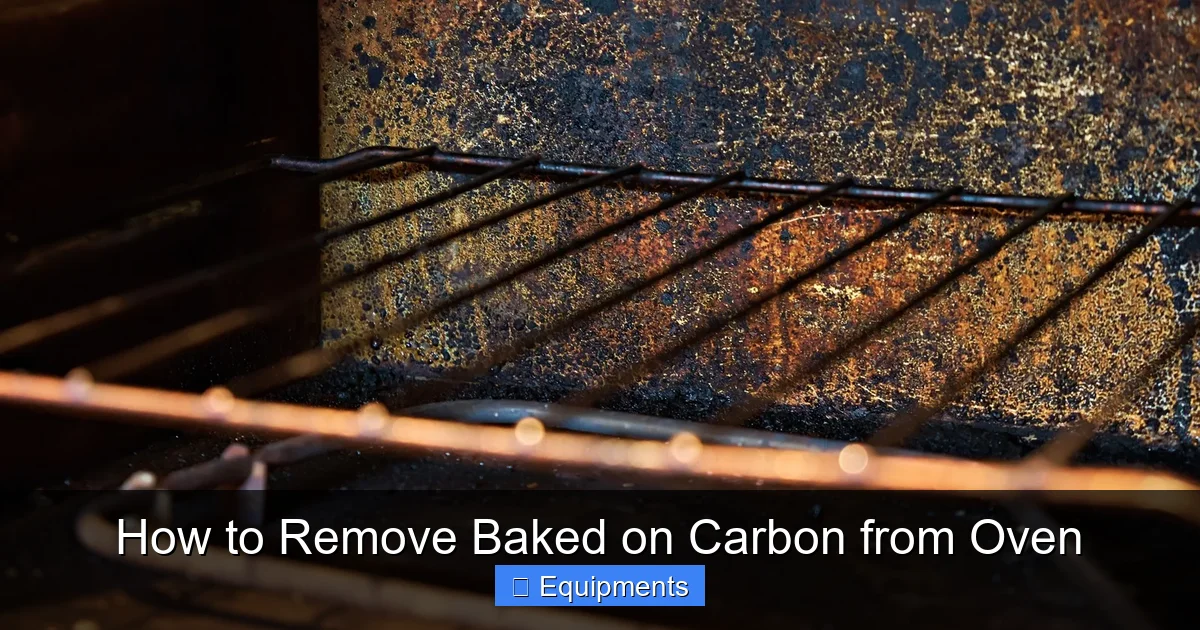
Before we grab the scrub brush, let’s understand what we’re fighting. That black, flaky, rock-hard gunk caked on your oven floor and walls isn’t just old grease. It’s baked-on carbon, a substance formed when food fats, oils, sugars, and proteins undergo a chemical process called polymerization under repeated high heat. This process fuses the molecules together into a tough, carbon-rich matrix that strongly adheres to the metal surface. It’s essentially a thin layer of plastic-like, charred material. This is crucial to know because it means simple degreasers often fail; you need a substance that can break these long, bonded molecular chains—either through strong alkali (like baking soda or lye), sustained heat (the self-clean cycle), or prolonged acidic soak (like vinegar, though less effective on heavy carbon).
The Chemistry of a Stubborn Mess
Think of it like this: fresh grease is like spilled cooking oil. Wipe it up, and it’s gone. But if you leave that oil in a hot pan over a campfire for hours, it eventually turns into a brittle, black crust. That’s carbonization. In your oven, every tiny spill, every splatter of sauce, every drip of fat contributes to this cumulative layer. Over months and years, it builds up, getting darker, thicker, and more firmly attached with each use. The color isn’t just aesthetic; the blackness indicates a high carbon content from incomplete combustion. Removing it requires reversing or dissolving that polymerization, which is why the most effective methods involve either extreme heat (pyrolysis) or chemical agents that can penetrate and disrupt the carbon bonds.
Essential Preparation: Your Safety & Your Oven’s Safety
Rushing into cleaning is the fastest way to damage your oven or injure yourself. Proper prep creates a safe workspace and protects your appliance’s sensitive components.
Visual guide about How to Remove Baked on Carbon from Oven
Image source: thekitchenix.com
Creating a Safe Workspace
Ventilation is non-negotiable. Open windows wide. Turn on your kitchen exhaust fan to its highest setting. If you have a portable fan, point it toward an open window to actively pull fumes outside. Chemical fumes from commercial cleaners or even large amounts of vinegar can be irritating and harmful to breathe. Gear up: Get heavy-duty rubber gloves (like those used for dishwashing or cleaning), safety goggles, and an old long-sleeved shirt or apron. Avoid wearing anything you care about, as splatters will happen. Remove everything: Take out all racks, thermometer probes, pizza stones, and any accessories. Clear the floor around the oven to avoid tripping and to give yourself space to work.
Protecting Your Oven’s Internals
This is a critical, often overlooked step. Before applying any cleaner, you must identify and protect the oven’s vital parts. Heating elements (the coils on the bottom or top) and igniters (the small ceramic/metal piece for gas ovens) must never come into contact with liquid cleaners or pastes, especially commercial caustic ones. A direct hit can cause them to crack, fail, or corrode, leading to expensive repairs. Use aluminum foil to create a careful shield over these elements. Similarly, gaskets (the rubber seal around the door) can degrade if soaked in harsh chemicals. Gently pull the door gasket away from the frame and tuck foil behind it, or carefully apply cleaner only to the metal walls, avoiding direct, prolonged contact with the gasket. For electric ovens with a bottom element, consider removing the bottom panel (consult your manual) for easier access and to protect the element.
Method 1: The Gentle, Natural Approach (Baking Soda & Vinegar)
This is the go-to method for most homeowners, prized for being non-toxic, inexpensive, and surprisingly effective on moderate to heavy carbon buildup. The magic lies in baking soda’s mild alkalinity and its gentle abrasive quality when made into a paste.
Visual guide about How to Remove Baked on Carbon from Oven
Image source: thekitchenix.com
Step-by-Step: The Overnight Baking Soda Paste
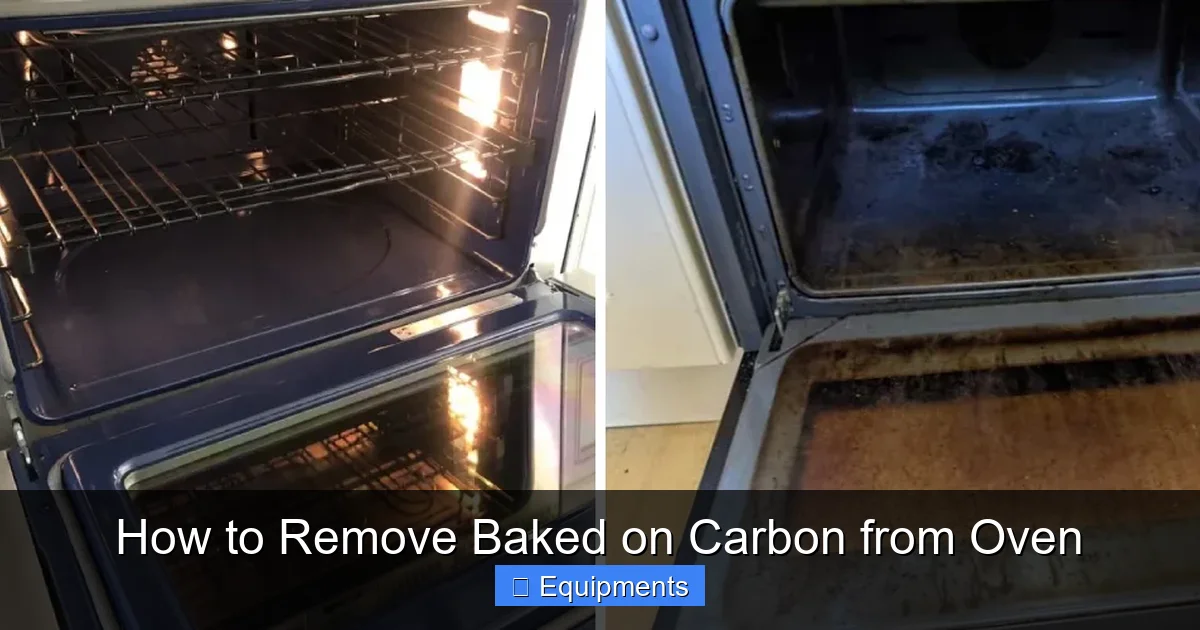
Start with a completely cool, empty oven. In a bowl, mix baking soda with just enough water to form a thick, spreadable paste—think peanut butter consistency. You’ll need about 1-2 cups of baking soda for a standard oven. Using a spatula or your gloved fingers, spread the paste in a thick, even layer over every surface except the heating elements, igniter, and gasket (which you’ve foiled). Pay special attention to the worst-affected areas; glob it on there. The paste should be opaque white. Now, close the door and walk away. Let it sit for at least 8 hours, but 12-24 hours is ideal for heavy carbon. The baking soda works slowly, penetrating the carbon layer and loosening it through its alkaline action. During this time, you can also apply the paste to the oven racks. Place them in a large plastic bag or bathtub, coat them, and let them sit.
The Vinegar Activation & Final Scrub
After the wait, you’ll see the paste has turned a dirty brownish-yellow—that’s the lifted grime! Douse the entire pasted area with white vinegar from a spray bottle. You’ll see it fizz and bubble as the acid (vinegar) reacts with the base (baking soda), helping to lift the paste and the loosened carbon with it. Let it bubble for 5-10 minutes. Then, grab a non-abrasive scrub pad (like a blue Scotch-Brite™ pad) or a damp cloth and start wiping. The carbon should now come off in sheets or large flakes. For stubborn spots, use a plastic scraper (like a dedicated paint scraper or even a credit card edge) at a 45-degree angle. The combination of chemical reaction and gentle abrasion does the work. Rinse your cloth frequently in a bucket of hot, soapy water. Once all residue is removed, wipe the entire interior with a clean, damp cloth and then a dry one. Reinstall the racks (which you’ll clean separately with the same paste method). The result is a clean, deodorized oven with no chemical smell.
Method 2: The Heavy-Duty Commercial Cleaner
When the carbon is ancient, thick, or the baking soda method didn’t fully cut it, a commercial oven cleaner is the next step. These are powerful, caustic (alkaline) products designed to dissolve carbon quickly. The most common active ingredient is sodium hydroxide (lye), which is extremely effective but also hazardous.
Visual guide about How to Remove Baked on Carbon from Oven
Image source: tastingtable.com
Choosing and Using Caustic Cleaners Safely
Popular brands include Easy-Off®, Zep®, and various professional-grade products. Read the label twice. Every product has specific instructions, and you must follow them. General rules: Never use on a warm or hot oven. The oven must be cool, ideally room temperature. Shake the can well. Spray a thin, even coat onto the carbon-coated surfaces, again avoiding elements, igniters, and gaskets. Do not drench it. For very thick buildup, you may need a second application after the first has dried. Do not let it dry completely; most require you to wipe or rinse them off while still damp, typically after 10-30 minutes (check your product’s time). Wear your gloves and goggles religiously. The fumes are potent. Never, ever mix commercial oven cleaner with anything else—especially not bleach or vinegar—as this can create deadly chlorine gas. Have a bucket of hot, soapy water and plenty of rags ready for immediate cleanup. After the specified dwell time, wipe thoroughly with a damp cloth, rinsing the cloth constantly. Follow with several wipes using a clean, water-only cloth to remove all chemical residue. Finally, run the oven empty at a low temperature (200°F/93°C) for 15-20 minutes to burn off any remaining traces before cooking again.
A Special Note on Self-Cleaning Oven Cycles
Many modern ovens have a “self-clean” or “pyrolytic” function. This is not a chemical method but a thermal one. It locks the door and heats the oven interior to temperatures of 800-900°F (427-482°C), incinerating all organic material (carbon) into a fine, white ash. This is the manufacturer’s intended method for heavy carbon removal. However, it has major caveats. First, it produces intense, acrid fumes that will fill your kitchen—ventilate aggressively and remove any pets. Second, the extreme heat can damage surrounding cabinetry or countertops if your oven isn’t properly insulated. Third, the ash is a fine, abrasive powder that must be meticulously wiped out once the oven cools completely (a multi-hour process). Never use commercial chemical cleaners in an oven you intend to run a self-clean cycle on. The residue can cause a hazardous chemical reaction at those temperatures. If your oven has this feature, consult the manual for specific instructions and warnings.
Method 3: Tackling the Racks and Hard-to-Reach Spots
The oven cavity gets most of the attention, but the racks are often the worst offenders, sitting directly under food and catching drips. Their complex grid structure makes them a nightmare to clean in the sink.
The Bathtub or Trash Bag Method
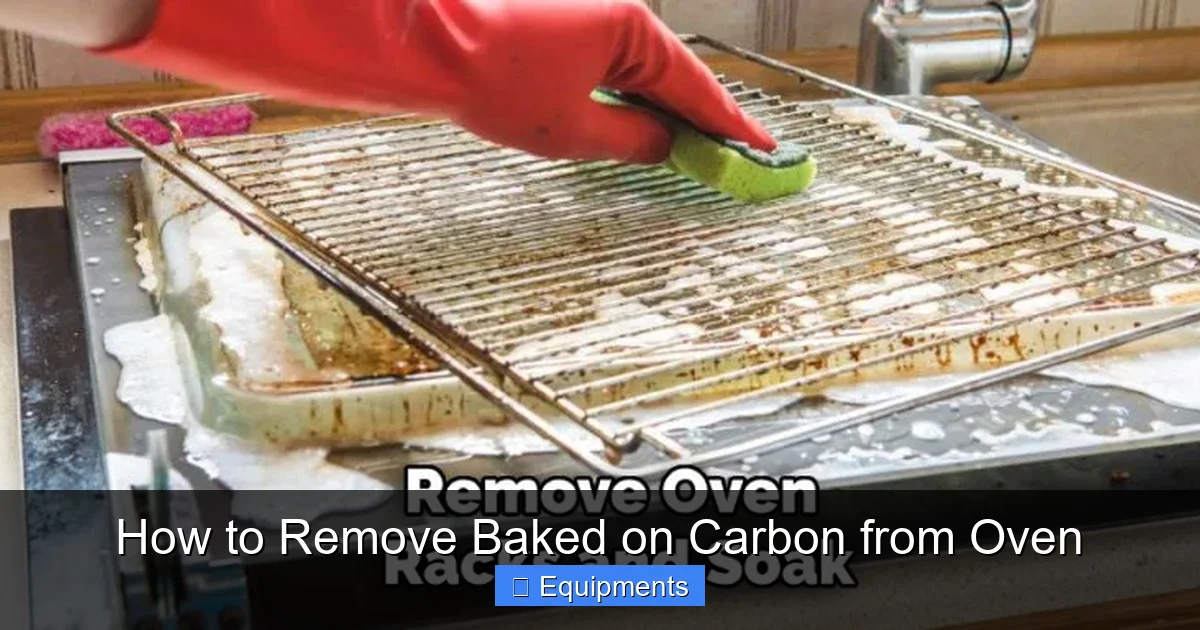
For standard metal racks, the bathtub is your best friend. Place the racks in a clean tub. Follow the baking soda paste method: coat them generously, let them sit overnight. The next day, they’ll be much easier to scrub with a non-abrasive pad. For extreme carbon, you can use the commercial cleaner here too, but be aware it can discolor the chrome finish. An alternative is to use a large, heavy-duty trash bag. Place the racks inside, spray them down with commercial cleaner, seal the bag, and let them sit outside (on a balcony or in the garage) for several hours. The bag contains the fumes and keeps the cleaner wet. Afterward, scrub and rinse thoroughly outside with a hose before bringing them in. For enamel-coated racks (often colorful), avoid caustic cleaners and abrasive pads, as they can damage the coating. Stick to the baking soda paste and a soft brush.
Door Glass, Gaskets, and Crevices
The oven door glass often has a baked-on film from steam and grease. A paste of baking soda and water, or a dedicated glass cooktop cleaner, applied with a soft cloth, works well. For the rubber door gasket, never use commercial oven cleaner or let any cleaner soak it, as it will degrade the rubber and cause cracks, ruining the seal. Simply wipe it down with a cloth dampened with mild dish soap and water, then dry thoroughly. Use a toothbrush or a small, dedicated brush dipped in your baking soda paste to get into the seams where the walls meet the floor or the door frame. Patience and a small tool are key here.
Prevention: Your Best Offense Against Carbon Buildup
As with most things, an ounce of prevention is worth a pound of cure. Once you’ve restored your oven to a clean state, implementing a simple maintenance routine will save you from ever facing a major carbon removal project again.
The 5-Minute Post-Cook Wipe
This is the single most effective habit. After you finish cooking and turn the oven off, leave the door slightly ajar (if your oven allows) for 15-20 minutes to let it cool gradually and prevent moisture from condensing on the walls. Once it’s warm to the touch (not hot), grab a damp microfiber cloth or a paper towel and quickly wipe up any visible spills, splatters, or grease on the floor and walls. This prevents food from ever getting a chance to bake on. It takes less than 5 minutes and makes a monumental difference over time.
Use Oven Liners and Trays Strategically
Place a heavy-duty aluminum foil liner on the oven floor *under* the rack (never covering the entire bottom or blocking vents). Or better yet, use a commercial oven liner mat (made of PTFE, similar to non-stick coatings) that’s designed to catch drips. Replace these regularly. For baking pizzas, casseroles, or anything particularly messy, place the dish on a rimmed baking sheet or a dedicated oven-safe tray to catch overflow. This contains the mess to a single, easily washable item instead of the oven cavity.
Schedule a Monthly Light Clean
Once a month, even if your oven looks clean, do a quick maintenance clean. Spray the interior walls with a 50/50 solution of white vinegar and water, or apply a thin layer of baking soda paste. Let it sit for 30 minutes while you do something else, then wipe it all down. This routine alkaline or acidic treatment prevents the deep polymerization that leads to baked-on carbon. It keeps the oven smelling fresh and ensures you’ll never have to do a major, all-day clean again.
When to Call a Professional or Consider Replacement
Not all oven carbon situations are DIY projects. There are clear boundaries where the risk of damage or injury outweighs the cost of professional help.
Signs You Need a Pro
If the carbon layer is over a quarter-inch thick, it’s likely beyond effective home treatment. If you see corrosion or rust underneath the carbon, aggressive scraping or chemical use could perforate the oven liner. If the carbon is caked directly on the heating elements or the igniter, attempting to clean it risks breaking these fragile, expensive parts. A professional technician has specialized tools (like high-pressure steam cleaners or industrial-grade, controlled chemical applications) and the experience to work around sensitive components. Sometimes, the cost of a professional deep clean is comparable to the time, material, and risk of doing it yourself.
The Replacement Threshold
If your oven is old (15+ years), inefficient, and has layers of carbon that have been ignored for a decade, it’s worth evaluating the cost-benefit. A major repair on an aging unit might not be wise. Furthermore, if during your cleaning attempts you accidentally damage the oven’s interior finish (the porcelain enamel coating), that damage is permanent and can lead to further rusting. Deep pitting or flaking enamel means the protective barrier is gone. At this point, for safety and hygiene, replacing the oven may be the most sensible long-term solution. A clean, efficient oven is safer, cooks better, and is a joy to use.
Conclusion: Reclaiming Your Oven
Removing baked-on carbon is less about brute force and more about intelligent chemistry and patience. It’s a process that respects the material you’re cleaning and prioritizes your safety. Whether you choose the peaceful, all-day project of a baking soda paste or the swift, cautious application of a commercial cleaner, the principles remain the same: prepare meticulously, protect vulnerable parts, allow time for the cleaner to work, and scrub with the right tools. Remember, the feeling of sliding a pan into a sparkling, clean oven is worth the effort. But the ultimate victory is implementing those simple prevention habits—the quick wipe, the liner, the monthly tune-up—so that the daunting task of carbon removal becomes a forgotten chapter in your cooking story. Your oven works hard for you; a little regular care ensures it continues to do so efficiently and safely for years to come.
Frequently Asked Questions
Can I use the self-cleaning cycle if I’ve used a commercial oven cleaner?
No, absolutely not. The residue from commercial caustic cleaners can react violently at the extreme temperatures of a self-clean cycle (800°F+), potentially causing toxic fumes, smoke, or even fire. The oven must be completely free of any chemical residue, which is nearly impossible to verify. Always choose one method or the other, never both.
Is it safe to use a metal scraper or steel wool on my oven?
Generally, no. Most oven interiors have a porcelain enamel coating. Using metal tools or abrasive pads like steel wool will almost certainly scratch and gouge this finish, permanently damaging it and exposing the bare metal underneath to rust. Always start with plastic or nylon scrapers and non-abrasive scrub pads. Only escalate to very fine steel wool (like #0000) as an absolute last resort on bare metal spots, and with extreme caution.
Why does my oven still smell after cleaning with baking soda?
Baking soda itself has a slight alkaline smell, and if any paste residue remains in seams or behind elements, it can continue to emit an odor when the oven is next heated. Ensure you have thoroughly wiped every surface with a clean, damp cloth followed by a dry one. Running the oven empty at a low temperature (200°F) for 15-20 minutes after cleaning will usually burn off any lingering smells.
Can vinegar alone remove baked-on carbon?
On its own, vinegar (an acid) is not very effective against heavy baked-on carbon, which is best attacked by alkaline substances. However, vinegar is excellent for the final rinse after using an alkaline cleaner like baking soda, as the acid-base reaction helps lift the paste. It’s also good for light grease and mineral deposits. For true carbon, you need the power of baking soda, commercial lye-based cleaners, or extreme heat.
What’s the biggest mistake people make when cleaning their oven?
The most common and dangerous mistake is not protecting the heating elements and igniter. Spraying or pasting cleaner directly onto these components can cause them to fail, leading to costly repairs. Another major error is using commercial cleaners in a self-cleaning oven or mixing different cleaners (like bleach and ammonia), which creates deadly gases. Always identify and shield sensitive parts before you start.
How often should I really deep clean my oven?
It depends on use. For a family that cooks daily, a full deep clean using the baking soda paste method once or twice a year is sufficient to manage carbon buildup. With the strict adherence to the 5-minute post-cook wipe and monthly light clean, you may stretch this to once every 2-3 years. If you notice smoke, strong odors, or reduced cooking performance, it’s time for a deep clean regardless of your schedule.
Pingback: Baked Potatoes in Oven 400 Degrees - kitchenandhouseware.com
Pingback: Where Did Croissants Originate From - kitchenandhouseware.com
Pingback: Where Did Croissants Originate From - kitchenandhouseware.com