Stop the daily frustration of a soaked kitchen floor! This guide reveals that preventing sink splashes isn’t about luck—it’s a combination of smart habits, the right tools, and minor adjustments. From changing how you wash dishes to upgrading your faucet or adding simple accessories, you can drastically reduce water spray. We break down actionable solutions for every sink type and budget, ensuring a cleaner, drier, and more pleasant kitchen space.
You know the scene all too well. You’re washing a large pot or rinsing a bunch of leafy greens, and suddenly—splash! A rogue wave of water arcs perfectly over the sink’s edge, drenching your countertops, floor, and maybe even your socks. It’s a small, daily annoyance that feels impossible to beat. But what if we told you that with a few conscious changes and some smart additions, you could prevent water splashing in kitchen sink areas for good? This isn’t about superhuman dishwashing skills; it’s about working *with* your sink’s design, not against it. Let’s dive into the science of the splash and build your personalized, splash-proof kitchen strategy.
Key Takeaways
- Adjust Your Technique: Simple changes like lowering water pressure, angling items away from you, and using a rinse basket can minimize splash at the source.
- Upgrade Your Faucet: Swapping to a pull-down or pull-out faucet with a gentle flow setting offers superior control and reach to direct water precisely where it’s needed.
- Use Strategic Accessories: A well-fitted sink mat or a collapsible dish rack with a drip tray acts as a physical barrier, catching water before it escapes the basin.
- Consider Sink Depth & Size: Deeper, wider basins (at least 8-9 inches deep) provide more room for activities, inherently reducing the chance of water flying over the edge.
- Maintain Your Fixtures: Regularly clean faucet aerators and check for leaks. A clogged aerator increases pressure and spray, while a leaky faucet adds unwanted water.
- Mind the Gap: Pay attention to the space between the faucet spout and the sink wall. A spout that extends too far over the drain can cause backsplash; proper placement is key.
📑 Table of Contents
- Understanding the Splash: Why Does It Happen?
- Behavioral Adjustments: The Zero-Cost Fixes
- Hardware Upgrades: Investing in a Drier Sink
- Accessories & Barriers: Your Splash Defense Line
- Sink Modifications: For the DIY or Renovation Enthusiast
- Maintenance & Mindset: The Ongoing Battle
- Conclusion: A Drier Kitchen is a Happier Kitchen
Understanding the Splash: Why Does It Happen?
Before we fix it, we need to understand the enemy. Water splashing is a simple physics problem involving force, surface tension, and obstacles. When you turn on the faucet, you’re introducing kinetic energy. That energy has to go somewhere. It transfers to the water in the sink basin, causing it to move and, if the force is great enough, to fly out. Several factors contribute to this chaotic water ballet:
The Three Main Culprits of Splash
1. Water Pressure & Flow Pattern: A torrent of water blasting directly into a shallow pool is a recipe for disaster. High pressure from a clogged aerator or an open valve creates a concentrated jet that displaces a large volume of water instantly. The smoother the stream (like from a well-designed laminar flow faucet), the less initial splash, but the force is still a major factor.
2. Sink Geometry: This is your sink’s natural defense—or weakness. A deep basin (8-9 inches or more from rim to drain) gives water room to “jump” before it can clear the lip. A wide, flat bottom provides stability. Conversely, a shallow sink (6-7 inches deep) or one with a sharply angled, “tight” bowl leaves little margin for error. The distance between the faucet spout and the sink’s rear wall also matters; if the spout is too short, water hits the back wall and cascades down, creating constant drips and minor splashes.
3. The “Disruptor” Factor: This is anything in the sink that breaks the water’s path and sends it flying. A large pot or pan sitting at an angle is the prime suspect. Its curved surface acts like a ramp, deflecting water outward. Even a pile of soapy dishes can create turbulence that propagates to the sink’s edge.
Behavioral Adjustments: The Zero-Cost Fixes
You don’t always need to buy something new. Often, the most effective solutions are the habits you build while standing at the sink. These adjustments cost nothing but a moment of mindfulness and can reduce splashing by 50% or more.
Visual guide about How to Prevent Water Splashing in Kitchen Sink
Image source: thekitchenix.com
Master the Art of the Rinse
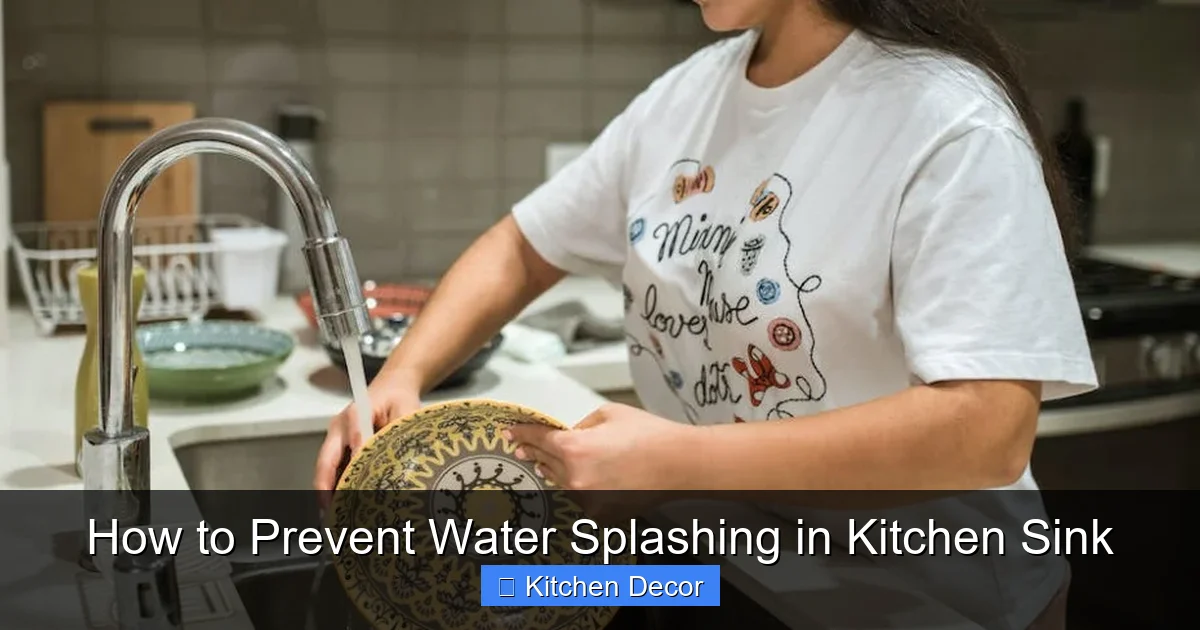
When rinsing large items like baking sheets, stockpots, or roasting pans, your instinct is to put the item directly under the stream. This is splash-inducing mistake #1. Instead, place the item in the sink at a slight angle, leaning it against the back wall or side. This serves two purposes: it stabilizes the item, preventing it from sliding, and it directs the water flow down into the basin and along the item’s surface, rather than having it hit a flat, horizontal surface and exploding outward. For items with a deep well (like a bowl), fill it with water first, then tip it to empty—the initial fill contains the splash.
Pressure and Position: Your Faucet’s Secret Controls
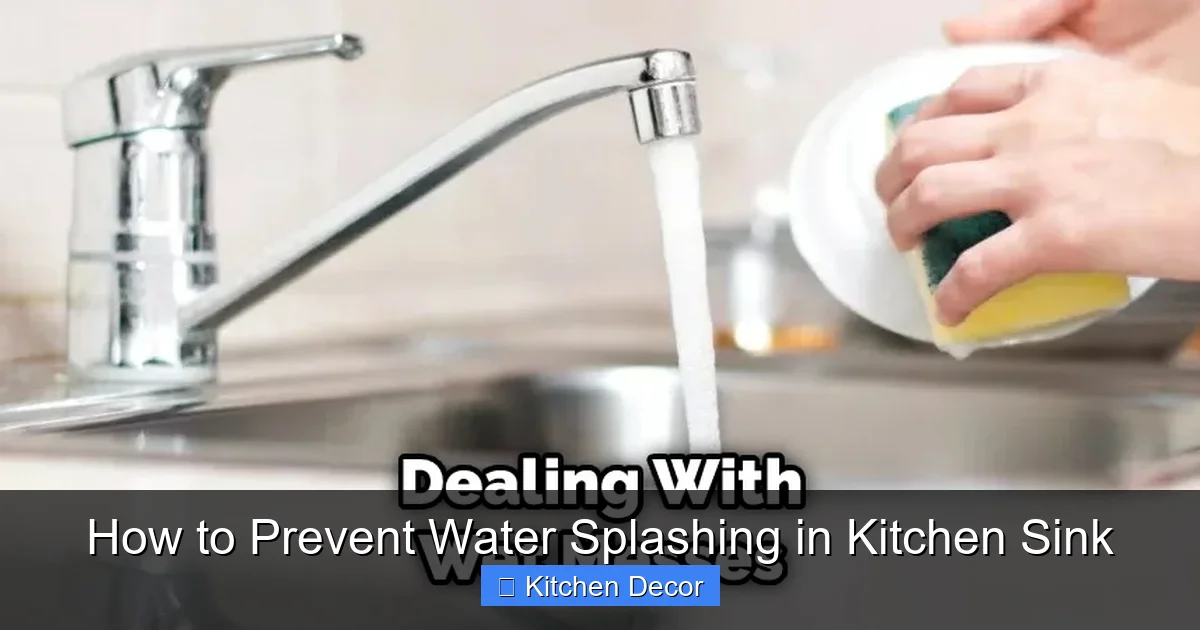
Not every task requires a firehose. When washing delicate glassware or rinsing vegetables, turn your water pressure down to about 50%. A gentler stream has less kinetic energy to create splash. Also, be mindful of where your faucet’s spout is aimed. The ideal target is the drain or the sloped area just around it. If your spout is aimed directly at the sink’s flat bottom right at the front, you’re asking for a splash. Use your wrist to angle the stream slightly backward toward the drain.
The Power of the Rinse Basket or Colander
For fruits, vegetables, pasta, or beans, never rinse them directly in the sink basin. Use a small mesh strainer or colander. This contains the food and, more importantly, breaks the water’s path into many smaller streams within the confined space of the strainer. The water drains through the holes, but its force is dissipated before it can agitate the larger body of water in the sink. It also keeps your drain clear of food debris!
Hardware Upgrades: Investing in a Drier Sink
If your habits are solid but splashes persist, your hardware might be the weak link. Strategic upgrades here offer long-term, high-impact solutions to prevent water splashing in kitchen sink zones.
Visual guide about How to Prevent Water Splashing in Kitchen Sink
Image source: thekitchenix.com
Faucet Selection is Everything
The right faucet is your single greatest weapon. When shopping for a replacement, prioritize these features:
- Pull-Down or Pull-Out Sprayer: This is the gold standard. The flexible hose allows you to bring the water source *into* the sink basin, eliminating any distance between the spout and your target. You can position the spray head right over a pot to rinse it, containing every drop. Look for models with a gentle “pause” or “stream” mode for filling pots without splash.
- High-Arc Spout: A tall, curved spout provides ample clearance for large pots and pans underneath. This allows you to place items in the sink without them bumping into the faucet, which can cause awkward angles and splashing.
- Gooseneck Design: Similar to high-arc, a gooseneck offers a graceful, deep curve that gives you maximum workspace inside the sink.
- Flow Rate & Aerator: A faucet with a lower flow rate (1.5-1.8 gallons per minute) is naturally less splash-prone. Ensure it has a quality aerator that mixes air with water for a smooth, non-splashing stream. Some modern faucets use “laminar flow” technology for a solid, splash-free stream.
Don’t Underestimate the Value of a Sink Rack
A heavy-duty, stainless steel dish rack that fits snugly over your sink is a game-changer. It elevates dishes off the sink bottom, allowing water to drain freely into the basin. More importantly, it acts as a secondary barrier. When you place a wet, soapy plate on it, any dripping or minor sloshing is caught by the rack’s tray or drips directly into the sink, not onto your counter. Look for one with a removable drip tray that you can empty easily.
Accessories & Barriers: Your Splash Defense Line
Sometimes, you need a physical barrier between the sink’s watery interior and your pristine countertops. These accessories are easy to install, remove, and clean.
Visual guide about How to Prevent Water Splashing in Kitchen Sink
Image source: thekitchenix.com
The Sink Mat or Liner: A Simple, Effective Shield
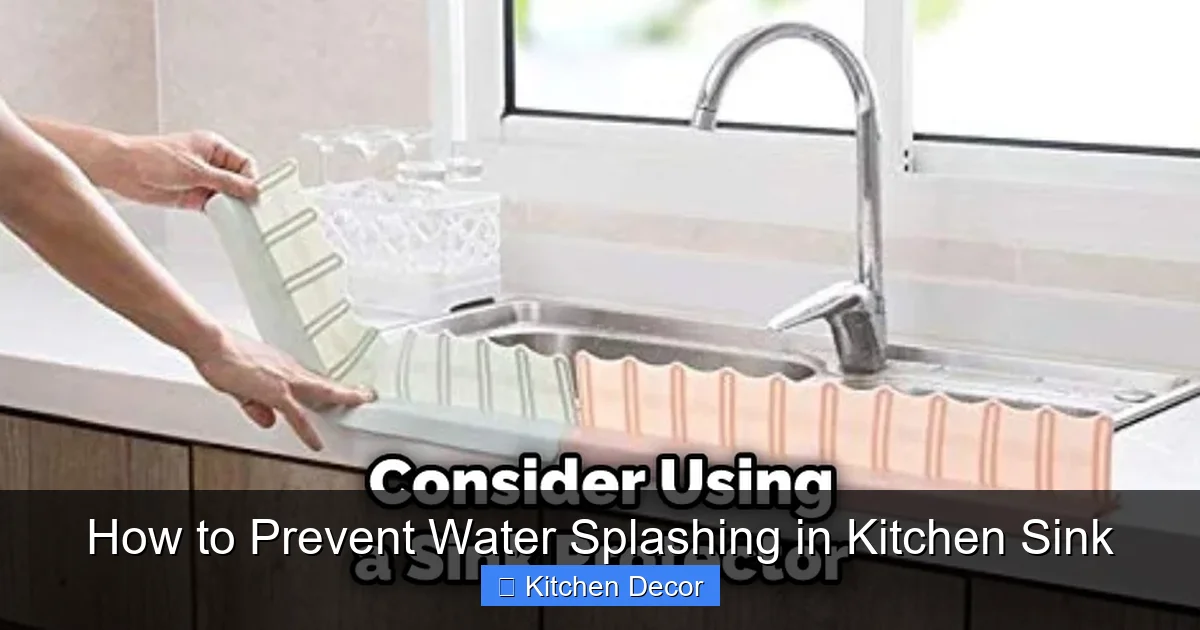
A silicone or rubber sink mat that covers the entire basin is a fantastic first line of defense. Its textured surface helps dampen the energy of falling water and dishes. It protects your sink’s finish from scratches and, crucially, its raised edges (if designed with a lip) can contain minor overflow and drips from items placed on it. Choose one with raised feet or a waffle-style pattern to allow water to drain freely underneath and prevent mildew. It’s especially useful in shallow sinks.
Countertop Drip Trays & Microfiber Mats
For the inevitable big splash or when you’re hand-washing a giant wok, place a large, absorbent microfiber mat or a shallow plastic tray on the counter directly behind the sink. This catches any water that clears the rim. Microfiber is great because it’s washable and highly absorbent. A plastic tray can be wiped clean in seconds. This is a tactical, temporary barrier for the messiest tasks.
Sink Modifications: For the DIY or Renovation Enthusiast
If you’re building a new kitchen or undertaking a major remodel, you have the power to design splash prevention right into your sink choice and installation.
Depth, Width, and Material Matter
When selecting a sink, depth is non-negotiable for splash control. Aim for a minimum of 9 inches from the rim to the bottom of the drain. This depth gives water a “buffer zone.” In terms of width, a single-bowl sink that is at least 20-22 inches wide provides a spacious, stable environment. Regarding material, stainless steel is excellent because its smooth, non-porous surface allows water to sheet off dishes easily. Fireclay or enameled cast iron are durable but can be noisier; ensure they have a generous, sloping bowl.
The Undermount vs. Top-Mount Debate
This is a key installation choice. An undermount sink is installed beneath the countertop, creating a seamless, sleek look with a small reveal. The countertop material (quartz, granite, solid surface) forms a slight lip over the sink. This lip can actually help contain splashes better than a top-mount (drop-in) sink, where the sink’s own rim sits on the countertop and water can easily wick under it or splash over the relatively low barrier. The undermount’s integrated lip is a subtle but effective splash guard.
Maintenance & Mindset: The Ongoing Battle
Your splash prevention system is only as good as its upkeep. A few minutes of maintenance keeps everything functioning optimally.
Clean Your Faucet Aerator
A clogged aerator doesn’t just reduce water flow; it increases pressure and causes erratic, splashing spray. Unscrew it (usually by hand or with pliers) every 3-6 months. Soak it in white vinegar for an hour to dissolve mineral deposits, then scrub the mesh screen gently with a toothbrush. Rinse thoroughly and reinstall. You’ll notice an immediate improvement in stream quality.
Check for Leaks and Drips
A slow leak from the faucet base or spout connection doesn’t just waste water; it creates a constant, annoying puddle that mimics splash. Periodically check all connections under the sink and at the base of the faucet. Tighten fittings if needed. A leak-free fixture is a drier fixture.
Adopt a “Dry Perimeter” Habit
Finally, integrate a quick post-wash ritual. Keep a small, dedicated kitchen towel or microfiber cloth on the counter. After your major dishwashing session, take 30 seconds to wipe down the sink rim, the faucet, and the counter edge. This catches any microscopic droplets before they travel. It’s a quick habit that maintains the clean, dry environment you’ve worked to create.
Conclusion: A Drier Kitchen is a Happier Kitchen
Preventing water from splashing out of your kitchen sink is not a single trick, but a holistic approach. It starts with understanding why it happens—the force of water, the shape of your sink, and the disruptors within it. From there, you build layers of defense. First, adjust your behavior: lower pressure, angle your dishes, use a rinse basket. Then, assess your hardware: is your faucet helping or hurting? Would a deep sink mat or an over-sink rack make a difference? For major renovations, choose depth and an undermount installation. Finally, commit to simple maintenance like cleaning your aerator and adopting a quick wipe-down habit.
By combining these strategies, you transform the sink from a splash zone into a controlled, efficient workspace. The result is more than just a dry floor; it’s a cleaner countertop, less mopping, preserved cabinetry, and a significantly more pleasant time spent in your kitchen. You don’t have to live with the splash anymore. Start with one or two of these tips today, and build your way to a consistently dry and tidy kitchen sink station.
Frequently Asked Questions
Can I prevent splashing with a very shallow sink?
Yes, but it requires more aggressive accessory use. A deep, well-fitted sink mat with raised edges is almost essential. Pair this with a pull-down faucet to bring water into the basin and meticulous dish-placement angles. Consider a countertop drip tray for the messiest tasks.
Is a touchless faucet better for preventing splashes?
>Not necessarily. Touchless faucets often have a preset flow rate and sensor range that can lead to sudden, full-blast activation, which can cause initial splash. A traditional faucet with a pull-down sprayer gives you more manual control over flow and direction, which is generally better for splash prevention.
Will a sink grid (the wire rack that sits in the bottom) help?
It can, but with a caveat. A sink grid elevates dishes, allowing water to drain, which is good. However, it also creates a uneven surface that can destabilize large, flat items like baking sheets, causing them to slide and splash. It’s best used for air-drying dishes, not for washing large items. A smooth-bottomed sink is better for washing.
What’s the best material for a splash-resistant sink mat?
Food-grade, BPA-free silicone is ideal. It’s flexible, fits snugly, has good non-slip properties, and is dishwasher safe. Look for a design with raised feet or a waffle pattern to promote airflow and drainage underneath, preventing water from pooling and causing mildew.
My faucet is fine, but water still splashes from the drain area. Why?
This is often caused by the “gurgling” effect. When a large volume of water displaces air in the drain, it can cause bubbling and minor splash-back. Ensure your sink’s overflow channel (the hole near the top rim) is clean. Also, avoid washing large amounts of debris (like food scraps) directly down the drain, as clogs can worsen this effect.
Are there any DIY hacks to stop splashing?
A temporary, effective hack is to press a large, shallow plastic storage container lid (like from a Tupperware set) against the back of the sink, creating a splash guard. For a more permanent fix, you can apply a clear, flexible adhesive vinyl edge trim (used for countertops) to the front lip of a shallow sink to create a tiny, hidden barrier. However, investing in proper accessories or hardware is more reliable and safer.