Want stainless steel cookware that slides like Teflon? This guide shows you easy, affordable ways to create a reliable nonstick surface using seasoning, oils, and proper techniques. Follow the steps, avoid common mistakes, and enjoy effortless cooking every day.
Key Takeaways
- Seasoning is essential: Building a polymerized oil layer gives stainless steel its nonstick properties.
- Heat control matters: Preheating to the right temperature prevents food from bonding to the pan.
- Choose the right oil: High‑smoke‑point oils like grapeseed or avocado work best for seasoning.
- Maintain the coating: Gentle cleaning and occasional re‑seasoning keep the surface slick.
- Avoid abrasive tools: Metal scouring pads strip the nonstick layer and damage the steel.
- Use proper cooking techniques: Let food release naturally before flipping.
- Safety first: No harmful chemicals are needed; the process is completely food‑safe.
📑 Table of Contents
- Introduction: Why Turn Stainless Steel Into a Nonstick Pan?
- 1. Understanding the Science Behind Nonstick Seasoning
- 2. Preparing Your Stainless Steel Pan
- 3. Step‑by‑Step Guide to Seasoning Stainless Steel
- 4. Everyday Cooking Tips for a Nonstick Stainless Steel Pan
- 5. Troubleshooting Common Issues
- 6. Maintaining Your Nonstick Stainless Steel for the Long Haul
- Conclusion: Your New Favorite Cookware
Introduction: Why Turn Stainless Steel Into a Nonstick Pan?
Stainless steel cookware is a kitchen staple for a reason. It’s durable, looks great, and won’t leach chemicals into your food. The downside? Food can stick like glue, especially when you’re cooking eggs, fish, or delicate sauces. Many people reach for expensive nonstick pans, but those coatings can wear off, release fumes at high heat, and often contain PTFE or PFOA.
Good news: you can give your stainless steel pans a natural, long‑lasting nonstick surface without any synthetic coating. All you need is a little patience, the right oil, and a few simple steps. In this article we’ll walk you through the science, the step‑by‑step process, troubleshooting tips, and maintenance tricks so your stainless steel becomes the star of your kitchen.
1. Understanding the Science Behind Nonstick Seasoning
What is seasoning?
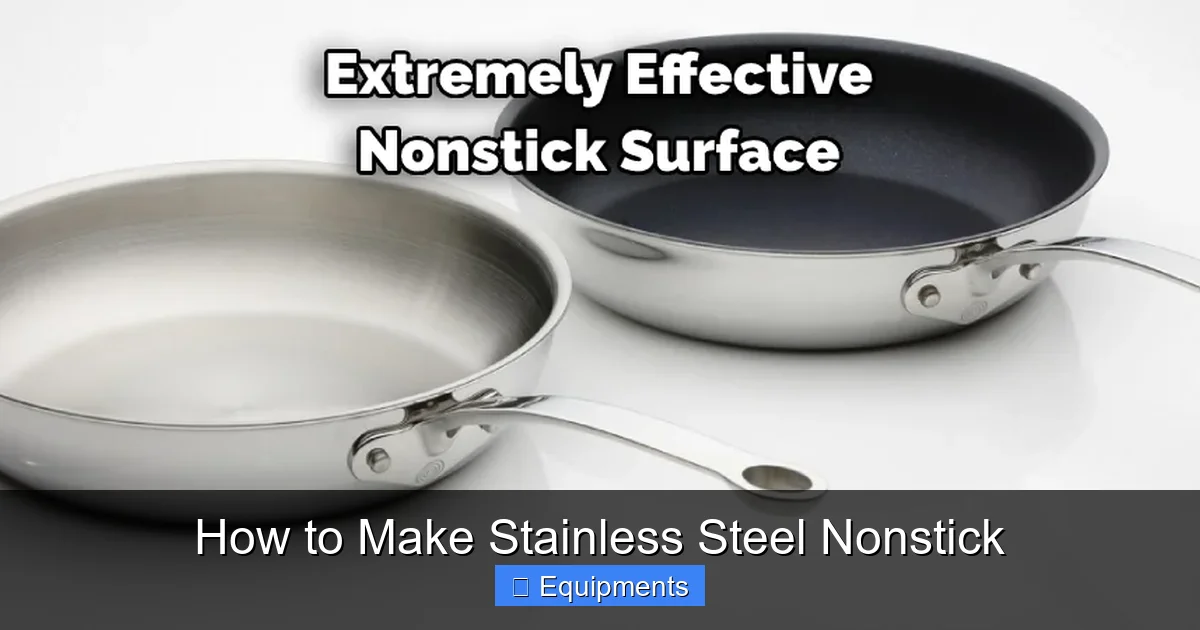
Seasoning is the process of heating oil until it polymerizes—meaning the oil molecules bond together and form a thin, hard film on the metal surface. This film fills microscopic pores in the stainless steel and creates a smooth, slippery layer that food can’t easily cling to.
Visual guide about How to Make Stainless Steel Nonstick
Image source: thekitchenix.com
Why stainless steel works
Stainless steel is a “passive” metal; it doesn’t react with most foods. When you heat it, the metal expands slightly, opening tiny pores. A well‑seasoned layer sits in those pores, acting like a barrier. Unlike traditional nonstick coatings, this layer is made from the oil itself, so it’s completely food‑safe.
Choosing the right oil
Not all oils are equal. You want an oil with a high smoke point (above 400°F/204°C) so it can reach the polymerization temperature without burning. Top choices include:
- Grapeseed oil – 420°F (216°C)
- Avocado oil – 520°F (271°C)
- Refined canola oil – 400°F (204°C)
- Sunflower oil – 440°F (227°C)
Skip extra‑virgin olive oil or butter; they smoke too early and leave a sticky residue.
2. Preparing Your Stainless Steel Pan
Cleaning the surface
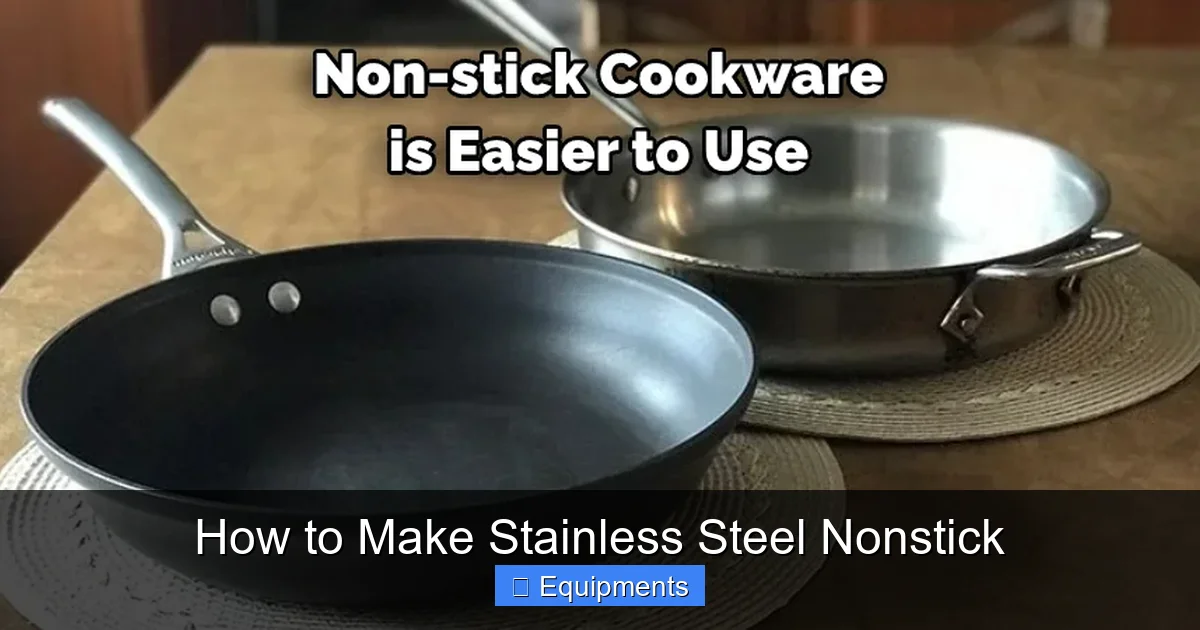
Start with a sparkling clean pan. Any food residue, grease, or dishwasher detergent can prevent the oil from bonding. Wash the pan with hot, soapy water, rinse well, and dry completely with a lint‑free cloth.
Visual guide about How to Make Stainless Steel Nonstick
Image source: thekitchenix.com
Removing existing residue
If the pan has a previous nonstick coating or stubborn burnt‑on bits, use a gentle abrasive like a non‑metallic scrub pad and a bit of baking soda. Rinse thoroughly and dry.
Pre‑heating basics
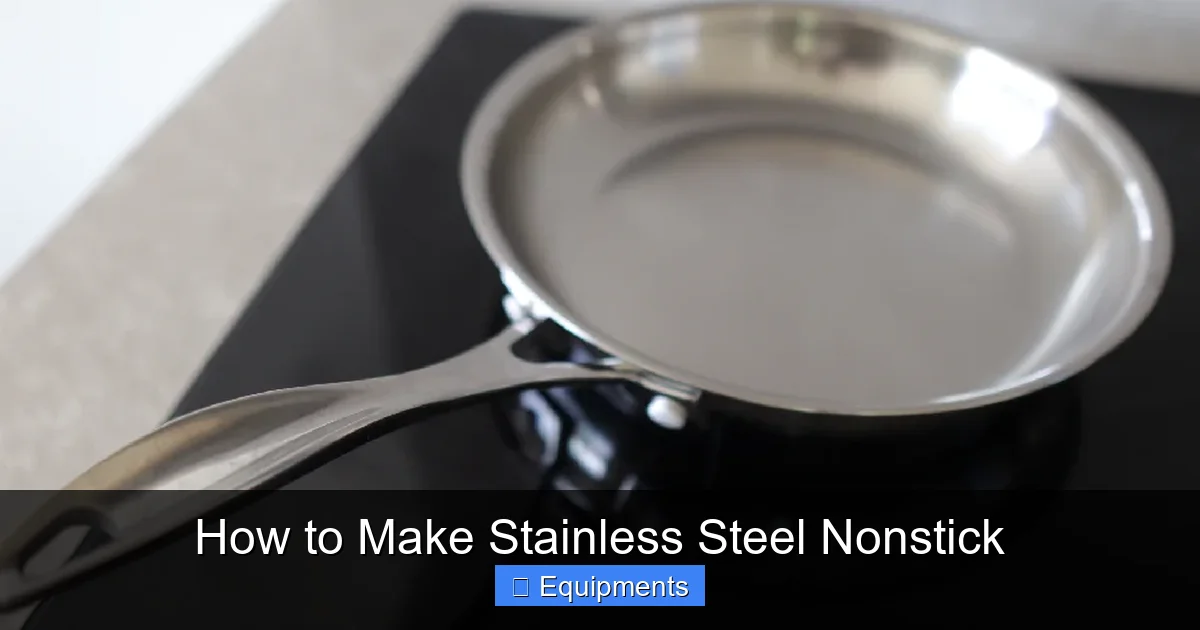
Place the empty pan on medium heat for about 2 minutes. You’ll know it’s ready when a few drops of water “dance” across the surface before evaporating. This indicates the metal is uniformly heated—a crucial step for an even seasoning.
3. Step‑by‑Step Guide to Seasoning Stainless Steel
Step 1: Apply a thin layer of oil
Using a paper towel, wipe a very thin coat of your chosen high‑smoke‑point oil over the entire interior surface. Too much oil will create a sticky mess; you want just enough to coat the pan like a whisper.
Visual guide about How to Make Stainless Steel Nonstick
Image source: thekitchenix.com
Step 2: Heat to polymerization temperature
Turn the burner to medium‑high and let the pan heat for 8–10 minutes. You’ll see the oil start to change color—turning a light amber—and a faint nutty aroma. That’s the oil polymerizing.
Step 3: Cool and wipe
Turn off the heat and let the pan cool for 5 minutes. Using a clean paper towel, gently wipe away any excess oil. The surface should now feel smooth and slightly glossy.
Step 4: Repeat for durability
For a stronger, longer‑lasting layer, repeat steps 1‑3 two to three more times. Each layer builds on the previous one, filling more pores and creating a tougher barrier.
Step 5: Test the nonstick
Heat the pan on medium, add a teaspoon of water. If the water beads and slides around, you’ve succeeded. Try cooking a scrambled egg; it should glide without sticking.
4. Everyday Cooking Tips for a Nonstick Stainless Steel Pan
Preheat before adding food
Always preheat the pan for at least 2 minutes before adding oil or food. A properly heated pan creates a “steam barrier” that helps food release naturally.
Use enough oil, but not too much
When cooking, add a modest amount of oil (about 1‑2 teaspoons for a 10‑inch pan). Let the oil heat until it shimmers, then add your food. This thin film works with the seasoned layer for optimal release.
Let food release on its own
Resist the urge to flip too early. When the food is ready, it will release with a gentle nudge. For example, a piece of fish will slide away when the crust has formed.
Avoid sudden temperature changes
Cold water on a hot pan can warp the metal and damage the seasoning. If you need to deglaze, add a splash of warm broth or wine instead of ice‑cold liquid.
Cleaning without scrubbing
After cooking, let the pan cool slightly, then wipe it with a soft cloth. For stubborn bits, use a mixture of warm water and a few drops of dish soap, and a non‑abrasive sponge. Never use steel wool; it will strip the seasoned layer.
5. Troubleshooting Common Issues
Food still sticks
If you notice sticking, check your heat level. Too low heat means the oil never reaches polymerization, while too high heat can burn the oil, leaving a sticky residue. Re‑season the pan using the steps above.
Seasoning flaking off
Excessive scrubbing or using harsh detergents can lift the polymerized layer. Gently clean, and if flaking occurs, repeat the seasoning process.
Pan develops a grayish tint
A gray patina is normal after multiple seasons; it actually indicates a well‑built layer. If the color becomes uneven, a light buff with a soft cloth can even it out.
Odor or smoke during cooking
Burning oil creates smoke. Ensure you’re using a high‑smoke‑point oil and that the pan isn’t overheated. Reduce the heat and wipe away any burnt residue before the next use.
6. Maintaining Your Nonstick Stainless Steel for the Long Haul
Regular re‑seasoning schedule
Plan a quick re‑season every month if you cook daily, or after every 10‑15 heavy uses. The process takes only a few minutes and keeps the surface at peak performance.
Storage tips
Stack pans with a soft cloth or pan protector between them to avoid scratching. Avoid storing heavy lids on top of the seasoned surface.
When to replace
Stainless steel lasts a lifetime, but if the pan becomes warped, deeply scratched, or develops rust, it’s time for a new one. The seasoning can’t fix structural damage.
Conclusion: Your New Favorite Cookware
Turning a plain stainless steel pan into a reliable nonstick workhorse is easier than you think. By understanding the science of seasoning, following a simple step‑by‑step process, and using proper cooking techniques, you’ll enjoy effortless food release, easy cleanup, and the peace of mind that comes from using a chemical‑free surface.
Give it a try this weekend—grab a pan, your favorite high‑smoke‑point oil, and a few minutes of patience. Soon you’ll wonder why you ever bought a pricey nonstick skillet. Happy cooking!
Frequently Asked Questions
Can I season a stainless steel pan that already has a nonstick coating?
It’s not recommended. Existing coatings can prevent the oil from bonding properly and may peel off, creating uneven surfaces.
How long does the seasoning last?
With proper care, the seasoning can last weeks to months. Re‑season after heavy use or if you notice food starting to stick again.
Is it safe to use butter for seasoning?
Butter has a low smoke point and contains milk solids that burn easily, leading to a sticky residue. Stick to high‑smoke‑point oils.
Do I need to use a special type of stainless steel?
No. Any 18/10 or 18/8 stainless steel cookware works. Avoid pans with a brushed finish that is too rough; a smoother surface seasons more evenly.
Can I use this method on stainless steel bakeware?
Yes, the same seasoning steps apply to trays and muffin tins. Just ensure the bakeware is clean and dry before seasoning.
What if my pan smells like oil after seasoning?
A faint nutty aroma is normal. If the smell is strong or acrid, you likely overheated the oil—wipe the pan clean and repeat the seasoning at a lower temperature.
