Creating perfect cold foam at home is easier than you think, and 2026 brings smarter tools and techniques to elevate your coffee game. This guide cuts through the noise, focusing on the most reliable methods—from handheld frothers to innovative electric models—and the critical role of choosing the right milk. You’ll learn step-by-step processes for basic and flavored foams, troubleshoot common problems like watery or dense foam, and get a sneak peek at sustainable, tech-forward trends. Forget expensive café visits; with the right knowledge and a few key pieces of equipment, you can craft stunning, creamy cold foam for any iced coffee or cold brew drink all year round.
Key Takeaways
- Milk Choice is Foundational: The protein and fat content in your milk (dairy or plant-based) is the single biggest factor in foam stability and texture. Barista-style, high-protein options are non-negotiable for best results.
- Equipment Dictates Outcome: A simple handheld frother is versatile, but dedicated electric cold foam makers and multi-functional milk frothers offer superior consistency and volume for frequent use.
- Technique Trumps Tools: Proper method—including starting with very cold milk, the correct angle and motion for frothing, and knowing when to stop—is essential regardless of your gadget.
- Flavor Infusion is an Art: Sweeteners and flavorings must be incorporated at the right stage (usually after foaming) to avoid deflating the foam or creating a syrupy, uneven texture.
- Troubleshooting is Key: Most foam failures (watery, bubbly, or dense foam) stem from incorrect milk temperature, over-aerating, or using the wrong milk type. Diagnosing the issue is the first fix.
- 2026 Trends are Smart & Sustainable: Expect app-connected frothers, upcycled flavor ingredients, and a focus on zero-waste practices like repurposing leftover foam or using whole ingredients.
📑 Table of Contents
- What Exactly Is Cold Foam (And Why It’s a Coffee Game-Changer)?
- The Right Equipment: Your Cold Foam Toolkit for 2026
- Mastering the Technique: Step-by-Step to Perfect Foam
- Beyond Basic: Flavor Infusions & Creative Variations
- Troubleshooting 101: Why Your Cold Foam Failed & How to Fix It
- The 2026 Horizon: Future-Proofing Your Cold Foam Skills
- Conclusion: Your Journey to Foam Mastery Starts Now
What Exactly Is Cold Foam (And Why It’s a Coffee Game-Changer)?
Before we dive into whisks and gadgets, let’s get clear on what we’re making. Cold foam is exactly what it sounds like: milk that’s been aerated and textured into a light, airy, and stable foam without being heated. Unlike its hot cousin, which relies on steam to denature proteins and create microfoam, cold foam creation is a purely mechanical process. We’re introducing air and creating a network of bubbles held together by the milk’s proteins and fats. This results in a topping that’s luxuriously creamy on the palate but remains cool and refreshing—the perfect contrast to a chilled beverage.
Its popularity exploded with the rise of cold brew and iced coffee culture. A dollop of sweet, vanilla-kissed cold foam transforms a simple drink into an indulgent treat. It adds a textural layer—a velvety mouthfeel—that liquid milk or a splash of creamer simply cannot. For coffee shops, it’s a high-margin, craveable upgrade. For you at home, mastering it means unlocking café-quality drinks for a fraction of the price, anytime. The “2026” in our title isn’t just a gimmick; it signals that the equipment and best practices are constantly evolving, and we’re here to give you the most current, effective advice.
The Right Equipment: Your Cold Foam Toolkit for 2026
You don’t need a commercial kitchen, but the right tools make all the difference between a sad, watery mess and a cloud-like crown for your drink. The market in 2026 offers options for every budget and commitment level. Let’s break them down.
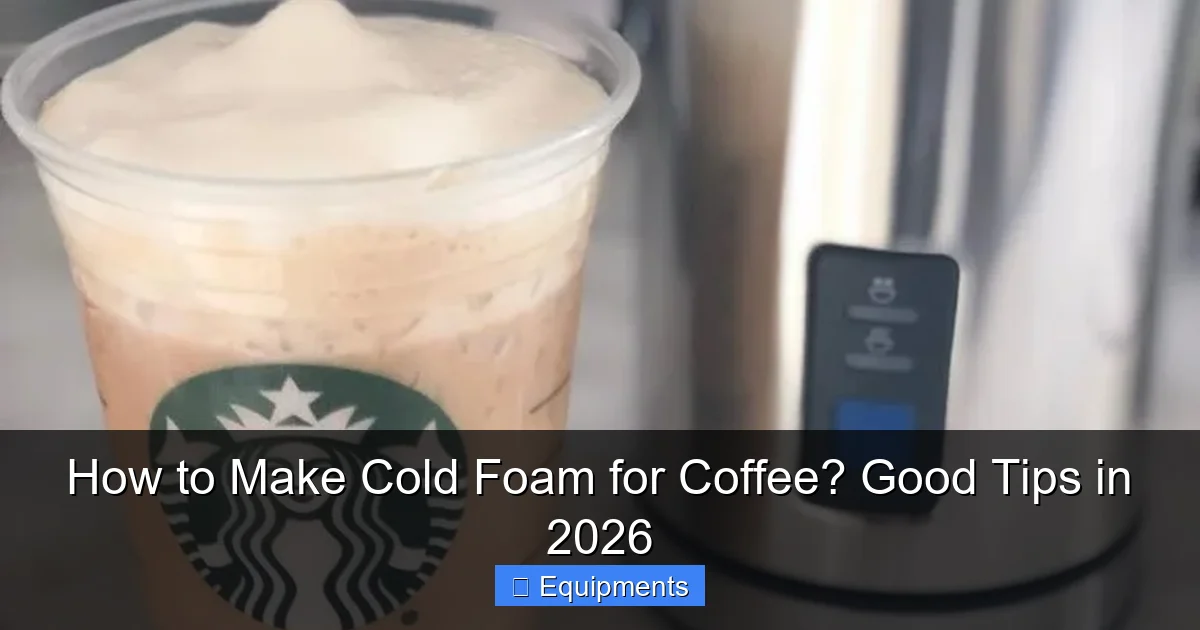
Visual guide about How to Make Cold Foam for Coffee? Good Tips in 2026
Image source: coffeetastecorner.com
Category 1: The Handheld Frother (The Accessible Start)
The battery-powered handheld frother, often called a “milk frother wand,” is the entry point for most. It’s affordable, compact, and surprisingly effective when used correctly.
- How it works: A small, fast-spinning whisk head at the end of a battery-powered stick. You submerge it in milk and move it gently to introduce air.
- Best for: Single servings, occasional use, and travelers. Also great for whisking small batches of matcha or protein powder.
- 2026 Pro-Tip: Look for models with dual-speed settings. A lower speed is perfect for initial aeration without splashing, and a higher speed can help densify the foam once it’s formed. Stainless steel whisk heads are more durable than plastic.
- Watch Out For: They can be a bit messy. Tilt your container slightly and keep the wand just below the surface to minimize splatter. They also require a bit more physical technique than automated methods.
Category 2: The Dedicated Electric Cold Foam Maker (The Consistency Champion)
This is the appliance that changed the home game. Brands like the Fellow Josie or Breville Milk Cafe (and their 2026 successors) are designed specifically for cold foam. They have a carafe, a dedicated frothing disk, and often a heating element for hot foam too.
- How it works: You pour cold milk into the carafe, attach the specialized frothing disk (often a disc with ridges), and press a button. The machine spins the disk at high speed, pulling milk up and aerating it perfectly.
- Best for: Anyone who makes cold foam regularly (multiple drinks, family). They produce the most consistent, barista-style foam with minimal effort.
- 2026 Innovation: Newer models feature programmable texture settings (e.g., “stiff merengue-like” vs. “soft and creamy”) and app connectivity to save your preferred recipes for different milk types. Some even have built-in warming plates to keep your foam perfect if you’re making multiple drinks.
- Watch Out For: They are bulkier and more expensive than handhelds. Cleaning the carafe and disk is essential but usually straightforward.
Category 3: The Multi-Function Milk Frother (The Versatile All-Rounder)
These are the popular “all-in-one” frothers that often come with a frothing disc for cold foam and a whisk for hot foam, fitting onto a standard electric kettle base or as a standalone unit.
- How it works: Similar to dedicated foam makers but often with a simpler design and fewer texture-specific settings.
- Best for: The home barista who wants both hot and cold foam without buying two machines. Good mid-range value.
- 2026 Pro-Tip: Ensure the model you choose explicitly lists “cold foam function.” Some cheaper “frothers” only work with hot milk or are just steam wands. Read reviews specifically about cold foam performance.
- Watch Out For: Cold foam quality can vary widely between models. The foam may be slightly less dense and stable than what you get from a dedicated cold foam machine.
Category 4: The No-Equipment Method (The Improviser’s Path)
Yes, you can make cold foam without any special gadgets. This is useful in a pinch or if you’re truly minimalist.
- Methods: A tight-sealing jar or shaker (add milk, shake vigorously for 30-60 seconds), a French press (plunger up and down rapidly), or a blender (use the lowest setting to avoid over-aerating).
- Best for: Experimenters, those with zero counter space, or making very small batches.
- 2026 Pro-Tip: Add a tiny pinch of xanthan gum (0.1% of milk weight) to your milk before shaking. This natural stabilizer dramatically improves foam longevity and texture, a trick used in commercial kitchens.
- Watch Out For: These methods are the least consistent. Foam can be large-bubbled and collapse quickly. The jar method is also physically demanding and messy.
Mastering the Technique: Step-by-Step to Perfect Foam
Now that you have your tools, the technique is everything. Follow these steps for foolproof foam, regardless of your machine.
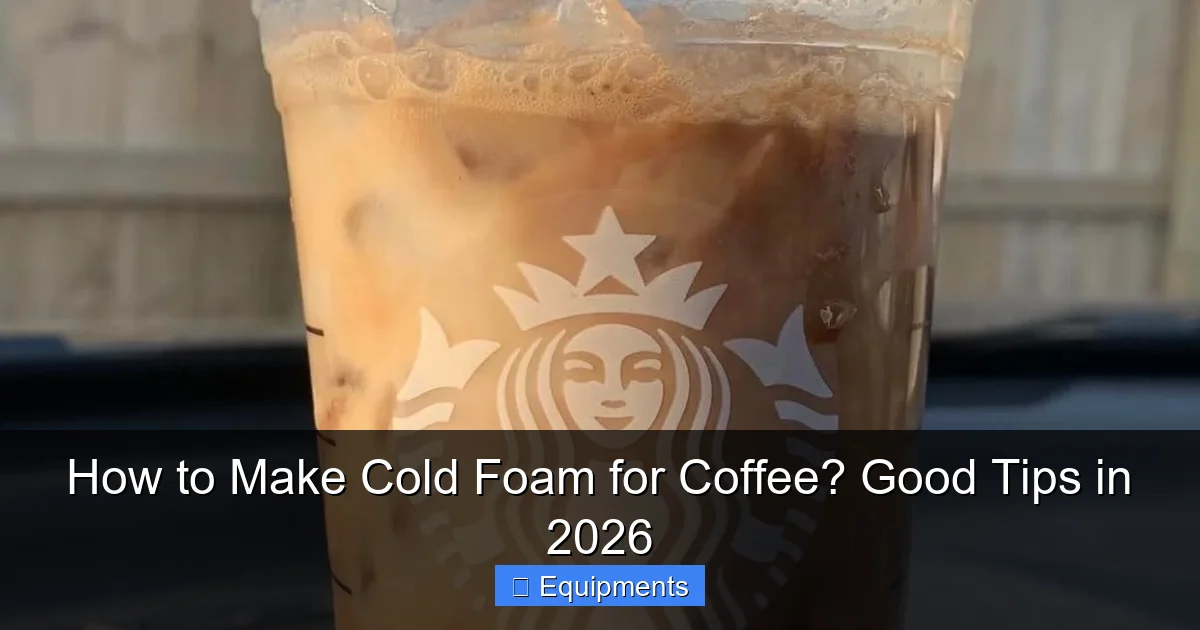
Visual guide about How to Make Cold Foam for Coffee? Good Tips in 2026
Image source: coffeetastecorner.com
The Golden Rules (Apply to All Methods)
- Start Cold, Stay Cold: Use milk straight from the refrigerator. Warm milk will not foam properly for cold foam. If your kitchen is warm, you can even chill your frothing container (glass jar, carafe) first.
- Fill Level Matters: Never fill your container more than halfway with milk. You need ample headspace for the foam to expand. For a single 12-16 oz drink, ¾ cup of milk is usually perfect.
- Choose the Right Milk: This cannot be overstated. For dairy, use whole milk for the richest, most stable foam due to its fat and protein content. For plant-based, barista-style or “barista” versions of oat, almond, or soy milk are formulated with added protein and stabilizers specifically for foaming. Regular grocery store almond milk will likely fail.
- Sweeten Smartly: If adding sugar, honey, or syrup, do it after foaming. Mixing sweetener into the milk before frothing can weigh it down and inhibit foam formation. For flavored powders (like vanilla or cocoa), you can add a small spoonful to the milk before frothing, but be aware it may slightly affect texture.
Method Breakdown: Handheld Frother
1. Pour cold milk into a tall, narrow container (a large measuring cup or a pint glass works well).
2. Submerge the frother whisk just below the surface. Turn it on at low speed, tilting the container to create a vortex. You’ll see foam forming.
3. Once you have a layer of foam, you can gently lower the wand deeper to aerate the milk beneath, but avoid plunging it to the bottom. The goal is to incorporate air, not just spin the liquid.
4. Froth for 20-40 seconds, until the volume has increased by 50-100% and the foam is uniform. It should have a glossy, wet-cream appearance.
5. Tap the container firmly on the counter a few times to pop any large bubbles. Swirl gently to integrate. Your foam is ready!
Method Breakdown: Electric Cold Foam Maker
1. Pour the desired amount of very cold milk into the clean carafe. Do not exceed the “max cold milk” line.
2. Secure the frothing disk (the one with the ridges) onto the spindle.
3. Select the “cold foam” setting. The machine will run for a pre-set cycle (usually 60-90 seconds).
4. Once done, let it sit for 10 seconds. The foam will separate slightly from any residual liquid.
5. Use a spoon to layer the foam onto your drink, or pour from the spout. The densest foam will be at the top.
Beyond Basic: Flavor Infusions & Creative Variations
Plain cold foam is lovely, but the real fun begins with customization. Here’s how to flavor it like a pro without deflating your hard work.
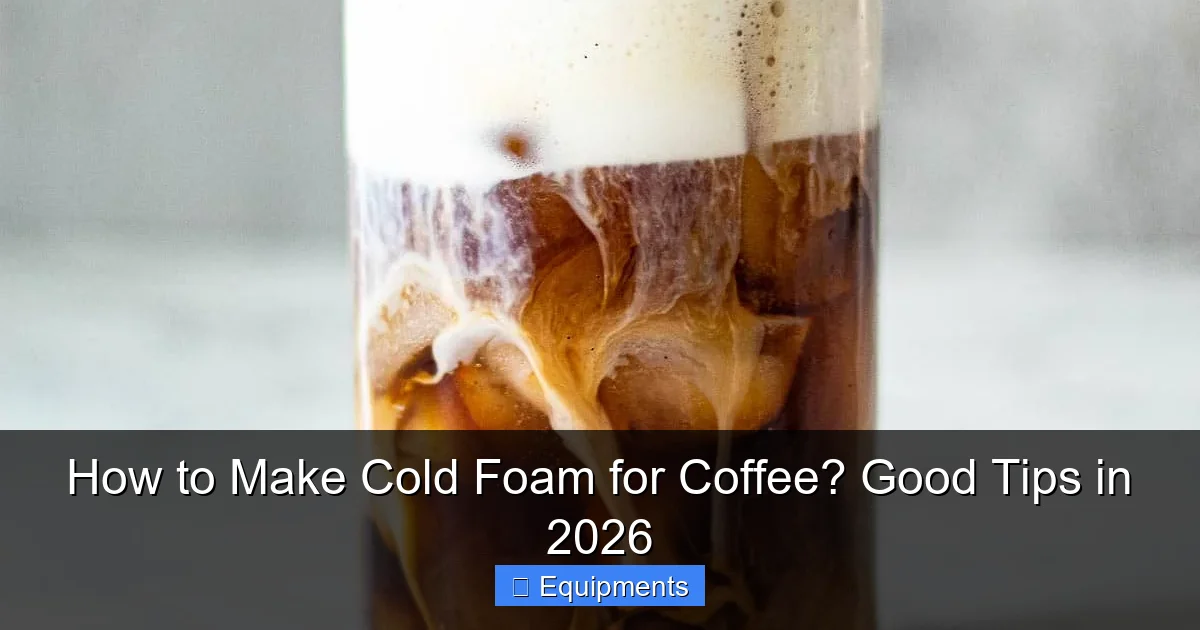
Visual guide about How to Make Cold Foam for Coffee? Good Tips in 2026
Image source: bittyandbeauscoffee.com
The Post-Foam Flavor Method (The Safest)
This is the most reliable technique. Once your plain cold foam is made, gently fold in your flavorings using a spatula or spoon.
- Sweet Cream Cold Foam: The Starbucks classic. Fold 1-2 tablespoons of vanilla syrup or 1 tsp vanilla extract + 1 tsp sugar (or simple syrup) into 1 cup of finished foam. Add a pinch of salt to enhance flavor.
- Mocha Cold Foam: Fold in 1 tbsp of chocolate syrup or ½ tsp cocoa powder (sifted) into plain foam. A drop of espresso can intensify the mocha flavor.
- Seasonal Spices: Gently mix a pinch of pumpkin pie spice, cinnamon, or cardamom into finished foam. For a stronger hit, make a quick spice simple syrup to fold in.
The Pre-Foam Infusion Method (For Deep Flavor)
For flavors that need to fully dissolve, infuse them into the milk before frothing.
- Steeped Milk: Warm ¼ cup of milk slightly (do not boil), steep a tea bag (earl grey, chai) or a spice (crushed cardamom pods, cinnamon stick) for 10 minutes. Strain and chill completely before frothing with the remaining cold milk.
- Citrus Zest Foam: Add finely grated zest of an orange or lemon to your milk before frothing. Strain if you want it perfectly smooth, or leave for texture. Pairs wonderfully with a cold brew.
Texture Play: From “Wet” to “Dry” Foam
You can control the foam’s density by aeration time and milk type.
- Wet/Creamy Foam: Froth for less time (20-25 sec on handheld). Has more liquid integration, similar to a very light, cold cappuccino foam. Great for pouring.
- Dry/Stiff Foam: Froth for the full time (40+ sec). Holds a distinct shape, like stiff peaks. This is ideal for dolloping on top of an iced latte where you want a clear separation. Using whole milk or barista oat milk helps achieve this.
Troubleshooting 101: Why Your Cold Foam Failed & How to Fix It
Even with the best equipment, things can go wrong. Here’s a diagnosis and cure for every common cold foam woe.
Problem: “My foam is watery and separates immediately.”
Cause: The milk used has low protein/fat content (e.g., skim milk, regular almond milk). The foam structure has no binding agents.
Fix: Switch to whole milk or a certified barista-style plant milk. Ensure milk is ice-cold before frothing.
Problem: “My foam is bubbly and large-bubbled, not smooth and micro.”
Cause: Over-aeration, often from holding the frother wand too high out of the milk or shaking the jar too violently. You’re creating big air pockets, not a stable foam.
Fix: Keep the wand tip just at the surface of the milk. For a jar, shake vigorously but stop as soon as the volume increases (30-45 sec). For electric machines, ensure you’re using the correct disk.
Problem: “My foam is dense and heavy, like whipped cream that’s been overbeaten.”
Cause: Over-frothing. You’ve broken down the protein network and expelled the air. The foam has collapsed into a thicker liquid.
Fix: Froth in shorter bursts, checking the texture every 15 seconds. Stop when the foam has roughly doubled in volume and looks glossy, not grainy.
Problem: “My foam has weird, clumpy bits.”
Cause: Usually an issue with pre-mixed flavorings. Granulated sugar or undissolved cocoa powder can clump.
Fix: Always use simple syrup, honey, or superfine powdered sugar for sweetening. Sift cocoa powder. For the safest results, flavor after foaming as described above.
The 2026 Horizon: Future-Proofing Your Cold Foam Skills
The world of home coffee is always innovating. Here’s what to watch for and adopt to stay ahead of the curve.
Smart Frothing & App Integration
The next generation of electric frothers will connect to your phone via Bluetooth. An app will let you create custom profiles for different milks (e.g., “Oatly Barista – Stiff,” “Whole Milk – Creamy”), automatically adjusting spin speed and duration. It will also send reminders to clean your device and order replacement disks. This personalization takes the guesswork out of achieving perfect results with every new milk brand you try.
Sustainability & Upcycled Ingredients
The 2026 coffee enthusiast cares about waste. Look for:
- Upcycled flavor syrups: Made from imperfect fruits or spent coffee grounds.
- Compostable milk cartons: Plant-based milks in recyclable or compostable packaging.
- Zero-waste foam: Using leftover foam from the day before (it can be stored) to top a morning bowl of oatmeal or blend into a smoothie, rather than pouring it down the drain.
The Rise of “Hybrid” Foams
Expect more experimentation with textures. Think:
- Foam + Mousse: Adding a touch of aquafaba (chickpea water) or a plant-based stabilizer to create an even lighter, more stable foam that can hold intricate patterns.
- Savory Foams: Moving beyond sweet. Think cold foam infused with herbs (mint, basil), a pinch of sea salt, or even a dash of umami-rich mushroom powder to top a cold brew with a cheese-like complexity.
Conclusion: Your Journey to Foam Mastery Starts Now
Making cold foam isn’t about spending a fortune on the fanciest machine. It’s about understanding the science—the crucial role of cold, high-protein milk—and practicing the technique. Start simple with a handheld frother and whole milk. Nail that. Then, if you find yourself making foam weekly, invest in a dedicated electric cold foam maker for unbeatable consistency. Experiment with flavors after you’ve mastered the base. Embrace the troubleshooting guide; your first few batches will likely fail, and that’s okay.
The trends of 2026—smart tech and sustainability—are exciting, but they build on these timeless fundamentals. By focusing on the core principles outlined here, you’ll be able to use any tool, from a 2026 app-connected frother to a simple jar, to create stunning, café-worthy cold foam. So, grab your milk, chill it down, and start frothing. Your perfect iced latte awaits.
Frequently Asked Questions
Can I make cold foam with any non-dairy milk?
No, not all plant milks foam well. You must use “barista-style” or “barista” versions of oat, almond, soy, or coconut milk. These are specifically formulated with added protein and stabilizers to mimic dairy milk’s foaming properties. Regular grocery store varieties will typically produce thin, watery foam that collapses quickly.
How long will homemade cold foam last?
Cold foam is best used immediately, as it will naturally separate and deflate over time. However, if stored in an airtight container in the refrigerator, it can last for about 1-2 hours. It will become denser and less airy. For best results, make it fresh right before you prepare your drink.
Why does my cold foam have big, soapy-looking bubbles?
This is almost always caused by over-aeration. You’ve introduced too much air too quickly, creating large, unstable bubbles instead of a fine microfoam. To fix it, froth in shorter bursts, keep your frothing wand just at the surface of the milk (not high above it), and stop as soon as the volume has increased and the texture looks smooth and glossy.
Can I use granulated sugar or honey to sweeten my cold foam?
You can, but it’s not ideal. Granulated sugar may not fully dissolve and can create grainy clumps. Honey is viscous and can weigh down the foam. For best results, use simple syrup (sugar dissolved in water), honey thinned with a little warm water, or a liquid sweetener like agave. For the cleanest texture, sweeten the foam after frothing by gently folding in your sweetener.
Is a $20 handheld frother as good as a $150 electric cold foam maker?
For consistency and volume, no. A dedicated electric cold foam maker uses a specially designed disk to create a denser, more stable foam with far less effort, especially for multiple drinks. A handheld frother requires more technique and physical effort, and results can vary. If you only make foam occasionally, a handheld is a great start. If you make it daily or for a family, the electric machine is a worthwhile investment for time and quality.
How can I make my cold foam more sustainable in 2026?
Focus on a few key areas: 1) Use plant-based milks in recyclable or compostable packaging. 2) Repurpose any leftover foam—it’s great stirred into oatmeal, blended into smoothies, or as a topping for fruit. 3) Choose a durable, repairable frother instead of a disposable one. 4) Make your own flavored syrups from seasonal or “ugly” produce to avoid packaged flavorings. 5) Clean your equipment with eco-friendly soap and a reusable cloth instead of paper towels.