Want a skillet that slides food off effortlessly? Follow this friendly guide on how to make cast iron nonstick, from seasoning basics to long‑term care. Even beginners can turn a raw pan into a kitchen superstar.
Key Takeaways
- Understanding How To Make Cast Iron Nonstick: Provides essential knowledge
📑 Table of Contents
- Introduction: Why a Non‑Stick Cast Iron Pan Is a Game Changer
- 1. Understanding Seasoning: The Science Behind the Slick Surface
- 2. Preparing Your Pan: Clean Slate, Better Results
- 3. The Seasoning Process: Step‑by‑Step Guide
- 4. Everyday Cooking Tips to Keep Your Pan Slick
- 5. Deep Reseasoning: Reviving a Worn‑Out Pan
- 6. Common Mistakes and How to Fix Them
- Conclusion: Your Cast Iron, Your Non‑Stick Masterpiece
Introduction: Why a Non‑Stick Cast Iron Pan Is a Game Changer
Cast iron pans have been kitchen heroes for centuries. They hold heat like a dream, sear meat to perfection, and can go from stovetop to oven without breaking a sweat. The only downside many new owners notice is that a brand‑new pan feels as sticky as a fresh‑painted floor. That’s where seasoning steps in.
If you’ve ever wondered how to make cast iron nonstick without buying an expensive pre‑seasoned skillet, you’re in the right place. This guide walks you through the science, the step‑by‑step process, and the everyday habits that keep your pan slick for years. Think of it as a friendly chat over coffee, with plenty of practical tips you can try tonight.
1. Understanding Seasoning: The Science Behind the Slick Surface
What is seasoning?
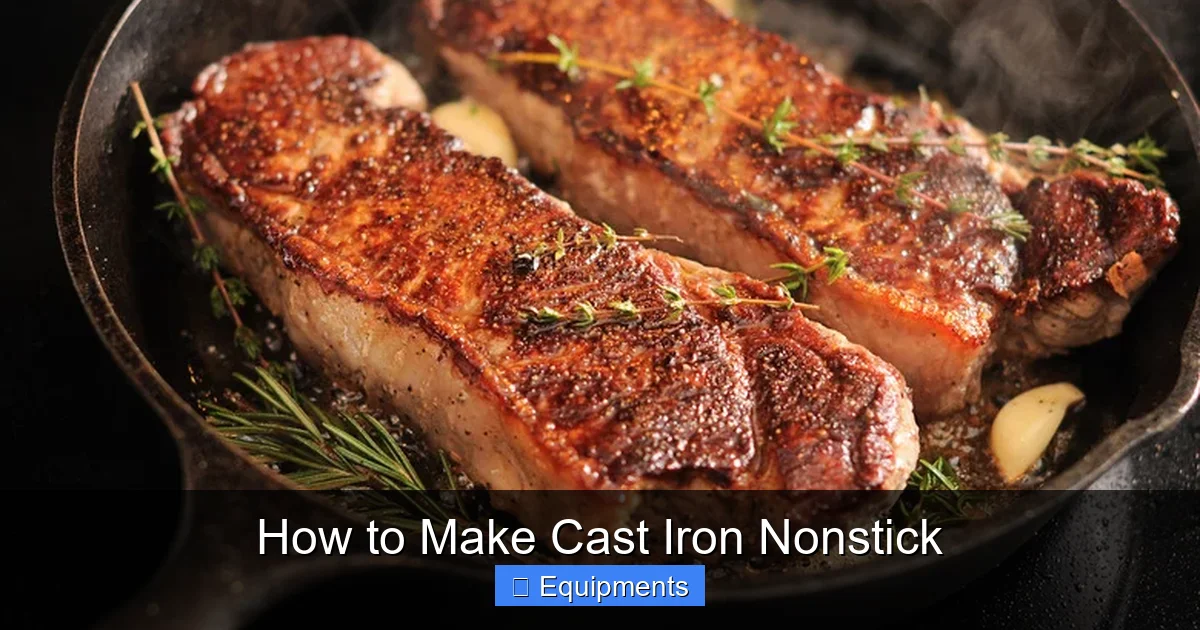
Seasoning isn’t a mystery coating; it’s a thin layer of polymerized oil that bonds to the iron’s surface. When you heat oil past its smoke point, the fatty acids break down and form a hard, plastic‑like film. This film fills the tiny pores of the cast iron, creating a smooth, water‑repellent surface that food can’t cling to.
Visual guide about How to Make Cast Iron Nonstick
Image source: tastingtable.com
Why does it work?
- Heat resistance: The polymerized layer can withstand temperatures up to 500°F (260°C) without melting.
- Non‑reactive barrier: It prevents the iron from reacting with acidic foods, which can cause a metallic taste.
- Self‑repairing: Small scratches get filled the next time you cook with a bit of oil.
Choosing the right oil
Not all oils are created equal. The best candidates have a high smoke point and a high proportion of polyunsaturated fats, which polymerize well. Popular choices include:
- Flaxseed oil – smoke point ~225°F (107°C), forms a hard, glossy finish.
- Grapeseed oil – smoke point ~420°F (216°C), easy to find and neutral flavor.
- Canola oil – smoke point ~400°F (204°C), budget‑friendly and widely available.
For most home cooks, grapeseed or canola strikes a good balance between performance and convenience.
2. Preparing Your Pan: Clean Slate, Better Results
Strip old seasoning (if needed)
If your pan is brand new, a quick wash with hot, soapy water will remove the factory coating. If it’s an older pan with flaking seasoning, you’ll need a deeper clean:
Visual guide about How to Make Cast Iron Nonstick
Image source: img5.su-cdn.com
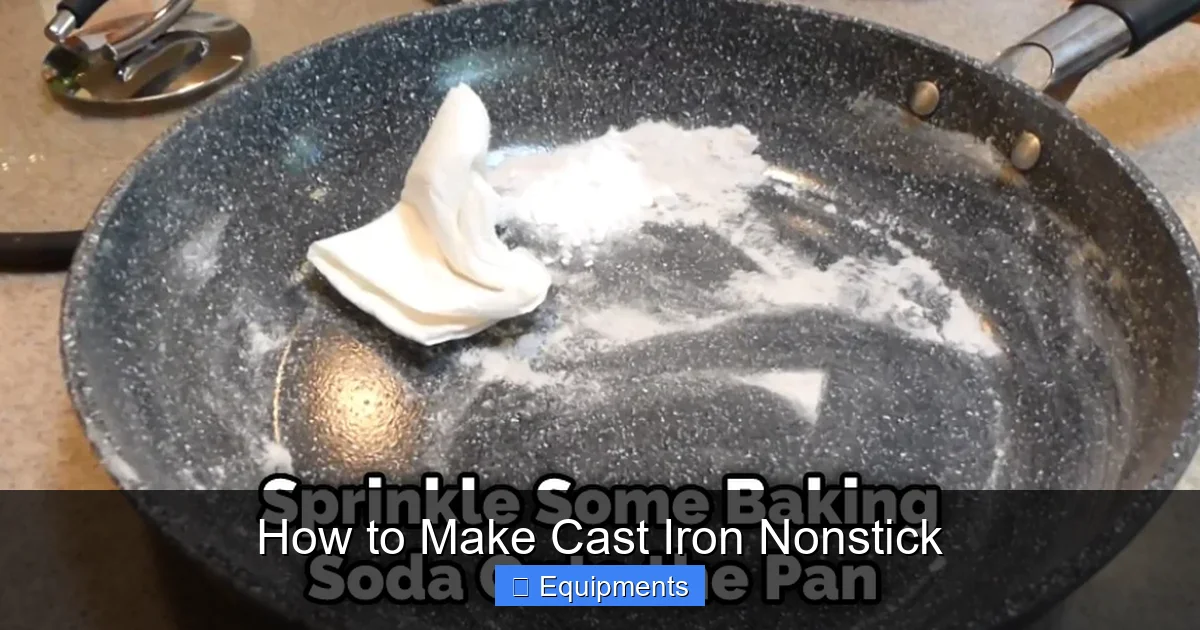
- Scrub with steel wool or a stiff brush under hot water.
- Rinse thoroughly and dry completely.
- Optional: bake at 450°F (230°C) for 1 hour to burn off any remaining residue.
Drying is non‑negotiable
Even a drop of water can cause rust, which ruins the seasoning. After washing, dry the pan on the stovetop over low heat for 5‑7 minutes. You’ll see a faint steam—this means the moisture is gone.
Apply a thin oil coat
While the pan is still warm, pour a teaspoon of your chosen oil onto the surface. Use a paper towel to spread it evenly, wiping away excess until the pan looks just barely glossy. Too much oil leads to sticky spots.
3. The Seasoning Process: Step‑by‑Step Guide
Step 1 – Preheat the oven
Set your oven to 450°F (230°C). A high temperature ensures the oil reaches its smoke point and polymerizes fully.
Visual guide about How to Make Cast Iron Nonstick
Image source: thekitchenix.com
Step 2 – Position the pan
Place the pan upside‑down on the middle rack. Put a sheet of aluminum foil or a baking tray on the rack below to catch drips. This prevents oil from pooling and creating uneven spots.
Step 3 – Bake for 1 hour
Leave the pan in the oven for 60 minutes. You’ll notice a faint smell—this is the oil breaking down. Do not open the oven door during this time; temperature swings can ruin the coating.
Step 4 – Cool down slowly
Turn off the oven and let the pan cool inside for at least 30 minutes. This gradual cooling helps the polymerized layer adhere tightly.
Step 5 – Repeat for durability
For a truly non‑stick surface, repeat the oil‑coat and bake cycle 2‑3 more times. Each layer adds thickness and smoothness. After the final bake, the pan should have a matte, slightly dark finish.
4. Everyday Cooking Tips to Keep Your Pan Slick
Pre‑heat before adding food
Place the empty pan on medium heat for 2‑3 minutes. A drop of water should sizzle and evaporate instantly. This indicates the surface is hot enough to create a barrier between food and metal.
Use the right amount of oil
Even with a seasoned surface, a thin film of oil helps. Add a teaspoon of oil, swirl, and let it heat until it shimmers. Too much oil creates a greasy mess; too little can cause sticking.
Avoid acidic foods early on
Tomatoes, citrus, and wine can break down fresh seasoning. Wait until your pan has been seasoned at least three times before cooking highly acidic dishes.
Gentle cleaning after each use
- While the pan is still warm, wipe out food bits with a paper towel.
- If residue remains, scrub with a non‑metal brush and hot water—no soap needed.
- Dry on the stovetop, then apply a whisper of oil before storing.
Re‑season when needed
If food starts to stick or you see dull patches, repeat the thin‑oil bake for 30 minutes. This quick touch‑up restores the slickness without a full overhaul.
5. Deep Reseasoning: Reviving a Worn‑Out Pan
When to consider a full reseason
Signs that your pan needs a deep clean include:
- Rust spots that won’t wipe away.
- Flaking seasoning that peels off in chunks.
- A rough, uneven surface after several years of use.
Step‑by‑step deep reseason
- Strip the pan: Use steel wool and hot, soapy water to remove all existing coating.
- Rinse and dry: Heat on the stovetop until all moisture evaporates.
- Apply a generous oil coat: Use flaxseed oil for a hard, durable finish.
- Bake at 500°F (260°C) for 1 hour: Higher heat encourages a tougher polymer layer.
- Cool, then repeat 3‑4 times: Each cycle builds a thicker, more resilient surface.
Maintenance after deep reseason
Treat the pan as if it were brand new. Avoid soap, store with a thin oil layer, and re‑apply a light coat after each cooking session. With proper care, a deep‑seasoned pan can last generations.
6. Common Mistakes and How to Fix Them
Too much oil → sticky patches
If you notice gummy spots, wipe them clean with a paper towel while the pan is still warm, then re‑bake at 450°F for 15 minutes.
Cooking on high heat too soon
Overheating a newly seasoned pan can burn the coating. Stick to medium heat for the first few uses, then gradually increase as the seasoning matures.
Using metal utensils
Sharp metal can scrape away seasoning. Switch to wooden, silicone, or nylon tools, especially during the early seasoning stages.
Storing a damp pan
Moisture invites rust, which destroys the non‑stick layer. Always dry thoroughly and add a thin oil film before putting the pan away.
Conclusion: Your Cast Iron, Your Non‑Stick Masterpiece
Learning how to make cast iron nonstick is less about a single magic step and more about a series of small, consistent habits. From the initial seasoning cycle to daily cleaning tricks, each action builds on the last, turning a simple piece of iron into a lifelong cooking companion.
Take a moment to appreciate the process—your pan is gaining character, flavor, and a smooth surface that only improves with time. Follow the steps, stay patient, and soon you’ll be flipping eggs, sautéing vegetables, and searing steaks with the confidence that only a truly non‑stick cast iron skillet can provide.
Frequently Asked Questions
How many times should I season a new cast iron pan?
For a brand‑new pan, aim for 3‑4 seasoning cycles. This builds a solid base layer that will become increasingly non‑stick with each use.
Can I use regular cooking oil for seasoning?
Yes, but high‑smoke‑point oils like grapeseed, canola, or flaxseed work best. They polymerize more effectively, creating a harder, longer‑lasting surface.
Is it okay to wash my cast iron with soap?
Occasionally using a mild soap won’t ruin a well‑seasoned pan, but frequent soap can strip the coating. Stick to hot water and a brush for routine cleaning.
Why does my food still stick after seasoning?
Sticking can happen if the pan isn’t hot enough, if there’s insufficient oil, or if the seasoning layer is uneven. Re‑heat the pan, add a thin oil film, and consider a quick re‑season if spots persist.
How do I prevent rust on my cast iron?
Always dry the pan completely after washing, apply a light coat of oil before storage, and keep it in a dry environment. If rust appears, scrub it off and reseason.
Can I use my cast iron skillet on an induction cooktop?
Yes, cast iron works perfectly on induction surfaces. The magnetic properties allow the pan to heat quickly and evenly.
Pingback: How to Remove Rust from Cast Iron - kitchenandhouseware.com
Pingback: How to Make Filet Mignon in Cast Iron Skillet - kitchenandhouseware.com
Pingback: How Can I Make Buttermilk Out of Regular Milk - kitchenandhouseware.com