Over time, even the best ceramic-coated pans can lose their slick surface due to improper use or wear. The good news is, you can often restore its non-stick properties without special products. The process involves a thorough deep clean to remove polymerized oil buildup, followed by a careful seasoning process to rebuild a natural, food-safe slick layer. Consistent, gentle care is key to maintaining this restored performance and extending your pan’s life significantly.
Key Takeaways
- Stickiness is usually caused by baked-on oil, not a destroyed coating: The primary culprit is a layer of polymerized (burnt) oil and food residue that fills the microscopic pores of the ceramic, not the ceramic coating itself flaking off.
- Deep cleaning is the critical first step: You must remove this invisible layer of gunk using gentle abrasives like baking soda or specialized cream cleaners before any seasoning will work.
- Seasoning builds a new natural non-stick layer: Applying a thin layer of high-smoke-point oil and heating it creates a polymerized layer that fills the ceramic’s pores, restoring slickness.
- Prevention is more important than restoration: Using proper utensils, avoiding extreme heat, and hand-washing are essential to maintain the restored non-stick surface long-term.
- Know when the pan is truly damaged: If the ceramic coating is visibly flaking, chipping, or has dark metallic spots showing through, the pan is unsafe and cannot be restored; it must be replaced.
📑 Table of Contents
- Understanding Why Your Ceramic Pan Lost Its Slickness
- Step 1: The Deep Clean – Removing the Culprit
- Step 2: The Seasoning Process – Rebuilding the Slick Layer
- Step 3: Prevention – Protecting Your Investment Long-Term
- Knowing When to Say Goodbye: Irreparable Damage
- Conclusion: Patience and Care Yield Results
Understanding Why Your Ceramic Pan Lost Its Slickness
You bought that beautiful ceramic pan with dreams of effortless eggs and perfect sears. For a while, it was magical. Then, slowly, things started sticking. That frustration is real, but before you mourn the loss of your favorite pan, it’s crucial to understand what’s actually happening. The non-stick magic of a ceramic-coated pan isn’t a permanent, unbreakable film. It’s a sophisticated, porous surface that relies on a delicate balance to perform its best.
The Ceramic Coating: A Porous Marvel
Unlike the PTFE (Teflon) coating, which is a smooth, continuous plastic-like layer, a ceramic coating is essentially a silica-based (think sand/glass) layer applied to the pan’s metal base. This layer has millions of microscopic pores and a slightly textured, honeycomb-like structure. When the pan is new and pristine, these pores are empty, and the surface is incredibly smooth at a microscopic level, creating that legendary non-stick effect. Food and moisture have nothing to grip onto.
The Real Culprit: Polymerized Oil Buildup
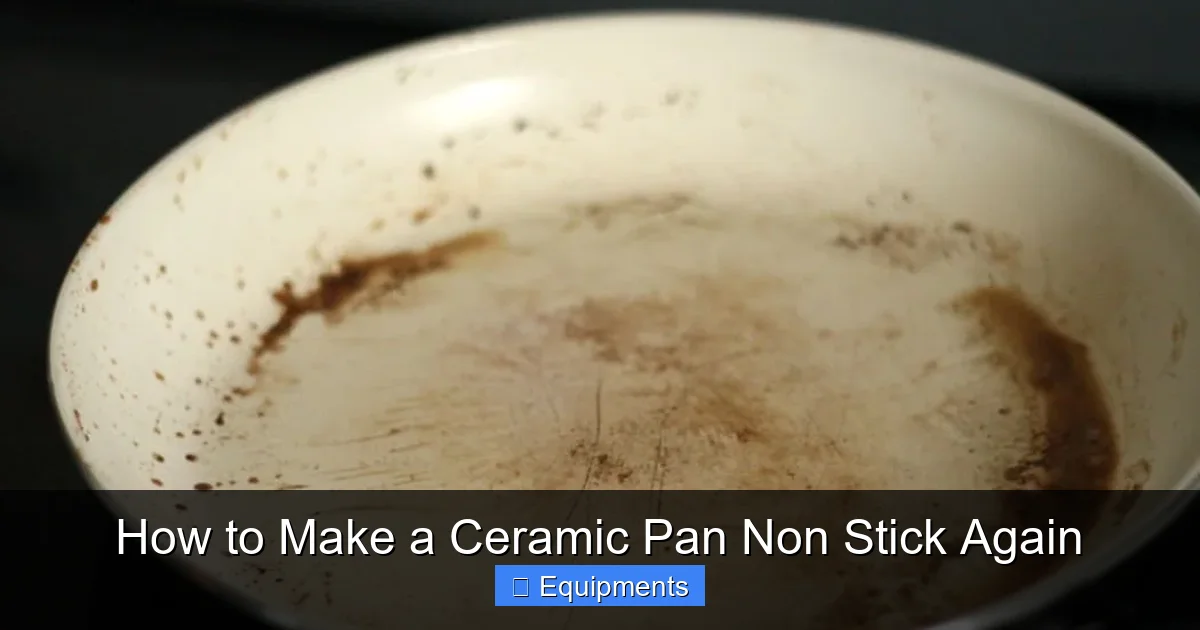
So why does it fail? The number one reason is not the ceramic wearing away, but those microscopic pores getting clogged. Every time you cook, especially with oil, a tiny amount of oil seeps into these pores. Under normal, gentle cooking, this oil helps lubricate the surface. But when the pan gets too hot, or when oil is heated repeatedly without being fully cleaned off, it undergoes a chemical change called polymerization. The oil molecules cross-link and harden into a plastic-like, amber-colored or dark brown, gummy layer. This layer sits on top of and within the ceramic pores, creating a rough, sticky surface. Food now has something to grip onto, and your pan feels like it’s lost all its magic. This is the greasy, sticky film you can sometimes see or feel, especially around the cooking area.
Other Causes of Damage
While polymerized oil is the most common fixable issue, other actions can permanently damage the ceramic:
- Metal Utensils: Scratches the surface, creating grooves that trap food and oil.
- Extreme High Heat: Ceramic is not designed for searing or empty-pan heating. Overheating can cause the silica layer to crack or craze (a fine web of scratches) and can accelerate oil polymerization.
- Abrasive Cleaners: Using steel wool, harsh scouring powders, or the dishwasher (detergents are too alkaline) will dull and etch the surface.
- Thermal Shock: Pouring cold water into a piping hot pan can cause the metal base to expand and contract at a different rate than the ceramic coating, leading to cracks.
Our restoration process is designed to tackle the first and most common problem: the clogged, polymerized oil layer. If your pan has deep scratches or chips, restoration will have limited results.
Step 1: The Deep Clean – Removing the Culprit
This is the most important and labor-intensive step. You cannot season a pan that is still coated in baked-on gunk. The goal is to strip away every trace of that polymerized oil layer to expose the fresh, porous ceramic underneath. You need to be thorough here. Skip this, and any seasoning you attempt will be ineffective.
Visual guide about How to Make a Ceramic Pan Non Stick Again
Image source: panmastery.com
Method A: The Baking Soda Paste Power Scour
This is the most accessible and effective method for most home cooks. Baking soda is a mild, food-safe abrasive that also has alkaline properties to help break down grease.
- Create a Paste: In a small bowl, mix 3 parts baking soda with 1 part water (or white vinegar for extra grease-cutting power) to form a thick, spreadable paste.
- Apply Generously: Spread the paste over the entire cooking surface of the warm (not hot), dry pan. Pay special attention to the areas where food sticks most.
- Let it Sit: Allow the paste to sit for at least 30 minutes, or even overnight for severe buildup. This lets it work into the pores.
- Scrub: Using a non-metal scrubber—a dedicated plastic scouring pad, a silicone scrubber, or a soft-bristled brush—scrub the surface vigorously in circular motions. You will see the paste turn brown or gray as it lifts the grime.
- Rinse & Repeat: Rinse thoroughly with warm water. If the surface still feels sticky or looks dull, repeat the process. It may take 2-3 applications for heavily damaged pans.
Method B: Specialized Ceramic Cookware Cleaner
Products like Bar Keepers Friend (non-abrasive version) or dedicated ceramic pan cleaners are formulated to tackle this exact problem. Always follow the manufacturer’s instructions precisely. Typically, you apply the cream to a damp surface, let it sit for a few minutes, and then gently rub with a non-abrasive pad. These can be very effective but are more costly than baking soda.
Method C: The Boiling Water & Dish Soap Soak (For Light Buildup)
For pans that just feel a bit “off” but aren’t visibly gummy:
- Fill the pan with enough water to cover the stuck-on area.
- Add a generous squirt of dish soap.
- Bring to a simmer on the stove for 10-15 minutes. Do not let it boil vigorously.
- Turn off the heat and let it cool slightly. Use a wooden or silicone spatula to gently scrape the surface. The heat and soap will help loosen light residue.
- Finish with the baking soda paste for best results.
Critical Check: After your deep clean, rinse the pan and dry it. Run your clean, dry finger lightly over the surface. It should feel smooth, not sticky or tacky. If it still feels odd, clean it again. This step cannot be over-emphasized.
Step 2: The Seasoning Process – Rebuilding the Slick Layer
Once your pan is impeccably clean and dry, it’s time to build a new, natural non-stick layer. This is called “seasoning.” For ceramic pans, seasoning is about creating a very thin, polymerized layer of oil that fills the now-empty microscopic pores, creating a smooth, lubricated surface. It’s not about building up a thick, sticky coating like on cast iron.
Visual guide about How to Make a Ceramic Pan Non Stick Again
Image source: panmastery.com
Choosing the Right Oil
This is key. You need an oil with a high smoke point, meaning it can be heated to a high temperature without breaking down and smoking excessively, which would create more polymerization (the bad kind).
- Best Choices: Avocado oil (smoke point ~520°F/271°C), refined safflower oil, refined sunflower oil, grapeseed oil (~420°F/216°C). These are neutral-flavored and stable.
- Good Choices: Canola oil, vegetable oil blends.
- AVOID: Extra virgin olive oil (low smoke point, strong flavor), butter (milk solids burn), coconut oil (can be grainy and has a lower smoke point unless highly refined).
The Seasoning Technique: Thin is Everything
The #1 mistake people make is using too much oil. You want a layer so thin it’s almost invisible. A thick layer will become sticky and gummy.
- Heat the Pan: Place your clean, dry pan on the stove over low-medium heat for 2-3 minutes. This opens the pores slightly.
- Apply Oil: Pour about 1/2 teaspoon of your chosen oil onto the pan. Using a paper towel held with tongs or clean cloth (to avoid burns), rub the oil vigorously across the entire cooking surface, including the sides. You should see the oil immediately soak into the pan. If there’s any excess, wipe it off. The surface should look dry or faintly glossy, not wet or pooling.
- Heat It: Increase the heat to medium and let the pan heat for 3-5 minutes. You’ll see the oil begin to shimmer and possibly smoke lightly (this is the polymerization happening). Once it stops smoking and the surface looks dry and matte, it’s done.
- Cool: Turn off the heat and let the pan cool completely. You can wipe it with a clean paper towel once cool to remove any residual surface oil.
Pro Tip: For a more even seasoning, you can put the oiled pan in a cold oven, set to 450°F (230°C), and bake for 1 hour. Then turn the oven off and let the pan cool inside. This is excellent for getting even heat but uses more energy.
How Many Coats Do You Need?
Start with one coat. Use the pan for a few cooks. If food still sticks a little, do a second coat. Most pans are fully restored after 2-3 seasoning cycles. You are not building a thick layer; you are simply helping the first layer bond better and filling any remaining pores. After the initial restoration, you’ll often find that regular cooking with a bit of oil naturally maintains the seasoning, and you won’t need to do this full process again for months.
Step 3: Prevention – Protecting Your Investment Long-Term
Restoring your pan is hard work. The smartest move is to prevent it from needing this deep clean again. Adopting a few simple habits will keep your ceramic pan performing like new for years.
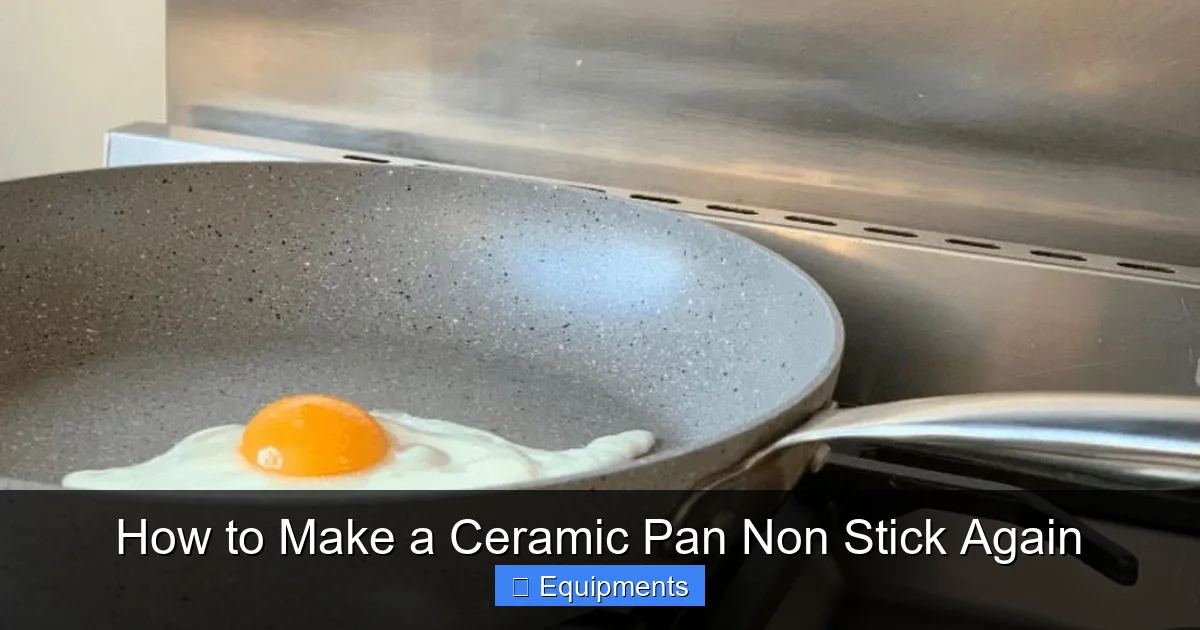
Visual guide about How to Make a Ceramic Pan Non Stick Again
Image source: panmastery.com
The Golden Rules of Ceramic Pan Care
- Always Use Low to Medium Heat: Ceramic conducts heat very efficiently. High heat is the fastest way to destroy the coating and polymerize oil. Preheat the pan on medium for 2-3 minutes, then add oil and food. If the pan starts smoking, it’s too hot.
- Use Only Non-Metal Utensils: Wooden, silicone, or bamboo utensils only. Metal will scratch. Even some plastic utensils can be too hard if they have sharp edges.
- Never Heat an Empty Pan: Always have oil, butter, or food in the pan when heating. An empty pan can overheat in seconds.
- Hand Wash Only: The dishwasher’s harsh detergents and high temperatures will degrade the coating. Use warm, soapy water and a soft sponge or cloth. For stuck-on bits, let the pan soak in warm soapy water, then use the plastic scraper or non-abrasive pad.
- Store Carefully: Don’t stack pans inside each other without a protector. The weight can chip the edges. Store with a paper towel or pan protector between pans if stacking is necessary.
Cooking Best Practices
How you cook matters. Always preheat the pan gently. Add a thin layer of oil—you don’t need to swamp it. Let the oil shimmer before adding food. Don’t try to move the food too soon; let it sear and release naturally. When cooking delicate items like eggs or fish, a tiny bit more oil or butter in the first few uses after seasoning can help. Avoid cooking very sugary marinades or sticky sauces at high heat, as sugar caramelizes and bonds permanently to surfaces.
Knowing When to Say Goodbye: Irreparable Damage
Not all pans can be saved. Ceramic coatings have a finite lifespan, typically 1-3 years with heavy use, though this can be extended with perfect care. It’s important to recognize when a pan is no longer safe or functional. Continuing to cook on a severely damaged pan can be frustrating and potentially unsafe if the underlying metal is exposed.
The Tell-Tale Signs of a Dead Pan
- Visible Chipping or Flaking: If you see pieces of the ceramic coating coming off, the pan is finished. These flakes can get into your food.
- Large, Deep Scratches: Minor surface scratches are normal, but deep gouges that you can feel with your fingernail will trap food and oil permanently.
- Dark Metallic Spots: This means the ceramic coating has worn completely through in those areas, exposing the bare metal (usually aluminum). Cooking on exposed metal can lead to metallic tastes and the metal can react with acidic foods.
- Persistent Sticking After Multiple Restorations: If you’ve done a deep clean and seasoned 3-4 times and food still sticks like glue, the coating’s porous structure is likely permanently compromised.
- Crazing: A fine, spider-web-like network of cracks in the coating. This indicates thermal shock damage and will only worsen, trapping food and oil.
If you see any of these, it’s time to recycle the pan and invest in a new one. Using a damaged pan is not worth the risk to your food quality or potential health concerns from degraded coating particles.
Conclusion: Patience and Care Yield Results
Restoring a ceramic pan’s non-stick properties isn
Frequently Asked Questions
What is How To Make A Ceramic Pan Non Stick Again?
How To Make A Ceramic Pan Non Stick Again is an important topic with many practical applications.