Installing rubber baseboard in your kitchen cabinets is a simple, low-cost DIY project that dramatically improves aesthetics and functionality. This flexible, durable material creates a seamless, waterproof seal between your cabinet base and the floor, hiding gaps and protecting against spills, dust, and pests. The process requires basic tools, careful measurement, and the right adhesive for a long-lasting, professional result. Follow this comprehensive guide to master the installation from prep to finish.
Let’s be honest: the space between the bottom of your kitchen cabinets and the floor is often an unsightly, dust-collecting gap. It’s a problem area that collects crumbs, harbors unwanted pests, and can even let moisture seep under cabinets, causing damage over time. While wood or plastic baseboards are common solutions, they have their drawbacks. Wood can warp with humidity, and plastic can feel flimsy and look cheap. Enter rubber baseboard—a flexible, resilient, and surprisingly elegant solution that’s gaining popularity among savvy homeowners and kitchen renovators. Think of it as the ultimate sealant for your cabinet-to-floor junction. It’s waterproof, crack-resistant, and absorbs minor vibrations, making it perfect for the high-traffic, spill-prone kitchen environment. And the best part? Installing rubber baseboard in kitchen cabinets is a straightforward, tool-light DIY project you can confidently complete in a weekend. Forget about complex carpentry; this is about precision, the right materials, and a methodical approach. This guide will walk you through every single step, from gathering your supplies to achieving that perfect, crisp finish, ensuring your kitchen looks cleaner and functions better for years to come.
Key Takeaways
- Rubber baseboard offers superior moisture and impact resistance compared to wood or MDF, making it ideal for the kitchen environment where spills and humidity are common.
- Surface preparation is the most critical step for adhesion; both the cabinet base and the floor must be impeccably clean, dry, and free of any grease, wax, or dust.
- Measuring and cutting with a sharp utility knife is the preferred method for rubber, allowing for precise, clean cuts without the need for power saws that can cause melting or rough edges.
- A high-quality construction adhesive specifically rated for rubber and your flooring type (e.g., tile, vinyl, wood) is essential for a permanent bond; avoid general-purpose glues.
- Firm, even pressure during installation using a roller or block is non-negotiable to ensure full contact and prevent future lifting or gapping.
- Butt joints should be sealed with a compatible silicone caulk for a waterproof finish, and corners require special attention with miter cuts or outside corner covers.
- This is a weekend project for a competent DIYer—patience during the prep and curing phases yields results that look professionally installed.
📑 Table of Contents
Why Choose Rubber Baseboard for Your Kitchen?
Before we dive into the “how,” let’s talk about the “why.” Rubber baseboard isn’t just a quick fix; it’s a strategic upgrade. Its primary material—often recycled or synthetic rubber—grants it a set of properties perfectly suited for the kitchen. It’s inherently flexible, allowing it to conform to minor imperfections in your floor or cabinet base, creating a flawless seal where rigid materials would leave gaps. This flexibility also means it can handle the slight expansion and contraction of floors due to temperature and humidity changes without cracking or pulling away.
Durability That Withstands Kitchen Chaos
Kitchens are war zones for finishes. There’s constant foot traffic, dropped utensils, splashes of water, oil, and food particles. Rubber baseboard laughs in the face of this chaos. It’s highly resistant to stains, water damage, and physical impacts. A dropped pot won’t chip it; a spilled glass of water won’t warp it. This durability translates to a baseboard that looks good year after year with minimal maintenance—usually just a wipe with a damp cloth. Unlike wood, which can swell and rot, or vinyl, which can become brittle and crack, rubber maintains its integrity and appearance in the steamy, messy heart of your home.
Aesthetic Versatility and Clean Lines
Gone are the days when rubber meant industrial black tread. Modern rubber baseboard for kitchens comes in a wide array of finishes. You’ll find sleek, smooth profiles in white, beige, gray, and even wood-look textures. The key aesthetic advantage is the seamless transition it creates. When installed correctly, it forms a continuous, clean line from cabinet to floor. It perfectly hides the uneven gap that almost always exists between factory-made cabinet bases and real-world floors, which are rarely perfectly aligned. This creates a built-in, custom look that elevates the entire cabinet assembly, making your kitchen appear more finished and intentional.
The Moisture and Pest Barrier
This is the functional superstar. The gap under your cabinets is a superhighway for dust bunnies, but it’s also a welcome mat for moisture and insects. Spills that flow under the cabinet can sit against the subfloor or wall, promoting mold and mildew and eventually damaging cabinet toe kicks. Rubber baseboard, when properly adhered, creates a continuous, waterproof barrier. It stops liquids in their tracks, directing them out into the open floor where they can be mopped up. It also blocks the entry points for critters like ants and cockroaches that love to travel along the warm, dark edges of your cabinets. Installing it is like giving your kitchen’s vulnerable perimeter a full-body suit of protection.
Essential Tools and Materials: Your Shopping List
A successful project starts with the right tools. The good news is the tool list is short and inexpensive. The material list requires a bit more discernment, especially regarding the adhesive. Here’s exactly what you need to gather before you make a single cut.
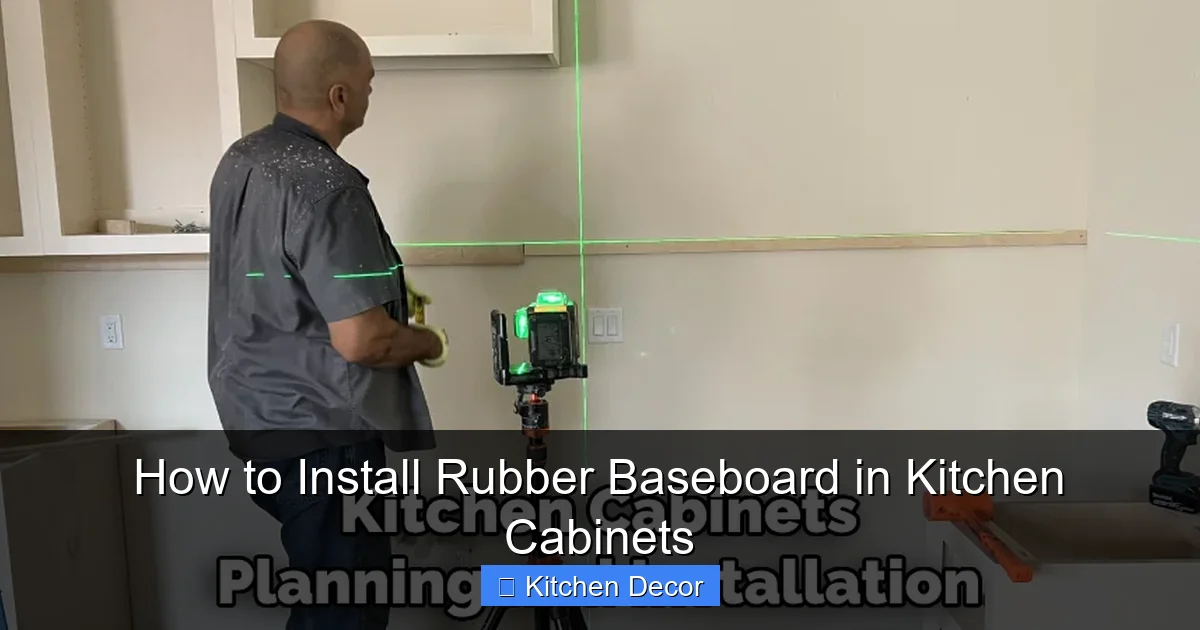
Visual guide about How to Install Rubber Baseboard in Kitchen Cabinets
Image source: thekitchenix.com
Tools of the Trade
You likely have most of these in a basic toolkit. A sharp utility knife with fresh blades is your most important tool—you’ll be scoring and snapping the rubber, and dull blades will lead to ragged, uneven cuts. A metal straight edge or a long level is crucial for guiding your knife for straight cuts. A tape measure and a pencil for marking. A plastic or wood applicator (like a plastic putty knife or a wooden block) for pressing the baseboard down firmly after adhesive application. For larger runs, a hand roller (like a laminate roller) is a game-changer, applying even pressure over long sections. You’ll also need a cleaning supplies: isopropyl alcohol, clean microfiber cloths, and possibly a degreaser for greasy cabinet bottoms.
Choosing the Right Rubber Baseboard
Rubber baseboard is sold in rolls or pre-formed lengths. For kitchen cabinets, pre-formed lengths (typically 4 or 8 feet) are easier to handle and result in fewer seams. Look for a profile specifically designed for cabinets, often called “cabinet base” or “toe kick base.” It will have a gentle, rounded top edge that sits flush against the cabinet and a wider, flatter bottom that adheres to the floor. Thickness ranges from 1/4” to 3/8”; 5/16” is a common, versatile choice. The length should match the depth of your cabinet base (usually 3” to 4”). When buying, calculate your total linear footage and add 10-15% for waste and pattern matching if applicable.
Adhesive Selection: The Key to a Permanent Bond
This is not the place to skimp. You must use a construction adhesive specifically rated for bonding rubber to your specific flooring material. Read the label carefully. Look for phrases like “bonding rubber, vinyl, and wood” or “for use on resilient flooring.” Polyurethane-based construction adhesives (like Liquid Nails S adhesive or PL Premium) are excellent all-around choices for their strength and flexibility. For installations over tile or stone, a mastic-type adhesive designed for those surfaces may be appropriate, but always confirm rubber compatibility first. Avoid using simple white glue, super glue, or general “all-purpose” adhesives—they will fail. Also, ensure the adhesive is water-resistant, as kitchens are humid places.
Preparation: The Unsung Hero of a Flawless Install
They say 90% of a good paint job is prep, and the same is doubly true for adhesive-based installations. Rushing or skipping this step is the number one cause of failure—baseboards that peel, bubble, or detach months later. Dedicate serious time to this phase.
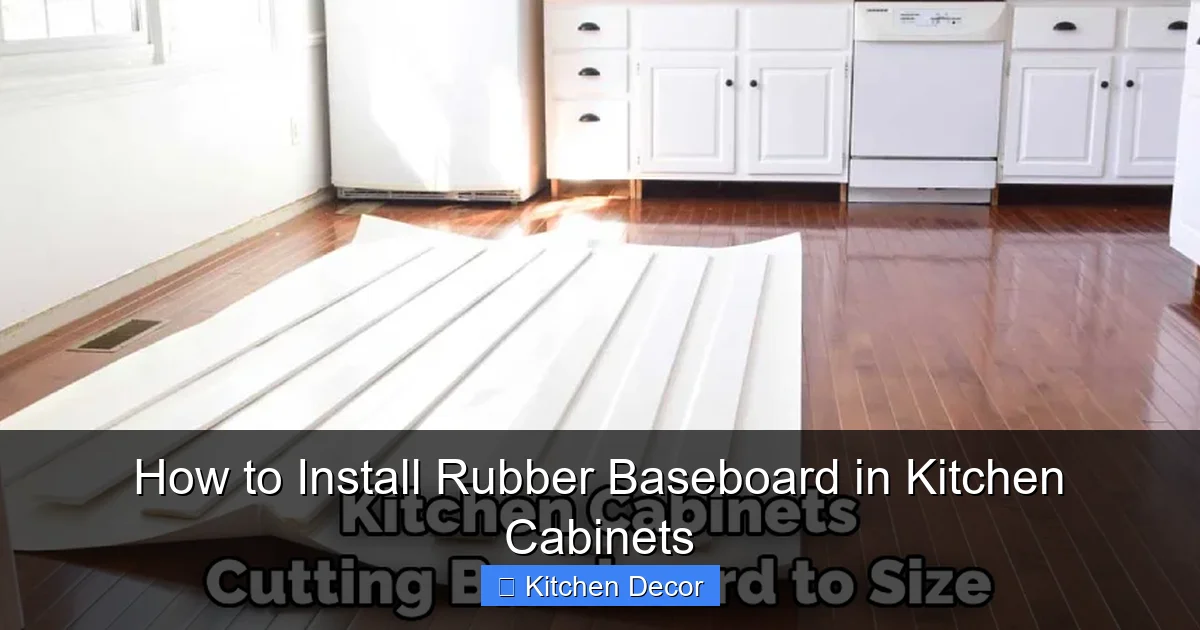
Visual guide about How to Install Rubber Baseboard in Kitchen Cabinets
Image source: thekitchenix.com
Cleaning the Surfaces
You are bonding two surfaces together. For a chemical adhesive to work, both surfaces must be perfectly clean. Start with the floor. Sweep and vacuum the entire area where the baseboard will sit, getting right up to the cabinet edge. Then, wipe it down with isopropyl alcohol on a clean cloth to remove any residual wax, polish, or oily film. For vinyl or laminate floors, a dedicated floor cleaner that leaves no residue is ideal. Let it dry completely. Next, tackle the cabinet base. This is often the dirtiest part. Use a degreaser (like a simple dish soap solution or a dedicated cabinet cleaner) and a scrub brush to remove built-up grease, food splatters, and dust from the toe kick area. Rinse with a damp cloth and dry thoroughly. Any oily film here will act as a release agent and prevent adhesion.
Ensuring a Dry and Stable Environment
Adhesive needs a dry substrate to cure properly. If you’ve recently mopped or had a leak, wait at least 24 hours. Check the relative humidity in your kitchen; ideal conditions are between 40% and 60%. Very high humidity can slow cure times. Also, ensure the room temperature is within the adhesive manufacturer’s specifications (usually above 50°F/10°C). Turn on the HVAC system to maintain a stable environment. Finally, do a “push test” on your cabinets. Gently push on the cabinet base. If you feel any movement or flex, the cabinet may not be securely anchored to the wall or the floor. Adhesive will not hold a moving surface. Secure any loose cabinets first.
Planning Your Layout and Cuts
Stand in your kitchen and visualize the run. Start at a corner or at the least conspicuous point. Measure the length of your first wall section from corner to cabinet end. Add a small margin (about 1/4”) for a tight fit. It’s often best to work from left to right around the room, butting each piece into the next. For inside corners, you have two options: miter the ends at a 45-degree angle for a tight, seamless look, or use a purpose-made inside rubber corner cover. Mitering requires more skill but looks cleaner. For outside corners, you’ll typically need to miter the ends as well or use an outside corner cover. Always dry-fit your pieces before applying any adhesive. Lay them in place to check lengths and see how they meet at corners. Mark your cut lines clearly on the backside of the baseboard with a pencil.
Step-by-Step Installation Process
Now, the main event. With your surfaces prepped and pieces cut, it’s time to install. Work in manageable sections, 3-4 feet at a time, especially if using a solvent-based adhesive that has a limited open time.
Step 1: Apply the Adhesive
Read the adhesive instructions for open time and application method. For most construction adhesives in a caulk tube, apply a continuous, zig-zag bead or a series of vertical daubs (about every 6 inches) along the back of the rubber baseboard. The key is to get enough adhesive to create a full bond without so much that it squeezes out excessively and creates a mess. If using a large cartridge, a caulking gun is necessary. For smaller tubes, you can often squeeze by hand. Apply the adhesive to the back of the first piece you plan to install. Do not apply adhesive to the floor directly unless the manufacturer specifically instructs it; applying to the baseboard gives you more control and less cleanup.
Step 2: Position and Press
Carefully lift the adhesive-coated piece and position it against the cabinet base and floor. Start by aligning the top edge flush against the bottom of the cabinet side panel or toe kick. The bottom should be flat against the floor. Once positioned, press firmly along the entire length. Do not slide it back and forth, as this will smear the adhesive and break the initial bond. Use your plastic applicator or a wooden block to apply firm, even pressure along the entire top and bottom edges. This is crucial for initial grab. For the first few pieces, you may need to hold it for 30-60 seconds to let the adhesive set enough to stay in place.
Step 3: Roll and Seal
After the piece is initially stuck, immediately run your hand roller (or a rolling pin wrapped in a cloth) along the entire length of the baseboard. This ensures the rubber is fully compressed against the floor and cabinet, eliminating air pockets and maximizing contact area. Roll with moderate pressure, going over it 2-3 times. You should see a very thin line of adhesive squeeze out along the top and bottom edges—this is a good sign of a full bond. Wipe away any excess adhesive immediately with a cloth dampened with mineral spirits (check adhesive label for cleanup solvent) before it skins over.
Step 4: Tackling Corners and Joints
For inside corners, after dry-fitting and cutting your 45-degree miters, apply adhesive to the back of one piece, position it, and press. Then, apply a thin bead of the same adhesive to the mitered edge of the next piece before butting it into the first. The pressure from rolling will help seal the joint. For the cleanest look, once all pieces are installed and adhesive is cured (usually 24 hours), run a thin bead of clear or color-matched 100% silicone caulk into all inside corner joints and any butt joints. Silicone remains flexible and provides a perfect waterproof seal. Smooth it with a finger or caulking tool. Outside corners can be handled with mitered cuts or by installing a small rubber corner guard.
Common Mistakes and How to Avoid Them
Even with the best instructions, pitfalls exist. Knowing these in advance will save you from a frustrating redo.
Mistake 1: Inadequate Surface Preparation
The Problem: A surface with dust, grease, or moisture is the fastest route to a failed bond. The adhesive will stick to the contaminant, not the actual surface, leading to peeling.
The Fix: Make cleaning a non-negotiable ritual. Use the two-cloth method: one cloth with cleaner, one dry cloth for buffing. Ensure surfaces are 100% dry to the touch before proceeding. When in doubt, clean it again.
Mistake 2: Using the Wrong Adhesive
The Problem: “All-purpose” glue or a wood glue will not chemically bond to the non-porous rubber surface and will become brittle and fail, especially in temperature changes.
The Fix: Buy adhesive from the same store where you bought the rubber baseboard. Ask the sales associate for the recommended adhesive for that specific product and your flooring. When in doubt, contact the rubber baseboard manufacturer directly for their adhesive recommendation.
Mistake 3: Not Using Enough Pressure
TheProblem: Simply pressing with your hand isn’t enough. You need consistent, distributed pressure along the entire length to ensure the rubber fully conforms to the floor and creates maximum surface contact for the adhesive.
The Fix: Always use a roller or a solid block. A 4-inch wide wood block wrapped in a cloth works in a pinch. Roll from the center outward, applying firm pressure. Do not skip this step.
Mistake 4: Ignoring Expansion Gaps
The Problem: While rubber is flexible, it still needs a tiny bit of room. Butting it completely tight against a wall or a rigid threshold at the end of a cabinet run can cause it to buckle if the floor expands.
The Fix: Leave a 1/16” to 1/8” gap at the very end of a run, next to a wall or a door jamb. This tiny gap will be hidden by the cabinet or wall and allows for micro-movement. Seal this final gap with a flexible silicone caulk for a clean finish.
Finishing Touches and Long-Term Care
The adhesive is cured, the caulk is smooth. Now, for the final polish and how to keep it looking great.
Curing Time is Non-Negotiable
Do not rush this. The adhesive needs time to reach its full bond strength. Refer to your specific adhesive’s instructions, but plan on not disturbing the baseboard for at least 24 hours. Full cure can take up to 72 hours. Avoid mopping the floor heavily or kicking the baseboard during this period. Keep pets and children away from the installation zone.
Cleaning and Maintenance
The beauty of rubber is its ease of care. For routine cleaning, simply wipe with a damp cloth or sponge. For tougher kitchen splatters, use a mild all-purpose cleaner. Avoid abrasive scrubbers like steel wool, which can scratch the surface. Harsh solvents like acetone or paint thinner can damage some rubber finishes, so test in an inconspicuous spot first. Because it’s a sealed system, you should never need to “wash” underneath it. Any liquid that gets behind it will be trapped, which is why a perfect seal at the top edge is so important.
When to Consider Professional Help
While this is a DIY-friendly project, there are scenarios where a pro might be warranted. If your floor is exceptionally uneven, requiring extensive shimming behind the baseboard to make it sit flush. If you have an incredibly complex layout with dozens of intricate angles and curves. Or, if you simply are not comfortable working with adhesives and want the absolute certainty of a flawless, warranty-backed installation. For a standard straight-run kitchen, however, you are more than capable of achieving excellent results.
Conclusion: A Small Upgrade, A Big Impact
Installing rubber baseboard in your kitchen cabinets is one of those rare home improvement projects that delivers an outsized impact for a minimal investment of time and money. It’s the detail that ties your cabinets to your floor, erasing a functional flaw and replacing it with a sleek, clean line. More importantly, it acts as a silent guardian, protecting your investment from the moisture, grime, and pests that are inevitable in a busy kitchen. By following this guide—taking the prep seriously, choosing the right materials, and methodically working your way around the room—you’ll achieve a result that looks like it was done by a seasoned pro. You’ll walk into your kitchen and see not just a gap, but a finished, purposeful edge. You’ll appreciate the quiet confidence of a seal that will hold strong through years of cooking, cleaning, and family life. So roll up your sleeves, grab your utility knife, and get ready to tackle this satisfying weekend project. Your cleaner, more protected kitchen awaits.
Frequently Asked Questions
Can I install rubber baseboard over a floating laminate or engineered wood floor?
Yes, absolutely. Rubber baseboard is an excellent choice for floating floors as it does not require nailing or screeding. The flexible adhesive bond accommodates the slight movement inherent in floating floor systems. Just ensure the floor surface is clean and the adhesive is rated for use on that specific flooring material.
What is the best adhesive for rubber baseboard on tile floors?
For ceramic or porcelain tile, a high-quality polyurethane-based construction adhesive (like PL Premium or Liquid Nails S adhesive) is generally the best choice. It bonds well to both the non-porous tile and the rubber. Always verify on the adhesive label that it states it is suitable for bonding to rubber and ceramic tile. A thin-set mortar is not recommended for this application.
How long does the adhesive take to cure completely?
Initial grab and handling strength is usually achieved in 30-60 minutes. However, you should avoid any stress or cleaning for at least 24 hours. Full cure, where the adhesive reaches its maximum bond strength, typically takes 72 hours (3 days). Always follow the specific cure times listed on your adhesive’s technical data sheet.
Can I install rubber baseboard if my floor is not perfectly level?
Yes, this is one of rubber’s key advantages over rigid wood. Its flexibility allows it to conform to minor floor imperfections. For gaps larger than 1/8” between the floor and the cabinet base, you may need to use a thicker-profile rubber or fill the gap with a backer rod before applying the adhesive to ensure full contact.
Will rubber baseboard yellow or discolor over time in sunlight?
Most high-quality rubber baseboards for indoor use are formulated with UV inhibitors to resist yellowing and degradation from normal indoor lighting. However, prolonged, direct exposure to strong sunlight (e.g., through a large south-facing window) can cause some discoloration over many years. For kitchen applications, this is rarely an issue as cabinets block direct light.
How do I remove rubber baseboard if I need to replace it later?
Removal requires care to avoid damaging the cabinet or floor. Use a utility knife to carefully slice through the bead of silicone caulk at the top edge. Then, work a thin, stiff putty knife or a specialized removal tool behind the baseboard, gently prying and cutting any remaining adhesive bonds as you go. Go slowly. Heat from a hairdryer can sometimes soften the adhesive, making prying easier. Any residual adhesive can be scraped off and cleaned with the appropriate solvent (check adhesive label).