Installing frameless cabinets doesn’t have to be a nightmare. Our easy‑to‑follow guide walks you through every step—from planning and layout to final adjustments—so you can achieve a polished, custom look without hiring a pro.
Key Takeaways
- Measure twice, install once: Accurate measurements prevent costly mistakes.
- Use a level and plumb line: Ensures cabinets sit perfectly straight.
- Secure to studs or blocking: Guarantees long‑lasting stability.
- Leave proper gaps: Allows for expansion and a clean finish.
- Check doors and drawers: Adjust hinges and slides before finalizing.
- Finish with trim and caulk: Hides gaps and protects against moisture.
- Safety first: Wear eye protection and use proper lifting techniques.
📑 Table of Contents
Introduction
Frameless cabinets have become a favorite in modern kitchens and bathrooms. They offer a sleek, seamless look because the doors and drawers attach directly to the cabinet box, not to a surrounding frame. If you’ve ever stared at a showroom and thought, “I want that in my home,” you’re not alone. The good news is that installing frameless cabinets is a project many DIYers can tackle with the right plan.
In this guide we’ll walk you through every stage of the process. We’ll cover tools, layout, mounting, and final touches. By the end you’ll feel confident enough to say, “How to install frameless cabinets? I’ve got this!” Let’s get started.
1. Planning and Preparation
1.1 Gather Your Tools and Materials
Before you lift a single cabinet, make sure you have everything you need. Here’s a basic checklist:
Visual guide about How to Install Frameless Cabinets
Image source: familyhandyman.com
- Measuring tape (at least 25 ft)
- Level (4‑ft carpenter’s level works best)
- Stud finder
- Power drill with various bits
- Impact driver (optional but speeds up screw driving)
- Clamps and a helper (cabinets are heavy)
- Shims (plastic or wood)
- Cabinet screws (usually 2‑in. or 2‑½‑in.)
- Adjustable brackets or cabinet mounting hardware
- Silicone caulk and trim pieces
- Pencil, marker, and paper for notes
1.2 Measure the Space
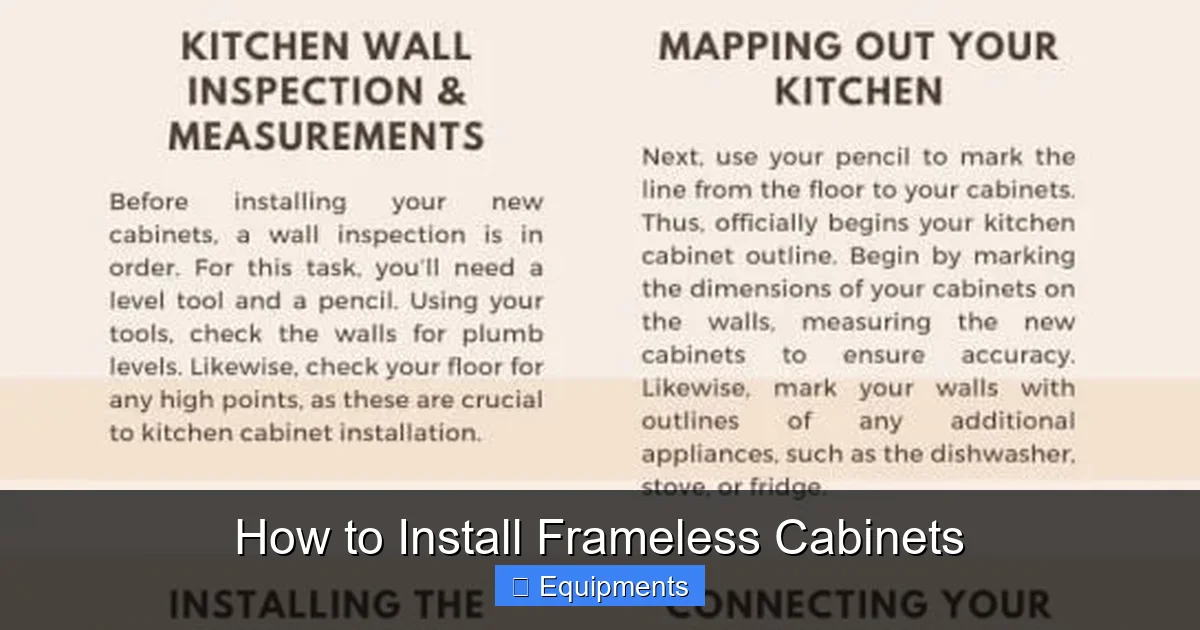
Accurate measurements are the foundation of a successful install. Follow these steps:
- Measure the width of the wall from left to right. Write it down.
- Measure the height from floor to ceiling. Note any obstacles like light fixtures or vent ducts.
- Measure the depth of the cabinets you purchased. Most frameless cabinets are 12‑in. deep, but verify.
- Mark the floor and ceiling with a pencil line where the top and bottom of the cabinets will sit.
Double‑check each number. A mistake of even an inch can cause gaps or misalignment.
1.3 Create a Layout Sketch
Draw a simple rectangle on graph paper that matches the wall dimensions. Sketch in each cabinet block as you plan to place it. Leave a ½‑in. gap at the ends of the run for expansion, and a ¼‑in. gap between cabinets for proper door clearance. This visual aid will keep you on track and help you spot problems early.
2. Locating Studs and Adding Blocking
2.1 Find the Wall Studs
Use a stud finder to locate vertical studs behind the drywall. Mark each stud’s center with a pencil. Typically studs are spaced 16 in. on center, but verify for your wall.
Visual guide about How to Install Frameless Cabinets
Image source: icabinetrydirect.com
2.2 Install Blocking if Needed
Frameless cabinets rely on solid wood behind the screws. If a cabinet will sit between studs, you’ll need to add blocking:
- Cut 2‑by‑4 pieces to the height of the cabinet.
- Attach them between studs using 3‑in. deck screws.
- Make sure the blocking sits level with the cabinet’s top edge.
Blocking gives you a strong anchor point for the screws that hold the cabinet in place.
3. Assembling and Positioning the Cabinets
3.1 Pre‑Assemble the Cabinet Boxes
If your cabinets arrived in separate pieces, follow the manufacturer’s instructions to assemble the boxes. Use clamps to hold panels together while you drive screws. Check each joint for square with a carpenter’s square.
Visual guide about How to Install Frameless Cabinets
Image source: woodweb.com
3.2 Dry‑Fit the Cabinets
Before you commit to drilling, place the cabinets on the floor in the planned order. Slide them into position against the wall. This “dry‑fit” step reveals any mismatches in height or width. Adjust shims under the base if the floor isn’t perfectly level.
3.3 Mark Drill Holes
With the cabinets pressed up against the wall, use a pencil to mark where the mounting screws will go. Aim for the center of each stud or blocking piece. Most frameless cabinets have pre‑drilled holes on the back panel—use those as guides.
4. Installing the Cabinets
4.1 Secure the First Cabinet
The first cabinet sets the line for the entire run. Follow these steps:
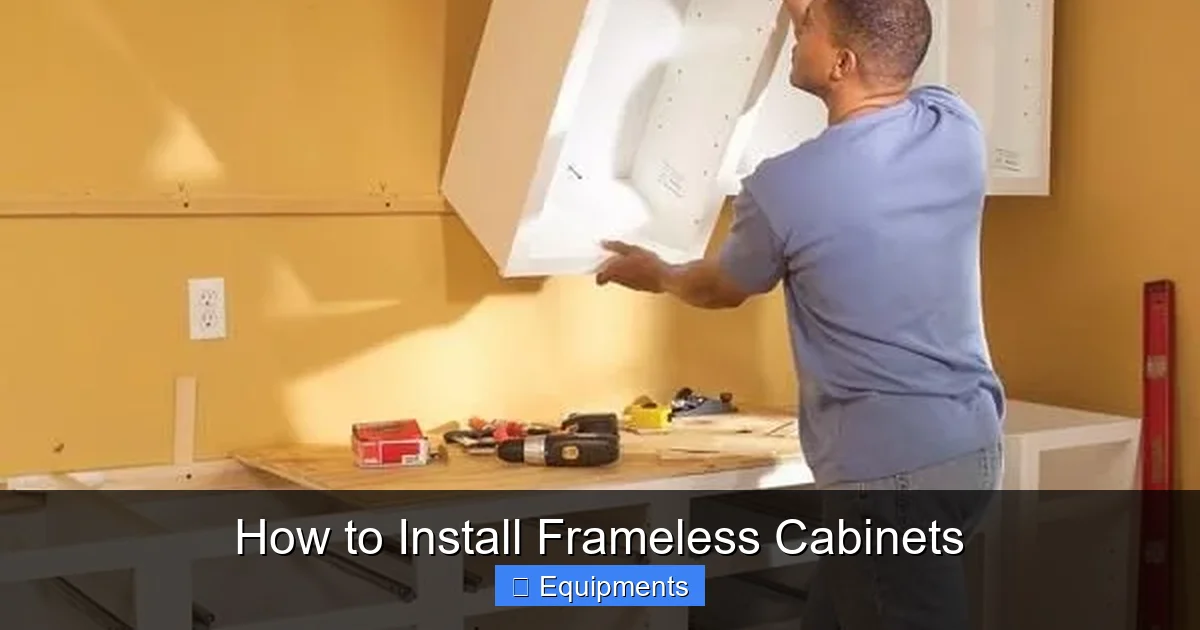
- Lift the cabinet into place (help is recommended).
- Insert shims behind the base to level it. Check with a level both side‑to‑side and front‑to‑back.
- Clamp the cabinet to the wall to keep it steady.
- Drive screws through the pre‑drilled holes into the studs or blocking. Use a drill driver to avoid stripping the heads.
- Remove the clamps and double‑check that the cabinet is still level.
4.2 Install the Remaining Cabinets
Work from left to right (or right to left) and repeat the process:
- Place the next cabinet next to the first, leaving the ¼‑in. gap.
- Tap it gently with a rubber mallet to snug it up.
- Clamp, shim, and screw as before.
- Use a spacer or a piece of cardboard as a temporary gap filler while you drill.
When you reach the end of the run, make sure the final cabinet aligns with the opposite wall or corner. If the last piece is slightly short, you can add a filler strip.
4.3 Check for Plumb and Level Frequently
After each cabinet is secured, run a level vertically along the front edge. If any cabinet is out of plumb, loosen the screws, add or remove shims, and re‑tighten. Small adjustments early prevent big problems later.
5. Installing Doors, Drawers, and Hardware
5.1 Attach Door Hinges
Frameless cabinets usually use European‑style concealed hinges. Here’s a quick method:
- Mark the desired door overlay (usually ½‑in. to ¾‑in. from the cabinet edge).
- Drill the hinge mounting holes using the template that came with the hardware.
- Secure the hinge cup into the door with the supplied screws.
- Attach the hinge plate to the inside of the cabinet box.
- Adjust the door height and side‑to‑side clearance using the hinge’s adjustment screws.
5.2 Install Drawer Slides
Most frameless cabinets use side‑mount or undermount slides. Follow these tips:
- Measure the drawer depth and cut the slide to length if needed.
- Attach the cabinet side of the slide to the interior of the cabinet box, ensuring it’s level.
- Mount the drawer side of the slide to the drawer front, aligning it with the cabinet side.
- Slide the drawer in to test smooth operation. Adjust as necessary.
5.3 Fit Handles and Pulls
Mark the center point of each door and drawer front. Drill a pilot hole for the screw, then attach the handle or pull. Keep the spacing consistent for a professional look.
6. Finishing Touches
6.1 Apply Caulk and Trim
Run a thin bead of silicone caulk along the top edge where the cabinet meets the wall. This hides any gaps and prevents moisture from seeping behind the cabinets. Smooth the caulk with a wet finger or a caulk‑smoothing tool.
6.2 Install Crown Molding or Toe‑Kick
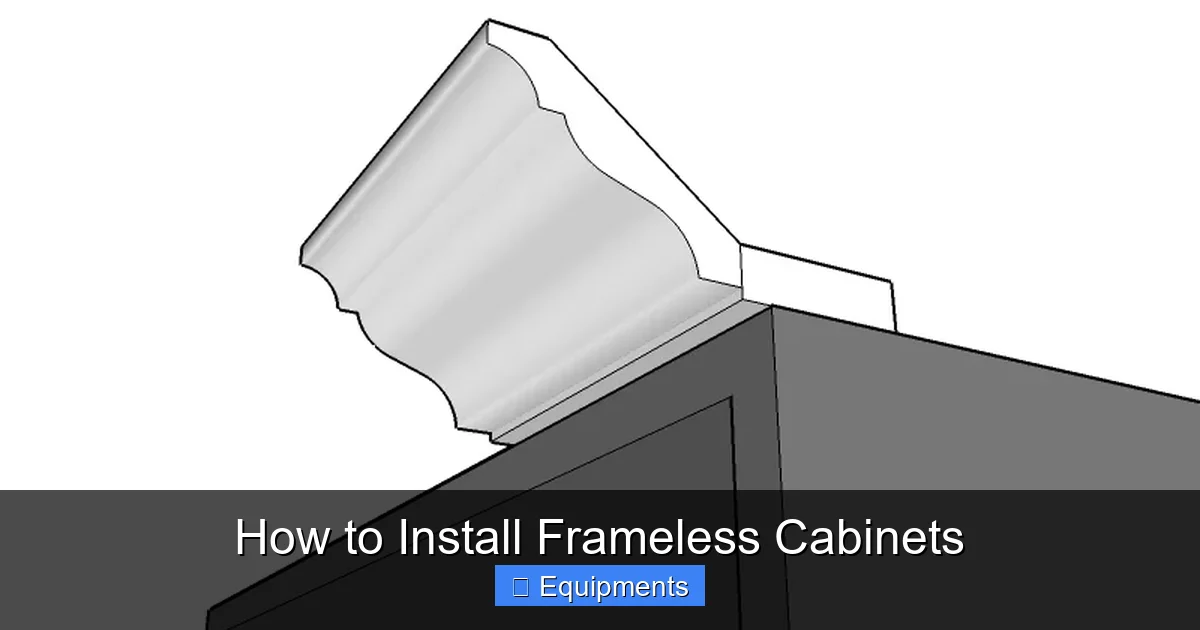
If your design includes crown molding, attach it to the top of the cabinets using finishing nails. For a toe‑kick, cut the piece to length and secure it to the bottom front edge. Both add a polished, finished look.
6.3 Final Inspection
Walk around the entire installation and check:
- All doors open and close smoothly.
- Drawers slide without binding.
- Cabinets are level and plumb.
- Hardware is tight.
- Caulk and trim are neat.
Make any small tweaks now before you start loading the cabinets with dishes or toiletries.
Conclusion
Installing frameless cabinets is a rewarding project that can transform the look of any space. By measuring carefully, securing cabinets to solid backing, and paying attention to small details like shims and hardware adjustments, you’ll achieve a professional finish without hiring a contractor. Remember to work methodically, use a helper when needed, and enjoy the process. Your new frameless cabinets will not only look great but will stand up to daily use for years to come.
Frequently Asked Questions
What is the difference between frameless and face‑frame cabinets?
Frameless cabinets have no front frame; doors and drawers attach directly to the box, giving a sleek look. Face‑frame cabinets have a wooden frame on the front, which can limit door overlay and add visual bulk.
Do I need a stud finder for installing frameless cabinets?
Yes. Locating studs ensures you can anchor the cabinets securely. If studs aren’t in the right spots, you’ll need to add blocking for proper support.
Can I install frameless cabinets on a concrete wall?
Absolutely. Use concrete anchors or masonry screws instead of wood screws, and make sure the anchors are rated for the weight of the cabinets.
How much space should I leave between the cabinet and the wall?
Leave a ¼‑in. gap for door clearance and a ½‑in. gap at the ends of the run for expansion. Fill the side gaps with caulk or trim after installation.
What type of hinges work best with frameless cabinets?
European concealed hinges are the most popular. They offer a clean look, easy adjustment, and can handle full overlay doors.
Is it necessary to level each cabinet individually?
Yes. Even a slight tilt can cause doors to misalign. Use shims under the base and a level to ensure each cabinet is perfectly plumb before fastening.