Installing a countertop dishwasher is a simple DIY project that anyone can tackle with the right tools and clear instructions. This guide walks you through every step—from choosing the right model to connecting water and power—so you can enjoy clean dishes without a full‑size machine.
Key Takeaways
- Plan ahead: Measure your space and check water and electrical requirements before buying.
- Gather tools: A few basic tools—wrench, screwdriver, hose clamps—are all you need.
- Safety first: Turn off water and electricity, and use a grounded outlet.
- Plumbing basics: Connect the inlet hose to a cold‑water faucet and secure the drain hose properly.
- Level the unit: A level dishwasher prevents leaks and ensures optimal cleaning.
- Test run: Run a short cycle to check for leaks and proper operation before regular use.
- Maintenance tips: Clean filters and descale regularly to keep performance high.
📑 Table of Contents
- Introduction: Why a Countertop Dishwasher Makes Sense
- 1. Choosing the Right Countertop Dishwasher
- 2. Preparing Your Kitchen for Installation
- 3. Connecting the Water Supply
- 4. Wiring the Electrical Connection
- 5. Positioning, Leveling, and First Run
- 6. Maintenance and Longevity Tips
- Conclusion: You’ve Got This!
Introduction: Why a Countertop Dishwasher Makes Sense
Living in a small apartment, a dorm, or a cozy house can limit the space you have for appliances. A full‑size dishwasher often feels like a luxury you can’t afford. That’s where a countertop dishwasher shines. It sits on your counter, plugs into a standard outlet, and connects to a regular kitchen faucet. The result? Clean dishes without the bulk of a built‑in unit.
Most people assume that installing a countertop dishwasher is complicated, but it’s really a straightforward process. With a little patience and the right guidance, you can have your new dishwasher up and running in under an hour. This article will walk you through every step, from selecting the perfect model to troubleshooting common issues. By the end, you’ll feel confident that you can install a countertop dishwasher on your own—no plumber required.
1. Choosing the Right Countertop Dishwasher
Size and Capacity
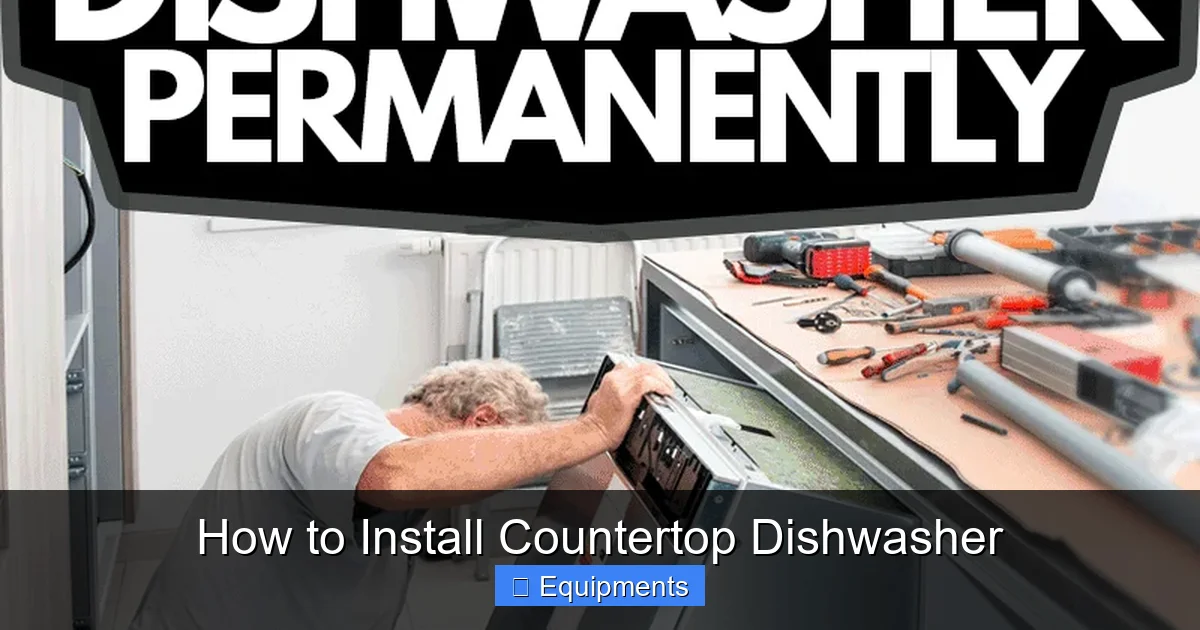
Countertop dishwashers come in a range of sizes, typically holding 4–8 place settings per load. Measure the width, depth, and height of the space where you plan to place the unit. Leave at least a few inches of clearance on each side for ventilation and easy access to the water connections.
Visual guide about How to Install Countertop Dishwasher
Image source: kitchenseer.com
Power and Water Requirements
Most models run on a standard 120‑volt outlet and need a cold‑water faucet connection. Check the manufacturer’s specifications for the exact water pressure needed (usually 30–120 psi). If your faucet has a low flow rate, you may need a pressure‑boosting adapter.
Features to Consider
- Delay start: Lets you run the dishwasher during off‑peak hours.
- Adjustable racks: Accommodates larger pots or pans.
- Energy‑star rating: Saves electricity and water.
- Noise level: Look for models under 45 dB if you’re sensitive to sound.
Take a moment to read online reviews. Real‑world user feedback often reveals hidden pros or cons that product descriptions don’t mention.
2. Preparing Your Kitchen for Installation
Gather Your Tools
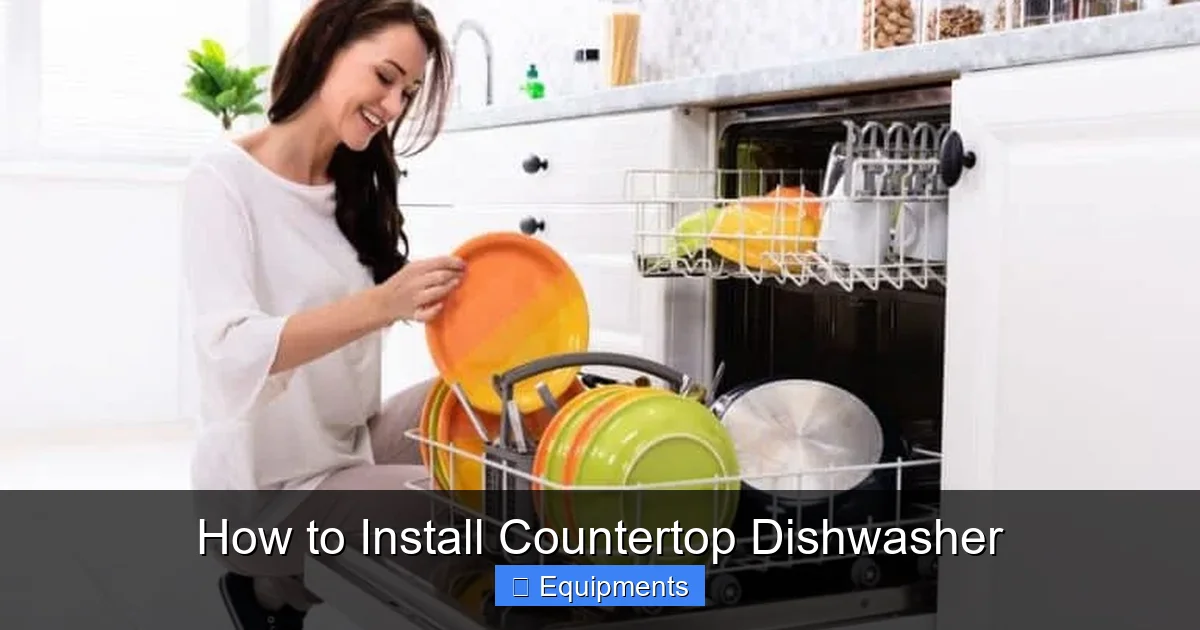
Before you start, collect the following items:
Visual guide about How to Install Countertop Dishwasher
Image source: applianceteacher.com
- Adjustable wrench
- Screwdriver set (Phillips and flat‑head)
- Plumber’s tape (Teflon tape)
- Hose clamps or zip ties
- Bucket or towel for spills
- Level
- Electrical outlet tester
Turn Off Water and Power
Locate the shut‑off valve for the faucet you’ll use and turn it clockwise until it stops. For added safety, turn off the circuit breaker that powers the outlet you’ll use. Use an outlet tester to confirm the socket is truly dead before plugging anything in.
Clear the Counter Space
Remove any items from the countertop and clean the area. A clean surface prevents scratches on the dishwasher’s finish and makes it easier to level the unit.
3. Connecting the Water Supply
Attach the Inlet Hose
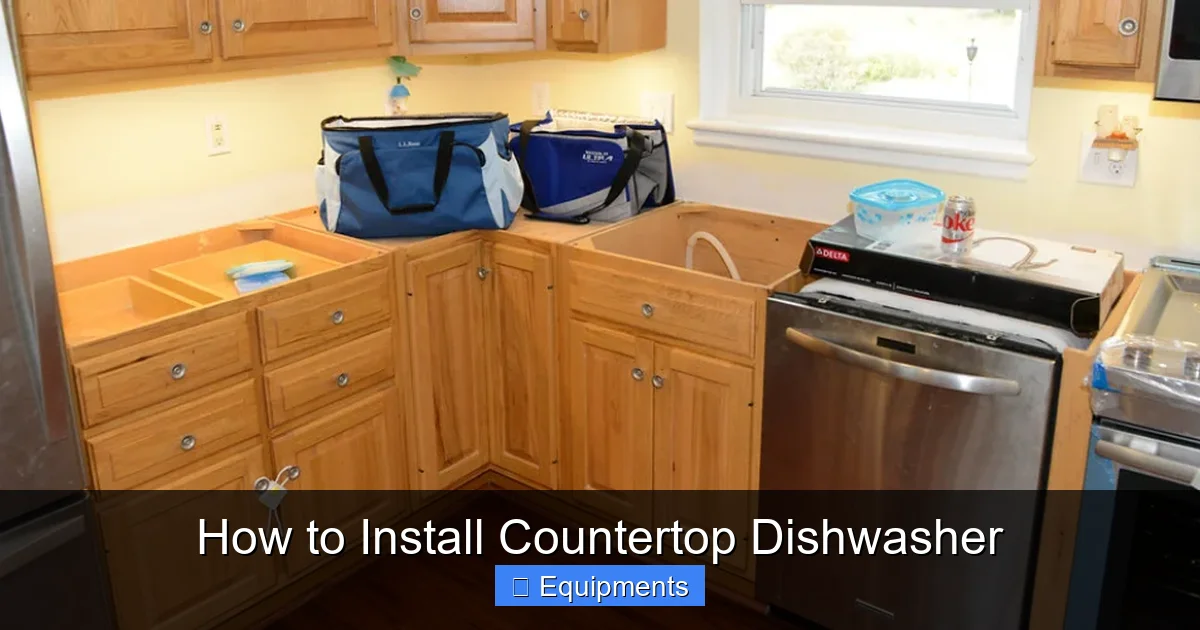
Most countertop dishwashers come with a 3‑foot inlet hose that has a quick‑connect fitting. Follow these steps:
Visual guide about How to Install Countertop Dishwasher
Image source: thekitchenix.com
- Locate the aerator on the faucet where you’ll attach the hose.
- Unscrew the aerator (keep it in a safe place).
- Wrap plumber’s tape around the faucet threads to ensure a watertight seal.
- Push the quick‑connect fitting onto the faucet threads and secure it with the supplied clamp.
Secure the Drain Hose
The drain hose typically fits into the sink’s drain basket or a separate stand‑pipe. Here’s how:
- Place the hose’s end into the sink’s drain basket, making sure it sits below the water line.
- If your model includes a hose adapter, attach it to the sink’s disposal inlet.
- Use a zip tie or hose clamp to keep the hose from slipping.
Check for Leaks
Before moving on, turn the water valve on slowly. Watch the connections for any drips. If you see a leak, tighten the fitting a little more and re‑apply plumber’s tape if needed.
4. Wiring the Electrical Connection
Use a Dedicated Outlet
Countertop dishwashers draw about 1200–1500 watts, so a dedicated 15‑amp circuit is ideal. Plug the dishwasher’s cord into the outlet. If the outlet is shared with other appliances, make sure the total load won’t exceed the circuit’s capacity.
Grounding and Safety
Check that the outlet is properly grounded. Insert the outlet tester’s plug; a green light indicates a good ground. If the tester shows a fault, contact an electrician before proceeding.
Power On and Reset
Once the dishwasher is plugged in, turn the circuit breaker back on. Most models have a power button or a simple dial to start the unit. Press the button to make sure the control panel lights up.
5. Positioning, Leveling, and First Run
Place the Dishwasher
Slide the unit onto the prepared countertop. Most countertop dishwashers have anti‑slip pads on the bottom; ensure they sit flat on the surface.
Level the Appliance
Using a bubble level, check the dishwasher from front to back and side to side. If it’s not level, adjust the front legs (most models have screw‑in leveling feet). Turn the screws clockwise to raise a leg, counter‑clockwise to lower it.
Run a Test Cycle
Load a few dishes, add a small amount of detergent, and select a short wash cycle. Observe the unit for any unusual noises, leaks, or error codes. Let the cycle finish and then inspect the floor and sink area for water.
Troubleshooting Common Issues
- Leak after the first cycle: Tighten the inlet and drain connections, and re‑apply plumber’s tape.
- No power: Verify the outlet is live with the tester and that the circuit breaker isn’t tripped.
- Dishwasher won’t start: Ensure the door latch is fully closed; many models won’t run if the door isn’t latched securely.
6. Maintenance and Longevity Tips
Regular Cleaning
After each use, remove food particles from the filter and rinse the interior. Once a month, run an empty cycle with a cup of white vinegar to descale the spray arms and hoses.
Check Water Filters
Hard water can leave mineral buildup. If your model includes a water softener cartridge, replace it according to the manufacturer’s schedule—usually every 6–12 months.
Inspect Hoses Periodically
Look for cracks or kinks in the inlet and drain hoses. Replace any damaged hose promptly to avoid leaks.
Store Properly if Not Used Frequently
If you are going on vacation or won’t use the dishwasher for an extended period, turn off the water valve, unplug the unit, and store it in a dry place. This prevents mold growth and prolongs the life of seals.
Conclusion: You’ve Got This!
Installing a countertop dishwasher is one of those DIY tasks that feels impressive but is actually quite simple. By following the steps outlined—choosing the right model, preparing your workspace, connecting water and power, leveling the unit, and running a test—you’ll have a fully functional dishwasher in no time. Remember to keep up with regular maintenance, and you’ll enjoy sparkling dishes for years to come.
Now that you know how to install a countertop dishwasher, you can say goodbye to hand‑washing piles and hello to more free time. Grab your tools, take a deep breath, and get started. Your kitchen (and your schedule) will thank you!
Frequently Asked Questions
Do I need a plumber to install a countertop dishwasher?
No. Most countertop dishwashers are designed for DIY installation. You only need basic tools and a little patience to connect the water hose and plug it into a grounded outlet.
Can I use a hot water faucet instead of a cold one?
It’s best to use a cold‑water faucet. The dishwasher’s internal heater will bring the water to the proper temperature, ensuring consistent cleaning and protecting the unit’s components.
What if my kitchen faucet doesn’t have a spare aerator for the inlet hose?
Many manufacturers include a splitter adapter that lets you keep the original aerator and add the dishwasher hose. If not, a universal faucet adapter is inexpensive and easy to install.
How often should I descale my countertop dishwasher?
For areas with hard water, run a vinegar or commercial descaling cycle every 1–2 months. In softer water regions, every 3–4 months is sufficient.
Is it safe to leave the dishwasher plugged in all the time?
Yes, as long as the outlet is grounded and the unit is on a dedicated circuit. Modern dishwashers have low standby power consumption, but you can unplug it if you’re away for an extended period.
What should I do if the dishwasher leaks during a cycle?
Turn off the water valve and unplug the unit immediately. Check all hose connections for tightness, re‑apply plumber’s tape if needed, and inspect the door gasket for damage.