Having trouble with your Oster oven? This guide walks you through common problems, easy diagnostics, and simple repairs so you can get back to baking in no time. From heating issues to timer glitches, we cover everything you need to know to fix your Oster oven yourself.
Key Takeaways
- Identify the symptom: Knowing whether the oven won’t heat, won’t turn on, or displays error codes narrows the fix.
- Safety first: Always unplug the oven and discharge capacitors before opening any panel.
- Common culprits: Faulty heating element, thermostat, door latch, or control board cause most failures.
- Tools you need: Multimeter, screwdriver set, needle‑nose pliers, and a replacement part list are essential.
- Step‑by‑step repairs: Detailed instructions let you replace parts without a professional.
- Regular maintenance: Cleaning and periodic checks prevent future breakdowns.
- When to call a pro: If the control board is damaged or you’re uncomfortable with electrical work, hire a certified technician.
📑 Table of Contents
Introduction: Why Your Oster Oven Might Need a Fix
Oster ovens are popular because they are affordable, compact, and easy to use. Yet, like any kitchen appliance, they can develop problems over time. Whether you’re a first‑time baker or a seasoned home chef, a malfunctioning oven can be frustrating—especially when you’re in the middle of a dinner rush.
Good news: most issues are not complex. With a little patience, a few basic tools, and the right guidance, you can often repair the oven yourself. This article explains how to fix Oster oven problems step by step, so you can avoid costly service calls and keep your kitchen humming.
1. Safety Precautions Before You Begin
Unplug and Disconnect Power
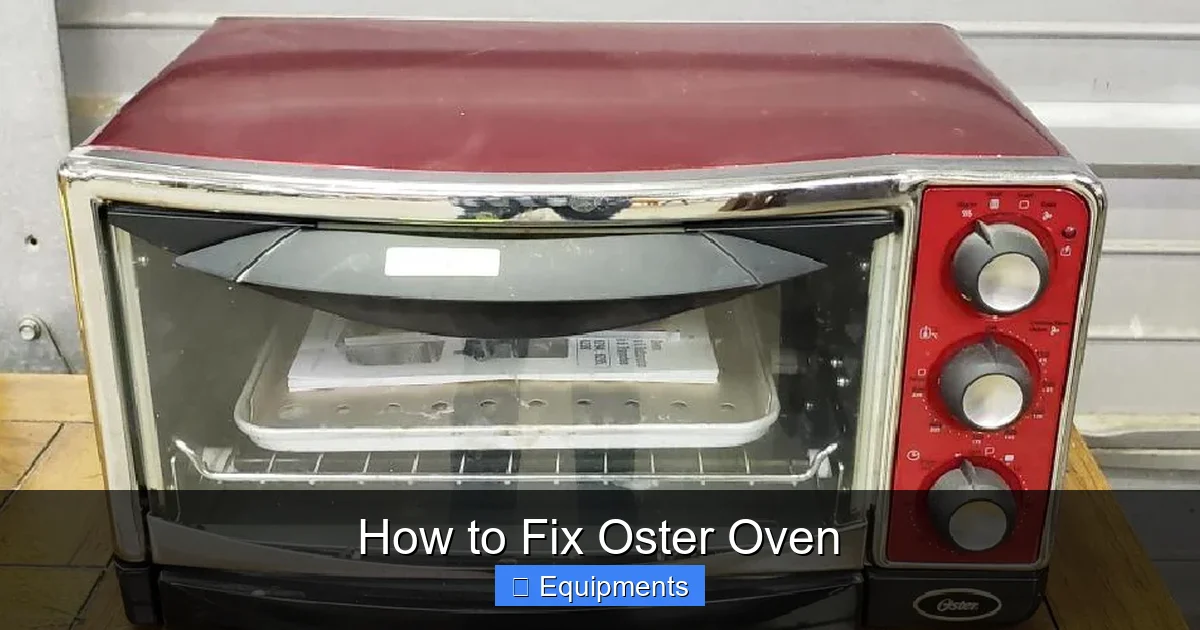
The first rule of any appliance repair is to cut the power. Unplug the oven from the wall outlet and, if it’s hard‑wired, turn off the circuit breaker. This eliminates the risk of electric shock.
Visual guide about How to Fix Oster Oven
Image source: thekitchenix.com
Discharge Capacitors
Even after unplugging, some internal capacitors can hold a charge. Use a insulated screwdriver to short the terminals on the power board (follow the manufacturer’s diagram) or wait 10‑15 minutes for the charge to dissipate.
Gather the Right Tools
Having the correct tools speeds up the job and reduces the chance of damage. You’ll need:
- Flat‑head and Phillips screwdrivers (various sizes)
- Digital multimeter
- Needle‑nose pliers
- Utility knife
- Replacement parts (heating element, thermostat, door latch, etc.)
- Cleaning brush and soft cloth
Work in a Well‑Ventilated Area
Some repairs may release dust or odors. Open a window or use a fan to keep the air fresh.
2. Diagnosing Common Oven Problems
Problem #1: Oven Won’t Turn On
This is the most frequent complaint. Start by checking the power cord for visible damage. If the cord looks fine, test the outlet with a multimeter or plug another appliance in to confirm it’s delivering voltage.
Visual guide about How to Fix Oster Oven
Image source: homestuffer.com
If the outlet works, the issue is likely internal—either a blown thermal fuse, a faulty door latch switch, or a dead control board.
Problem #2: Oven Doesn’t Heat
When the oven lights up but stays cool, the heating element is the usual suspect. Look for visible breaks, dark spots, or a burnt smell. Use a multimeter set to ohms (Ω) to test continuity. A reading of infinite resistance means the element is broken and must be replaced.
Problem #3: Temperature is Inaccurate
Inconsistent baking results often stem from a malfunctioning thermostat or temperature sensor. Use an oven thermometer to compare the set temperature with the actual interior temperature. A discrepancy of more than 25°F indicates a faulty sensor.
Problem #4: Timer or Clock Won’t Work
If the digital display is blank or the timer won’t start, the control board or its power supply may be at fault. Check for loose connections, burnt traces, or corroded terminals.
Problem #5: Oven Door Won’t Close Properly
A door that won’t latch can cause heat loss and safety hazards. Inspect the latch mechanism for broken springs or misaligned hinges. Replacement latch kits are inexpensive and easy to install.
3. Step‑by‑Step Repairs
3.1 Replacing a Faulty Heating Element
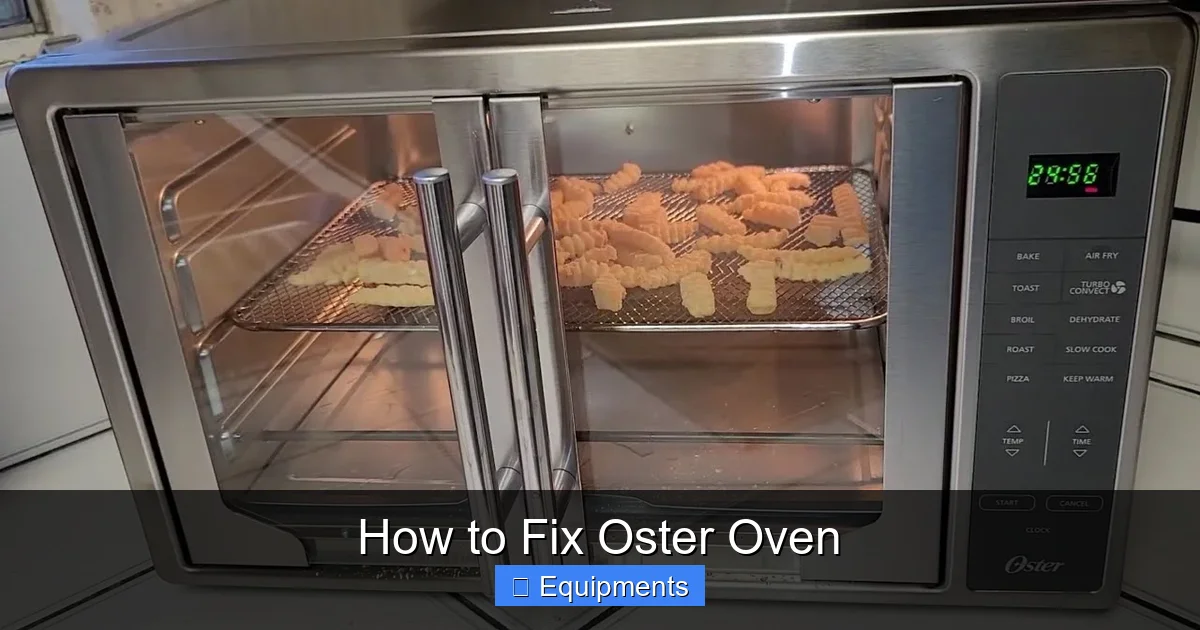
Step 1 – Access the element: Remove the oven’s back panel by unscrewing the four corner screws. Slide the panel aside.
Visual guide about How to Fix Oster Oven
Image source: i.ytimg.com
Step 2 – Disconnect wires: Note the wire colors, then detach them using needle‑nose pliers. Take a photo for reference.
Step 3 – Remove the old element: Unscrew the mounting brackets (usually two). Gently pull the element out.
Step 4 – Install the new element: Align the new element with the brackets, secure with screws, and reconnect the wires.
Step 5 – Test: Plug the oven back in, set to a low temperature, and verify that the element glows.
3.2 Fixing a Bad Thermostat or Temperature Sensor
Step 1 – Locate the sensor: It’s usually a thin metal rod protruding from the back wall, attached to a wiring harness.
Step 2 – Test continuity: With the oven unplugged, set the multimeter to resistance. A healthy sensor reads between 1,100‑1,200 Ω at room temperature.
Step 3 – Replace: Disconnect the harness, unscrew the sensor, and slide the new one into place. Secure the harness and re‑screw.
Step 4 – Calibrate (if needed): Some models allow a small adjustment screw; turn clockwise to raise temperature, counter‑clockwise to lower.
3.3 Repairing the Door Latch
Step 1 – Open the door fully and locate the latch: It’s on the top edge of the oven door frame.
Step 2 – Remove the latch cover: Snap off the plastic cover with a flat‑head screwdriver.
Step 3 – Inspect the spring: If the spring is broken, replace the entire latch assembly.
Step 4 – Install new latch: Slide it into the slot, snap the cover back, and test the door closure.
3.4 Replacing a Burned‑Out Control Board
Step 1 – Document connections: Take clear photos of each wire before disconnecting.
Step 2 – Unscrew the board: Remove the mounting screws (usually four) and gently lift the board.
Step 3 – Swap boards: Align the new board, tighten screws, and reconnect wires exactly as photographed.
Step 4 – Power up: Plug in the oven and run a full cycle to confirm all functions work.
3.5 Cleaning and Preventive Maintenance
Even if your oven is working, regular cleaning prevents future failures. Follow these steps:
- Remove crumbs and spills after each use.
- Wipe interior walls with a mixture of warm water and mild dish soap.
- Check the vent fan (if equipped) for dust buildup and clean with a soft brush.
- Inspect the power cord annually for fraying.
4. When to Call a Professional
While many issues can be solved at home, certain situations warrant a certified technician:
- Control board shows extensive burn marks or water damage.
- You detect a strong burning odor after a repair.
- The oven still won’t heat after replacing the element and thermostat.
- You’re uncomfortable working with high‑voltage components.
Hiring a professional not only ensures safety but also protects any remaining warranty on your Oster oven.
5. Tips for Extending the Life of Your Oster Oven
Use the Right Cookware
Heavy cast‑iron pans can stress the oven’s interior and cause uneven heating. Opt for oven‑safe glass or aluminum when possible.
Avoid Overloading
Filling the oven to capacity blocks airflow, leading to overheating of the thermostat and premature wear.
Stay on Top of Repairs
Address minor glitches—like a flickering display—immediately. Small problems often become big ones if ignored.
Keep a Spare Parts Kit
Purchase common replacement parts (heating element, door latch, thermostat) from Oster’s official parts store. Having them on hand cuts downtime.
Conclusion: You’ve Got This!
Fixing an Oster oven is less intimidating than it seems. By following the safety steps, diagnosing the exact problem, and using the detailed repair guides above, you can restore your oven to full performance without breaking the bank. Remember to keep a maintenance schedule, and don’t hesitate to call a professional when the job exceeds your comfort level. Happy cooking!
Frequently Asked Questions
My Oster oven won’t turn on at all. What should I check first?
Start by confirming the outlet supplies power and the oven’s cord isn’t damaged. If the outlet is fine, inspect the door latch switch and thermal fuse, as these often prevent power from reaching the control board.
How do I know if the heating element needs to be replaced?
Visually look for breaks or dark spots, and use a multimeter to test for continuity. An infinite resistance reading means the element is faulty and must be swapped out.
Can I replace the temperature sensor myself?
Yes. The sensor is usually a thin metal rod with a wiring harness. Disconnect the power, test with a multimeter, and swap it with a matching Oster part.
What causes the oven timer to stop working?
Common causes are a loose wire connection, a blown fuse on the control board, or a failed timer module. Check the wiring first, then test the board for visible damage.
Is it safe to use the oven while the door latch is broken?
No. A broken latch can let heat escape, creating uneven cooking and a fire hazard. Replace the latch before using the oven again.
When should I call a professional instead of DIY?
If the control board is burnt, you smell burning after a repair, the oven still won’t heat after part replacement, or you’re uneasy handling high‑voltage components, it’s best to hire a certified technician.
