Cleaning oven mitts doesn’t have to be a chore. With the right techniques, you can remove grease, stains, and odors while preserving the mitts’ heat‑resistance. Follow our easy guide for spotless, long‑lasting kitchen helpers.
Key Takeaways
- Read the label first: Follow manufacturer instructions to avoid damage.
- Use gentle detergents: Mild soap protects fabric and silicone.
- Pre‑treat tough stains: Baking soda or vinegar works wonders on grease.
- Hand wash vs. machine: Hand wash extends life; machine wash is okay for most cotton mitts.
- Dry properly: Air‑dry flat to keep shape and heat protection.
- Refresh odors naturally: Lemon juice or essential oils eliminate smells.
- Store smartly: Keep mitts clean and dry to prevent mildew.
📑 Table of Contents
- Introduction: Why Keeping Oven Mitts Clean Matters
- 1. Identify Your Oven Mitt Material
- 2. Gather Your Cleaning Supplies
- 3. Pre‑Treat Stubborn Stains and Grease
- 4. Choose the Right Washing Method
- 5. Drying – Preserve Shape and Heat Resistance
- 6. Deodorizing and Refreshing Your Mitts
- 7. Storing Clean Oven Mitts Properly
- Conclusion: A Simple Routine for Long‑Lasting Oven Mitts
Introduction: Why Keeping Oven Mitts Clean Matters
Imagine pulling a fresh batch of cookies from the oven, only to discover your favorite oven mitts are stained with splattered batter or, worse, smelling like last night’s roast. Not only does that look unappealing, but dirty mitts can also harbor bacteria, reduce heat resistance, and wear out faster.
Cleaning oven mitts is a simple habit that extends their life, keeps your kitchen hygienic, and saves you money. Whether you have cotton, silicone, or a blend, the right cleaning routine is easy to master. In this guide we’ll walk you through every step—from pre‑treating stubborn grease to storing mitts so they stay fresh.
1. Identify Your Oven Mitt Material
Before you start scrubbing, know what you’re dealing with. Different materials need different care.

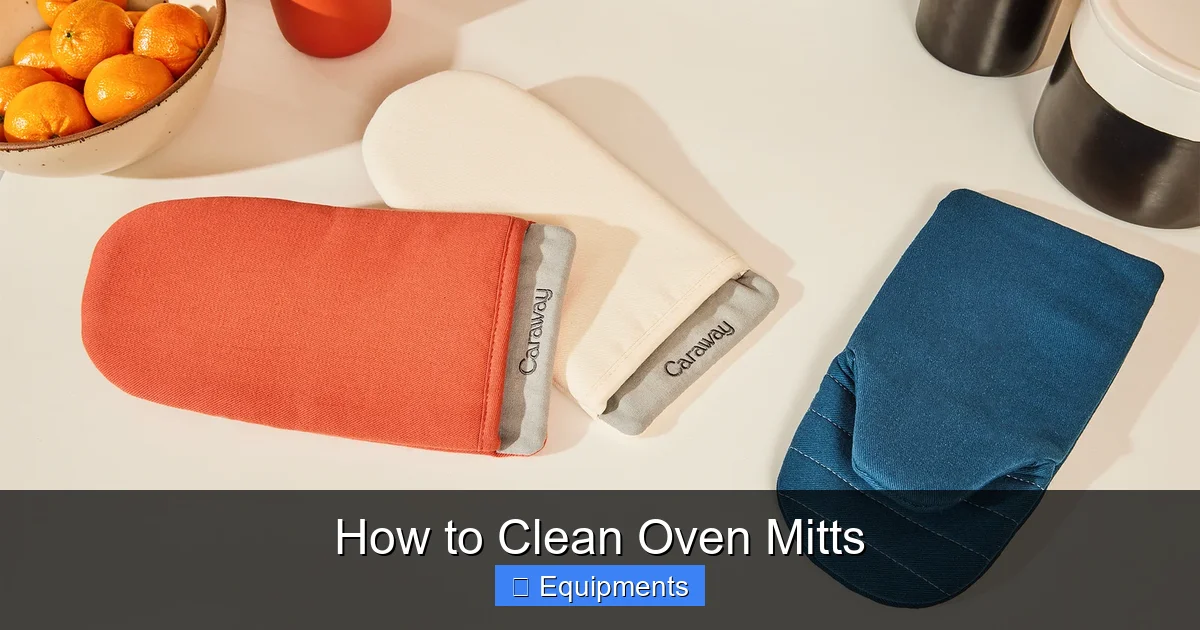
Visual guide about How to Clean Oven Mitts
Image source: ovenmittsco.com
1.1 Cotton or Quilted Mitts
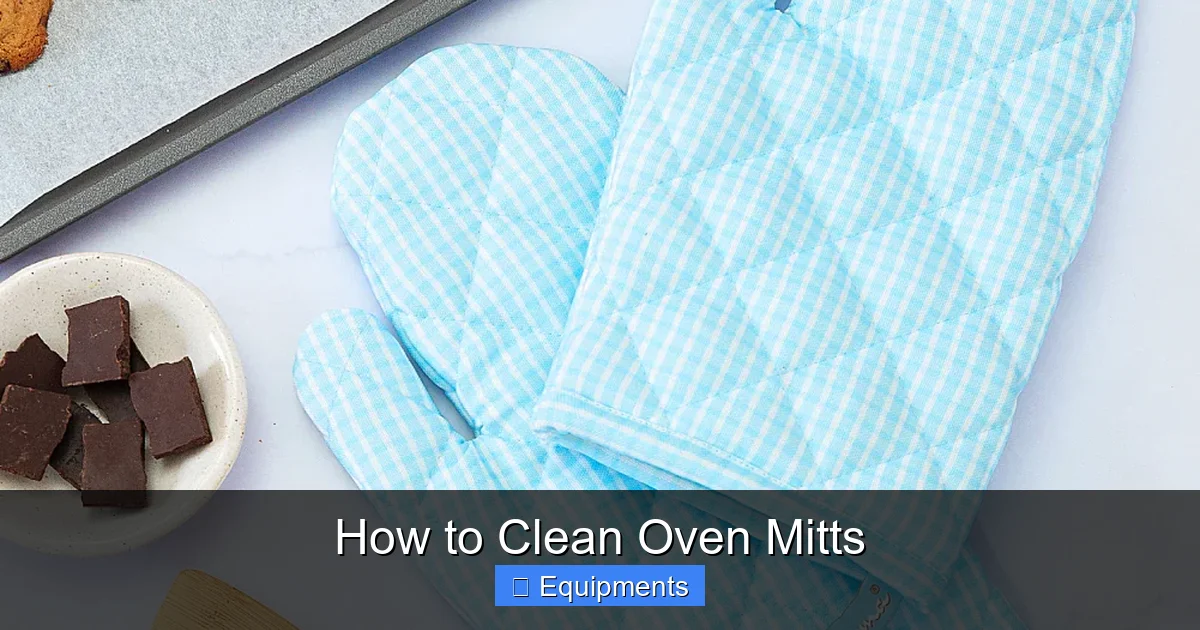
These are the most common. They’re soft, absorbent, and usually machine‑washable. However, high heat can shrink them if washed in hot water.
1.2 Silicone‑Coated Mitts
Silicone gives a waterproof barrier and excellent grip. It tolerates higher temperatures, but harsh detergents can degrade the coating over time.
1.3 Leather or Kevlar‑Based Mitts
These are premium options for professional kitchens. They require gentle hand washing and special leather conditioners.
Knowing the material helps you pick the right cleaning agents and avoid costly mistakes.
2. Gather Your Cleaning Supplies
You don’t need a fancy arsenal. Here’s a minimalist list that works for most mitts.
Visual guide about How to Clean Oven Mitts
Image source: cleaningbasic.com
- Mild dish soap or a gentle laundry detergent
- Baking soda – natural deodorizer and mild abrasive
- White vinegar – cuts grease and neutralizes odors
- Lemon juice – fresh scent and stain‑fighting power
- Soft brush or old toothbrush – for textured surfaces
- Large basin or sink – for hand washing
- Mesh laundry bag – protects mitts in the washing machine
3. Pre‑Treat Stubborn Stains and Grease
Skipping pre‑treatment means you’ll waste time re‑washing. Follow these quick tricks.
Visual guide about How to Clean Oven Mitts
Image source: theobroma.in
3.1 Baking Soda Paste
Mix 3 parts baking soda with 1 part water to form a thick paste. Apply to greasy spots, let sit 15 minutes, then scrub gently.
3.2 Vinegar Spray
Fill a spray bottle with equal parts white vinegar and water. Spray the stained area, wait 5 minutes, and blot with a clean cloth.
3.3 Lemon Juice Boost
For oily fingerprints, rub half a lemon directly onto the spot. The citric acid breaks down oil, and the scent stays fresh.
After pre‑treating, rinse the mitts under cool water to remove residue before the main wash.
4. Choose the Right Washing Method
Both hand washing and machine washing are viable. Pick the one that matches your mitt type and schedule.
4.1 Hand Washing – The Gentle Approach
1. Fill a basin with warm (not hot) water.
2. Add a few drops of mild dish soap.
3. Submerge the mitts and gently agitate for 2–3 minutes.
4. Use a soft brush to scrub textured areas.
5. Rinse thoroughly until no suds remain.
6. Squeeze out excess water—don’t wring, as that can distort the shape.
4.2 Machine Washing – Fast and Convenient
1. Turn mitts inside out to protect the outer surface.
2. Place them in a mesh laundry bag.
3. Use a gentle cycle with cold or warm water.
4. Add a small amount of mild detergent; avoid bleach.
5. Skip fabric softener—it can reduce heat resistance.
4.3 Special Care for Silicone‑Coated Mitts
Silicone tolerates higher temperatures, so you can use warm water (up to 120 °F). A few drops of dish soap are enough; avoid abrasive scrubbers that could scratch the coating.
4.4 Special Care for Leather or Kevlar Mitts
Hand wash with a leather‑safe cleaner, then wipe with a damp cloth. After drying, apply a thin layer of leather conditioner to keep the material supple.
5. Drying – Preserve Shape and Heat Resistance
Improper drying is the #1 reason mitts lose their form.
5.1 Air‑Dry Flat
Lay the mitts on a clean towel, reshape the fingers, and let them dry naturally. This method works for all materials.
5.2 Use a Drying Rack
If space is limited, hang the mitts over a rack, ensuring the fingers are not hanging down to avoid stretching.
5.3 Avoid the Dryer
High heat can shrink cotton mitts and melt silicone. If you must use a dryer, select the “air fluff” or lowest heat setting and place mitts inside a mesh bag.
6. Deodorizing and Refreshing Your Mitts
Even after cleaning, some odors linger. Here’s how to keep them smelling fresh.
6.1 Lemon‑Water Rinse
After the final wash, rinse mitts in a mixture of 1 part lemon juice to 4 parts water. The citrus neutralizes odors and leaves a pleasant scent.
6.2 Essential Oil Spray
Mix 10 drops of lavender or tea tree oil with 1 cup of water in a spray bottle. Lightly mist the mitts once dry.
6.3 Baking Soda Overnight
Place mitts in a sealed bag with a small open container of baking soda. Let sit overnight; the soda absorbs lingering smells.
7. Storing Clean Oven Mitts Properly
Proper storage prevents mildew and keeps mitts ready for the next bake.
- Keep them dry: Store in a well‑ventilated drawer or hang on a hook.
- Avoid plastic bags: Trapped moisture encourages mold.
- Use a linen closet: Cotton mitts love a breathable environment.
- Rotate regularly: Using multiple pairs reduces wear on any single mitt.
Conclusion: A Simple Routine for Long‑Lasting Oven Mitts
Cleaning oven mitts doesn’t have to be a dreaded task. By identifying the material, pre‑treating stains, choosing the right wash method, and drying with care, you’ll extend the life of your kitchen helpers while keeping your cooking space hygienic. A quick deodorizing step and smart storage complete the routine, ensuring every time you reach for a mitt, it’s fresh, functional, and ready for the heat.
Make this cleaning habit part of your weekly kitchen routine, and you’ll never have to replace a mitten because of grime or odor. Happy cooking!
Frequently Asked Questions
How often should I wash my oven mitts?
For everyday use, wash them every 2–3 weeks. If you cook greasy foods often, aim for once a week to prevent buildup.
Can I put silicone oven mitts in the dishwasher?
Yes, most silicone mitts are dishwasher safe on the top rack. Use a gentle cycle and avoid high‑heat drying.
What if my cotton mitt shrank after washing?
Wash in cold water and lay flat to dry. If shrinkage occurs, gently stretch the mitt while damp and reshape it before air‑drying.
Are there any stains that can’t be removed?
Deep, set‑in oil stains may be impossible to erase completely, but a baking soda paste and repeated washes usually lighten them significantly.
How do I remove a lingering burnt smell?
Rinse the mitt in a solution of equal parts water and white vinegar, then follow with a lemon‑water rinse. Air‑dry in fresh air.
Is it safe to use bleach on white cotton mitts?
Bleach can weaken fibers and affect heat resistance. Use a color‑safe bleach sparingly, or stick to baking soda and vinegar for a safer clean.
