Fixing a chipped mug is a safe and rewarding DIY project that can save your favorite drinkware. The key is choosing the right repair method for the chip’s size and location, thoroughly cleaning the area, and allowing ample curing time. While a repaired mug won’t be microwave or dishwasher-safe, it can be perfectly functional for everyday hot or cold beverages with proper care.
Key Takeaways
- Safety First: Always wear gloves and work in a ventilated area when using adhesives, and never repair a mug you plan to microwave.
- Cleanliness is Critical: A chip must be 100% free of dust, grease, and old glue for any adhesive to form a strong, safe bond.
- Method Matters: Use a food-safe, two-part epoxy for most chips; consider milk or clay for decorative, non-functional repairs.
- Patience Pays Off: The clamping, curing, and sanding stages require significant time—rushing leads to weak, messy repairs.
- Manage Expectations: A repaired mug is for display or gentle hand-washing only; it is not safe for microwaving, dishwashing, or heavy daily use.
📑 Table of Contents
- Your Mug is Chipped—Now What?
- Understanding the Damage: Is It Worth Fixing?
- Essential Tools and Materials for a Successful Repair
- Step-by-Step: The Gold Standard Epoxy Repair Method
- Alternative Methods: When Epoxy Isn’t the Answer
- Safety, Limitations, and Long-Term Care
- Preventing Future Chips: Mug Wisdom
- Conclusion: Embrace the Imperfect
Your Mug is Chipped—Now What?
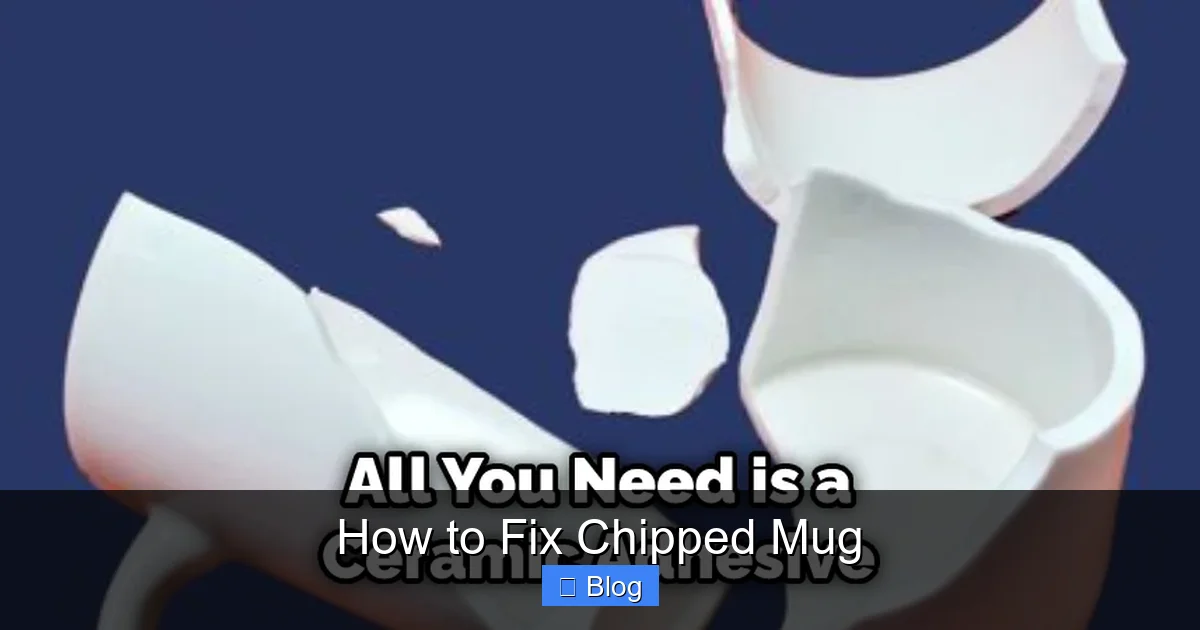
That sickening clink sound. The sudden silence as your favorite mug hits the floor. You rush over, heart sinking, to find a fresh, jagged chip on the rim or a crack spider-webbing from the base. It’s not just a mug; it’s the one that fits your hand perfectly, the one with the funny slogan, the one that survived a tough year. Before you resign it to the flower pot or the trash, take a deep breath. You can fix a chipped mug. It’s a satisfying, hands-on project that brings a beloved object back to life. This guide will walk you through every step, from assessing the damage to choosing the perfect fix, so you can confidently restore your ceramic companion.
Understanding the Damage: Is It Worth Fixing?
Not all chips are created equal. The first step is a careful assessment. A tiny, shallow nick on the rim is a straightforward fix. A large, deep chunk missing from the lip might compromise the mug’s integrity and could be a choking hazard if pieces break off later. A hairline crack that doesn’t go through to the interior is often repairable, but a crack that leaks water is a definite no-go—the structural damage is too great, and water trapped inside the repair can foster mold. If the chip is on the rim where your lips touch, you must use a 100% food-safe, non-toxic adhesive. For chips on the body or base, the requirements are slightly less stringent but still important for safety. If the mug is valuable, antique, or sentimentally irreplaceable, consider consulting a professional ceramic restorer. For most everyday mugs, a DIY repair is a perfectly viable and rewarding option.

Visual guide about How to Fix Chipped Mug
Image source: thekitchenix.com
The Different Types of Mug Damage
Identifying the exact problem guides your method.
- Rim Chip: The most common and often the most frustrating. This affects usability directly. Requires a smooth, food-safe repair.
- Body Chip/Spall: A piece of glaze and clay has flaked off. Often easier to fill and blend.
- Crack (Crazing): Fine surface lines in the glaze. Usually just a cosmetic issue, not a structural one.
- Structural Crack: A deep crack that goes through the clay body. This is the hardest to fix safely and may not be advisable.
- Broken Handle: A clean break. Requires precise alignment and strong adhesion.
Essential Tools and Materials for a Successful Repair
Gathering your supplies before you start is half the battle. A well-prepared workspace leads to a clean, strong repair. You’ll need a mix of cleaning agents, adhesives, application tools, and finishing supplies.
Visual guide about How to Fix Chipped Mug
Image source: thekitchenix.com
Cleaning & Prep Supplies
- Isopropyl Alcohol (Rubbing Alcohol): The gold standard for degreasing ceramic. It evaporates quickly and leaves no residue.
- Cotton Swabs & Lint-Free Cloths: For applying alcohol and wiping away debris. Avoid paper towels, as they can shed fibers.
- Toothpick or fine needle: For prodding out dust from deep chips.
- Mild Dish Soap: For an initial clean if the mug is very greasy.
Adhesives: Choosing Your “Glue”
- Two-Part Epoxy (Recommended): This is your best all-around choice. Brands like JB Weld, Devcon, or specific Food-Safe Epoxy (look for FDA compliance) create an incredibly strong, gap-filling, and water-resistant bond. It comes in a syringe with two barrels that mix when pressed. It has a working time of 3-5 minutes and cures fully in 24 hours.
- Cyanoacrylate (Super Glue): Good for very small, non-structural chips and quick fixes. It bonds instantly but is brittle and not ideal for rim repairs subject to lip contact. Use a gel formulation for better control.
- Milk (The Old Wives’ Tale): A niche method for tiny, shallow rim chips on unglazed or matte ceramics. The casein protein in milk can fill microscopic pores. It’s not a structural fix but can smooth a sharp edge. Results are temporary and not food-safe in a formal sense.
- Polymer Clay (e.g., Sculpey, Fimo): Excellent for building up missing material on decorative mugs. You can sculpt, bake, and then sand/paint. Not for functional drinking surfaces.
Application & Finishing Tools
- Disposable Gloves: Nitrile gloves are best. Keep your hands clean and avoid skin contact with adhesives.
- Wooden Stick or Palette Knife: For mixing and applying epoxy. A plastic toothpick works for tiny areas.
- Masking Tape or Rubber Bands: For clamping the repair in place without applying direct pressure to the delicate chip.
- Sandpaper (Grits 220, 400, 600, 1000+): Wet/dry sandpaper is essential for smoothing the cured repair. Start coarse and finish fine.
- Small Container: For mixing epoxy.
Step-by-Step: The Gold Standard Epoxy Repair Method
This method works for 90% of chips and cracks on functional mugs. It creates a durable, invisible, and food-safe (if using the correct epoxy) bond. Patience is your most important tool here.
Visual guide about How to Fix Chipped Mug
Image source: thekitchenix.com
Step 1: The Clean—The Most Important Step
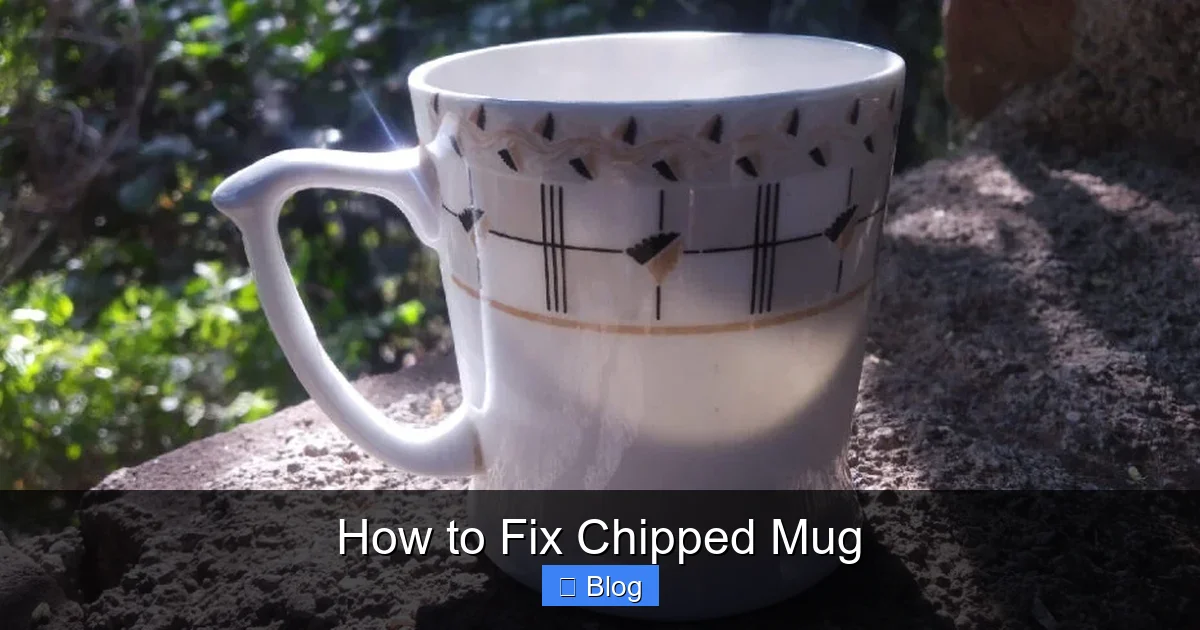
Put on your gloves. If the mug is dirty, wash it with mild soap and water, then dry completely. Now, for the critical part: degreasing. Soak a cotton swab in isopropyl alcohol and vigorously clean the chipped area. You must clean not just the visible chip, but also the surrounding area for about a half-inch. The goal is to remove every trace of natural skin oils, dust, and any previous residue. Do this multiple times with fresh swabs. Let it air-dry completely. Any oil left will prevent the epoxy from adhering properly.
Step 2: Mixing the Epoxy
Read your epoxy’s instructions. Typically, you squeeze equal amounts of the resin (Part A) and hardener (Part B) onto a piece of cardboard or into your small container. Mix them thoroughly with your wooden stick for at least 60 seconds. Scrape the sides and bottom. You should see a uniform color and consistency with no streaks. Improper mixing is the #1 reason for failed repairs. Mix only what you can use in your epoxy’s working time (pot life).
Step 3: Application—Less is More
Using a toothpick or the fine tip of the syringe, apply a tiny amount of mixed epoxy to the chip. For a rim chip, apply it to the mug’s body where the chipped piece will sit, not just to the missing piece itself. If you have the chipped fragment, apply a small dot to its back. The goal is to use just enough adhesive to fill the microscopic gaps and create a bond—too much will create a messy squeeze-out that’s hard to clean. Gently place the fragment, if you have it, and hold it in position. If the chip is a missing piece, press the mug’s edge firmly together to distribute the epoxy evenly inside the crack.
Step 4: Clamping and Holding
Do not squeeze the mug directly with a clamp; you’ll crack it. Instead, use your ingenuity. Wrap rubber bands around the mug and a supporting cup to create gentle, even pressure. Use masking tape to hold a handle in place. For a rim chip, you can sometimes rest the mug upside down on a flat surface with the chip facing up and weight it very lightly with a book. The goal is to keep the pieces from shifting. Support the mug from the inside if possible. Hold for the epoxy’s initial set time (check the label, usually 5-30 minutes). Do not move it during this critical phase.
Step 5: The Crucial Cure
Once the epoxy is set enough not to move, place the mug in a dust-free, undisturbed location. Let it cure for the full 24-72 hours as recommended by the manufacturer. Temperature and humidity affect cure time. Rushing this step results in a weak bond. Resist all temptation to test it.
Step 6: Finishing—Sanding and Polishing
After full cure, you’ll likely have a small bead of excess epoxy. This is normal. Use your coarse sandpaper (220 grit) dipped in water (wet sanding reduces dust and heat) to gently level the major bumps. Keep the sandpaper flat against the mug’s surface. Once the excess is gone, move to your finer grits (400, then 600, then 1000+). Sand in a circular motion, frequently rinsing the area. The goal is to make the repair flush and smooth. You can finish with a very fine polishing compound or a dab of car wax on a soft cloth to restore a bit of shine to the glazed surface. Wipe clean with alcohol.
Alternative Methods: When Epoxy Isn’t the Answer
Epoxy isn’t the only tool in the box. For specific situations, other methods can be more appropriate or artistic.
The Milk Method for Tiny Rim Nicks
This is for a *very* small, sharp nick on the drinking rim of an unglazed or matte-finish mug where the chip is mostly a roughness, not a missing chunk.
- Clean the area meticulously with alcohol.
- Heat a small amount of milk (a teaspoon) in a microwave until steaming hot.
- Dip a cotton swab in the hot milk and apply it liberally to the chipped area. The heat helps the milk penetrate the clay pores.
- Let it dry completely overnight.
- Gently sand with very fine sandpaper (600+ grit) to smooth the edge.
Important: This is a temporary, cosmetic fix. It does not restore structural integrity. The mug must be hand-washed only. Do not use this on glossy glazed surfaces or for chips larger than a pinhead.
Polymer Clay for Missing Chunks on Decorative Mugs
If your chip is on the body of a decorative, non-functional mug and a large piece is missing, you can sculpt a replacement.
- Clean the area thoroughly.
- Knead a small amount of matching color polymer clay. If color-matching is important, you can paint the baked clay later with acrylics.
- Press the clay firmly into the missing area, sculpting it to match the mug’s shape as best you can.
- Follow the clay manufacturer’s instructions to bake it (usually in a conventional oven). This permanently hardens the clay onto the mug.
- Once cool, sand smooth and paint if desired. Seal with a clear acrylic sealer (matte or gloss to match the original glaze).
This method is for display items only. The clay bond is not strong enough for functional use, and the bake temperature could potentially damage some ceramics.
Safety, Limitations, and Long-Term Care
Understanding the boundaries of a DIY repair is as important as the repair itself. A fixed mug is a cherished item, but it has new rules.
Non-Negotiable Safety Rules
- NEVER microwave a repaired mug. The heat can weaken the adhesive bond, cause steam pressure inside a hidden crack, and potentially cause the mug to shatter. The adhesive itself may also leach chemicals when heated.
- Hand-wash only. Dishwasher detergents and high-pressure water jets will eventually degrade the adhesive bond. Wash gently with a soft sponge.
- Avoid extreme temperatures. Don’t pour boiling water directly onto a repaired rim if the adhesive is still curing fully (wait at least a week). Thermal shock can cause new cracks.
- Inspect regularly. Before each use, check the repaired area for any signs of new cracking, adhesive failure, or loose fragments. If you see any, retire the mug immediately.
Managing Expectations
A repaired mug is a restored mug, not a new mug. The repair line, if done well, should be nearly invisible from a few feet away, but up close you may see a slight seam or color difference. The repaired area will likely feel smoother or slightly different to the lip than the original glaze. It will not be as strong as the original ceramic. This is okay! The charm is in its history and your handiwork. Treat it with the care it deserves, and it will serve you well for years.
Preventing Future Chips: Mug Wisdom
An ounce of prevention is worth a pound of epoxy. Develop habits that protect your drinkware.
- Mind the Stack: When storing mugs, avoid stacking them rim-to-rim if possible. Use a paper towel or felt pad between them.
- Handle with Care: Don’t tap mugs together ceremoniously. Place them down on surfaces gently.
- Microwave Safely: Never microwave a cold, wet mug. Always ensure it’s at room temperature. Avoid thermal shock.
- Inspect Before Use: Give your favorite mug a quick once-over for hairline cracks before pouring a hot beverage.
- Consider the Material: For daily, rough-and-tumble use, thicker stoneware or enamel mugs may be more chip-resistant than fine porcelain.
Conclusion: Embrace the Imperfect
Fixing a chipped mug is more than a repair; it’s an act of care. It’s a quiet rebellion against a disposable culture, a nod to craftsmanship, and a way to preserve a small piece of your daily ritual. The process—cleaning, mixing, waiting, sanding—is meditative. The result is a mug with a story, a tangible reminder that things of value can be mended. By following these steps, respecting the materials, and managing your expectations, you can confidently bring your cherished cup back to service. So gather your supplies, put on some music, and give that mug a second life. Your next cup of coffee will taste a little sweeter, knowing the hands that fixed it.
Frequently Asked Questions
Is it safe to drink from a repaired mug?
Yes, if you use a food-safe, two-part epoxy and ensure the repair is on the exterior or the rim is perfectly smooth. However, you must never microwave it or put it in the dishwasher. Hand-wash only and inspect the repair regularly for any signs of wear.
What is the best glue for fixing a chipped mug?
The best all-purpose choice is a clear, two-part epoxy adhesive labeled as food-safe or FDA-compliant. It creates a strong, gap-filling, water-resistant bond that can be sanded smooth. Avoid regular super glue for rim repairs, as it is brittle and not ideal for lip contact.
Can you fix a mug with a missing piece?
Yes, if you have the original broken piece. Clean both surfaces thoroughly, apply epoxy, and clamp carefully. If the piece is lost, you can sometimes fill the gap with epoxy alone for a small chip, or use polymer clay for larger missing areas on decorative, non-functional mugs.
How long does a repaired mug last?
With careful, hand-wash-only use, an epoxy repair can last for years. Its lifespan depends on the size and location of the chip, the quality of the adhesive and application, and how gently the mug is handled. It will never be as strong as the original ceramic, so treat it with respect.
Why did my super glue repair fail?
Super glue (cyanoacrylate) fails on ceramics most often due to poor surface preparation. The chip must be impeccably clean and dry. It also creates a brittle bond that can crack under stress, especially on a rim that experiences torque from your lips. Two-part epoxy is chemically superior for this job.
Can I fix a mug that has a crack through the bottom?
Generally, no. A crack that goes through the base compromises the mug’s structural integrity and poses a serious safety risk. Water can seep into the crack and harbor bacteria, and the mug can suddenly fail. It’s best to retire such a mug for safety.