Putting metal in a microwave is a common mistake that can cause sparks, fires, and internal damage. The first and most critical step is to immediately unplug the appliance and allow it to cool completely before any inspection. While minor exterior scorch marks might be cleanable, internal damage to the magnetron, waveguide, or interior coating often requires professional assessment or replacement. Safety is paramount; if you smell burning, see significant charring, or the microwave fails to heat, assume it is unsafe and consult a certified technician.
Key Takeaways
- Unplug Immediately: The absolute first action is to power off the microwave at the wall to cut all electricity and prevent further damage or fire risk.
- Cool Before Inspecting: Never open the door or touch the interior while the unit is hot or smoking. Allow it to cool for at least 30-60 minutes.
- Inspect for Visible Damage: Look for burnt spots, melted plastic, chipped paint, or a damaged waveguide cover (the cardboard-like shield behind the turntable).
- Understand the Risks: Metal causes arcing (sparks) that can destroy the sensitive magnetron (the “brain” that generates microwaves) and burn through protective coatings.
- Test with Caution: After a visual inspection and cleaning, a brief “cup of water test” can check functionality, but only if the interior appears undamaged and there are no odors.
- Know When to Call a Pro: Any signs of internal burning, a malfunctioning turntable, strange noises, or failure to heat indicate a likely magnetron or electrical issue requiring expert repair.
- Consider Replacement Cost: For older or inexpensive models, the cost of a professional magnetron repair can often exceed the value of the microwave, making replacement the more sensible option.
📑 Table of Contents
- The Ominous Crackle: Understanding What Happened
- Emergency Response: The First 60 Seconds
- The Visual Inspection: What to Look For
- Common Damage Scenarios and “Fix” Options
- The “Cup of Water Test”: A Diagnostic Lifeline
- When to Call a Professional and When to Retire Your Microwave
- Prevention: Your Future Self Will Thank You
- Conclusion: Safety Over Sentiment
The Ominous Crackle: Understanding What Happened
That sound. That terrifying, sizzling CRACKLE followed by eerie blue or yellow sparks dancing inside your microwave. Your heart sinks. You know exactly what you did—you accidentally left a piece of foil on the leftover lasagna, or you used a plate with a metallic rim. In that moment, the kitchen feels like a scene from a science experiment gone wrong. The immediate panic is real, but take a breath. Knowing how to fix a microwave after putting metal in it starts with understanding the science behind the spectacle and taking controlled, safe steps. This guide will walk you through everything, from the immediate emergency response to a detailed diagnosis, helping you determine if this is a simple fix or a write-off.
Why Metal and Microwaves Are a Dangerous Duo
Microwaves work by emitting electromagnetic radiation (microwaves, funnily enough) that cause water molecules in food to vibrate rapidly, creating heat. Metal, however, is a fantastic conductor. When microwaves hit a metal object—especially something with sharp edges like a twist tie, the crinkled edge of foil, or the decorative trim on a plate—the electrons in the metal are thrown into a chaotic frenzy. This creates high-voltage electrical arcs. Think of it like miniature lightning bolts jumping from one point of the metal to another, or to the metal walls of the microwave cavity itself.
These arcs are incredibly hot, often reaching thousands of degrees in a tiny spot. They can instantly carbonize (char) any food residue, melt plastic components, and burn through the protective enamel or paint coating on the interior walls. The most critical component at risk is the magnetron, the heart of the microwave. If an arc jumps to the waveguide (the channel that directs energy into the cooking chamber) or the magnetron itself, it can cause catastrophic, irreversible damage. The waveguide often has a protective cover made of cardboard or mica; if this is burned or melted, the magnetron is exposed and can fail.
Emergency Response: The First 60 Seconds
Your actions in the first minute are the most important for safety and minimizing damage. Do not, under any circumstances, immediately open the door to assess the damage if sparks or smoke are still present. This is non-negotiable.
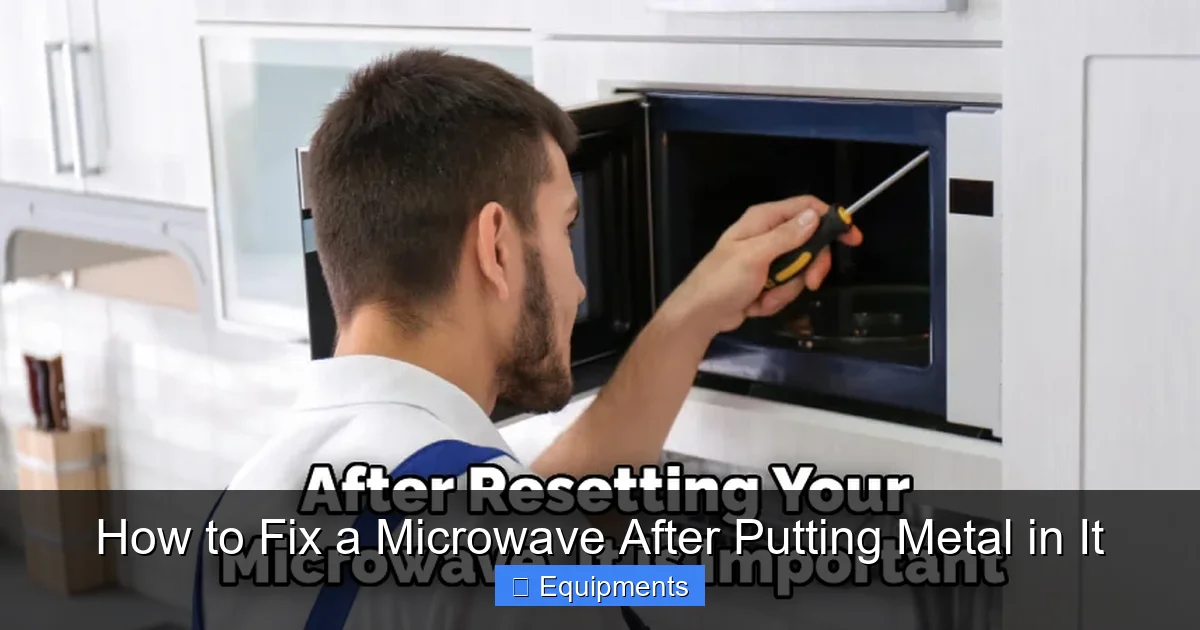
Visual guide about How to Fix a Microwave After Putting Metal in It
Image source: thekitchenix.com
Step 1: Power Down Completely
The very first thing you must do is cut the power. If you can safely reach the plug without leaning over the microwave, yank it from the wall outlet. If the plug is tucked behind or the cord is inaccessible, immediately turn off the circuit breaker that supplies power to the kitchen. This stops the microwave from continuing to operate and cuts the high-voltage electricity that is feeding the sparks. Do not simply turn off the microwave’s control panel; the internal electronics can remain energized.
Step 2: Let It Rest and Vent
Leave the door closed. The fire needs oxygen to thrive, and the closed door helps smother any small, lingering flames or hot spots. Keep the kitchen well-ventilated by opening windows, but do not open the microwave door. Allow the unit to sit, unplugged and closed, for a minimum of 30 minutes, but ideally for an hour. This lets all components cool down completely and allows any acrid smoke to dissipate. Rushing this step risks burns from hot surfaces or reigniting smoldering material.
Step 3: Assess the Smoke and Smell
After the cooling period, cautiously approach. Before you even open the door, use your senses. Do you smell a strong, sharp, electrical burning odor? That’s a very bad sign, often indicating damaged wiring or the magnetron itself. Do you see smoke seeping from the seams or vents? This suggests an active fire or smoldering component inside. If either is present, do not open the door. Evacuate the area and call your local fire department non-emergency line for advice. The risk of a flare-up is real.
The Visual Inspection: What to Look For
Once the microwave is cool and you’ve determined there’s no active smoke or fire smell, you can begin the detective work. Open the door slowly and prepare yourself for what you might find.
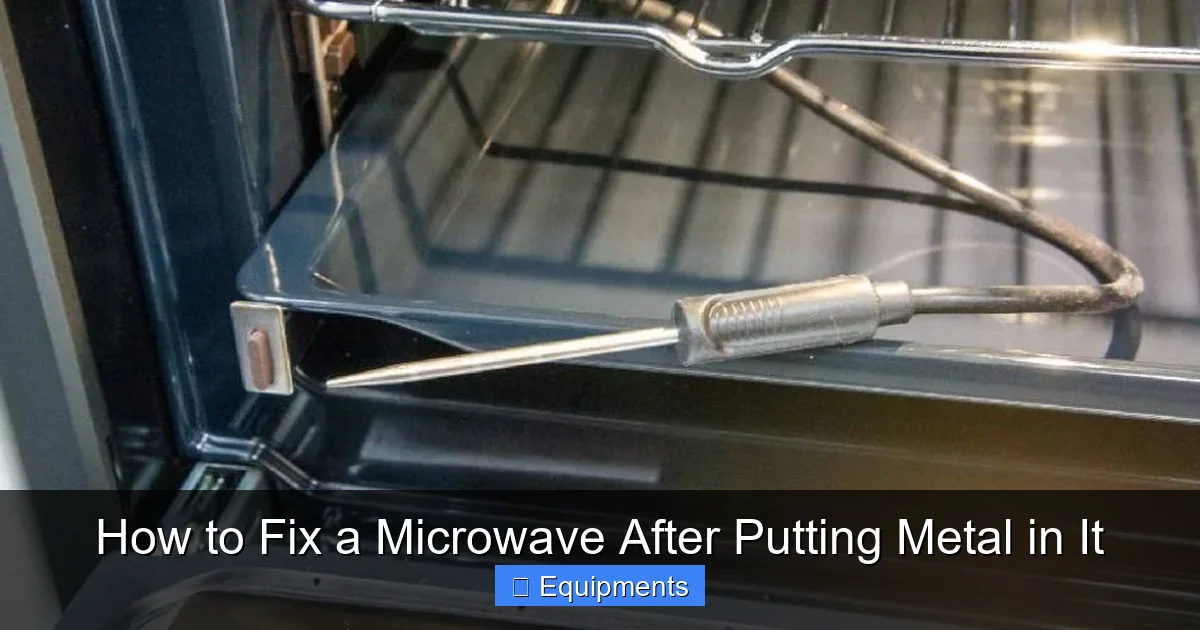
Visual guide about How to Fix a Microwave After Putting Metal in It
Image source: thekitchenix.com
Exterior and Interior Scan
Start with the interior cavity. Use a flashlight if needed. Look for:
- Charred or Blackened Spots: Small, pinpoint black dots are likely burnt food particles. Large, deep blackened areas mean the protective coating on the metal wall has burned through. This is serious. The exposed metal can cause more arcing even with nothing inside.
- Melted Plastic: Check the turntable, turntable support ring, and any plastic covers or guides. Warping or melting means intense heat was present. Also, inspect the interior ceiling for melted plastic from a light cover or vent.
- Waveguide Cover Damage: This is the most critical check. The waveguide is a metal channel, usually on the right side of the interior wall (from the front), covered by a rectangular piece of cardboard, mica, or plastic. It directs the microwaves into the chamber. If this cover is discolored, blistered, melted, or has a hole in it, the magnetron is almost certainly damaged or at high risk. Do not operate the microwave with a damaged waveguide cover.
- Door Seal and Mesh: Inspect the rubber gasket around the door for melting or warping. Look through the mesh in the door window; if it’s dented or has holes, microwave leakage could occur.
Exterior and Component Check
Don’t forget the outside. Check the power cord for melting or fraying. Look at the vent openings on the back or sides for soot or debris. If you’re comfortable and the unit is unplugged, you can remove the outer cabinet (usually by unscrewing the back panel) for a deeper look. Warning: Only do this if you are knowledgeable about appliance repair and the unit is completely disconnected from power. Inside, look for burnt components on the control board, damaged wires, or a charred smell around the magnetron (a large, cylindrical metal part with a fan attached, usually located behind the control panel or under the chassis).
Common Damage Scenarios and “Fix” Options
Based on your inspection, you can categorize the damage. The path forward depends entirely on what you find.
Visual guide about How to Fix a Microwave After Putting Metal in It
Image source: thekitchenix.com
Scenario 1: Minor Cosmetic Damage (The Lucky Outcome)
What it looks like: A small, shallow black spot on the interior wall (less than the size of a dime). The waveguide cover is pristine. No melted plastic. No odors. The turntable works fine.
Can you fix it? Yes, but with caution. The black spot is where the paint/coating burned off. The exposed metal underneath will cause arcing every time you use it. You must repair this spot.
- Cleaning: Gently clean the area with a mild abrasive like baking soda paste or a dedicated microwave cleaner to remove all carbonized residue.
- Repairing the Coating: You need to re-coat the bare metal. Do not use standard paint. Use a high-temperature, food-safe enamel paint (like those used for grills or ovens) or a specific microwave interior touch-up paint. Apply a very thin, even coat and let it cure completely (24-48 hours) as per instructions. This is a temporary fix at best; the coating may not adhere perfectly or withstand repeated heating cycles.
Scenario 2: Damaged Waveguide Cover or Significant Interior Burn
What it looks like: The cardboard/mica waveguide cover is blistered, blackened, or has a hole. There’s a large, deep burn mark on the wall. You smell persistent burning.
Can you fix it? Technically, yes, but it’s an advanced repair. You must replace the waveguide cover (an inexpensive part, but requires disassembly) and repair the wall coating as in Scenario 1. However, the intense heat that damaged these parts has likely also stressed or damaged the magnetron. The microwave may work initially but fail soon after. This repair is often not cost-effective for an older unit.
Scenario 3: Magnetron Failure (The Most Common Major Damage)
What it looks like: The microwave turns on, the light and turntable work, but it produces no heat at all. You may also hear a loud, abnormal hum or buzzing. This is the classic sign of a dead magnetron from an electrical arc.
Can you fix it? Yes, by replacing the magnetron. This is a major repair. Magnetrons are expensive (often $50-$150 for the part alone, plus labor if you hire someone). They require significant disassembly, careful handling (they contain a small amount of beryllium oxide, which is hazardous if crushed), and proper re-sealing. For a microwave over 5-7 years old, replacement cost can exceed 50% of a new unit’s price. DIY is only for experienced appliance repair technicians.
Scenario 4: Fire, Melting, or Electrical Damage
What it looks like: Significant melted plastic components (turntable motor housing, interior light cover), burnt wires, a melted power cord, or a door seal that’s warped.
Can you fix it? It’s a parts-replacement nightmare. Replacing a turntable motor is easy; replacing a melted main control board or rewiring the unit is complex and may not be safe. A warped door seal compromises the Faraday cage, potentially leaking radiation. This level of damage almost always warrants replacement for safety and liability reasons.
The “Cup of Water Test”: A Diagnostic Lifeline
If your visual inspection reveals only minor, fully repaired cosmetic damage (Scenario 1), and there are no odors, you can perform a simple functionality test. This is your best indicator of whether the core components survived.
How to Perform the Test Safely
- Ensure Repairs are Cured: Any touch-up paint must be 100% dry and cured.
- Place a Microwave-Safe Cup: Use a glass or ceramic cup. Fill it with exactly 1 cup (8 oz) of cold tap water.
- Set and Observe: Place it in the center of the turntable ring. Set the microwave to run on HIGH for 2 minutes. Stand by the appliance, but do not hover directly over it.
- Listen and Watch: The turntable should rotate smoothly. You should hear the normal hum of the magnetron. There should be absolutely no sparking, popping, or buzzing sounds.
- Check the Result: After 2 minutes, carefully remove the cup (it will be hot!). The water should be very warm to hot, ideally near boiling. If it’s only lukewarm or cold, the magnetron is not generating microwaves. The microwave is defective.
Important: If at any point during the test you see even a tiny spark, smell burning, or hear strange noises, immediately stop the microwave, unplug it, and abandon repair efforts. The internal damage is too severe for safe DIY remediation.
When to Call a Professional and When to Retire Your Microwave
Your safety is the ultimate priority. Microwaves contain high-voltage components (the magnetron runs at 2,000+ volts) that can deliver a lethal shock even when unplugged (due to capacitor charge). They also can leak radiation if the door seal or chassis is compromised.
Call a Certified Technician If:
- The “cup of water test” fails (no heat).
- You suspect magnetron, high-voltage transformer, or capacitor damage.
- The waveguide cover is damaged and you are not comfortable disassembling the unit.
- There is any sign of damage to the door, its latch, or the mesh.
- You smell persistent electrical burning after the initial incident has cooled.
- Your microwave is a built-in or high-end model where replacement cost is very high.
A technician can perform a full diagnostic, test for radiation leakage, and give you a firm quote. Get an estimate before authorizing any work.
Time to Replace (Recycle Responsibly):
Consider purchasing a new microwave if:
- The unit is over 8-10 years old (microwaves have a typical lifespan of 7-10 years).
- The repair quote (parts + labor) exceeds 40-50% of the cost of a comparable new unit.
- The exterior casing is dented or corroded, compromising the shield.
- You have any doubt about the integrity of the door seal or locking mechanism.
- The model is a basic countertop unit under $100. New, energy-efficient models are often a better value.
Never dispose of a microwave in regular trash. The capacitor can hold a dangerous charge. Take it to an e-waste recycling facility or check with your local waste management for appliance disposal rules.
Prevention: Your Future Self Will Thank You
The best way to fix a microwave after putting metal in it is to never put metal in it. It sounds simple, but it happens to everyone. Here’s how to build ironclad habits.
The “Metallic Rim” Rule
Adopt a zero-tolerance policy. If a plate, bowl, or takeout container has any metallic paint, trim, or shimmer, it does not go in the microwave. This includes antique china with gold leaf, decorative melamine plates with silver accents, and many “microwave-safe” labeled containers that still have a metallic glaze. When in doubt, use a plain white ceramic or glass dish.
Foil and Metal Utensils: A Hard No
Never use aluminum foil to cover food in the microwave. It can crumple and create sharp edges. If you must shield parts of food (like the ends of chicken wings), use a microwave-safe cover or parchment paper. Also, never leave a metal spoon, fork, or twist tie in the microwave. Take a second to check your food before pressing start.
Educate Your Household
If you have kids, roommates, or a partner, make sure everyone knows the rule. A simple “No metal in the microwave!” sign on the kitchen cabinet can be a helpful, non-judgmental reminder for everyone.
Conclusion: Safety Over Sentiment
Discovering you’ve put metal in a microwave is a heart-stopping moment, but it doesn’t have to be a disaster. The path from that spark to a safe kitchen is clear: unplug, cool, inspect, diagnose, and act with extreme caution. You now know how to identify minor scorch marks from major magnetron failure, and how to perform the crucial cup-of-water test. Remember, a microwave is a powerful appliance that demands respect. The cost of a new microwave is trivial compared to the risk of a kitchen fire, electrical shock, or invisible radiation exposure. When in doubt, throw it out—or better yet, call in a professional. Your safety, and the safety of your home, is the only metric that matters. Now, go check that cup of water test, and may your future microwaving be spark-free.
Frequently Asked Questions
Can I still use my microwave if it works after I put metal in it?
Not necessarily. Even if it appears to work, internal damage like a compromised waveguide cover or stressed magnetron may be present. This can lead to complete failure later or, in rare cases, radiation leakage. You must perform a thorough visual inspection and the cup-of-water test. If any doubt exists, consult a technician.
How do I clean the inside after a metal sparking incident?
First, ensure the microwave is unplugged and cool. For light soot, use a paste of baking soda and water, or a vinegar-water solution. Gently scrub with a soft sponge. For stubborn, baked-on carbon, use a dedicated microwave cleaner. Never use abrasive metal scrubbers, as they can damage the interior coating further. Rinse with a damp cloth and dry thoroughly.
Is it safe to repair the burnt paint inside the microwave myself?
You can attempt to clean and repaint a small, shallow burn spot with high-temperature, food-safe enamel paint. However, this is a temporary fix. The paint may not adhere perfectly, and the underlying metal could still cause arcing. If the burn is large or deep, the cavity’s structural integrity for containing radiation may be compromised, and replacement is the only safe option.
What part gets damaged most often from metal in a microwave?
The most common and costly damage is to the magnetron. The electrical arc from the metal can blow the magnetron’s filament or damage its internal components, rendering it unable to generate microwaves. The second most common issue is a burned or melted waveguide cover, which protects the magnetron from food splatter and arcs.
How much does it cost to fix a microwave after metal damage?
Costs vary wildly. Replacing a waveguide cover might be $20-$50 in parts if you DIY. A professional magnetron replacement, including service call and labor, typically ranges from $150 to $300. For an older, inexpensive microwave ($100-$200), this repair is often not economical. Always get a quote before authorizing work on a major component.
Will putting metal in a microwave always destroy it?
No, it’s not a guaranteed death sentence. A very small, smooth piece of metal (like a single spoon) might cause a small, one-time spark without causing lasting damage if it’s removed immediately and there’s no sign of interior burning. However, crinkled foil, metal trim on dishes, or any prolonged exposure almost always causes some level of damage, from minor cosmetic to catastrophic. It’s always a serious risk.