Drying mushrooms in the oven is a simple, accessible method to preserve their intense flavor and extend their shelf life for months. By slicing them uniformly and baking at a low temperature (typically 120-150°F or 50-65°C) for several hours, you remove all moisture without cooking them. The result is lightweight, shelf-stable mushrooms that can be rehydrated for soups, sauces, and rubs, or ground into a powerful umami powder. It’s a game-changer for any home cook looking to reduce waste and boost savory depth in dishes.
Key Takeaways
- Uniform Slicing is Crucial: Slice mushrooms to a consistent ¼-inch thickness for even drying. Thicker pieces will retain moisture and spoil.
- Low and Slow is the Rule: Always use the lowest oven temperature possible (120-150°F / 50-65°C). Higher heat cooks the mushrooms instead of drying them.
- Patience Prevents Spoilage: Drying can take 1-4 hours depending on thickness and moisture. Mushrooms must be completely brittle to store safely.
- Convection is Your Friend: If your oven has a convection setting, use it. The circulating air significantly speeds up and evens out the drying process.
- Cool Completely Before Storing: Any residual heat will create steam in a storage container, leading to condensation and mold. Let them cool on a wire rack.
- Store in Airtight Darkness: Use glass jars or heavy-duty freezer bags, squeeze out air, and store in a cool, dark pantry or freezer for maximum longevity.
- Dried = Concentrated Flavor: One ounce of dried mushrooms rehydrates to about 8-10 ounces of fresh, delivering a profound, earthy umami boost to any recipe.
📑 Table of Contents
- Why Dry Mushrooms? Unlocking a World of Umami
- Choosing and Preparing Your Mushrooms for Success
- The Step-by-Step Oven Drying Process
- Troubleshooting: Common Issues and Solutions
- Storing Your Culinary Treasure for Maximum Shelf Life
- From Pantry to Plate: Using Your Dried Mushrooms
- Conclusion: Your Oven is a Powerful Preservation Tool
Why Dry Mushrooms? Unlocking a World of Umami
There’s something magical about a dried mushroom. That leathery, lightweight slice holds within it the concentrated essence of the forest—a deep, earthy, savory flavor far more potent than its fresh counterpart. Learning how to dry mushrooms in the oven is one of the most valuable preservation skills a home cook can master. It transforms a perishable luxury into a pantry staple available year-round, reduces food waste, and adds an incredible dimension to everything from rustic stews to elegant sauces.
Unlike freezing, which can alter texture, drying preserves the fundamental flavor compounds. When you rehydrate dried mushrooms, you’re not just getting the mushroom back; you’re infusing the soaking liquid with a powerful, woodsy broth that is a secret weapon in cooking. Furthermore, dried mushrooms are incredibly versatile. You can rehydrate them for use in recipes, or you can grind them into a fine powder—a natural, MSG-free umami booster that can be sprinkled on everything from popcorn to roasted vegetables. Before we dive into the precise oven method, it’s worth understanding why this method is so excellent and how it compares to other preservation techniques.
The Flavor Concentration Phenomenon
When you remove water from a mushroom, you’re essentially removing the vehicle that dilutes its flavor. All the aromatic compounds, guanylate (a key umami molecule), and earthy notes become densely packed. A single dried shiitake can flavor an entire pot of broth. This isn’t just an opinion; it’s chemistry. The process of dehydration breaks down some of the mushroom’s cellular structure, making its flavor more accessible during cooking. This is why a small handful of dried porcini can elevate a simple pasta sauce into something extraordinary.
Oven Drying vs. Other Methods
You might wonder about using a food dehydrator or air-drying. A dedicated dehydrator is excellent, offering precise temperature control and excellent air circulation, but it requires a specialty appliance. Sun-drying is unpredictable, requires specific low-humidity conditions, and risks contamination or insect infestation. The oven, however, is a tool almost every kitchen already has. It provides a controlled, enclosed environment. The main challenge is that many home ovens don’t go as low as ideal dehydrators (which often start at 95°F / 35°C). This is why the “lowest possible setting” mantra is so critical when you dry mushrooms in the oven—we must work within our tool’s limitations to avoid “cooking” rather than drying.
Choosing and Preparing Your Mushrooms for Success
The journey to perfect dried mushrooms begins long before they hit the oven. Your choice of mushroom and how you prepare it will dictate the final product’s quality, flavor intensity, and storage stability. Not all mushrooms are created equal for drying, and proper prep is non-negotiable for even drying.
Visual guide about How to Dry Mushrooms in the Oven
Image source: thespruceeats.com
Best Mushroom Varieties for Drying
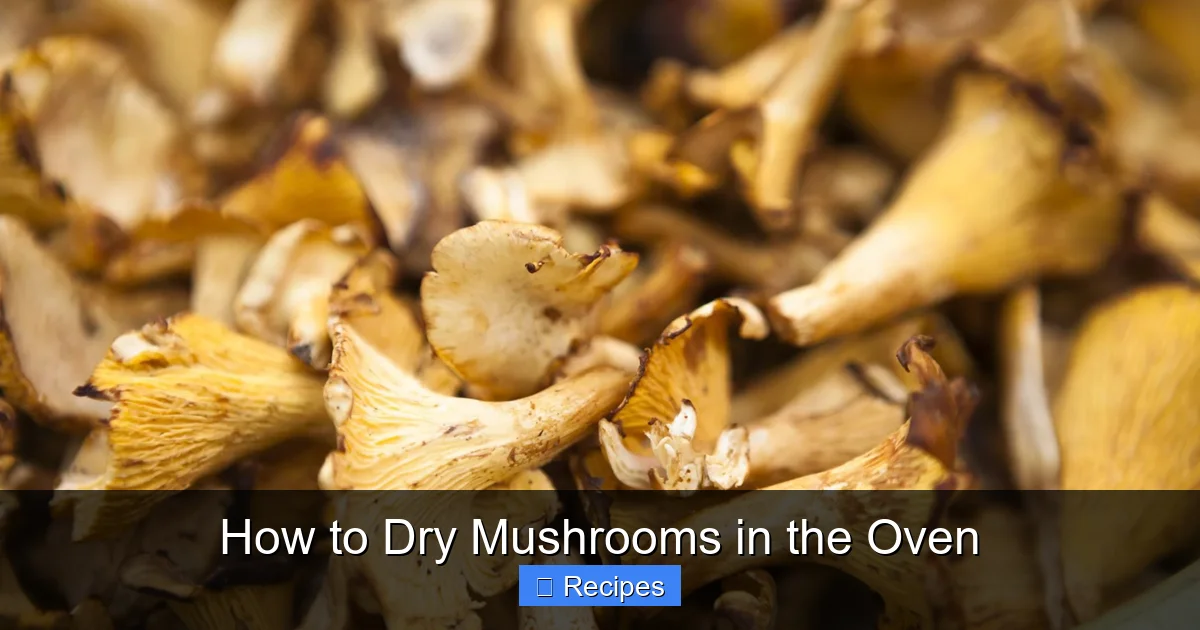
While almost any edible mushroom can be dried, some are legendary for their results. Porcini (Boletus edulis) are the gold standard, with a deeply nutty, meaty flavor that only intensifies when dried. Shiitake (Lentinula edodes) develop a wonderfully smoky, robust taste. Morels dry beautifully and rehydrate with a fantastic, honeycombed texture. Chanterelles and Oyster mushrooms also dry well, though they have a more delicate flavor. Button mushrooms and creminis (baby bellas) are fine, but their flavor is milder. Always use fresh, firm, dry mushrooms. If they are slimy, bruised, or showing signs of decay, they will not dry properly and will spoil. The fresher the starting material, the better the final product.
The Essential Cleaning Step
Mushrooms are like sponges; they absorb water. The cardinal rule is to avoid soaking them. Instead, gently brush off any visible dirt or debris with a soft-bristled brush or a dry paper towel. For stubborn bits, use a *barely damp* cloth and wipe them quickly. If they are very dirty, a quick 10-second rinse under cold water is acceptable, but they must be patted completely, utterly dry with paper towels before slicing. Any surface moisture will steam the mushrooms in the oven’s initial heat, sealing in moisture and preventing proper drying.
Slicing: The Most Important Technical Step
This is where precision matters. The goal is to create pieces of uniform thickness so all moisture evaporates at the same rate. An uneven slice means a thick piece will stay moist while a thin piece becomes brittle and potentially burnt.
- Tool: Use a sharp chef’s knife or a mandoline (with caution). A dull knife will crush the mushroom flesh, releasing more moisture and leading to gummy, uneven pieces.
- Thickness: Aim for ¼-inch (about 6mm) slices. This is the sweet spot for efficient drying without excessive fragility. For very large caps (like giant portobellos), you may need to quarter them first.
- Consistency: Lay the slices out and inspect them. They should all look roughly the same. If you have a mix of thick stems and thin caps, slice the stems slightly thinner to match the cap’s thickness.
Some people remove stems entirely for certain mushrooms (like shiitake, where stems are tough). For others, like porcini, the stems are flavorful and can be sliced thinly or diced. It’s a matter of personal preference and texture.
The Step-by-Step Oven Drying Process
Now for the main event. Drying mushrooms in the oven is a largely hands-off process, but it requires attention to temperature and timing. Here is a detailed, foolproof method.
Visual guide about How to Dry Mushrooms in the Oven
Image source: janeovenrecipes.com
Step 1: Preheat and Prepare
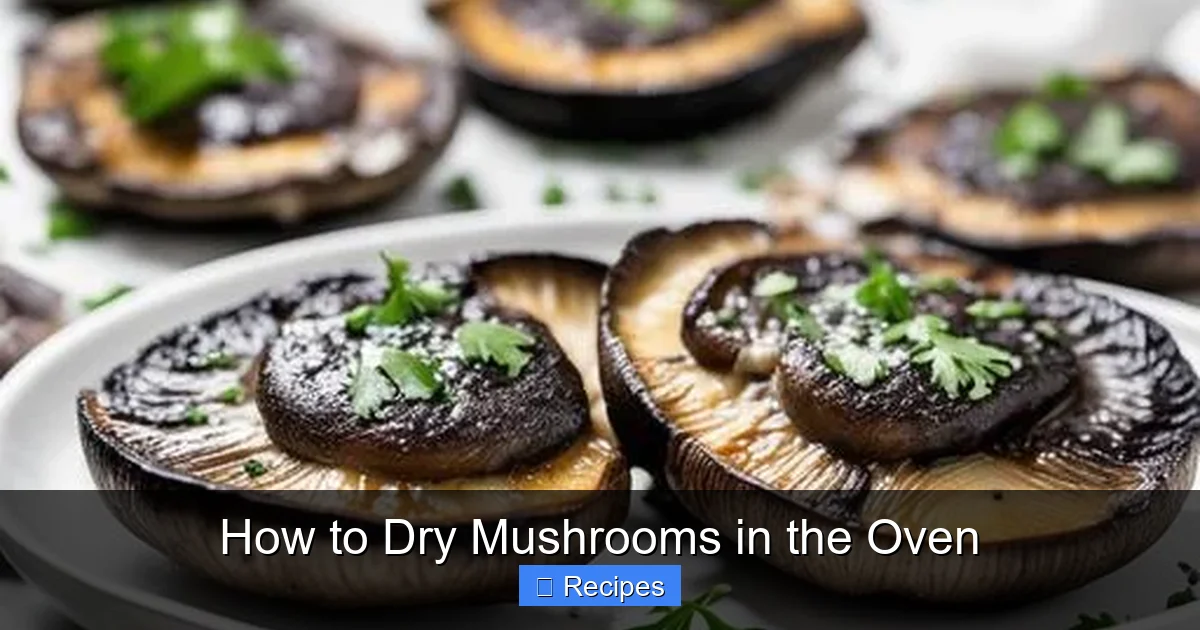
Set your oven to its lowest possible temperature. For most home ovens, this is between 200°F and 250°F (95°C – 120°C). This is often too high. Your goal is to mimic a dehydrator’s 120-150°F (50-65°C) range. Here’s the workaround: Use the “Warm” setting if your oven has one (usually around 150-170°F / 65-75°C). If not, set it to 200°F (95°C) and prop the oven door open slightly with a wooden spoon or oven mitt. This allows hot air to escape and keeps the internal temperature lower. This is a critical safety and quality hack. Line your baking sheets with parchment paper or a silicone baking mat for easy cleanup. Do not use foil directly, as it can react with the mushrooms.
Step 2: Arrange the Slices
Lay your prepared mushroom slices in a single, non-overlapping layer on the prepared baking sheets. They should have space between them to allow for air circulation. If your oven has multiple racks, position them to ensure heat circulates evenly—usually the center and lower-middle racks are best. Avoid the very top rack, which tends to be hottest. If you have a convection oven, this step is even easier; the fan will circulate air, allowing you to possibly use a slightly higher temperature (but still low!) and stack sheets on multiple racks. In a convection oven, you can often keep the door closed.
Step 3: The Drying Timeline
Place the sheets in the preheated oven. The drying time is highly variable based on your oven’s true temperature, humidity, slice thickness, and mushroom type. It can take anywhere from 1 to 4 hours. Do not rush this. Here’s how to check for doneness:
- 1-2 Hour Check: Start checking after about an hour. Carefully remove a slice (it will be hot!). Let it cool on the counter for a minute, then bend it. It should be pliable but dry, with no visible moisture on the surface.
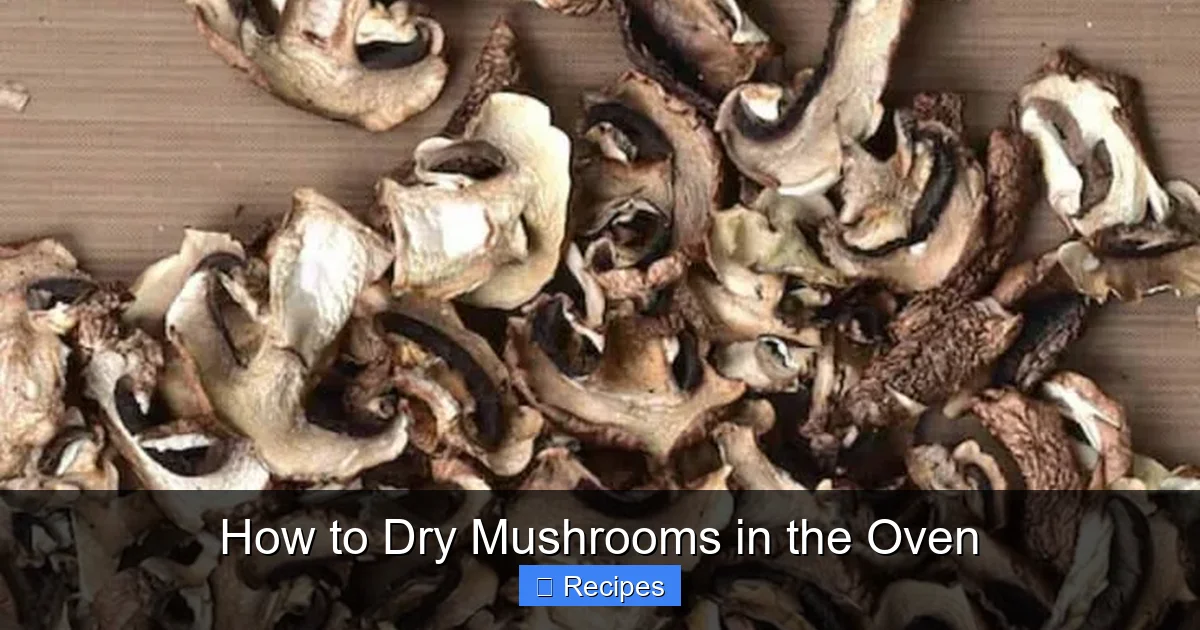
- Final Stage: Continue drying. The final product should be brittle and crisp. When cool, it should snap or shatter easily, not bend. There should be no softness, moisture, or rubbery texture anywhere. If it bends, it needs more time.
- Rotate Sheets: If you are using multiple sheets, rotate them (swap top and bottom, front and back) every 45-60 minutes to promote even drying, especially in a non-convection oven.
Step 4: The Cooling Imperative
Once your mushrooms have reached that brittle, crisp state, turn off the oven. Let the baking sheets sit inside the cooling oven for 15-20 minutes. Then, carefully remove them and transfer the dried slices to a wire cooling rack. Let them cool completely to room temperature. This step is absolutely vital. If you seal warm mushrooms in a jar, the residual heat will create steam, leading to condensation and, ultimately, mold. Patience here ensures long-term storage success.
Troubleshooting: Common Issues and Solutions
Even with careful following of steps, you might encounter a few hiccups. Here’s how to diagnose and fix common problems when you dry mushrooms in the oven.
Visual guide about How to Dry Mushrooms in the Oven
Image source: i.pinimg.com
“My mushrooms are steaming/sizzling, not drying!”
Cause: Your oven temperature is too high. You are cooking the mushrooms, not drying them. The moisture is being trapped and turned to steam.
Solution: Immediately reduce the temperature. If your oven won’t go lower, prop the door open wider to let more heat escape. You may need to start over with fresh slices if they have been partially cooked. Next time, use a reliable oven thermometer to verify the actual internal temperature.
“Some pieces are dry and brittle, others are still chewy.”
Cause: Inconsistent slicing or poor air circulation. Thicker pieces retain moisture. Overcrowding on the sheet blocks airflow.
Solution: For the current batch, remove the already-dry pieces and return the chewy ones to the oven for additional time. For future batches, slice more uniformly and ensure single-layer spacing. Consider using a convection setting or rotating trays more frequently.
“They taste slightly burnt or bitter.”
Cause: Drying at too high a temperature or for too long on the hottest part of the oven. Some mushroom compounds can char at high heat.
Solution: Use the lowest possible heat. Ensure racks are positioned away from the heating element. Once they are brittle, remove them promptly—they can go from perfect to over-dried quickly at the end.
“They feel dry but are a little soft in the middle when cooled.”
Cause: The piece was too thick, or the drying time was insufficient. The center retained moisture.
Solution: These mushrooms are not shelf-stable and will mold. You must either use them immediately (they’re fine for immediate use) or re-dry them. Place them back in a low oven (with door propped) until they snap cleanly when cool. This is why the “brittle and snaps” test is the only true test of doneness.
Storing Your Culinary Treasure for Maximum Shelf Life
Proper storage is the final, crucial step in the process of learning how to dry mushrooms in the oven. All your hard work can be undone by improper containment. Dried mushrooms are hygroscopic—they love to absorb moisture from the air.
Conditioning: The Pro’s Secret Step
Before long-term storage, perform a “conditioning” period. Place your completely cooled dried mushrooms in a clean, dry glass jar. Fill it about ¾ full, seal the lid tightly, and leave it at room temperature for 7-10 days. This allows any residual, undetected moisture to equalize throughout the batch. After a week, check the jar. If you see any condensation on the lid or walls, the mushrooms need more drying time. If the jar is completely dry and the mushrooms remain brittle, they are ready for permanent storage.
Container Selection
The ideal container is completely airtight and blocks light.
- Best: Glass canning jars (Mason jars) with tight-sealing lids. They are impermeable to air and light.
- Excellent: High-quality, heavy-duty freezer bags. Squeeze out as much air as possible before sealing. For extra protection, place the bag inside an airtight container.
- Avoid: Regular plastic containers with snap lids (they often aren’t truly airtight), paper bags (offer no moisture barrier), or any container that isn’t completely dry.
Storage Environment
Store your sealed containers in a cool, dark, and dry place. A pantry cupboard away from the stove or dishwasher is ideal. For maximum longevity (1-2 years), store them in the freezer. The freezer will completely halt any potential for rancidity of oils or slow degradation of flavor. Always use a dry spoon to remove mushrooms from the jar to avoid introducing moisture.
From Pantry to Plate: Using Your Dried Mushrooms
You’ve dried, cooled, conditioned, and stored. Now for the best part: eating them! Using dried mushrooms is simple but unlocks immense flavor.
The Classic Rehydration Method
The standard approach is to rehydrate them in a hot liquid. Place your dried mushrooms in a heatproof bowl. Pour boiling water, broth, or wine over them, ensuring they are fully submerged. Cover the bowl with a plate and let them soak for 20-30 minutes. They will swell and soften, returning to a texture similar to a cooked fresh mushroom. The real magic is the liquid—it’s now a potent, flavorful mushroom broth. Strain the mushrooms, reserving the liquid. You can chop the rehydrated mushrooms and use them as you would fresh ones. The soaking liquid is gold; use it as a base for soups, sauces, risottos, or braises.
Grinding into Umami Powder
For a versatile flavor booster, grind your fully dried, brittle mushrooms in a spice grinder, coffee grinder (dedicated to spices), or high-power blender until they form a fine powder. Sift it if needed. This mushroom powder is a seasoning superhero. Stir a teaspoon into gravies, sprinkle it on roasted potatoes or popcorn, mix it into meatballs or burger patties for a savory depth, or use it to rim cocktail glasses for an umami twist. It has an almost indefinite shelf life when stored airtight and dry.
Cooking Without Rehydrating (Direct Use)
You can also add dried mushrooms directly to simmering liquids. Drop them into a pot of soup, stew, or sauce during the last 15-20 minutes of cooking. They will rehydrate and flavor the dish from within. This is excellent for long-cooking dishes like beef stew or a rich tomato sauce. Just remember they will absorb some of the cooking liquid, so you might need to adjust consistency.
Conclusion: Your Oven is a Powerful Preservation Tool
Mastering the art of how to dry mushrooms in the oven connects you to an ancient tradition of food preservation while leveraging modern kitchen convenience. It’s a technique that requires attention to detail—uniform slicing, low temperature, and the brittle-test finish—but rewards you with a transformative ingredient. That humble jar of dried porcini or shiitake on your shelf isn’t just food; it’s a concentrated burst of the forest, a flavor amplifier, and a testament to reducing waste. You’ve now got the knowledge to turn a seasonal mushroom into a year-round source of profound umami. So next time you see a great deal on fresh mushrooms or find a bounty in the woods, don’t let them go to waste. Fire up your oven, slice them up, and begin the simple, magical process of drying. Your future self, stirring a pot of incredible mushroom risotto in the dead of winter, will thank you.
Frequently Asked Questions
What is the absolute lowest oven temperature I can use?
Ideally, aim for 120-150°F (50-65°C). If your oven doesn’t go this low, use the “Warm” setting or set to 200°F (95°C) and prop the door open with a wooden spoon to let heat escape and keep the internal temp down. An oven thermometer is highly recommended to verify the actual temperature inside.
How long does it take to dry mushrooms in the oven?
Drying time varies based on slice thickness, mushroom type, and oven accuracy, but typically ranges from 1 to 4 hours. The only true test is texture: when completely cool, the mushrooms should be brittle and snap easily, not bend. Always trust the texture test over the clock.
Can I dry mushrooms without slicing them whole?
It’s not recommended. Whole or quartered mushrooms have too much moisture in the center to dry evenly in a home oven. The exterior will become hard and potentially brittle while the interior remains moist and will spoil. Uniform ¼-inch slices are essential for safe, even drying.
How do I know if my dried mushrooms have gone bad?
Properly dried and stored mushrooms should be completely brittle and smell intensely of earth and umami. Signs of spoilage include a chewy or flexible texture (indicating moisture), a musty or off smell, any visible mold (fuzzy spots), or if they have absorbed a rancid oil smell. If in doubt, discard them.
Do I need to rehydrate dried mushrooms before using them?
Not always. For soups, stews, or sauces with a long simmer time, you can add them directly to the pot. For recipes with shorter cooking times or where you want a meatier texture, rehydrating in hot water or broth for 20-30 minutes is best. The soaking liquid is a valuable flavor asset.
How long do oven-dried mushrooms last?
When completely dried, conditioned, and stored in an airtight container in a cool, dark place, they will last for 6-12 months with peak flavor. For maximum longevity (up to 2 years), store them in the freezer. Always check for crispness and smell before using after several months.
