How To Clean Sink After Raw Chicken is an essential topic that provides valuable insights and practical knowledge for anyone interested in learning more about this subject.
Key Takeaways
- Act Immediately: Clean the sink right after use to prevent bacteria spread.
- Use Hot, Soapy Water: Scrub all surfaces thoroughly to remove raw residue.
- Disinfect Completely: Apply a kitchen-safe sanitizer to kill harmful pathogens.
- Clean the Drain: Flush with boiling water and disinfectant to clear hidden bacteria.
- Avoid Cross-Contamination: Use dedicated scrubbers for the sink only.
- Dry Thoroughly: Wipe with a clean towel to eliminate moisture where bacteria thrive.
- Maintain a Routine: Regular sanitizing keeps your sink safe for daily use.
📑 Table of Contents
- How to Clean Sink After Raw Chicken
- Why Proper Sink Cleaning After Raw Chicken Is Non-Negotiable
- Immediate Actions: The First 5 Minutes After Handling Raw Chicken
- Deep Cleaning Your Sink: A Step-by-Step Guide
- Disinfecting Effectively: Killing the Bacteria
- Maintaining a Habitually Clean Sink: Daily & Weekly Routines
- Common Mistakes & How to Avoid Them
- Conclusion: Your Sink, Your Sanctuary of Safety
How to Clean Sink After Raw Chicken
That moment of panic is almost universal. You’ve just finished prepping a beautiful, fresh chicken for dinner, the cutting board is washed, your hands are scrubbed, and then you look at the sink. The very basin that cradled the raw poultry, with its invisible cloud of potentially harmful bacteria like Salmonella and Campylobacter, is still there, seemingly innocent. A quick rinse with water feels insufficient, but what is the right way? You’re not alone in this feeling. The sink is the forgotten epicenter of kitchen cross-contamination, a highway for germs from raw meat to your vegetables, dishes, and sponges. This guide isn’t just about making things look clean; it’s about transforming your sink from a bacterial breeding ground into a truly safe zone. We’ll walk through every step, from the immediate actions after handling raw chicken to a deep, disinfecting clean that gives you genuine peace of mind. Think of this as your friendly, no-nonsense playbook for reclaiming your kitchen’s most used fixture.
Why Proper Sink Cleaning After Raw Chicken Is Non-Negotiable
Before we dive into the “how,” let’s talk about the “why” with the seriousness it deserves. Cleaning your sink after raw chicken isn’t an extra chore; it’s a critical food safety step. The USDA estimates that Salmonella alone causes about 1.35 million infections, 26,500 hospitalizations, and 420 deaths in the United States each year. A significant portion of these cases traces back to improper handling of raw poultry in the home kitchen.
Visual guide about How to Clean Sink After Raw Chicken
Image source: thekitchenix.com
The Invisible Enemy: Pathogens on Raw Poultry
Raw chicken is a known carrier of several harmful bacteria. Salmonella and Campylobacter are the most common culprits, but E. coli and Listeria can also be present. These pathogens are not visible to the naked eye. A chicken that looks and smells fresh can still harbor millions of bacteria on its surface and in its juices. When you place that chicken in your sink, these microscopic invaders hitch a ride on the stainless steel, porcelain, or composite material of your basin.
The Sink: A Cross-Contamination Superhighway
Your kitchen sink is a hub of activity. It’s where you wash produce, rinse dishes, fill pots, and often, hand-wash items. If your sink is contaminated after handling raw chicken, every subsequent use risks spreading those bacteria. A lettuce leaf washed in that same sink can pick up pathogens. A sponge used to wipe the counter can become a loaded weapon of germ transmission. Even the tap handle you turn on and off can become contaminated. This chain reaction is why a clean sink is the foundation of a safe kitchen.
Real-World Consequences: More Than Just a Stomach Ache
Foodborne illness is rarely just a minor inconvenience. Symptoms can range from severe gastrointestinal distress (vomiting, diarrhea, cramps) to fever and dehydration, lasting for days. For vulnerable populations like young children, the elderly, pregnant individuals, and those with compromised immune systems, the outcome can be far more serious, leading to chronic health issues or hospitalization. Proper sink sanitation is a simple, powerful act of prevention that protects everyone in your home.
Immediate Actions: The First 5 Minutes After Handling Raw Chicken
What you do in the first few minutes sets the stage for effective cleaning. Speed and initial containment are key to preventing bacteria from spreading and establishing a stronger foothold.
Visual guide about How to Clean Sink After Raw Chicken
Image source: thekitchenix.com
1. Contain the Juices
If you’ve placed the raw chicken directly in the sink, the first step is to manage any pooled juices. Carefully lift the chicken (using tongs or the original packaging) and transfer it to your cooking vessel or a clean plate. Avoid tipping or splashing. If juices have pooled, do not immediately rinse them down the drain with high-pressure water, as this can aerosolize bacteria. Instead, use paper towels to blot and absorb as much liquid as possible. Dispose of these towels immediately in a lined trash can and wash your hands thoroughly with soap and warm water for at least 20 seconds.
2. Clear the Area
Remove any other items from the sink and the immediate countertop area—clean dishes, utensils, produce, sponges. This creates a clear workspace and prevents these items from becoming contaminated. Place them in a safe, separate location.
3. Pre-Rinse with Hot Water
Before applying any cleaner, give the sink a thorough rinse with the hottest water you can comfortably tolerate (use a glove if needed). Hot water helps to loosen and wash away visible debris, fats, and proteins that can shield bacteria from disinfectants later. This is a physical cleaning step, not a disinfecting one, but it’s an essential precursor.
Deep Cleaning Your Sink: A Step-by-Step Guide
Now for the main event. A proper clean involves two distinct phases: cleaning (removing dirt, grease, and food particles) and disinfecting (killing the bacteria). You cannot effectively disinfect a dirty surface.
Visual guide about How to Clean Sink After Raw Chicken
Image source: thekitchenix.com
Step 1: Choose Your Cleaning Agent
For the cleaning phase, you need something that cuts through grease and food residue.
- Dish Soap & Warm Water: The classic, effective starting point. Use a generous amount of a quality dish soap known for grease-cutting power.
- Baking Soda Paste: For tougher grime or stains, make a paste with baking soda and a small amount of water. It’s a mild abrasive that won’t scratch most sink finishes.
- Vinegar Solution: Equal parts white vinegar and water is excellent for dissolving mineral deposits and leaving a shine, but it’s better for the final rinse than the initial degreasing.
Step 2: Scrub Every Surface Meticulously
Apply your chosen cleaner to a soft sponge or non-scratch scrub brush. Do not use the same sponge you use for dishes. Designate a specific “sink cleaning” sponge or brush. Pay meticulous attention to:
- The Basin: Scrub the bottom and sides in a circular motion.
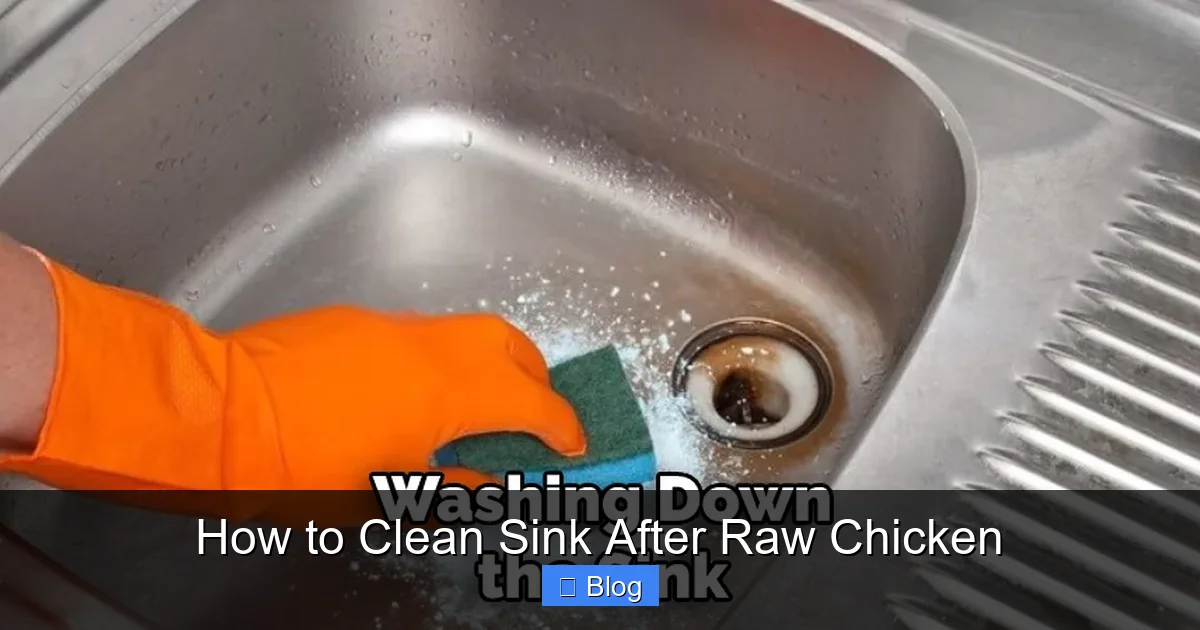
- The Drain & Strainer: Remove the strainer or pop-up drain. Scrub it separately. Use an old toothbrush or a small bottle brush to clean the drain opening and the crevice where the drain meets the sink.
- The Faucet & Handles: These are high-touch areas. Don’t forget the base of the faucet where it meets the sink.
- The Rim & Countertop Lip: The area where the sink meets the countertop is a notorious collection spot for water and gunk. Lift the sink’s rim and clean underneath if possible.
- The Overflow Channel: If your sink has an overflow hole near the top, clean it with a cotton swab or small brush.
Step 3: Rinse Thoroughly
Rinse the entire sink, drain, and all cleaned components with very hot running water. Ensure all traces of soap and loosened debris are washed away. Leftover soap residue can interfere with the disinfectant’s effectiveness.
Disinfecting Effectively: Killing the Bacteria
This is the most crucial step for neutralizing pathogens left by raw chicken. Cleaning removed the visible mess; disinfecting eliminates the invisible threat.
Choosing and Using the Right Disinfectant
Not all household cleaners are disinfectants. You need a product registered with the EPA as a disinfectant, which will have a label claiming it “kills bacteria” or “disinfects.” Common and effective options include:
- Diluted Bleach Solution: The gold standard for kitchen disinfection. Mix 1 tablespoon of unscented regular bleach (5.25-8.25% sodium hypochlorite) with 1 gallon of cool water. For a smaller batch, 1 teaspoon of bleach per quart of water works. Important: Never mix bleach with ammonia or vinegar, as this creates deadly fumes. Always use in a well-ventilated area and wear gloves.
- Hydrogen Peroxide (3%): Effective against a broad spectrum of bacteria and viruses. It can be used straight from the bottle. Let it sit on the surface for at least 1 minute before wiping.
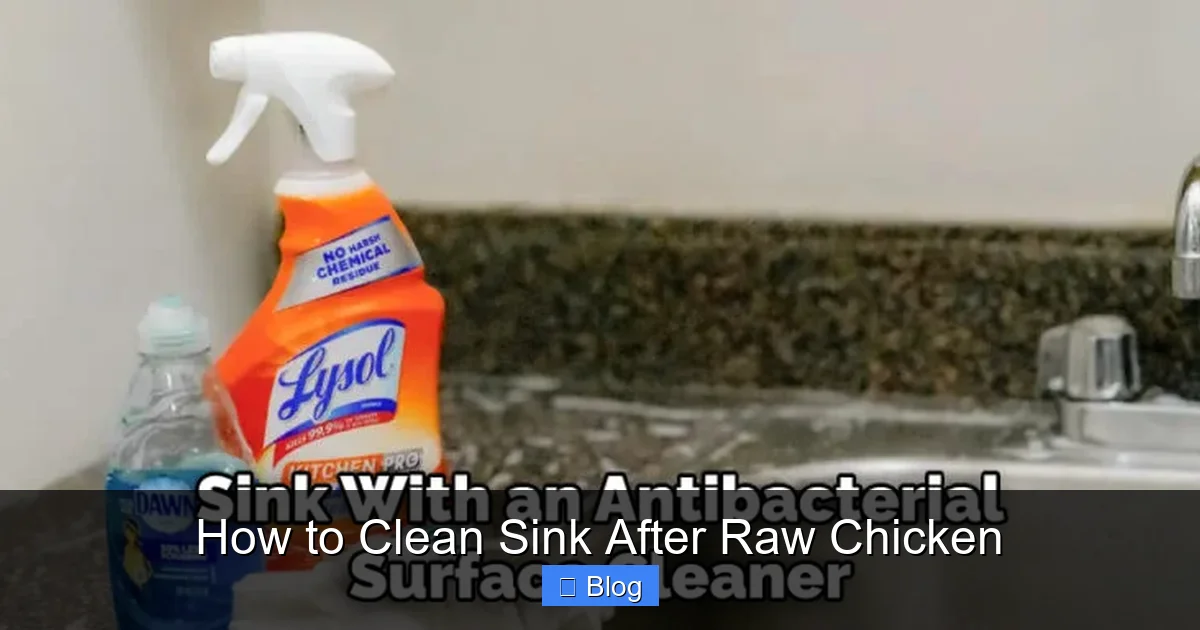
- Commercial Kitchen Disinfectants: Products like Lysol Kitchen Spray or Clorox Clean-Up Cleaner + Bleach are formulated for this purpose. Follow the label instructions precisely, especially regarding “contact time” (how long the surface must stay wet).
The Critical “Wet Time” or Contact Time
This is where most people go wrong. A disinfectant is not a magic spray-and-wipe solution. It must remain visibly wet on the surface for a specific period (usually 3-10 minutes, check your product’s label) to effectively kill bacteria. Spraying and immediately wiping it off renders it largely ineffective. After applying your disinfectant to the entire sink basin, drain, and faucet, walk away and set a timer. Let it sit and do its job.
Data Table: Comparing Common Kitchen Disinfectants
| Disinfectant | Typical Concentration | Required Contact Time | Pros | Cons / Cautions |
|---|---|---|---|---|
| Diluted Bleach | 1 tbsp/gal water | 5 minutes | Highly effective, inexpensive, kills a wide range of pathogens | Can discolor some finishes, strong odor, corrosive, must be mixed correctly |
| Hydrogen Peroxide (3%) | Use full strength | 1 minute | No harsh fumes, breaks down into water and oxygen, safe for most surfaces | Can be more expensive, may require longer contact for some spores |
| Alcohol (70% Isopropyl) | Use full strength | 30 seconds – 1 min | Fast-evaporating, no residue | Flammable, can dry out rubber/plastic seals, not ideal for large surfaces |
| Distilled White Vinegar | Use full strength | Not a registered disinfectant | Natural, deodorizes, good for mineral deposits | Not reliably effective against all bacteria/viruses like Salmonella. Not a true disinfectant for this purpose. |
Final Rinse and Dry
After the full contact time has elapsed, rinse the sink thoroughly with clean water. Then, the often-overlooked final step: dry the sink completely with a clean, dedicated dish towel or microfiber cloth. Bacteria thrive in moisture. A dry sink is an inhospitable environment for microbial growth. This also prevents water spots and keeps your sink looking its best.
Maintaining a Habitually Clean Sink: Daily & Weekly Routines
Cleaning after raw chicken is a specific, intense task. But maintaining a generally hygienic sink through smaller habits makes that big clean easier and more effective.
Daily Maintenance (2 Minutes)
At the end of each day, give your sink a quick refresh.
- Rinse and Wipe: After your last dish is done, rinse the basin with hot water and wipe it down with a soapy sponge or cloth. Rinse again.
- Clean the Faucet: Wipe the faucet and handles with a disinfecting wipe or a cloth sprayed with your diluted disinfectant solution.
- Empty & Clean: Don’t let dishes or dirty rags sit in the sink. Empty the strainer and give it a quick scrub.
- Air Dry: Leave the faucet slightly dripping overnight or wipe the basin dry to prevent stagnant water and film.
Weekly Deep Clean (15 Minutes)
Once a week, perform a more thorough clean even if you haven’t handled raw meat.
- Remove and soak the strainer/drain cover in hot, soapy water or a vinegar solution.
- Scrub the entire sink with baking soda paste or your regular cleaner, focusing on the garbage disposal if you have one (run cold water and ice cubes through it to clean).
- Polish stainless steel sinks with a dedicated stainless steel cleaner or a dab of mineral oil for a streak-free shine.
- Disinfect as described in the previous section, ensuring proper contact time.
Sponge & Tool Hygiene
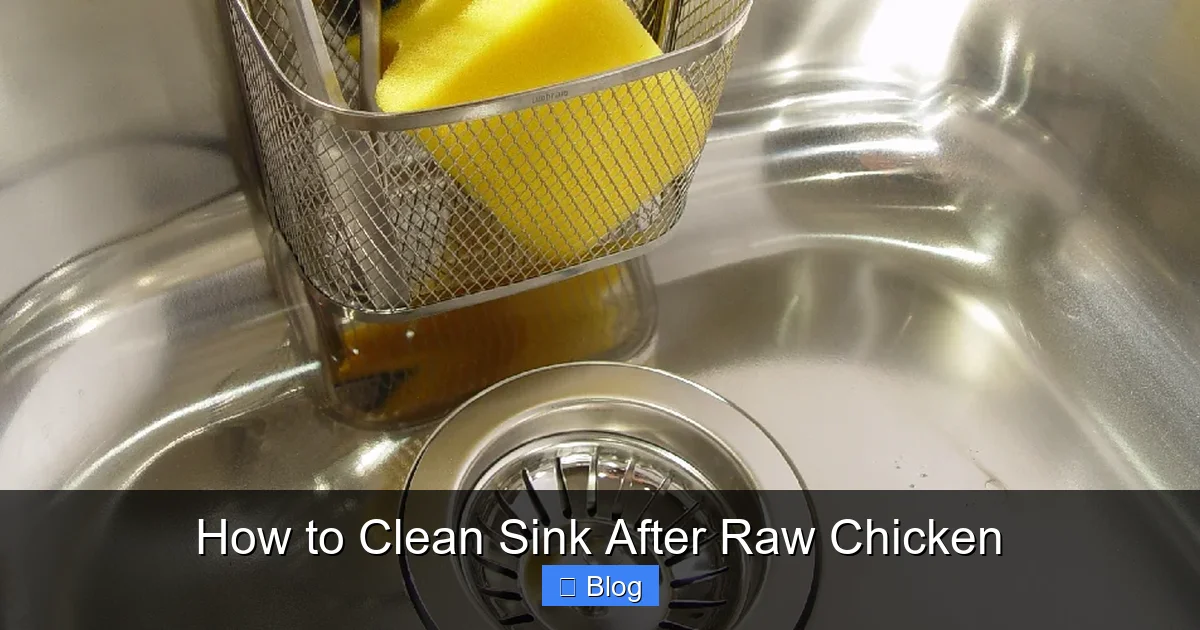
Your cleaning tools can be a source of contamination. Never use your dish sponge to clean the sink after handling raw meat. Designate a separate, color-coded scrub brush or sponge for sink duties only. Sanitize it daily by microwaving a damp sponge for 1-2 minutes (ensure it’s wet and has no metallic elements) or running it through the dishwasher’s heated dry cycle. Replace sponges and brushes regularly.
Common Mistakes & How to Avoid Them
Even with the best intentions, it’s easy to slip up. Here are the most frequent errors and how to sidestep them.
Mistake 1: Relying on Hot Water Alone
The Error: Thinking a blast of hot water is enough to sanitize the sink.
The Reality: Water needs to be at a rolling boil (212°F/100°C) to effectively kill most bacteria, and even then, it requires prolonged contact. Your tap water, even on the hottest setting, is not hot enough to disinfect. It’s a great first step for cleaning, but it does not kill pathogens.
Mistake 2: Using the Same Sponge for Dishes and Sink
The Error: After scrubbing the germ-laden sink, using that same sponge to wash a drinking glass.
The Reality: You are literally transferring bacteria from the sink to your “clean” dishes. This is a classic cross-contamination event. Always use separate, clearly designated tools. Consider keeping your sink-cleaning brush in a holder by the sink and your dish sponge on the opposite side of the kitchen.
Mistake 3: Skipping the Contact Time
The Error: Spraying disinfectant and immediately wiping it dry because the sink looks clean.
The Reality: Disinfectants are not instant. They are chemicals that need time to react with and destroy the cellular structures of bacteria. Wiping too quickly leaves countless survivors. Always read the label and let the product sit wet for the full, recommended time.
Mistake 4: Forgetting the “Hidden” Areas
The Error: Only cleaning the flat bottom of the sink basin.
The Reality: The drain, the overflow hole, the underside of the faucet, and the rim are prime real estate for bacteria. They are often moist and shielded from rinsing. Make it a point to scrub these nooks and crannies with a dedicated small brush or an old toothbrush during every deep clean.
Conclusion: Your Sink, Your Sanctuary of Safety
Cleaning your sink after handling raw chicken might feel like an extra, fussy step in the cooking process, but it is perhaps the most important one for safeguarding your family’s health. It’s a simple ritual that breaks the chain of cross-contamination right at its source. By moving from a mindset of “making it look clean” to one of “making it truly safe,” you empower yourself in the kitchen. You’ve learned that this process has three non-negotiable pillars: immediate containment and pre-rinsing, a meticulous physical clean to remove grime, and a disciplined disinfection with proper contact time. Integrate the daily and weekly maintenance habits, and fiercely guard your cleaning tools from becoming Trojan horses for germs.
Remember that pristine, safe kitchen you envision? It starts right here, in the basin of your sink. The next time you rinse off a piece of chicken, you’ll do so with the confidence that comes from knowing exactly how to leave no trace behind—no visible mess, and certainly no invisible menace. That’s not just cleanliness; that’s culinary peace of mind.
Frequently Asked Questions
What is How To Clean Sink After Raw Chicken?
How To Clean Sink After Raw Chicken is an important topic with many practical applications and benefits.
How can How To Clean Sink After Raw Chicken help me?
Understanding How To Clean Sink After Raw Chicken can improve your knowledge and provide practical solutions.
Pingback: Roast Chicken Breast - kitchenandhouseware.com
Pingback: Baked Crispy Chicken Legs - kitchenandhouseware.com
Pingback: Can You Get Salmonella from Raw Eggs - kitchenandhouseware.com
Pingback: Can You Refreeze Chicken - kitchenandhouseware.com
Pingback: Recipe Fried Chicken Wings No Breading or Flour - kitchenandhouseware.com