Keeping your panini maker clean is simple and essential for great taste. This guide walks you through daily, weekly, and deep‑cleaning routines, tools you need, and common mistakes to avoid. Follow these tips and your machine will stay like new for years.
Key Takeaways
- Understanding How To Clean Panini Maker: Provides essential knowledge
📑 Table of Contents
- Introduction: Why a Clean Panini Maker Matters
- 1. Understanding Your Panini Maker’s Parts
- 2. Daily Maintenance: The 5‑Minute Routine
- 3. Weekly Deep Clean: Giving Your Maker a Full Refresh
- 4. Monthly and Seasonal Checks: Keeping the Machine Healthy
- 5. Common Mistakes and How to Avoid Them
- Conclusion: A Clean Panini Maker Is a Happy Panini Maker
Introduction: Why a Clean Panini Maker Matters
Imagine biting into a golden, crispy panini only to taste a hint of burnt grease from last week’s lunch. Not pleasant, right? A clean panini maker does more than look nice—it keeps flavors pure, prevents fire hazards, and ensures the heating elements work efficiently. Like any kitchen equipment, regular care is the secret to consistent performance.
In this article we’ll break down everything you need to know: daily quick‑clean tricks, weekly deep‑clean steps, tools you should have on hand, and a few pro‑tips that even seasoned chefs overlook. By the end, you’ll feel confident that your panini maker will stay as shiny as the day you bought it.
1. Understanding Your Panini Maker’s Parts
1.1 The Cooking Plates
The heart of the machine is the pair of grill plates. Most models feature a non‑stick coating, but some premium versions use cast iron or ceramic. Knowing the material helps you pick the right cleaning method.
Visual guide about How to Clean Panini Maker
Image source: cookingindoor.com
1.2 Drip Tray and Grease Channel
Heat melts butter and oil, which drips into a tray or channel beneath the plates. If left unchecked, this can cause smoke or even a small fire.
1.3 Control Panel and Exterior
Buttons, dials, and the outer shell are usually stainless steel or plastic. They need a gentle wipe; water shouldn’t seep into the electrical compartment.
2. Daily Maintenance: The 5‑Minute Routine
2.1 Let It Cool (But Not Too Long)
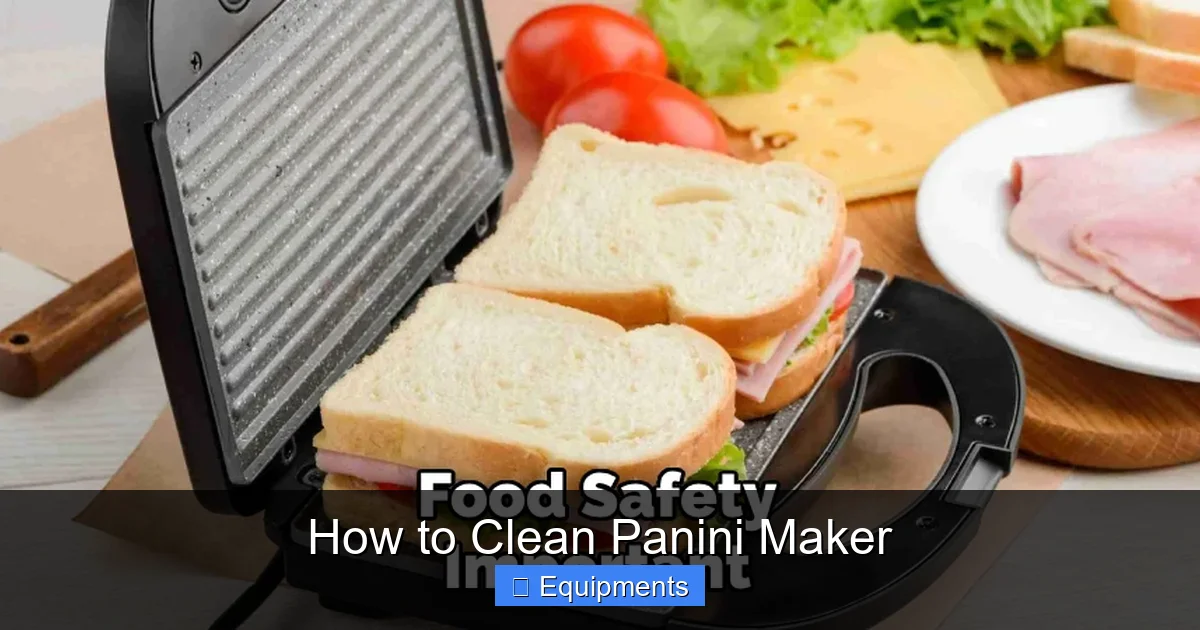
After you finish cooking, turn off the machine and unplug it. Wait about 5‑10 minutes—just enough for the plates to become warm, not scorching. Warm surfaces release stuck crumbs more easily.
Visual guide about How to Clean Panini Maker
Image source: thekitchenix.com
2.2 Wipe the Plates
- Grab a soft, damp cloth or a non‑abrasive sponge.
- For stubborn bits, dip the cloth in a mixture of warm water and a few drops of mild dish soap.
- Gently rub in a circular motion; avoid scraping.
2.3 Clean the Drip Tray
Slide out the tray (if removable) and dump the liquid into the sink. Rinse with warm water and dry with a paper towel. If your model has a fixed tray, use a damp cloth to soak up the excess.
2.4 Exterior Quick Wipe
Use a dry microfiber cloth to remove fingerprints and splatters. For stainless steel, a little vinegar on the cloth adds shine without harsh chemicals.
2.5 Store Properly
Leave the lid slightly ajar or place a paper towel between the plates to let air circulate. This prevents moisture buildup and mold.
3. Weekly Deep Clean: Giving Your Maker a Full Refresh
3.1 Gather Your Tools
Before you start, have these items ready:
Visual guide about How to Clean Panini Maker
Image source: thekitchenix.com
- Soft silicone spatula or wooden scraper
- Non‑abrasive sponge
- Mild dish soap
- Baking soda
- White vinegar
- Microfiber cleaning cloths
3.2 Remove and Soak Removable Parts
Take out the drip tray, any crumb collector, and the plates if your model allows it. Soak them in warm, soapy water for 10‑15 minutes. This loosens grease and dried food.
3.3 Scrape Gently
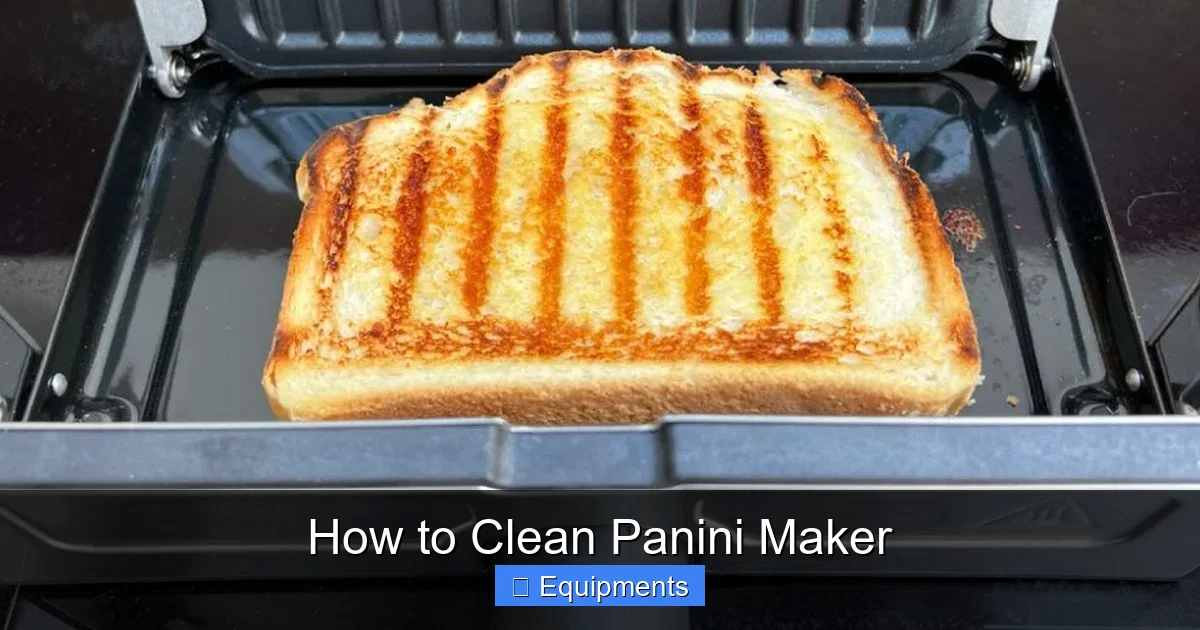
Using the silicone spatula, lift away any remaining crumbs or caramelized bits. Work from the edges toward the center to avoid pushing debris deeper.
3.4 Baking Soda Paste for Stubborn Stains
Mix 2 parts baking soda with 1 part water to form a thick paste. Apply to any stubborn spots on the plates, let sit for 5 minutes, then wipe clean with a damp sponge. Baking soda is mildly abrasive—safe for non‑stick surfaces but never use steel wool.
3.5 Rinse and Dry
Rinse the plates and tray thoroughly to remove any soap residue. Pat dry with a clean towel. Moisture left on the plates can cause rust on metal models.
3.6 Clean the Exterior and Control Panel
Dip a cloth in a solution of equal parts water and white vinegar. Wring out well, then wipe the outer shell and buttons. Vinegar cuts grease and leaves a streak‑free shine.
3.7 Reassemble
Once everything is completely dry, put the plates and tray back in place. Plug the unit back in, run it on a low setting for a minute to evaporate any remaining moisture, then you’re ready to cook.
4. Monthly and Seasonal Checks: Keeping the Machine Healthy
4.1 Inspect the Power Cord
Look for fraying, exposed wires, or bent plugs. If you notice any damage, stop using the maker and replace the cord or contact the manufacturer.
4.2 Examine Hinges and Latches
Open and close the lid several times. If it feels loose or squeaky, apply a drop of food‑grade silicone grease to the hinge pivot points.
4.3 Test the Heating Elements
Turn the machine on to its highest setting for 2‑3 minutes. Feel (carefully) the plates—both should be evenly hot. Uneven heating may indicate a faulty element that needs professional service.
4.4 Descale If You Live in Hard‑Water Areas
Mineral deposits can build up on the plates over time, especially if you use water in recipes. Wipe the plates with a cloth dampened with a 1:1 water‑vinegar solution, then rinse with a clean damp cloth.
4.5 Update Your Manual
Check the manufacturer’s website for firmware updates (if your model is “smart”) or for new cleaning recommendations. Keeping the manual handy saves time when troubleshooting.
5. Common Mistakes and How to Avoid Them
5.1 Using Abrasive Cleaners
Scouring pads, steel wool, and harsh chemicals can strip the non‑stick coating, turning your plates into a sticky nightmare. Stick to soft sponges and mild soaps.
5.2 Submerging the Whole Unit
Never dunk the entire panini maker in water. Even a small amount of moisture can seep into the electrical components and cause a short circuit.
5.3 Ignoring the Drip Tray
Overflowing grease leads to smoke and unpleasant odors. Empty the tray after every use and give it a quick wash weekly.
5.4 Skipping the Drying Step
Water left on metal plates encourages rust. Always dry thoroughly before storing.
5.5 Over‑loading the Plates
Stacking too many sandwiches at once forces you to scrub harder later. Cook in batches; it preserves the coating and reduces cleaning time.
Conclusion: A Clean Panini Maker Is a Happy Panini Maker
Cleaning your panini maker doesn’t have to be a chore. With a five‑minute daily routine, a weekly deep‑clean session, and occasional seasonal checks, you’ll keep the machine performing at its best and enjoy flawless sandwiches every time. Remember, the right tools, gentle products, and a little consistency are all you need. Treat your panini maker with care, and it will reward you with perfectly toasted, flavorful paninis for years to come.
Frequently Asked Questions
How often should I clean the cooking plates?
Wipe them after every use (5‑minute daily routine) and give them a thorough scrub once a week.
Can I use a dishwasher to clean removable plates?
Only if the manufacturer explicitly states they are dishwasher‑safe. Most non‑stick plates are better hand‑washed to preserve the coating.
What if food gets stuck to the plates and won’t come off?
Warm the plates on low heat, then gently scrape with a silicone spatula. A baking‑soda paste can help dissolve stubborn residue.
Is it safe to use vinegar on a cast‑iron panini plate?
Yes, but rinse thoroughly afterward. Vinegar removes mineral buildup without harming seasoned cast iron.
My panini maker smells burnt after cleaning—what’s wrong?
Residue may have burned onto the heating element. Perform a deep clean, ensure the drip tray is empty, and run the unit on low heat for a minute after cleaning.
How can I prevent rust on metal plates?
Dry the plates completely after each cleaning, store the maker in a dry environment, and avoid leaving water on the surface for extended periods.

Pingback: Automatic Tortilla Maker - kitchenandhouseware.com