Keeping your Jura E6 spotless is easier than you think. Follow this friendly guide to master daily rinses, deep cleans, and descaling, ensuring consistent flavor and a longer machine life. Simple tools, clear steps, and pro tips—your espresso will thank you.
Key Takeaways
- Daily care matters: A quick rinse and wipe after each use prevents buildup.
- Use Jura‑approved products: Certified cleaning tablets and descaling solutions protect internal parts.
- Follow the program cycles: The machine’s automatic cleaning and descaling programs do the heavy lifting.
- Don’t forget the grinder: Cleaning the grinder burrs removes oily coffee residues that affect taste.
- Regular descaling: Every 2–3 months, or when the indicator lights up, run a descaling cycle.
- Inspect water filters: Replace them every 2 months to keep water purity high.
- Keep the exterior pristine: A soft, damp cloth and mild soap keep the chassis looking new.
📑 Table of Contents
- Introduction: Why Cleaning Your Jura E6 Is a Game Changer
- 1. Daily Maintenance – The Quick‑Fix Routine
- 2. Weekly Deep Clean – Going Beyond the Basics
- 3. Monthly Descaling – Fighting Hard Water
- 4. Seasonal Deep Dive – Full Disassembly (Optional)
- 5. Tips & Tricks for a Spotless Jura E6
- Conclusion: A Clean Jura E6 Is a Happy Jura E6
Introduction: Why Cleaning Your Jura E6 Is a Game Changer
If you love a smooth, velvety espresso, the secret isn’t just in the beans—it’s in the machine. The Jura E6 is a sleek, fully automatic espresso maker that delivers barista‑level drinks at the push of a button. But like any high‑performance gadget, it needs regular TLC.
Neglecting the cleaning routine can lead to bitter flavors, clogged grinders, and costly repairs. The good news? Cleaning a Jura E6 is straightforward, and you don’t need a PhD in engineering. This guide walks you through daily, weekly, and monthly tasks, using only the tools the manufacturer recommends. By the end, you’ll know exactly how to keep your E6 humming and your coffee tasting fresh.
1. Daily Maintenance – The Quick‑Fix Routine
Think of daily maintenance as brushing your teeth. A few minutes each day prevents bigger problems later.
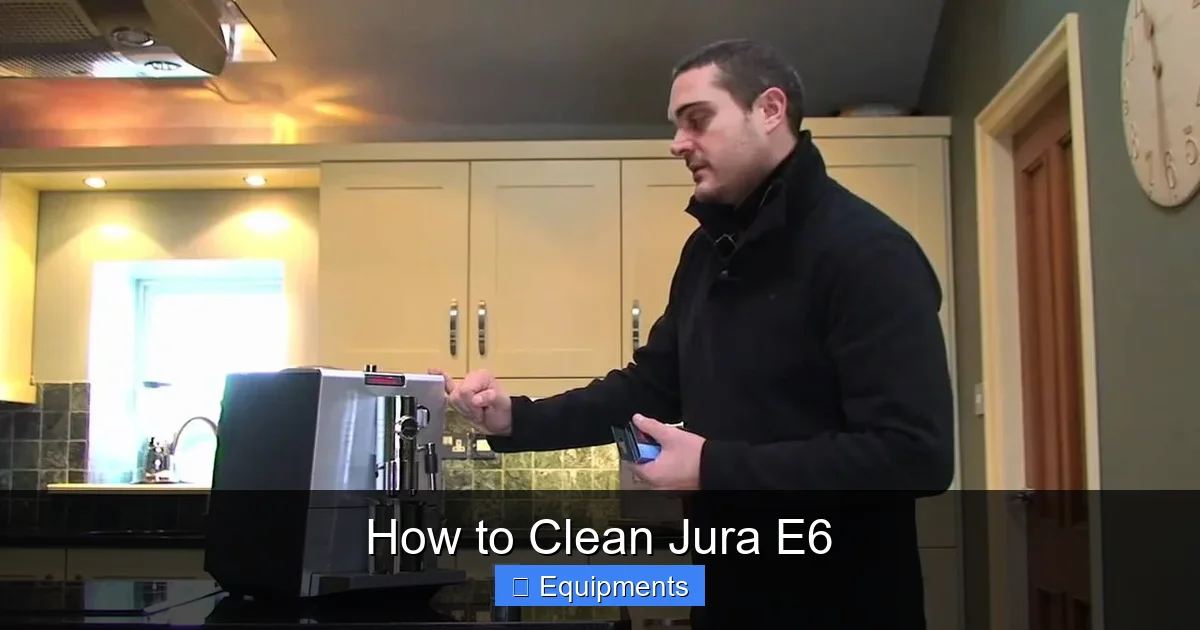
Visual guide about How to Clean Jura E6
Image source: cleanestor.com
1.1 Rinse the Brewing Unit
After each brewing cycle, the machine automatically rinses the brewing unit. Still, it’s wise to run an extra rinse if you’ve used oily beans or milk frothing.
- Press the “Rinse” button on the control panel.
- Allow the water to flow through the group head for about 30 seconds.
- Wipe any splatter with a soft, damp cloth.
1.2 Clean the Milk Frother
If you enjoy cappuccinos or lattes, the milk system needs attention every day.
- Detach the milk pipe and rinse it under warm water.
- Run the “Milk Clean” program (found in the menu).
- Wipe the frothing nozzle with a clean, damp cloth.
1.3 Empty the Drip Tray and Coffee Grounds Container
Spilled grounds and water can create mold if left too long.
- Pull out the drip tray, discard any liquid, and rinse.
- Remove the grounds container, tap out old grounds, and give it a quick rinse.
1.4 Wipe the Exterior
A microfiber cloth lightly dampened with warm water (no harsh chemicals) keeps the stainless steel looking showroom‑ready.
2. Weekly Deep Clean – Going Beyond the Basics
Once a week, give the Jura E6 a more thorough cleaning. This step targets coffee oils that accumulate on the grinder and brewing unit.
Visual guide about How to Clean Jura E6
Image source: kitchendimes.com
2.1 Clean the Grinder
The grinder is the heart of flavor. Coffee oils can coat the burrs, leading to stale taste.
- Turn off the machine and unplug it.
- Remove the bean hopper.
- Using the Jura cleaning brush (or a small soft brush), gently sweep away loose grounds from the burrs.
- For a deeper clean, run a grinder cleaning tablet (Jura® Grinder Cleaner). Follow the tablet’s instructions—usually, you place the tablet in the hopper and start a short grind cycle.
2.2 Run the Automatic Cleaning Program
The E6 has a built‑in cleaning cycle that uses Jura cleaning tablets.
- Open the service menu (press “Menu” → “Service” → “Cleaning”).
- Insert a Jura cleaning tablet into the designated slot.
- Select “Start” and let the machine complete the cycle (about 15 minutes).
- When finished, discard the used tablet and rinse the water tank.
2.3 Clean the Water Tank and Filter
Even if you use filtered tap water, mineral deposits can build up.
- Remove the water tank, empty it, and rinse with warm water.
- If you use a Jura water filter, replace it every 2 months or when the indicator flashes.
- Wipe the inside of the tank with a soft cloth; avoid abrasive pads.
2.4 Check the Brew Group Seal
The seal ensures proper pressure. Over time, it can collect coffee residue.
- Open the brew group (refer to the user manual for the release lever).
- Inspect the rubber seal; if it looks dirty, gently clean it with a damp cloth.
- Re‑insert the brew group and run a short rinse cycle.
3. Monthly Descaling – Fighting Hard Water
Hard water leaves calcium deposits that impair heating and pressure. Descaling restores performance and protects the machine.
Visual guide about How to Clean Jura E6
Image source: nomarsupply.com
3.1 When to Descale
The Jura E6 has a descaling indicator that lights up after a set number of brewing cycles (usually 200). Even if the light isn’t on, schedule a descaling every 2–3 months.
3.2 Preparing the Descaling Solution
Always use a Jura‑approved descaling solution. Mixing your own can damage the internal pump.
- Fill the water tank with the recommended amount of descaling solution (typically 500 ml).
- Add fresh water to the tank up to the max line.
3.3 Running the Descaling Program
- Navigate to “Menu → Service → Descaling”.
- Select “Start” and confirm the instruction to place a container under the coffee spout.
- The machine will pump the solution through the brew group, heating element, and steam wand.
- When the cycle ends, the machine will prompt you to rinse.
3.4 Rinsing After Descaling
Rinsing removes any remaining acid that could affect taste.
- Empty the water tank, rinse it thoroughly, and fill with fresh water.
- Run the “Rinse” program twice.
- Wipe the steam wand and brew group with a clean cloth.
3.5 Resetting the Descale Counter
After a successful descaling, the machine usually resets automatically. If not, go to “Menu → Service → Reset Descale Counter”.
4. Seasonal Deep Dive – Full Disassembly (Optional)
For owners who want to extend the life of their Jura E6 beyond the warranty, an annual full disassembly can be worthwhile. This is an advanced step and should only be attempted if you’re comfortable with small parts.
4.1 Gather the Right Tools
- Jura service key (or a small Torx screwdriver, size T10).
- Soft brush set.
- Jura cleaning tablets and descaling solution.
- Microfiber cleaning cloths.
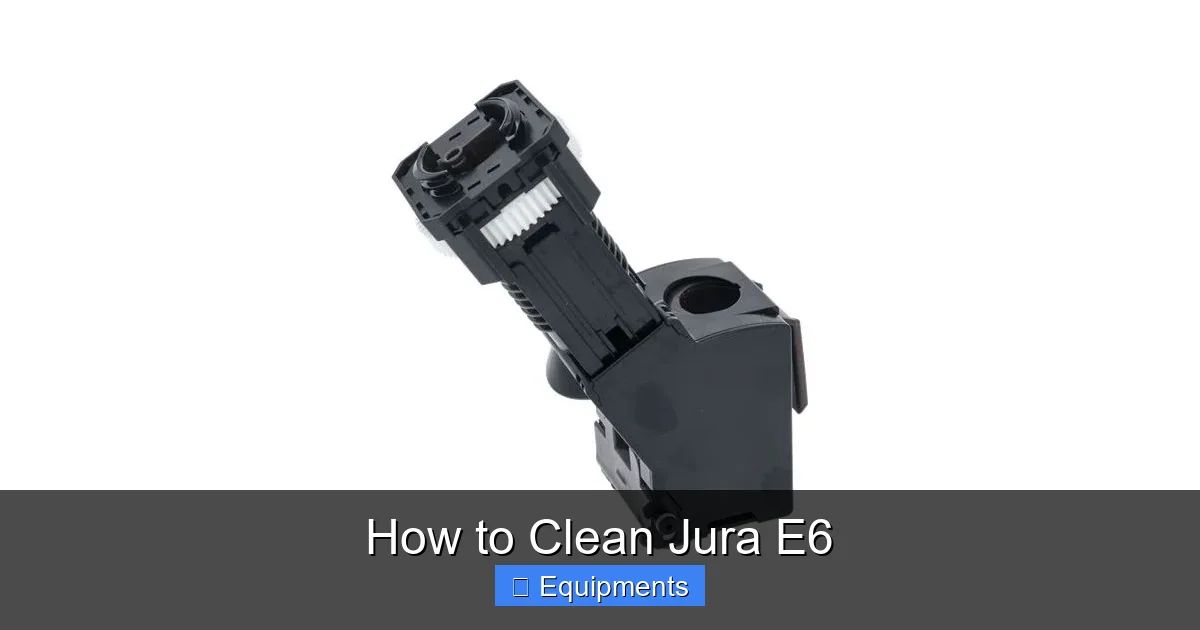
4.2 Disassemble the Brew Group
- Turn off and unplug the machine.
- Open the service door and release the brew group lever.
- Lift the brew group out and place it on a clean surface.
- Remove the rubber seal and wash it in warm, soapy water. Rinse well.
- Inspect the internal screens; clean with a brush if clogged.
4.3 Clean the Internal Pipes
Using a thin brush, gently scrub the water lines that connect the tank to the heating element. Be careful not to bend the tubing.
4.4 Reassemble and Test
- Re‑insert the brew group, ensuring the seal sits correctly.
- Close the service door, plug the machine back in, and run a short brew cycle.
- Check for leaks or unusual noises.
4.5 When to Call a Professional
If you notice persistent leaks, strange smells, or error codes after reassembly, contact an authorized Jura service center. Attempting further repairs yourself could void the warranty.
5. Tips & Tricks for a Spotless Jura E6
Even with a solid cleaning schedule, a few extra habits can keep your machine in top shape.
5.1 Use Fresh, High‑Quality Beans
Fresh beans produce less oil, reducing the amount of residue that ends up on the grinder and brew group.
5.2 Store Beans Properly
Airtight containers keep beans dry and aromatic, which means fewer particles get into the machine.
5.3 Keep a Cleaning Log
Write down the date of each cleaning, descaling, and filter change. This helps you stay on schedule and provides a record if service is needed.
5.4 Choose the Right Water
If your tap water is very hard, consider using filtered or bottled water. This reduces scaling and prolongs the life of the heating element.
5.5 Avoid Overfilling the Water Tank
Spills can leak into the electronic compartment, causing errors. Fill only to the indicated max line.
Conclusion: A Clean Jura E6 Is a Happy Jura E6
Cleaning your Jura E6 doesn’t have to be a chore. By following the daily rinse, weekly deep clean, and monthly descaling schedule, you’ll enjoy consistently delicious espresso and avoid costly repairs. Remember to use Jura‑approved cleaning products, replace water filters regularly, and keep a simple log of your maintenance tasks. With a little routine care, your E6 will stay as sleek and reliable as the day you bought it—delivering café‑quality drinks for years to come.
Frequently Asked Questions
How often should I run the automatic cleaning program on my Jura E6?
The automatic cleaning program should be run after every 200 cups, or roughly once a week for light users. If you notice a change in taste, run it sooner.
Can I use any descaling solution instead of Jura’s?
It’s best to stick with Jura‑approved descaling solutions. Other acids can damage the pump and may void the warranty.
What does the “Water Filter Replacement” light mean?
The light indicates that the built‑in water filter has reached its capacity. Replace it every 2 months or after 150 liters of water, whichever comes first.
My coffee tastes bitter after cleaning—what went wrong?
Bitter taste often means residue from cleaning tablets wasn’t fully rinsed. Run two additional rinse cycles and make sure the water tank is filled with fresh water.
Is it safe to clean the milk frother with vinegar?
No. Vinegar can damage the internal seals. Use the Jura milk cleaning tablets or a mild detergent followed by a thorough rinse.
My Jura E6 shows an error code after descaling—how can I fix it?
Turn the machine off, unplug it for a minute, then plug it back in and restart. If the error persists, consult the user manual’s troubleshooting section or contact Jura support.
