Calcium and mineral deposits, known as limescale, silently clog your coffee maker’s internal pipes and heating element, reducing efficiency and ruining coffee taste. Regular descaling every 1-3 months is non-negotiable for machine longevity and brew quality. You can effectively clean using white vinegar, citric acid, or a commercial descaler, followed by thorough rinsing. Always consult your manual, unplug the machine, and ensure proper ventilation. The simplest prevention is using filtered water and drying components after use.
Key Takeaways
- Limescale is more than a nuisance: It insulates heating elements, strains the pump, and harbors bacteria, directly impacting machine lifespan and coffee flavor.
- Frequency depends on your water: Use hard water? Descale monthly. Soft water? Every 2-3 months. Pod machines need it less often but still require it.
- Vinegar is effective but pungent: White distilled vinegar is a cheap, powerful descaler but requires multiple rinse cycles to eliminate the odor and taste.
- Citric acid is the neutral alternative: It descales efficiently without strong smells or potential rubber degradation, making it ideal for frequent maintenance.
- Commercial descalers are formulated for your machine: Products like Urnex Dezcal or Durgol are safe for all materials and often require only one cycle, but cost more.
- Rinsing is not optional: Incomplete rinsing leaves chemical residues that will taint your next pot. Run at least 2-4 full water cycles after any descaling solution.
- Prevention is the best strategy: Use filtered or bottled water, empty and dry the reservoir and carafe daily, and run a weekly hot water rinse to minimize scale formation.
📑 Table of Contents
- The Silent Invader: Understanding Calcium Buildup in Your Coffee Maker
- Why Regular Descaling Isn’t Optional—It’s Essential
- Getting Ready: Tools, Safety, and Initial Steps
- The Cleaning Arsenal: Effective Methods Compared and Applied
- The Final Countdown: Rinsing, Reassembly, and the First Brew
- Proactive Protection: Preventing Future Calcium Buildup
The Silent Invader: Understanding Calcium Buildup in Your Coffee Maker
You wake up, stumble to your kitchen, and press the button on your trusty coffee maker. That familiar gurgle and drip should signal the start of a perfect morning. But lately, the brew has been tasting flat, bitter, or just “off.” The machine seems slower, maybe even making strange noises. Before you blame the beans or your own sleep-deprived palate, consider the invisible enemy living inside your coffee maker: limescale.
Limescale is the chalky, white (or sometimes brownish) crust you might see on your showerhead or inside your kettle. It’s not dirt or grime; it’s a mineral deposit, primarily calcium carbonate, left behind when hard water—water rich with dissolved calcium and magnesium—is heated. Every time your coffee maker heats water to brew, that water evaporates and leaves behind concentrated minerals. Over weeks and months, these minerals accumulate in the narrow tubes, the heating chamber, the showerhead, and the spray arm. It’s a slow, relentless process, like a plumbing clog formed drop by drop.
This buildup acts as an insulator. A layer of scale on the heating element means it takes longer to heat the water, wasting energy and putting extra strain on the machine. It narrows the water pathways, forcing the pump to work harder, which can lead to premature failure. Most noticeably for us coffee lovers, it imparts a metallic, bitter, or dusty taste to your coffee and can even trap old coffee oils, creating rancid flavors. Cleaning this calcium buildup isn’t just about taste; it’s a critical maintenance task to protect your investment and ensure your daily cup is as it should be.
Why Regular Descaling Isn’t Optional—It’s Essential
Think of descaling—the process of removing mineral deposits—as a spa day for your coffee maker. It’s not a one-time fix for a broken machine; it’s routine healthcare. Skipping it is like never changing the oil in your car. The consequences are gradual but inevitable.
Visual guide about How to Clean Calcium Buildup in Coffee Maker
Image source: thekitchenix.com
The Domino Effect of Scale
First, efficiency plummets. A heating element coated with even a millimeter of scale can require up to 25% more energy to reach the same temperature. Your “fast brew” becomes a “slow drip.” Second, the pump, which is designed to push water through tiny, clear openings, now has to force water through narrowed, rough-surfaced channels. This increases wear and tear, shortening the pump’s life dramatically. Third, and most immediate, is the taste degradation. The minerals themselves can leach into your brew, but more importantly, scale traps coffee residues and oils that should have been rinsed away. These go rancid over time, creating a sour, unpleasant background note no amount of fresh beans can fix.
How Often is “Regular”?
There’s no universal answer because it depends entirely on your water hardness and how often you use the machine. A simple test: look at your showerhead or faucet aerators. If they get crusty quickly, your coffee maker is under constant attack. As a general rule of thumb:
- Hard Water Areas (High Mineral Content): Descaling every 1-2 months is a safe bet.
- Average Water: Aim for a thorough descaling every 2-3 months.
- Soft Water / Filtered Water Users: You can stretch it to every 3-6 months, but still don’t ignore it.
- Usage Frequency: A machine used twice daily will need descaling more often than one used once a week.
Many modern machines have a descaling indicator light. Heed it. If yours doesn’t, set a calendar reminder based on the guidelines above. Proactive maintenance is always easier than fixing a broken machine.
Getting Ready: Tools, Safety, and Initial Steps
Before you pour anything into your coffee maker, a little preparation goes a long way. This step ensures the process is safe, effective, and mess-free.
Visual guide about How to Clean Calcium Buildup in Coffee Maker
Image source: thekitchenix.com
Consult the Manual (Yes, Really)
Your first and most important step is to find your coffee maker’s user manual. Some manufacturers, especially for high-end espresso machines or pod systems like Keurig, have specific recommendations or warnings. Some may advise against vinegar due to its potential to degrade certain seals or gaskets over long periods. They may also have a proprietary descaling solution they recommend. Ignoring this could void your warranty. If you’ve lost the manual, a quick search for your model number online will usually bring up a PDF.
Gather Your Supplies
You have three primary cleaning agent options. Choose one:
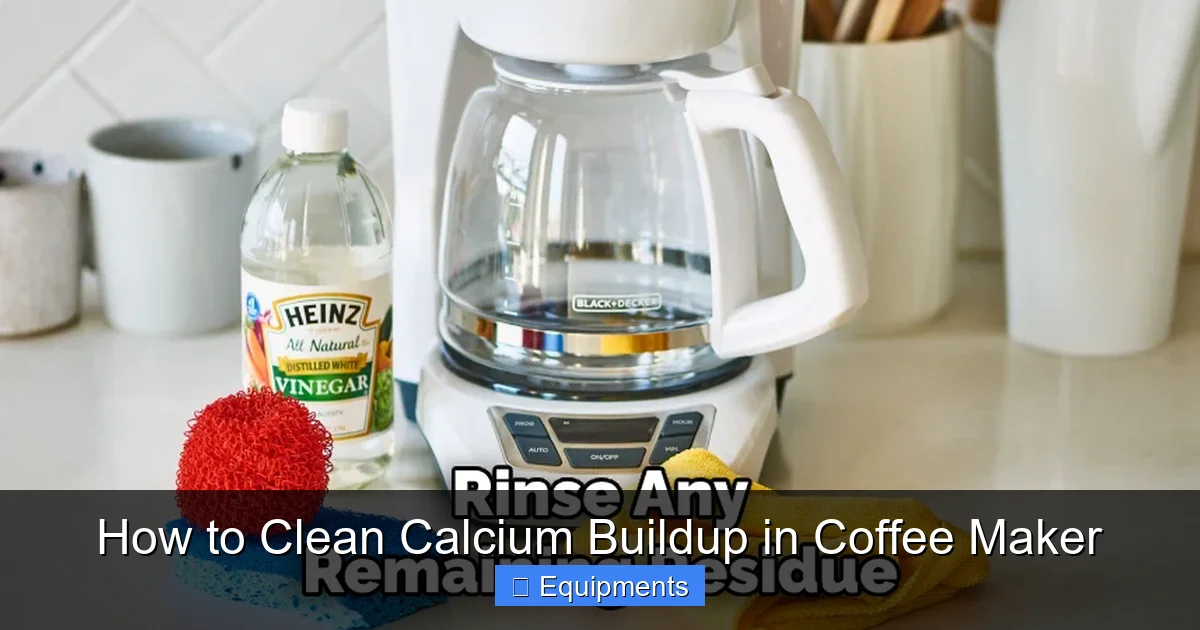
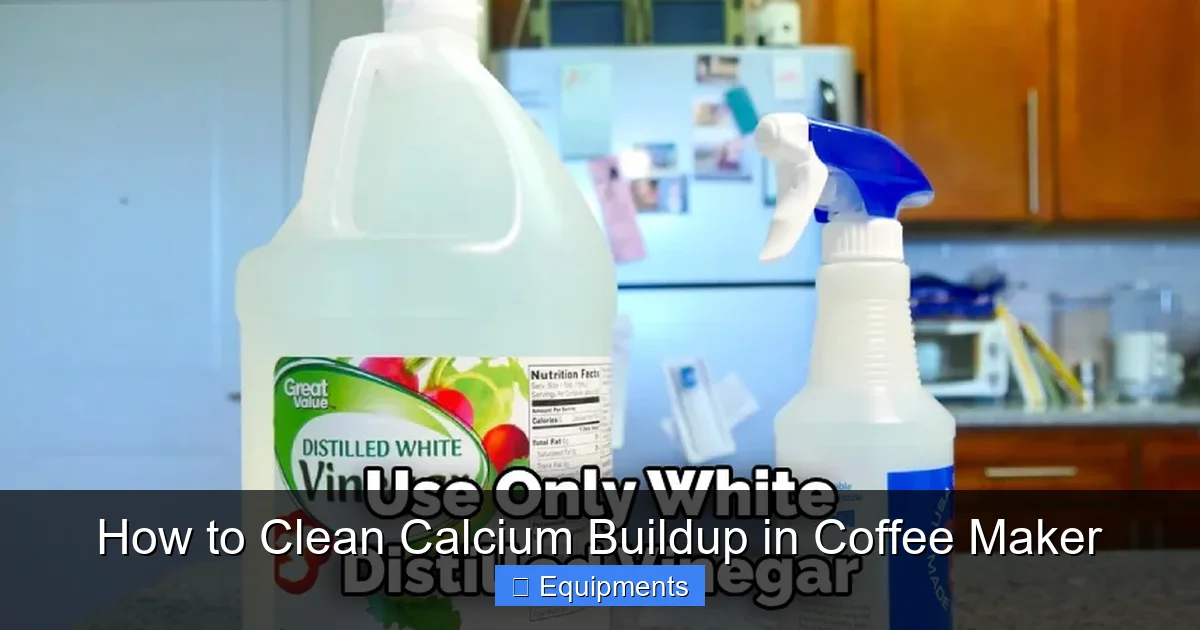
- White Distilled Vinegar: The classic, budget-friendly choice. It’s acidic (acetic acid) and dissolves calcium carbonate effectively. The downside is the strong odor that can linger if not rinsed thoroughly.
- Citric Acid Powder: A natural, odorless acid found in citrus fruits. It’s highly effective, less pungent than vinegar, and generally gentler on machine components. You can buy it in bulk online or in the canning aisle of grocery stores.
- Commercial Descaler: Products like Urnex Dezcal, Durgol Swiss Espresso Decalcifier, or Full Circle. These are specifically formulated for coffee equipment, often using sulfamic or other acids that are effective yet safe for seals and metals. They usually require less contact time and rinse out cleanly, but they cost more.
You’ll also need:
- A clean cloth or sponge
- An old toothbrush or small, soft-bristled brush for scrubbing crevices
- A container (like a measuring cup) to mix your solution
- Fresh, clean water for rinsing (ideally filtered)
Safety First: Unplug and Ventilate
Always unplug your coffee maker from the electrical outlet before beginning any cleaning. This seems obvious, but it’s a critical safety step. Also, if you’re using vinegar, open a window or turn on your kitchen vent. The fumes can be strong, and you want good airflow during the process. Remove any remaining coffee grounds and filters. Empty the carafe and drip tray. Give the machine a quick wipe-down with a damp cloth to remove surface dust and loose debris.
The Cleaning Arsenal: Effective Methods Compared and Applied
Now for the main event. The core process is similar regardless of your chosen cleaner: run a solution through the machine’s internal system, let it sit to work its magic, then flush it with clean water. Let’s break down each method.
Visual guide about How to Clean Calcium Buildup in Coffee Maker
Image source: thekitchenix.com
Method 1: The White Vinegar Approach
This is the most common DIY method. You’re essentially running a “vinegar coffee” through the entire system.
Step-by-Step:
- Mix the Solution: Fill the reservoir with equal parts white distilled vinegar and cool water. For a 12-cup reservoir, that’s 6 cups vinegar and 6 cups water. For lighter buildup, you can use a 1:3 ratio (vinegar:water).
- Run a Half-Cycle: Start a normal brew cycle but turn the machine off or pause it once about half the solution has brewed into the carafe. This lets the hot solution soak in the heating chamber and upper pathways, maximizing its contact time. Let it sit for 30-60 minutes. For severe buildup, you can let it sit for up to 2 hours.
- Complete the Cycle: Turn the machine back on and let it finish brewing the rest of the vinegar solution.
- Discard and Rinse: Empty the carafe. Now, the most important part: rinsing. Fill the reservoir with fresh, cold water. Run a full brew cycle. Repeat this rinse cycle 2-3 times. You may need to do 4 or 5 cycles if you still smell vinegar. Taste a bit of the final rinse water; it should be completely neutral.
Pro Tip: While the vinegar solution is sitting, you can also soak the removable parts—the carafe, filter basket, and water reservoir—in a sink with warm, soapy vinegar water. Use your toothbrush to scrub away any visible scale on the showerhead or spray arm openings.
Method 2: The Citric Acid Solution
Citric acid is a powerhouse cleaner without the vinegar smell. It’s my personal favorite for routine maintenance.
Step-by-Step:
- Mix the Solution: Dissolve 1-2 tablespoons of citric acid powder in a cup of warm water. Stir until completely dissolved. Pour this mixture into the reservoir, then fill the rest of the reservoir with cool water to your usual brew level.
- Run a Full Cycle: Start a normal brew cycle and let it run completely. The solution will pass through the entire system.
- Let it Sit (Optional but Helpful): After the cycle finishes, leave the solution in the carafe and reservoir for 15-30 minutes to continue working on any remaining deposits.
- Rinse Thoroughly: Discard the solution. Run 2-3 full cycles with fresh, cold water to rinse. Citric acid rinses out very cleanly, so you’ll likely need fewer rinse cycles than with vinegar.
Pro Tip: Citric acid is also fantastic for cleaning the glass carafe. Make a paste with a little citric acid and water, scrub the inside, and rinse. It removes cloudy film effortlessly.
Method 3: Using a Commercial Descaler
When in doubt, follow the package. These products are engineered for the job.
General Steps (Always Read Label!):
- Dilute: Mix the descaler with water according to the manufacturer’s instructions. The ratio is usually pre-measured for a specific reservoir size.
- Run the Cycle: Pour the solution into the reservoir and run a full brew cycle. Some products require you to let the solution sit in the machine for a set time (e.g., 15-30 minutes) before running the cycle, or even to pause the cycle halfway. Follow the directions precisely.
- Rinse: Most commercial descalers are designed to rinse cleanly. You’ll typically still need to run 1-2 full water cycles to flush any residual cleaner.
Why Choose Commercial? They are often the safest bet for complex machines (like super-automatic espresso makers with sensitive tubing and boilers) and are guaranteed not to harm seals. They are also odorless and tasteless, eliminating the risk of lingering aftertastes.
The Final Countdown: Rinsing, Reassembly, and the First Brew
You’ve run your chosen solution through the machine. The hard work is done, but the final steps are crucial. Skipping proper rinsing is the most common mistake and will leave you with a machine that tastes like vinegar, chemicals, or just… wrong.
The Rinse Cycle Ritual
Regardless of your cleaning agent, you must flush the system completely. Fill the reservoir with fresh, cold, filtered water if you have it. Run a full brew cycle. Listen—does the water sound like it’s flowing freely? That’s a good sign the pathways are clear. After the cycle, empty the carafe. Repeat. Do this until you are absolutely certain the water coming out tastes and smells like… nothing. For vinegar users, this might mean 4-5 cycles. For citric acid and commercial descaler users, 2-3 is often sufficient, but an extra cycle never hurts.
Critical Check: After your final rinse cycle, smell the steam wand (on espresso machines) or the area where hot water exits (on drip machines). It should have no odor. If it does, run another rinse cycle.
Reassembly and the Debut Brew
Now, reassemble your clean machine. Wipe down the exterior, the carafe, and the filter basket with a clean, dry cloth. Make sure the water reservoir is completely dry before you fill it with fresh water for brewing. Put in a fresh filter.
Now, the moment of truth. Brew a pot of coffee with your favorite grounds, but do not drink the first full carafe. Consider it a final system flush. Discard it. Then, brew your second pot. This should be your first true taste of the results. You should notice immediately clearer, brighter flavors. Acidity will be more defined, sweetness more apparent, and any bitter, metallic, or dusty aftertaste should be gone. The machine may also run quieter and faster.
Proactive Protection: Preventing Future Calcium Buildup
Cleaning is remediation. Prevention is the smarter, easier long-term strategy. By adopting a few simple habits, you can dramatically extend the time between deep cleanings and protect your machine.
Water, Water, Everywhere—Make It Count
The single biggest factor is your water source. If you have hard tap water, you are in a constant battle against scale. The solution? Use filtered water for your coffee maker. A simple pitcher filter (like Brita) or an under-sink system removes a significant percentage of calcium and magnesium ions before they ever enter your machine. It’s a small investment that pays for itself in longer machine life and better-tasting coffee. Even if you can’t filter all your brewing water, consider using bottled spring water (check the label for low mineral content) for at least some of your brews.
Daily Habits for a Happy Machine
Incorporate these quick routines:
- Empty & Dry: After each use, empty any leftover water from the reservoir and the carafe. Wipe them dry with a clean towel. Stagnant water is a scale factory.
- Rinse the Filter Basket: Don’t let used coffee grounds sit in the basket. Rinse it immediately after brewing.
- Weekly Hot Water Flush: Once a week, run a brew cycle with just fresh, cold water (no coffee). This flushes out any loose particles and helps keep internal pathways moist and clear.
- Clean the Exterior & Spray Head: Wipe the machine down regularly. Use a damp cloth and, occasionally, a cotton swab to clean the small holes in the coffee spray head or shower screen. Clogged holes mean uneven extraction and more grounds sitting wet, which can contribute to buildup.
Know Your Machine’s Specific Needs
Different types of coffee makers have different weak points:
- Drip Coffee Makers: Focus on the heating element and the tube that carries water from the reservoir. The “pause-and-sit” method is very effective here.
- Pod/Capsule Machines (Keurig, Nespresso): Scale builds up in the tiny piercing needles and the internal water lines. These machines often have a specific “descaling mode” that runs the solution through a longer, slower cycle. Always use the manufacturer’s recommended solution for these, as the pathways are extremely narrow and delicate.
- Espresso Machines (especially with boilers): This is the most critical. Scale on the heating element (boiler) is a major cause of failure. Follow the manufacturer’s descaling procedure to the letter. Many require a commercial descaler and a specific sequence involving the steam wand and group head. Neglecting this on an espresso machine is a costly mistake.
Frequently Asked Questions
How often should I descale my coffee maker?
This depends on your water hardness and usage. For hard water, descale every 1-2 months. For average water, every 2-3 months is sufficient. Always follow your machine’s built-in indicator if it has one.
Can I use lemon juice instead of vinegar or citric acid?
Yes, lemon juice contains citric acid and can work in a pinch, but it’s less concentrated and contains sugars and other compounds that may leave a sticky residue or require more rinsing. Pure citric acid powder is a more reliable and effective option.
Is it safe to use vinegar in all coffee makers?
Vinegar is safe for most standard drip coffee makers and percolators. However, some manufacturers of high-end espresso machines and certain pod systems warn against vinegar, as its acetic acid can potentially degrade rubber seals and gaskets over time. Always check your manual first. For these machines, citric acid or a commercial descaler is the safer choice.
What are the signs that my coffee maker needs descaling?
Look for these clues: slower brewing time, unusual gurgling or clicking noises, reduced water flow from the showerhead, visible white crusty deposits on any water-contacting parts, and a noticeable decline in coffee taste—often described as metallic, bitter, or flat.
Why is rinsing so important after descaling?
Rinsing removes all traces of the descaling agent. Any leftover vinegar, citric acid, or commercial cleaner will mix with your next batch of coffee, creating an unpleasant acidic or chemical taste. Incomplete rinsing is the most common reason a descaling attempt makes coffee taste worse.
Will using filtered water eliminate the need to descale?
Using filtered or bottled water will dramatically reduce the rate of scale buildup, but it won’t eliminate it entirely. Trace minerals are almost always present. It will, however, extend the time between necessary descaling cycles from potentially monthly to every 4-6 months or even longer, making maintenance much easier.