Cleaning your Ninja blender base is a simple but crucial task for performance and hygiene. Unlike the jar, the base houses sensitive electronics and must never be submerged. The process involves routine wiping after each use and periodic deep cleaning with a damp cloth and gentle solutions to tackle stuck-on residue and odors. Always unplug the blender first and avoid abrasive tools to protect the finish and internal components.
Key Takeaways
- NEVER Submerge the Base: The electrical base is not dishwasher safe and must never be placed under running water or soaked, as this will damage the motor and electronics.
- Unplug Before Cleaning: Always disconnect the blender from the power source before touching the base to ensure safety and prevent accidental activation.
- Daily Wipe-Down is Non-Negotiable: After each use, wipe the base, control panel, and gasket seal with a damp cloth to prevent sticky buildup and grime from becoming permanent.
- Use Gentle, Non-Abrasive Cleaners: Stick to mild dish soap diluted in water, white vinegar solutions for odors, or baking soda pastes for stains. Harsh chemicals and scrubbers will scratch the surface.
- Pay Attention to the Gasket and Crevices: Food particles and liquid love to hide in the rubber gasket ring and the seam between the jar and base. Use a soft-bristled toothbrush for these areas.
- Dry Thoroughly Before Reassembly: Ensure the base, especially the drive coupling socket and gasket, is completely dry before attaching the jar to prevent mold, mildew, and electrical issues.
- Address Odors Proactively: Persistent smells indicate trapped residue. A routine of wiping with a vinegar-water solution or running a “clean cycle” with just water and a drop of soap can prevent this.
[FEATURED_IMAGE_PLACEHOLDER]
📑 Table of Contents
- Why Cleaning Your Ninja Blender Base Properly Matters
- Understanding Your Ninja Blender Base: What Makes It Different
- The Daily Defense: Your 2-Minute Post-Use Wipe-Down Routine
- Deep Cleaning Your Ninja Blender Base: Tackling Stubborn Grime and Odors
- Troubleshooting: When Cleaning Isn’t Enough
- Proactive Maintenance: Keeping Your Base pristine for Years
- What NEVER To Do: Critical Cleaning Don’ts
- Conclusion: A Clean Base is a Happy (and Long-Lasting) Blender
Why Cleaning Your Ninja Blender Base Properly Matters
You’ve just whipped up a beautiful, green smoothie or a creamy soup, and cleanup seems straightforward—pop the jar in the dishwasher, wipe the blade assembly. But what about that sturdy, powerful base sitting on your counter? It’s the heart of your Ninja blender, housing the motor and all the sensitive electronics that make it blend with such force. Neglecting to clean a Ninja blender base isn’t just an aesthetic oversight; it’s a direct path to performance degradation, unpleasant odors, and potentially costly damage.
Think about it: every time you blend, tiny splashes, fine particulate matter, and sticky liquids find their way onto the control panel, down the sides, and into the rubber gasket that seals the jar to the base. This mixture of sugars, proteins, and fats is a perfect breeding ground for bacteria and mold, especially in the dark, moist crevices. A dirty base can lead to sticky buttons, a gummy gasket that doesn’t seal properly, and even motor overheating if debris clogs the ventilation slots. Furthermore, dried-on residue can attract pests and create a permanent, unpleasant smell in your kitchen. Taking just two minutes to properly clean your Ninja blender base after each use is a small investment that protects your appliance, ensures food safety, and keeps your kitchen smelling fresh.
Understanding Your Ninja Blender Base: What Makes It Different
Before we dive into the “how,” it’s essential to understand the “why” behind the specific cleaning rules for a Ninja blender base. Unlike the blending jar, which is designed to hold liquids and is often dishwasher-safe, the base is an electrical appliance. It contains the motor, circuit boards, wiring, and the critical drive coupling—the part that spins the blades. This makes it fundamentally vulnerable to water damage.
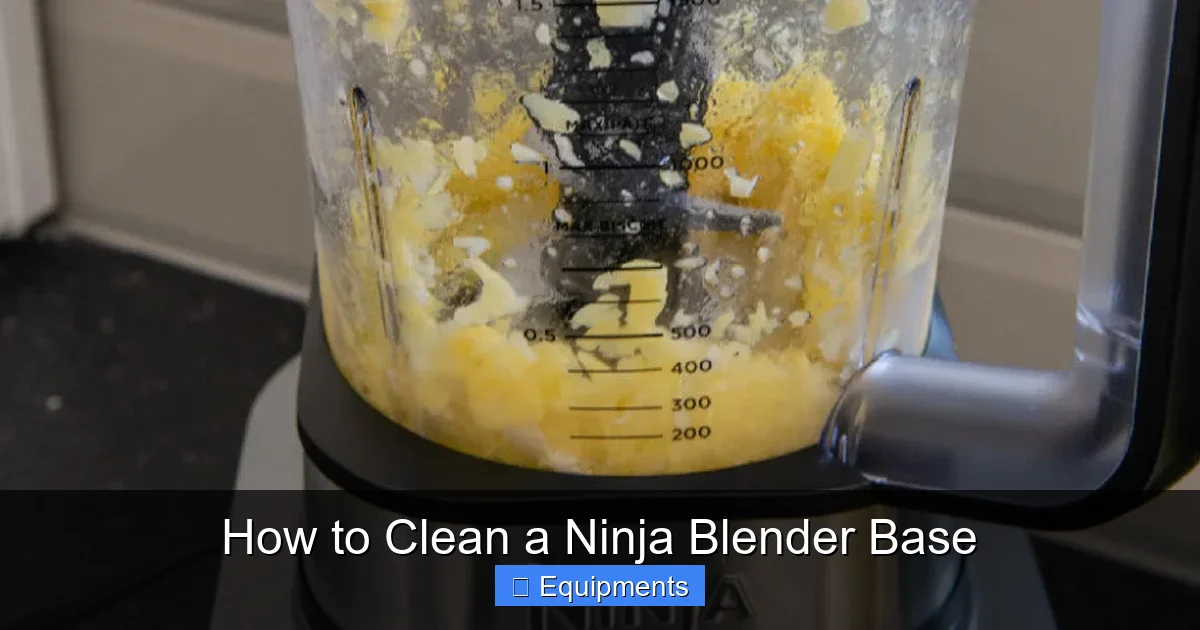
Visual guide about How to Clean a Ninja Blender Base
Image source: thekitchenix.com
The most common points of failure from improper cleaning are:
- The Control Panel: Buttons and digital displays have tiny gaps where liquid can seep in, causing shorts or sticky, unresponsive controls.
- The Drive Coupling Socket: This is the hole in the center of the base where the jar’s coupling piece locks in. It must be perfectly clean and dry to ensure a tight, wobble-free fit. Any debris or moisture here can cause leaks, excessive noise, and strain on the motor.
- The Gasket Seal: This rubber ring sits between the base and the jar. It’s designed to create a leak-proof seal, but it’s also a magnet for food particles. If not cleaned, it degrades, cracks, and fails, leading to messy leaks from the bottom of the jar.
- Ventilation Slots: Most Ninja bases have small air vents to cool the motor during operation. These can easily get clogged with dust and dried food residue, causing the motor to overheat and shorten its lifespan.
This design means your cleaning strategy must be surface-focused and moisture-minimal. We are not washing a pot; we are carefully maintaining a piece of electronics. This understanding is the first step to learning how to clean a Ninja blender base correctly.
The Daily Defense: Your 2-Minute Post-Use Wipe-Down Routine
This is the single most important habit you can form. A quick daily wipe-down prevents 95% of major cleaning problems. It stops sticky residue from setting, eliminates food particles before they attract bugs or mold, and keeps the gasket supple. Do this every single time you use your blender, without exception.
Visual guide about How to Clean a Ninja Blender Base
Image source: thekitchenix.com
Step-by-Step Daily Wipe-Down
1. Unplug Immediately: Safety first. Pull the plug from the wall outlet. This eliminates any risk of accidental activation while cleaning.
2. Disassemble: Remove the blending jar and lid. Set them aside to be washed separately. This gives you full access to the entire base surface.
3. Prepare Your Cloth: Grab a soft microfiber cloth or a non-abrasive sponge. Microfiber is ideal because it traps dirt and lint effectively. Dampen it thoroughly with warm water, then wring it out until it is only moist, not dripping wet. Excess water is your enemy here.
4. Wipe the Main Body: Gently wipe down all surfaces of the base—the sides, top, and back. Pay special attention to the area around the drive coupling socket. Use a gentle, circular motion. If you encounter a sticky spot from a smoothie or sauce, apply a tiny drop of mild dish soap directly to the damp cloth, not onto the base, and work it in.
5. Clean the Control Panel: This requires extra care. Wipe the buttons and display with the barely-damp cloth. Do not spray any liquid directly onto the panel. For stubborn fingerprints, a 50/50 solution of white vinegar and water on the cloth works wonders and is safe for electronics when applied cautiously. Immediately follow with a wipe using a cloth dampened with plain water, then a dry microfiber cloth to buff it dry.
6. Address the Gasket: Lift the rubber gasket ring from the base. It should come out easily. Wipe it thoroughly with your damp, soapy cloth, checking both the top and bottom surfaces for trapped fruit seeds, vegetable fibers, or dried-on paste. Rinse the gasket under a gentle stream of water if needed, then shake off excess water and pat it completely dry with a paper towel or clean cloth.
7. Clean the Drive Coupling Socket: Use a dry, soft-bristled toothbrush (dedicated to this purpose) to gently brush out any debris from the socket. Then, slightly dampen a corner of your cloth or a cotton swab and carefully clean the inside of the socket. Follow immediately with a dry cotton swab or cloth to absorb all moisture. This step is critical to prevent rust and ensure a good seal.
8. Final Dry: Use a completely dry microfiber cloth to go over the entire base one last time, ensuring no moisture remains, especially in seams and around buttons.
9. Reassemble: Once the gasket is dry, place it back in its groove on the base. You can now reattach the jar. Store your blender with the jar off the base to allow air circulation and prevent any hidden moisture from causing issues.
Deep Cleaning Your Ninja Blender Base: Tackling Stubborn Grime and Odors
Even with daily wipes, over time, a film can build up, and odors can become trapped in the plastic and rubber. This is where a weekly or bi-weekly deep clean comes in. This process is still water-minimal but uses targeted solutions to break down residue and neutralize smells.
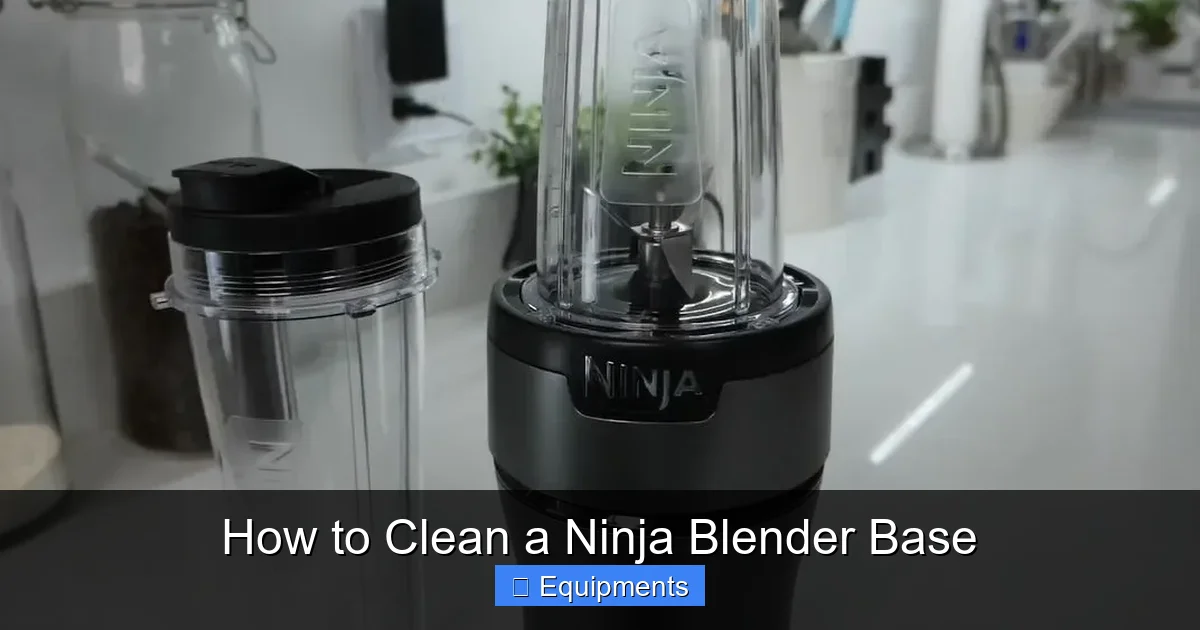
Visual guide about How to Clean a Ninja Blender Base
Image source: blendersmachine.com
Method 1: The Vinegar Solution for General Film and Odors
White vinegar is a natural, food-safe disinfectant and deodorizer that cuts through mineral deposits and sticky films.
- Mix a solution of 1 part white vinegar to 1 part warm water in a small bowl.
- Dip your damp microfiber cloth into the solution, wring it out well, and thoroughly wipe down the entire base, following the same path as your daily clean. The vinegar smell will dissipate as it dries.
- For the control panel, use a cloth dampened with this solution, then immediately wipe with a water-dampened cloth, and finally a dry cloth.
- Pay special attention to the gasket and drive coupling socket, using a vinegar-dampened cotton swab for the socket crevice.
- Finish with a comprehensive dry-down.
Method 2: The Baking Soda Paste for Stubborn, Sticky Spots
Baking soda is a mild abrasive that won’t scratch surfaces but can lift dried-on substances like honey, peanut butter, or dried smoothie film.
- Create a paste by mixing baking soda with a tiny amount of water.
- Apply the paste directly to the sticky area on the base or gasket.
- Let it sit for 5-10 minutes. The mild alkalinity will start to break down the organic material.
- Using a soft-bristled toothbrush or the corner of your damp microfiber cloth, gently rub the paste in a circular motion.
- Wipe the area clean with a water-dampened cloth and dry thoroughly.
Method 3: The “Clean Cycle” for Hidden Residue
This method uses the blender’s own motion to clean *around* the base, targeting the seam where the jar meets it.
- Ensure the base is wiped clean and dry.
- Place the empty, clean blending jar on the base. Do NOT add any blades or sharp parts for this cycle.
- Add 1-2 cups of warm water to the jar and 1-2 drops of mild dish soap.
- Secure the lid.
- Run the blender on a low-to-medium speed for 30-45 seconds. The agitation will help dislodge any film or particles that have settled into the gasket groove or the top rim of the base.
- Immediately after the cycle, unplug, disassemble, and thoroughly dry the base, gasket, and jar. This is crucial—do not let the soapy water sit.
Troubleshooting: When Cleaning Isn’t Enough
Sometimes, you might encounter issues that require more than a simple wipe-down. Here’s how to diagnose and address them.
Persistent, Sour Smells
If a vinegar wipe-down doesn’t eliminate an odor, the smell is likely trapped deep within the gasket or the drive coupling socket.
- Gasket Removal & Soak: Remove the gasket entirely. Soak it for 30 minutes in a bowl of warm water with 1 tablespoon of baking soda or a splash of vinegar. Use a toothbrush to scrub it inside and out. Rinse and dry completely before reinserting.
- Socket Decontamination: Dip a cotton swab in your vinegar solution and insert it into the drive coupling socket, swirling it around. Follow with a dry swab. For extreme cases, you can use a cotton swab dipped in a very small amount of isopropyl alcohol (rubbing alcohol), which evaporates quickly and kills odor-causing bacteria. Ensure no lint is left behind.
Sticky or Unresponsive Buttons
This is almost always caused by sugary liquids seeping under the button caps.
- Dampen a cotton swab with a 50/50 vinegar-water solution.
- Gently work the swab around the edges of the sticky button, trying to flush out the residue. You may need to hold the button down slightly to access the gap.
- Wipe with a water-dampened swab, then a dry one.
- Repeat this process daily for a few days. If the stickiness persists, the liquid may have penetrated deeper, and you may need to consult Ninja support, as opening the base voids the warranty.
Visible Cracks or Degradation in the Gasket
The rubber gasket is a wear item. If you see cracks, tears, or it feels hard and brittle, it has failed. Do not attempt to clean it further. A damaged gasket will not seal and will leak. You must purchase a replacement gasket specific to your Ninja model. Continuing to use a cracked gasket can allow liquids to drip directly into the base, causing catastrophic damage.
Proactive Maintenance: Keeping Your Base pristine for Years
Cleaning is reactive; maintenance is proactive. These habits will drastically reduce the need for deep cleans and extend the life of your blender.
The Right Way to Store Your Blender
Never store your blender with the jar locked onto the base. This creates a dark, enclosed, and potentially moist environment—a perfect incubator for mold and mildew in the gasket. Always store the jar separately from the base. This allows air to circulate around the gasket and drive coupling, keeping everything dry and fresh.
Mindful Blending Practices
Some blending habits invite more mess:
- Avoid “Overfilling”: Filling the jar past the MAX line guarantees sloshing and splatter up into the base area. The force of a Ninja blender is immense; respect the fill lines.
- Secure the Lid Properly: Ensure the lid is locked firmly onto the jar before blending. A loose lid is a recipe for spray.
- Blend Thick Mixtures with Care: Very thick pastes or doughs can sometimes “push up” around the blade assembly. If you’re making something very thick (like nut butter or dough), stop the blender periodically to scrape down the sides with a spatula, and be prepared to wipe the base more thoroughly afterward.
Regular Inspection
Once a month, do a close inspection of your base. Look down into the drive coupling socket with a flashlight. Check the gasket for any tiny pieces of food or signs of wear. Examine the ventilation slots. Catching a small problem—like a piece of almond skin stuck in the socket—is easy to fix. Ignoring it can lead to a noisy blender or a burnt-out motor.
What NEVER To Do: Critical Cleaning Don’ts
Knowing what to avoid is just as important as knowing what to do. These common mistakes cause irreversible damage.
- DO NOT place the base in the dishwasher, sink, or under running water. Water will enter the motor housing and destroy it.
- DO NOT use abrasive cleaners like Comet, Ajax, or powdered cleansers. They will scratch the plastic, making it more prone to holding stains and bacteria.
- DO NOT use steel wool, harsh scrub pads, or sharp tools to scrape residue. These will gouge the surface and potentially damage the gasket seat.
- DO NOT spray cleaners directly onto the base. Always spray onto your cloth first to control the liquid.
- DO NOT use flammable solvents like acetone, paint thinner, or gasoline to clean. These can damage plastic components and are a serious fire hazard near an electrical appliance.
- DO NOT reassemble the blender if any part of the base, especially the drive coupling socket or gasket area, is even slightly damp. Patience is key.
- DO NOT attempt to open the base casing yourself to clean inside. This voids the warranty and exposes you to electric shock risk if not done by a professional.
Conclusion: A Clean Base is a Happy (and Long-Lasting) Blender
Learning how to clean a Ninja blender base correctly transforms a chore into a simple, empowering habit. It’s not about heavy scrubbing; it’s about consistent, mindful care. By integrating the quick daily wipe-down into your routine and performing a targeted deep clean every couple of weeks, you protect your investment. You’ll maintain the blender’s powerful performance, ensure your smoothies taste pure (not like last week’s smoothie), and keep your kitchen hygienic. Remember the golden rules: unplug, use a damp-not-wet cloth, focus on the gasket and socket, and always, always dry thoroughly. Your Ninja blender is a workhorse in the kitchen. Treat its base with this respect, and it will deliver perfectly blended results for years to come. The 120 seconds you spend wiping it down today save you from a costly replacement or a malfunctioning appliance tomorrow.
Frequently Asked Questions
Can I put my Ninja blender base in the dishwasher?
No. The base contains the motor and electrical components and is not waterproof. Putting it in the dishwasher will cause severe water damage and ruin the appliance. Only the jar, lid, and blade assemblies (if specified as dishwasher-safe) should be cleaned that way.
How often should I deep clean my Ninja blender base?
You should perform a simple daily wipe-down after every use. A more thorough deep clean with a vinegar solution or baking soda paste is recommended every 1-2 weeks, depending on your usage frequency and what you blend (smoothies with sticky fruits like mango or banana require more frequent attention).
What’s the best way to remove dried-on smoothie from the drive coupling socket?
>First, unplug the blender. Use a soft-bristled toothbrush to dislodge any loose particles. Then, dampen a cotton swab with a 50/50 white vinegar and water solution. Gently swab the inside of the socket, being careful not to drip liquid down into the motor. Immediately follow with a dry cotton swab to absorb all moisture. Repeat until clean.
My Ninja blender base smells musty. What should I do?
A musty smell usually means mold or mildew is growing in the damp gasket. Remove the gasket and soak it in warm, soapy water or a vinegar-water solution for 30 minutes. Scrub it with a toothbrush, rinse well, and allow it to air-dry completely for 24 hours before reattaching. Also, clean the drive coupling socket thoroughly with vinegar-dampened and then dry cotton swabs.
Is it safe to use all-purpose cleaner on my Ninja blender base?
It depends. You can use a small amount of a mild, food-safe all-purpose cleaner on a damp cloth for the main body, but you must avoid the control panel and never spray directly. For the control panel, stick to a vinegar-water solution or a cloth dampened with just water. Always rinse with a water-dampened cloth and dry immediately to prevent residue buildup.
Why is my blender leaking from the bottom even though the jar is on tight?
This is almost always a sign of a damaged or improperly seated gasket. Remove the jar and inspect the rubber gasket on the base. Look for cracks, tears, or if it has slipped out of its groove. Clean the gasket and its seating area thoroughly, ensure it’s perfectly dry, and reseat it evenly. If the gasket is damaged, it must be replaced.