Changing the time on your Smeg coffee maker is essential for using its programmable auto-start feature. The process varies slightly between the classic ECP/ECP01 and newer DCF/DCF01 models but always involves using the Mode/Program button and the +/- controls. This guide provides clear, model-specific instructions, troubleshooting tips for common issues like clock resets after power outages, and practical advice to ensure your machine is always ready to brew at the perfect time. Setting the correct clock unlocks the full convenience of your Smeg machine.
Ah, the Smeg coffee maker. That iconic, retro-styled machine that looks as good on your countertop as the coffee it brews tastes. It’s a statement piece and a workhorse. But what happens when that sleek digital display stubbornly shows “00:00” or an incorrect time? The beautiful promise of waking up to the aroma of freshly brewed coffee—thanks to the auto-start timer—evaporates. Suddenly, your stylish appliance feels just a little bit frustrating. Changing the time on a Smeg coffee maker is one of the most common user queries, and it’s surprisingly simple once you know which buttons to press for your specific model.
Unlike some complicated smart appliances, Smeg keeps its interface relatively straightforward, but the exact button sequence differs between its two main coffee maker families. Whether you own the classic ECP or ECP01 (the models with the traditional knob and button array) or the newer DCF or DCF01 (featuring a more modern, flat button panel), this guide will walk you through every step. We’ll cover the precise method for your machine, explain why the clock might keep resetting, and give you the confidence to program your perfect morning routine. Let’s get that clock ticking correctly.
Key Takeaways
- Model Identification is Crucial: Smeg coffee makers have two primary control layouts (ECP/ECP01 vs. DCF/DCF01). Identifying your specific model is the first step to following the correct instructions.
- The Clock Enables Auto-Start: The primary reason to set the time is to activate the programmable timer, allowing your coffee maker to automatically brew at a set time each day.
- Power Loss Often Resets the Clock: Many Smeg models do not have a permanent battery backup. Unplugging the machine or a power outage will typically reset the clock to 00:00, requiring you to set it again.
- The “Mode” or “Program” Button is Your Gateway: On all models, entering the time-setting mode is initiated by pressing and holding the central Mode/Program button until the display begins to blink or change.
- Use the +/- Buttons Precisely: Once in time-set mode, the hour and minute segments will blink sequentially. Use the dedicated + (or PROG/+) and – (or -) buttons to adjust each blinking segment individually.
- Confirmation is Key: After setting the hour and minutes, you must press the Mode/Program button again to exit the setting mode and save the time. The display will stop blinking and show the stable time.
- Troubleshooting Starts with a Reset: If the clock or programming seems unresponsive, the first step is often to unplug the machine for 60 seconds to perform a full electronic reset before trying again.
📑 Table of Contents
Why Setting the Correct Time Matters
Before we dive into button presses, let’s understand the “why.” The clock on your Smeg coffee maker isn’t just for show; it’s the brain behind one of its most convenient features: the programmable auto-start timer. This function allows you to set a specific time for the machine to automatically grind beans (if you have a grinder model), heat water, and brew a full carafe. Imagine setting it before bed and waking up to a hot, fresh pot of coffee. That’s the convenience the clock enables.
Furthermore, some models use the internal clock for energy-saving modes or to display the correct time when the machine is idle. An incorrect clock can be disorienting and makes scheduling your brew a guessing game. So, taking five minutes to ensure your Smeg’s time is accurate directly translates to a smoother, more automated morning ritual.
The Two Main Smeg Coffee Maker Families
Smeg has iterated on its coffee maker design, creating two distinct control layouts. Your manual will confirm it, but you can usually tell by looking at the front panel:
- The Classic ECP/ECP01 Series: These are the models most people picture. They feature a prominent central knob (often for selecting coffee strength or cup quantity) surrounded by a rectangular array of buttons labeled with symbols like a clock, a mug, and a steam wand. The display is typically an LCD screen above or integrated into the button panel.
- The Modern DCF/DCF01 Series: These models have a flatter, more minimalist front. They use a touch-sensitive capacitive button panel (you lightly press the symbols) and often have a larger, more graphic display. The buttons are flush with the surface, and there’s no central physical knob.
The steps to change the time are similar in concept—enter a programming mode and use +/- buttons—but the specific buttons labeled differ. We will separate the instructions clearly.
How to Change Time on Smeg ECP/ECP01 Models
If your Smeg has a physical knob and distinct buttons like PROG, ON/OFF, 1 CUP, 2 CUPS, and a dedicated CLOCK or timer symbol, you’re in the ECP family. Here is the definitive sequence.
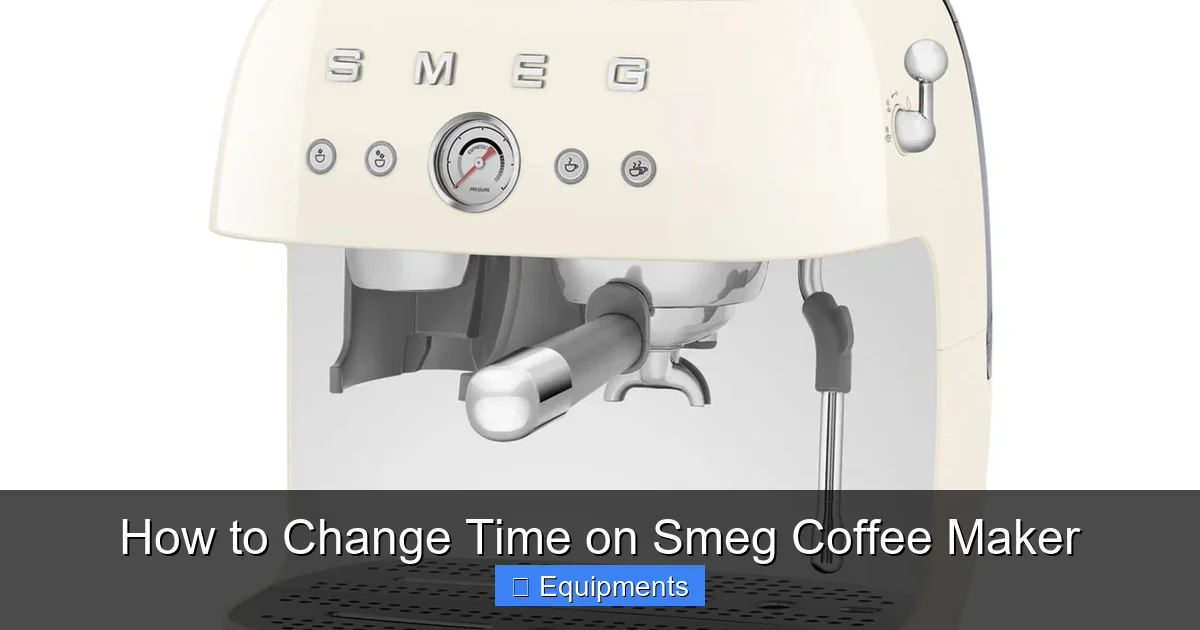
Visual guide about How to Change Time on Smeg Coffee Maker
Image source: assets.wfcdn.com
Step-by-Step Guide for ECP/ECP01
- Ensure the Machine is Powered and Idle: Plug your Smeg into the wall and turn it on using the main ON/OFF button (usually the largest one). The display should light up, showing either the current time (if previously set) or “00:00” or dashes. Do not have a brewing cycle in progress.
- Locate the Correct Buttons: Find the button with a clock symbol (often labeled PROG or CLOCK). This is your entry point. Also, identify the + and – buttons, which are typically used for adjusting cup quantity or strength but will now control the time.
- Enter Time-Set Mode: Press and hold the clock/PROG button for approximately 3-5 seconds. You should see the display change. The hour digits will begin to blink, indicating you have successfully entered the time-setting mode.
- Set the Hour: While the hour is blinking, use the + and – buttons to cycle through and select the correct hour (in 24-hour format, e.g., 13 for 1 PM). Press and hold for faster scrolling.
- Set the Minutes: After setting the hour, wait a few seconds, or sometimes you need to press the clock/PROG button once. The minute digits will now start blinking. Use the + and – buttons again to set the correct minutes.
- Confirm and Exit: Once both hour and minutes are correct, press the clock/PROG button one final time. The blinking should stop, and the display will show the stable, correct time. You have successfully changed the time.
Practical Example: Setting Up for Morning
Let’s say you want your coffee ready at 6:30 AM. After following steps 1-3 above, your display blinks “00:00” or the old time. You press + until the hour reads “06”. The display then automatically or manually (after pressing PROG) lets you adjust the minutes. You press + until it reads “30”. Finally, you press the PROG/clock button to save. The time “06:30” now sits steadily on your display. You can then proceed to set the auto-start timer separately, often by pressing the PROG button again and setting a brew time, but that’s a separate process from setting the *clock itself*.
How to Change Time on Smeg DCF/DCF01 Models
For the sleek, buttonless-front models, the logic is identical but the button labels are different. You’re looking for a touch-sensitive area with symbols. The key players are the Program (clock symbol) button and the +/- buttons, which may be combined into a single ring or separate areas.

Visual guide about How to Change Time on Smeg Coffee Maker
Image source: 1timewonders.co.za
Step-by-Step Guide for DCF/DCF01
- Power On: Ensure the machine is plugged in and press the main power button (often a separate, clearly marked button or the entire panel activates). The display will illuminate.
- Find the Program Button: Locate the button with the clock or timer symbol. This is your Program button. The + and – controls are usually positioned near it, sometimes as a plus/minus pair or a rotary dial you tap on either side.
- Enter Programming Mode: Touch and hold the Program (clock) button for about 3 seconds. The display will activate the time-setting mode, with the hour segment blinking.
- Adjust the Hour: Tap the + or – control to change the blinking hour to your local time (24-hour format).
- Adjust the Minutes: The minutes will begin blinking automatically, or you may need to briefly tap the Program button again. Use the +/- controls to set the correct minutes.
- Save and Exit: Tap the Program (clock) button once to confirm your settings and exit. The blinking will cease, leaving the correct time on the screen.
Important Note for DCF Models: Some DCF variants use a slightly different interface where you first press the Program button to select the clock function, then use the +/- to adjust. If holding doesn’t work, try a single press of the Program button and see if the time begins to blink. The manual for your exact model number (found on the base) is the ultimate authority.
Enabling the Auto-Start Timer (Separate from the Clock)
Setting the clock is step one. Setting the brew timer is step two. Once your clock is correct:
- For ECP models: Press the PROG button briefly (do not hold). The display may show “ON” or a time. Use the +/- buttons to set the desired brew start time. Press PROG again to confirm. An indicator light (often a small clock icon) should illuminate, showing the timer is active.
- For DCF models: Press the Program (clock) button to cycle through functions until you see a timer or “AUTO” symbol on the display. Use the +/- to set the brew time. Tap Program to save. The display will usually show a small clock or “AUTO” symbol when the timer is programmed.
Remember, the machine must be loaded with water and coffee (grounds or beans) and left in the “ready” state (not in the middle of a cycle) for the auto-start to function in the morning.
Troubleshooting: What If the Time Won’t Change or Keeps Resetting?
This is the heart of the matter for many users. You followed the steps, but nothing happens, or the clock resets every time you plug the machine in. Here’s your diagnostic guide.

Visual guide about How to Change Time on Smeg Coffee Maker
Image source: thekitchenix.com
Common Issue 1: The Display Won’t Blink/Enter Set Mode
Solution: This is almost always a power state issue. Ensure the machine is fully powered on. The main power button must be illuminated. Try the hold duration again—it may need a full 5-6 seconds of continuous press. If using a DCF model, ensure you are touching the correct capacitive area firmly. As a last resort, perform an electronic reset: unplug the coffee maker from the wall outlet for a full 60 seconds, then plug it back in and try the sequence again from the beginning.
Common Issue 2: The Clock Resets After a Power Outage or Unplugging
Explanation: This is by design for most Smeg coffee makers. They do not contain a permanent internal battery (like a CMOS battery in a computer) to maintain the clock when completely disconnected from power. When mains power is lost, the clock resets to 00:00. This is normal and not a defect.
Workaround: You will need to reset the time after any prolonged power interruption. If this is a frequent occurrence in your area, consider keeping the machine plugged into a simple surge protector that you don’t switch off, or be prepared to set the time after outages. Some newer, higher-end models may have a small backup battery, but this is not standard across the range.
Common Issue 3: I Set the Time, But the Auto-Start Timer Doesn’t Work
Solution: Remember, setting the clock and setting the brew timer are two different actions. The clock must be correct first. Then, you must separately activate the timer function and set a brew time. Double-check that the timer indicator light (a small clock icon) is illuminated on the display after programming. Also, ensure the machine’s water tank is full, the coffee container has beans/grounds, and the carafe is correctly positioned on the warming plate. The machine will not initiate a brew cycle if it senses it’s not ready.
Best Practices for Maintaining Your Smeg’s Clock
To minimize frustration and keep your coffee automation running smoothly, follow these tips.
Make it a Routine
Incorporate checking the Smeg’s time into your weekly routine, perhaps when you refill the water or beans. This way, if a brief power flicker occurred overnight, you’ll catch it before your morning coffee expectation is dashed.
Daylight Saving Time Reminder
When Daylight Saving Time begins or ends, your Smeg’s clock will not adjust itself. Make a note on your calendar to manually change the time by one hour on the relevant Sunday. It’s a two-minute job that saves you from a week of confused brewing schedules.
The “Set and Forget” Myth
Accept that for most Smeg owners, the clock is not a “set and forget” feature due to the lack of a backup battery. Planning for this reality—by knowing the quick reset steps—turns a potential annoyance into a minor, 30-second adjustment.
Keep Your Manual Handy
The quick reference guide that came with your Smeg has the exact instructions and diagrams for your specific model number (e.g., ECP01 vs. DCF01). Take a photo of the relevant page and save it to your phone for easy access. Model numbers are found on a sticker on the bottom or back of the machine.
Conclusion: Your Smeg, Your Schedule
Mastering the simple art of changing the time on your Smeg coffee maker reclaims one of its most delightful features: automation. That satisfying click-whir of the grinder starting by itself at 6:15 AM, filling your kitchen with the promise of a perfect day, is a small luxury made possible by a correctly set clock. While the lack of a permanent battery backup means you might need to re-set the time after a power outage, the process itself is intentionally straightforward. By identifying your model—ECP/ECP01 with its knob and buttons, or DCF/DCF01 with its sleek touch panel—and following the precise hold-and-press sequence, you take control.
Don’t let a blinking “00:00” diminish the joy of your retro-chic appliance. Take a moment now, follow the steps for your machine, and program that timer. Tomorrow morning, as you shuffle into the kitchen, you’ll be greeted not by a silent machine, but by the rich, aromatic reward of a perfectly timed brew. That’s the Smeg experience, fully unlocked.
Frequently Asked Questions
Why does my Smeg coffee maker’s clock reset to 00:00 every time I unplug it?
This is normal behavior for most Smeg models. They lack a internal backup battery, so when disconnected from mains power, the clock memory is cleared. You must manually reset the time after any power loss.
I pressed and held the clock button, but the display doesn’t blink. What am I doing wrong?
First, ensure the machine’s main power is switched ON. The display must be lit. Try holding the button for a full 5-6 seconds. If it still doesn’t work, unplug the machine for 60 seconds to perform a full reset, then try again.
How do I know if my auto-start timer is actually programmed and turned on?
After setting the brew time, look for a small clock icon or the word “AUTO” to appear on the display. This indicator light confirms the timer is active and the machine will attempt to brew at the set time, provided it’s loaded with water and coffee.
Can I set multiple brew times for different days of the week on my Smeg?
No. The Smeg coffee maker’s timer is a simple daily repeat timer. It does not have a 7-day programmable function. The time you set will be the brew time for every day until you change or cancel it.
Is there any way to make the clock permanent so it never resets?
Not with standard use. The design does not include a user-replaceable coin cell battery for clock memory. The only way to avoid resets is to never disconnect the machine from wall power, which isn’t always practical.
I have a DCF model and the touch buttons are unresponsive. How do I fix this?
Capacitive touch panels can be sensitive to moisture or grease. Ensure your fingers are clean and dry. Try a gentle wipe of the control panel with a dry microfiber cloth. If unresponsiveness persists, perform a full reset by unplugging the machine for one minute.
