Mastering your Aroma rice cooker is simple and transforms meal prep. This versatile appliance uses a precise heating element and steaming cycle to cook a wide variety of grains, steam vegetables, and even make soups perfectly every time. By following a few key steps—proper rice measurement, rinsing, and water ratios—you achieve consistent, fluffy results with minimal effort. The machine handles the heat and timing, freeing you to focus on other tasks.
Key Takeaways
- Measure with the provided cup: Always use the cup that comes with your Aroma cooker, as it is 3/4 of a standard U.S. cup (180ml), not 1 cup.
- Rinse your rice: Rinsing removes excess starch, preventing gummy rice and ensuring a lighter, fluffier texture.
- Water ratios are precise: Follow the inner pot’s water level markings for your specific rice type; these are calibrated for the cooker’s cycle.
- Let it rest: After cooking, allow the rice to steam and rest for 10-15 minutes with the lid closed before fluffing. This completes the cooking process and improves texture.
- Clean the inner pot and lid: Always wash these components after each use. The non-stick coating is durable but can be damaged by abrasives or metal utensils.
- Use the steam tray for versatility: The included tray allows you to steam vegetables, dumplings, or fish simultaneously while your rice cooks below.
- Understand the keep-warm function: The cooker automatically switches to “Keep Warm” after the cycle. Rice is safe for several hours but may dry out; rehydrate with a splash of water if needed.
📑 Table of Contents
Why Choose an Aroma Rice Cooker?
If you’ve ever struggled with a burnt bottom layer or a pot of inconsistent, sticky rice on the stovetop, an Aroma rice cooker feels like a kitchen miracle. These appliances are designed for one thing: perfection through automation. They take the guesswork out of a staple food, delivering reliably fluffy, separate grains every single time. But their utility extends far beyond just white rice. An Aroma cooker is a versatile workhorse that can handle everything from hearty brown rice and wild rice blends to delicate quinoa, oatmeal, and even soups or steamed dishes. Its simplicity is its greatest strength—you add your ingredients, press a button, and walk away. This frees up your stovetop, reduces active cooking time, and eliminates the anxiety of watching a pot. For busy families, students, or anyone who loves rice as a side or base for meals, it’s a game-changer that pays for itself in convenience and consistent, delicious results.
The “Set It and Forget It” Advantage
The core benefit of any electric rice cooker, especially the Aroma brand known for its reliability, is its set-and-forget nature. The appliance uses a built-in thermostat and heating element to bring the liquid to a boil, then maintains a precise simmer until all water is absorbed. Once the temperature rises above boiling point (indicating no more liquid), it switches to a low “keep warm” setting. This entire process happens without your intervention. You don’t need to adjust the flame, stir, or check for doneness. This is a monumental time-saver and allows you to multitask safely, whether you’re preparing the rest of your meal, working from home, or just relaxing. The consistent, controlled heat also means no more hot spots or burnt rice stuck to the bottom of a pot.
Versatility Beyond the Grain
While its primary job is rice, your Aroma cooker is a stealth multi-cooker. Most models come with a stainless steel steam tray that sits above the cooking pot. This allows you to steam vegetables, fish fillets, dumplings, or even reheat bread while your rice cooks beneath. The steam from the cooking rice powers this process, making it incredibly efficient. Furthermore, many Aroma models have specific settings or can be used for other grains like barley, millet, or bulgur. You can even use it to cook lentils, beans (after pre-soaking), or make a large batch of hot cereal. Some users even get creative, making mac and cheese, frittatas, or simple cakes in the pot. This versatility means one appliance can replace several others, saving valuable cabinet space.
Getting to Know Your Aroma Rice Cooker
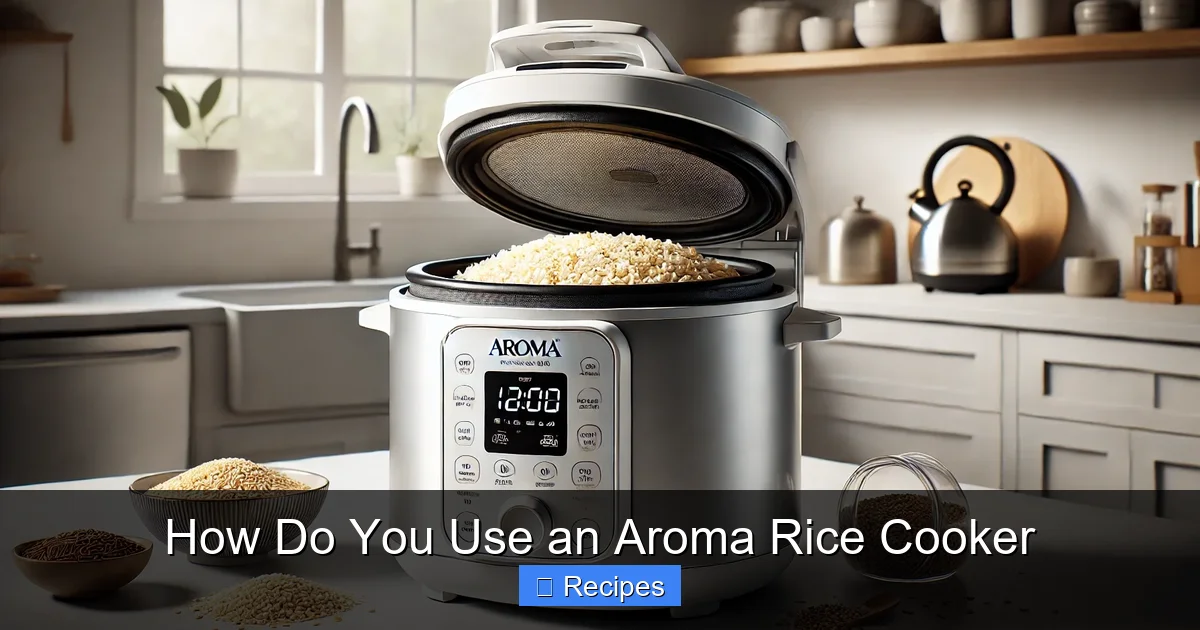
Before you press that button, take five minutes to familiarize yourself with your specific model. While designs vary slightly, all Aroma rice cookers share the same fundamental components and logic. Understanding these parts and their functions is the first step to flawless cooking. Look for the inner cooking pot, the heating plate at the base, the control panel, the lid with its steam vent, and the included accessories. The user manual is your best friend for model-specific details, but this guide covers the universal principles that apply to almost every Aroma model, from the most basic 3-cup to the large 20-cup family-sized versions.
Visual guide about How Do You Use an Aroma Rice Cooker
Image source: expertreviewsbestricecooker.com
Key Components and Their Roles
The inner cooking pot is usually made of aluminum with a non-stick coating. It’s removable for easy filling, cooking, and cleaning. The bottom of this pot makes direct contact with the heating plate, which is the source of heat. The control panel houses the power button and often a simple switch or button labeled “COOK” and “KEEP WARM.” More advanced models might have presets for Brown Rice, White Rice, Steam, or Slow Cook. The lid is crucial. It traps steam and heat. Most have a small steam vent that allows excess pressure to escape, preventing messy boil-overs. Finally, the steam tray (or steaming basket) is a perforated tray that sits on top of the inner pot, allowing food to be elevated above the cooking liquid to steam.
Understanding the Provided Measuring Cup
This is the most critical piece of information for success. The plastic measuring cup that comes with your Aroma rice cooker is not a standard U.S. cup (8 fluid ounces/240ml). It is a 3/4 cup (180ml) measure. All rice-to-water ratios provided in the manual and on the inner pot’s markings are based on this specific cup. If you use a standard 1-cup measure, you will use 33% more rice than intended, leading to incorrect water levels, overflow, and mushy or undercooked results. Always, always use the provided cup for measuring both rice and water. This single detail is the cause of most user errors and disappointments.
The Basic Steps: From Cup to Perfect Rice
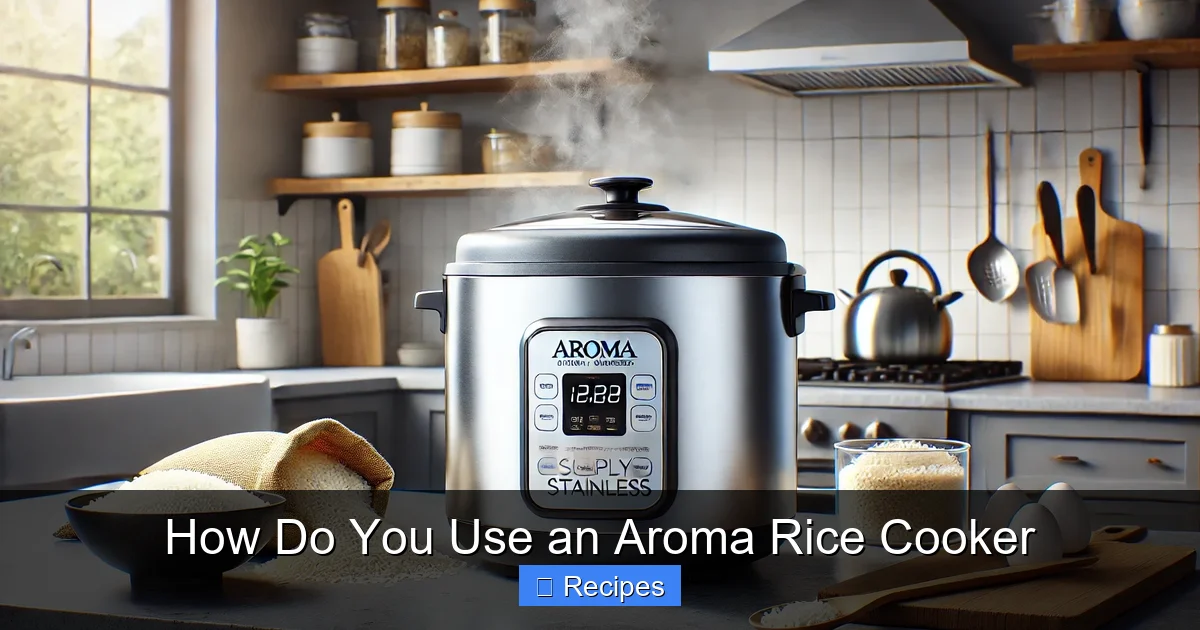
Cooking perfect rice in an Aroma cooker follows a simple, repeatable sequence. Think of it as a ritual: Measure, Rinse, Add Water, Cook, Rest, Fluff. Mastering these steps will give you excellent results for any grain. The machine does the rest. Let’s walk through each phase in detail, focusing on the “why” behind each action to build your intuition.
Visual guide about How Do You Use an Aroma Rice Cooker
Image source: expertreviewsbestricecooker.com
Step 1: Measure the Rice
Scoop your desired amount of rice directly from the bag or container into the empty, dry inner pot using the provided 3/4-cup measure. A standard single serving is 1 cup (using the Aroma cup). For a family of four, 3-4 cups is typical. Level off the rice with a knife or your finger; don’t pack it down. The markings on the inside of the pot correspond to the number of Aroma cups of rice you’ve added. For example, if you add 2 Aroma cups of rice, you will fill the water to the “2” line on the pot (or the line marked for your specific rice type, see next step).
Step 2: Rinse Thoroughly (The Non-Negotiable Step)
Place the measured rice in a fine-mesh strainer and rinse it under cool running water. Swirl it around with your hand. The water will turn milky white. Continue rinsing until the water runs clear or nearly clear. This process removes the outer layer of starch (amylopectin) that coats each grain. If left on, this starch gelatinizes during cooking and causes the grains to stick together, creating a gummy, clumpy texture. Rinsing is especially important for white rice like jasmine or basmati. For brown rice and other whole grains, rinsing also removes any dust or debris.
Step 3: Add Water to the Correct Marking
Return the rinsed, drained rice to the dry inner pot. Now, add cold water. The amount of water is determined by two things: the number of rice cups you used and the type of rice. Look at the inside of your inner pot. You’ll see etched or printed lines with numbers and often small icons or text like “WHITE RICE,” “BROWN RICE,” etc. Find the line that matches your rice type and the number of cups you added. For example, for 2 cups of white rice, you’d fill the water to the “2” line inside the “WHITE RICE” section. Do not just fill to the number; use the line for your specific rice type. Brown rice, wild rice, and other whole grains require more water and longer cooking times, hence the higher water lines. If your pot only has numbered lines without rice-type distinctions, use the highest line for brown/whole grains and the lower line for white/quick-cooking rices.
Step 4: Cook and the Automatic Switch
Place the inner pot into the cooker, making sure it sits flat on the heating plate. Close the lid securely. Plug in the cooker. Press the “COOK” button. The indicator light will come on. You will hear a gentle click as the thermostat engages. The cooker will bring the contents to a boil rapidly, then reduce to a simmer. You’ll see steam vent from the lid. The cooking cycle typically takes 15-25 minutes for white rice and 40-50 minutes for brown rice. Do not lift the lid during this time. Once the water is absorbed, the temperature inside the pot rises. The thermostat detects this and automatically switches the machine to the “KEEP WARM” setting. You’ll hear another click, and a “WARM” light will illuminate. This is your signal that the cooking cycle is complete.
Step 5: Rest, Then Fluff
This step is vital for perfect texture. Leave the lid closed and let the rice rest on “Keep Warm” for at least 10-15 minutes. This allows the residual steam to finish the cooking process, equalize moisture throughout the pot, and firm up the grains. After resting, use a rice paddle or a wooden spoon to gently fluff the rice. Insert the paddle vertically and make a gentle slicing motion, turning rice from the bottom to the top. This separates the grains without mashing them. Serve immediately or keep on the “Keep Warm” setting. For longer storage, transfer rice to an airtight container; it will dry out less than if left in the cooker.
Beyond Rice: Advanced Cooking Techniques
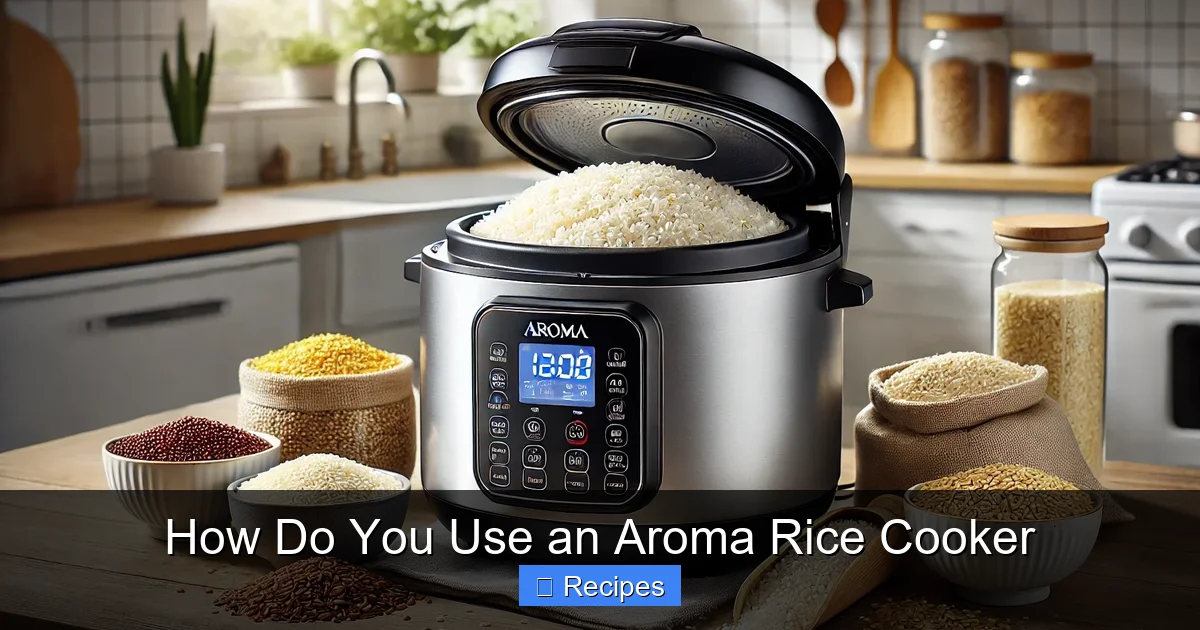
Your Aroma cooker’s potential is huge. Once you’ve mastered the basic rice cycle, you can explore its other functions. The steam tray is your gateway to complete meals. The cooker’s gentle, moist heat is also perfect for other grains and even some surprising dishes. Understanding how to adapt the basic method for different foods unlocks true kitchen efficiency.
Visual guide about How Do You Use an Aroma Rice Cooker
Image source: expertreviewsbestricecooker.com
Steaming Vegetables, Fish, and Dumplings
Steaming is incredibly healthy, preserving nutrients and flavor. To use the steam tray: First, prepare your food. Cut vegetables into uniform pieces. Season fish fillets. Place dumplings (like frozen potstickers) on the tray in a single layer. Bring about 1 cup of water to a boil in the inner pot (use the “Steam” line if your pot has one, or just below the “1” line for white rice). Place the steam tray with your food on top of the inner pot. Cover with the lid and set the cooker to “COOK.” The steam will begin as soon as the water boils. Steaming times vary: delicate vegetables like broccoli or bok choy take 5-7 minutes; denser veggies like carrots or potatoes take 10-15 minutes; fish fillets cook in 8-12 minutes; frozen dumplings take 12-15 minutes. The cooker will click to “Keep Warm” when the water is gone. Tip: Add herbs, lemon slices, or aromatics to the water for extra infused steam flavor.
Cooking Other Grains and Legumes
Most grains can be cooked using the same rice method, but water ratios and times differ. Always rinse grains first. For quinoa, use a 1:1.25 ratio (1 cup quinoa to 1.25 cups water). For oats (rolled or old-fashioned), use a 1:2 ratio for a creamy oatmeal. For pearl barley, use a 1:3 ratio. For buckwheat, use a 1:1.5 ratio. For lentils or beans, they often require pre-soaking for several hours. After soaking, drain and add to the pot with fresh water (typically a 1:2.5 or 1:3 ratio). Use the “Brown Rice” or “Slow Cook” setting if available, as these cycles are longer. Always check your manual for specific recommendations and maximum capacities for different foods.
Making Soups, Stews, and Porridges
The Aroma cooker can function as a simple electric pot for one-pot meals. For soups or stews, sauté onions, garlic, and meat (if using) directly in the inner pot on the “Sauté” or “Brown Rice” setting if your model has it, or in a separate pan. Then add all ingredients—broth, vegetables, grains, protein—to the pot. Use the “Brown Rice” or “Slow Cook” setting for longer cook times. For creamy congee or rice porridge, use a high water-to-rice ratio (e.g., 1 cup rice to 6-8 cups water/broth). Use the “White Rice” setting, but be prepared for a longer cycle as it takes time for the grains to break down. The result is a smooth, comforting porridge without constant stirring.
Cleaning and Maintenance for Longevity
Proper cleaning is non-negotiable for food safety, taste purity, and the longevity of your appliance. The non-stick coating is convenient but can be damaged. The steam vent and lid also need attention. A clean cooker is a happy, efficient cooker. Establish a simple post-use routine, and do a deeper clean monthly to keep it performing like new.
Daily Cleaning: The Essential Routine
After each use, unplug the cooker and let it cool completely. Never immerse the entire base unit in water. Remove the inner pot and steam tray. Wash these with warm, soapy water and a soft sponge or cloth. The non-stick surface is easy to clean, but avoid abrasive scrubbers (steel wool, harsh scouring pads) which will scratch the coating. For stuck-on bits, let the pot soak in warm soapy water for 10-15 minutes before washing. Rinse thoroughly and dry completely before storing. Wipe the interior of the base unit with a damp cloth to remove any spills or condensation. Wash the lid separately, paying special attention to the steam vent hole—use a small brush or toothpick to clear any blockage. The gasket (seal) around the lid can trap food particles; lift it gently and wipe underneath.
Deep Cleaning and De-scaling
Over time, mineral deposits from hard water can build up on the heating plate and inside the pot, appearing as a white, chalky film. To remove this, create a cleaning solution: mix 1 cup of white vinegar with 1 cup of water. Pour this solution into the empty inner pot. Place the pot in the base, close the lid, and press “COOK.” Let it run through the full cycle. Once done, discard the vinegar solution, let the pot cool, and wash it thoroughly with soapy water. For stubborn deposits, you can use a commercial descaler or a paste of baking soda and water applied with a soft cloth. Rinse extremely well. This deep clean should be done every 1-2 months depending on your water hardness and usage frequency.
Troubleshooting Common Issues
Even with perfect technique, you might occasionally encounter issues. Most problems have simple fixes related to water ratios, rinsing, or maintenance. Before assuming your cooker is broken, work through this checklist.
Problem: Rice is Sticky, Mushy, or Gummy
Likely Cause: Insufficient rinsing. Excess starch on the rice grains is the #1 culprit. It creates a sticky coating that prevents separate grains. Solution: Rinse the rice vigorously under cold water until the water runs clear. Also, check your water ratio—you may have added too much water. Use the pot’s markings precisely. For very sticky rice varieties like short-grain sushi rice, a slightly lower water ratio (e.g., 1 cup rice to 1.25 cups water instead of 1.5) can help.
Problem: Rice is Crunchy, Undercooked, or Dry
Likely Cause: Not enough water or a faulty seal. If the rice is crunchy, the water was insufficient to fully hydrate and steam the grains. Solution: Next time, add a few extra tablespoons of water. Also, inspect the lid gasket. If it’s torn, warped, or has food debris underneath, steam escapes, leading to uneven cooking and dry rice. Clean the gasket area meticulously or replace the gasket if damaged.
Problem: Rice Burns on the Bottom
Likely Cause: This is less common in modern cookers but can happen. Causes include: using too little water, stirring the rice during cooking (which releases starch and can cause sticking), or a dirty heating plate. Solution: Ensure correct water levels. Never lift the lid or stir during the cook cycle. If burning happens repeatedly, unplug the cooker and check the heating plate for old, caked-on rice residue. Clean it thoroughly with a damp cloth when cool. A very thin layer of oil rubbed on the bottom of the *dry* inner pot before adding rice and water can sometimes prevent sticking, but test this cautiously as it can affect texture.
Problem: Cooker Boils Over or Foams Excessively
Likely Cause: Adding too much rice/water for the capacity, or using very starchy rice without enough rinsing. Some grains like oatmeal or certain rices produce more foam. Solution: Never exceed the “MAX” line on the inner pot. Rinse rice extremely well. When cooking porridges or very starchy grains, leave the steam vent open (if your lid has a removable plug) and place a large spoon in the pot to break surface tension, or simply monitor the first time and stop the cooker briefly if it threatens to boil over.
Frequently Asked Questions
Why is my rice always sticky even though I use the right amount of water?
Sticky rice is almost always caused by insufficient rinsing. The starch on the rice surface must be washed away to allow grains to cook separately. Rinse your rice in a fine-mesh strainer under cold water for 1-2 minutes until the water runs clear. This simple step is the most important for achieving fluffy, non-sticky results.
Can I leave the rice on the “Keep Warm” setting all day?
While the “Keep Warm” function is safe and maintains temperature, rice will gradually dry out and may develop a tough texture after 4-5 hours. For best quality, serve rice within 2-3 hours of cooking. If you need to store it longer, transfer it to an airtight container and refrigerate. To reheat, add a tablespoon of water per cup and steam or microwave.
How do I cook brown rice perfectly? It always comes out chewy or underdone.
Brown rice needs more water and a longer cycle. Always use the “BROWN RICE” water line on your pot, not the white rice line. If your model lacks a brown rice setting, use the standard “COOK” cycle but be prepared for it to take 45-60 minutes. Ensure your lid is sealed properly to trap steam. Let it rest for a full 15-20 minutes after cooking to allow the grains to absorb the last bit of moisture.
Can I cook instant or minute rice in my Aroma cooker?
Yes, but it’s not necessary as instant rice cooks in minutes on the stovetop. If you choose to, use significantly less water than for regular rice—about 1 cup water per 1 cup instant rice. However, the cooker’s cycle is designed for longer cooking, so the rice may become too soft or mushy as it will sit on “Keep Warm” for a while. It’s more efficient to cook instant rice conventionally.
My steam tray doesn’t fit properly or wobbles. Is it broken?
Ensure you are placing the steam tray on top of the inner pot after you have added the correct amount of water for steaming (usually about 1 cup). The tray should sit flat on the rim of the inner pot. If it still wobbles, check for food debris or mineral buildup on the rim of the inner pot or the tray’s feet. Clean both surfaces thoroughly. The tray is designed to be slightly elevated; a small wobble is normal during steaming as water boils.
Is the non-stick coating on the inner pot safe? How do I care for it?
Yes, the PTFE/PFOA-free non-stick coating used in modern Aroma cookers is safe for cooking when used correctly. To preserve it, always use wood, plastic, or silicone utensils—never metal. Avoid cooking sprays, which can leave a sticky residue. Clean with soft sponges and avoid abrasive cleaners. Never use the pot over an open flame or on a stovetop burner. With proper care, the coating will last for years.