Unlock the secret to Crumbl’s viral Pink Sugar Crumble cookies with this detailed copycat recipe. You’ll learn exactly how to achieve that iconic soft, cake-like texture, the perfect pink hue, and the signature sugary crumble topping. This guide goes beyond just a recipe, offering pro tips for storage, customization, and troubleshooting to ensure your homemade version tastes just like the bakery favorite, every single time.
Let’s be honest: the Crumbl Cookie phenomenon is more than a trend; it’s a cultural moment. Those massive, soft, intricately decorated cookies that flood our social media feeds have a特定的 allure. And among the rotating menu, the Pink Sugar Crumble holds a special, rosy place in many hearts. It’s the cookie that looks as delightful as it tastes—a cloud of pale pink sweetness with a crackly, sugary crown. But what happens when the craving hits on a Tuesday, or the nearest Crumbl is a 45-minute drive away? You bake. You create. You conquer the Crumbl Cookie Pink Sugar Crumble copycat recipe in your own kitchen, and I’m here to guide you through every single step to guarantee success.
This isn’t just about dumping ingredients into a bowl. This is about understanding the science behind that signature texture, mastering the crumble technique, and avoiding the common pitfalls that lead to flat, greasy, or oddly colored imposters. We’re going deep. By the end of this guide, you won’t just have a recipe; you’ll have the knowledge to consistently bake cookies that are indistinguishable from the original. So preheat your ovens, roll up your sleeves, and let’s decode the magic of the pink crumble.
Key Takeaways
- Texture is Everything: The magic lies in a cakey, soft interior with a delicate, melt-in-your-mouth crumble topping, achieved through specific ingredient ratios and baking techniques.
- Pink Hue Requires Care: Achieving the perfect pale pink color without an aftertaste means using quality pink gel food coloring and adding it to the wet ingredients for even distribution.
- Chilling is Non-Negotiable: Chilling both the cookie dough and the prepared crumble topping prevents excessive spreading and ensures thick, bakery-style cookies.
- Ingredient Temperature Matters: Using room-temperature butter and eggs is crucial for proper emulsification, creating a smooth, cohesive dough that bakes evenly.
- Storage is Key to Freshness: Store cookies in an airtight container with a piece of bread to maintain softness, or freeze the dough/balls for fresh-baked cookies anytime.
📑 Table of Contents
- What Makes a Crumbl Cookie “Crumbl”? Decoding the Signature Style
- Ingredient Breakdown: Your Pantry Checklist
- Step-by-Step Baking Guide: From Bowl to Oven
- Achieving the Perfect Texture: Troubleshooting & Pro Tips
- Storage, Freezing, and Freshness: Keeping the Magic Alive
- Customization Ideas: Making the Recipe Your Own
What Makes a Crumbl Cookie “Crumbl”? Decoding the Signature Style
Before we mix a single spoonful of sugar, we need to understand the enemy—er, the inspiration. Crumbl cookies are known for their specific characteristics: they are large, soft, often described as “cakey” rather than chewy, and feature elaborate, textured toppings. The Pink Sugar Crumble is a masterclass in this aesthetic. The cookie base is tender and slightly dense, with a fine, even crumb. It’s not a crisp cookie; it’s a cookie that yields easily when you bite into it. The topping is its star—a dry, sugary mixture that bakes into a crisp, crackly, almost meringue-like shell that shatters delicately.
The Architecture of Softness: Fat, Sugar, and Leavening
The soft, cake-like texture comes from a higher fat-to-flour ratio and the use of both baking soda and baking powder. The baking soda provides initial lift and spread, while the baking powder gives a extra boost in the oven, creating those tender, open crumb structures. The sugar is also key. Using a combination of granulated sugar (for crispness) and light brown sugar (for moisture and chew) creates a balanced texture. In our copycat, we’ll mimic this precisely. Furthermore, Crumbl uses a significant amount of butter, which is creamed with the sugars. This process incorporates air, crucial for a light texture. But we must be careful not to over-cream, which can lead to excessive spread. Room-temperature butter is essential here—it’s pliable and traps air efficiently without melting.
The Crumble Topping: More Than Just Sugar
This is where the magic happens. The topping isn’t just a sprinkle of sugar. It’s a specific mixture of powdered sugar, cornstarch, and a touch of flour, bound with a bit of butter and vanilla. The cornstarch is the secret weapon—it inhibits gluten formation, keeping the topping tender and crisp rather than hard or gritty. It also helps it melt and set into that signature crackly finish. The mixture is deliberately kept dry and crumbly before baking. When it hits the hot cookie dough, the butter melts, the sugars caramelize slightly, and the mixture sets into those beautiful, irregular shards. We will replicate this exact dry, sandy texture before it hits the oven.
Ingredient Breakdown: Your Pantry Checklist
Success starts at the grocery store. Using the right ingredients, in the right form, is 80% of the battle. Let’s walk through each component of our Crumbl Cookie Pink Sugar Crumble copycat recipe.
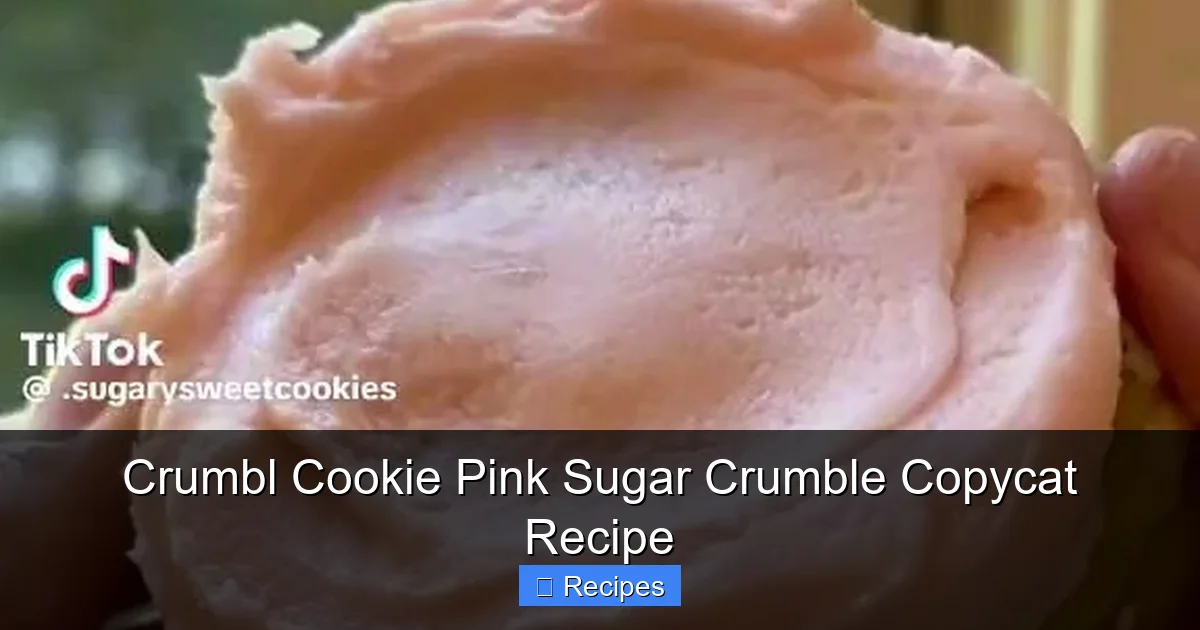
Visual guide about Crumbl Cookie Pink Sugar Crumble Copycat Recipe
Image source: i.pinimg.com
For the Cookie Dough
- All-Purpose Flour: We’re using standard AP flour, but spooned and leveled. Never scoop from the bag with a measuring cup, as this compacts it and leads to dry cookies.
- Unsalted Butter: Must be at true room temperature—about 65-70°F. It should leave a slight indentation when pressed but not be oily or melty. This ensures proper creaming.
- Granulated & Light Brown Sugar: The granulated sugar promotes spread and crispness, while the brown sugar adds moisture and that subtle caramel note. Pack the brown sugar firmly into the cup.
- Egg: Also at room temperature. A cold egg can cause the creamed butter and sugar to seize, potentially curdling the mixture.
- Vanilla Extract: Use pure vanilla extract for the best flavor. Imitation vanilla can have a bitter aftertaste.
- Baking Soda & Baking Powder: Both are necessary for the lift and texture. Ensure they are fresh; old leaveners will yield flat cookies.
- Salt: Enhances all the other flavors. Don’t skip it!
- Pink Gel Food Coloring: This is critical. Use a good-quality *gel* coloring, not liquid. Liquid coloring adds water and requires much more to achieve color, which can affect dough consistency. Gel provides vibrant color with minimal liquid. I recommend Americolor or Wilton.
For the Pink Sugar Crumble Topping
- Powdered Sugar: Sifted! Lumps in powdered sugar will create a gritty texture in your finished topping.
- Cornstarch: The non-negotiable crispness factor.
- All-Purpose Flour: Just a small amount to structure the topping.
- Unsalted Butter: Cold, cubed butter is essential here. You’ll work it in with your fingertips until the mixture is evenly sandy—no pea-sized pieces of butter should remain.
- Vanilla Extract & Salt: For flavor balance.
- Pink Gel Food Coloring: A tiny amount is needed to tint the dry mixture. Add it sparingly and mix thoroughly before deciding if you need more.
Step-by-Step Baking Guide: From Bowl to Oven
Now, the methodology. Follow these steps in order for the best results. Patience is your most important tool.
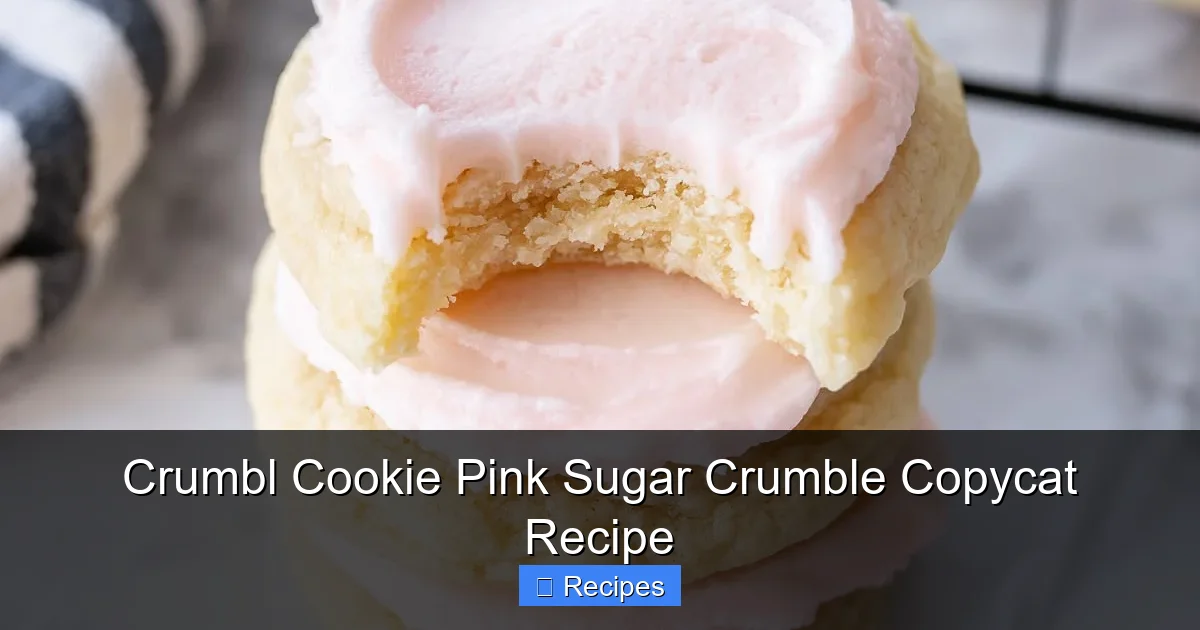
Visual guide about Crumbl Cookie Pink Sugar Crumble Copycat Recipe
Image source: i.pinimg.com
Step 1: Prep & Preheat
Preheat your oven to 350°F (175°C). This is the standard Crumbl baking temperature. Line baking sheets with parchment paper or silicone mats. Do not use greased sheets, as this can cause excessive spread. Have your stand mixer or a large bowl and hand mixer ready.
Step 2: Make the Crumble Topping First
Yes, first! The topping needs to chill. In a medium bowl, whisk together 1 cup (120g) sifted powdered sugar, 2 tablespoons (15g) cornstarch, and 2 tablespoons (15g) all-purpose flour. Add 1/4 teaspoon salt and whisk to combine. Add 3 tablespoons (42g) of cold, cubed unsalted butter. Using your fingertips, work the butter into the dry ingredients until the mixture is uniformly sandy and no dry pockets remain. It should look like wet sand. Add 1/4 teaspoon vanilla extract and 2-3 drops of pink gel coloring. Mix thoroughly until the color is evenly distributed. The mixture will be very dry and crumbly. Transfer to the refrigerator to chill for at least 30 minutes. This firms up the butter, preventing it from melting instantly on the dough.
Step 3: Cream the Butter and Sugars
In the bowl of your stand mixer fitted with the paddle attachment (or using a hand mixer), cream together 1 cup (226g) of room-temperature unsalted butter, 3/4 cup (150g) granulated sugar, and 1/2 cup (100g) packed light brown sugar on medium-high speed for 2-3 minutes. The mixture should become very pale, light, and fluffy. This aeration is vital for texture. Scrape down the bowl halfway through.
Step 4: Incorporate Wet Ingredients
Add 1 large room-temperature egg and 2 teaspoons of vanilla extract. Beat on medium speed until fully combined and smooth, about 30 seconds. Do not overmix. Then, add 10-12 drops of pink gel food coloring. Mix on low until the color is uniformly pink throughout the batter. The dough will be quite vibrant at this stage, but it will mellow slightly when flour is added.
Step 5: Combine Dry Ingredients
In a separate bowl, whisk together 2 1/2 cups (315g) all-purpose flour, 1 teaspoon baking soda, 1 teaspoon baking powder, and 1/2 teaspoon salt. With the mixer on low, gradually add the dry mixture to the wet ingredients, mixing just until no flour streaks remain. Do not overmix. The dough will be thick and soft.
Step 6: Portion and Chill the Dough
Using a 3-tablespoon cookie scoop (or a 1/3 cup measure), portion the dough into balls. You should get 8-10 large cookies. Place them at least 3 inches apart on the prepared baking sheets. Gently flatten each ball slightly with the palm of your hand or the bottom of a measuring cup to about 1-inch thick. This helps them bake evenly. Critical Step: Place the entire baking sheet with the dough balls into the refrigerator for at least 1 hour, or up to 24 hours. This relaxes the gluten, prevents excessive spread, and intensifies the flavor. Do not skip this!
Step 7: Assemble and Bake
After the dough has chilled, preheat the oven again to 350°F if it’s not already hot. Remove the sheet from the fridge. Take a generous handful (about 2-3 tablespoons) of the chilled crumble topping for each cookie. Press it firmly onto the top and slightly down the sides of each dough ball, covering the entire surface. The topping should adhere well. Bake for 10-12 minutes. The cookies are done when the edges are set and lightly golden, the centers look soft and slightly underdone, and the topping is set and starting to crack. They will continue to cook on the hot sheet. Do not overbake. Let them cool on the baking sheet for 5 minutes before transferring to a wire rack to cool completely.
Achieving the Perfect Texture: Troubleshooting & Pro Tips
Even with the perfect recipe, small variables can change the outcome. Here’s how to troubleshoot and guarantee bakery-style results every time.
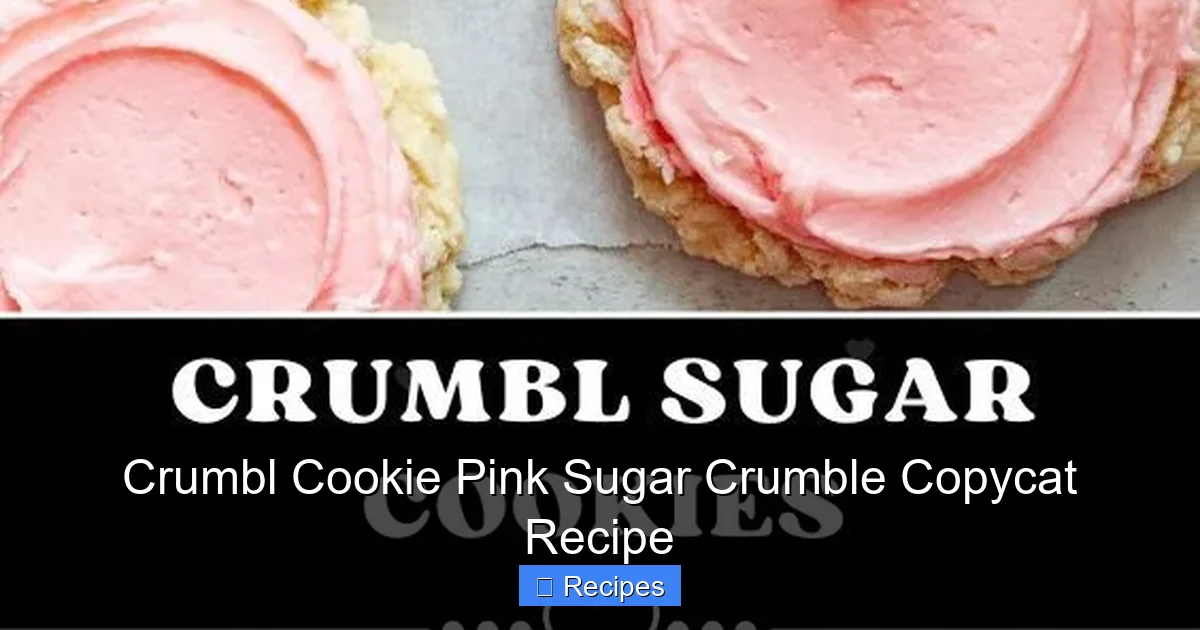
Visual guide about Crumbl Cookie Pink Sugar Crumble Copycat Recipe
Image source: i.pinimg.com
Problem: My cookies spread too much and are thin.
Solution: This is the most common issue. The primary cause is dough that is too warm. Ensure your butter is room temperature, not soft or greasy. The 1-hour chill is absolutely mandatory. If your kitchen is very warm, extend the chill time to 2 hours. Also, check your baking soda and powder—if they are old, they can cause excessive spread. Finally, make sure your oven is truly preheated. An oven that starts cool will cause cookies to spread before they set.
Problem: My cookies are dry and crumbly, not soft.
Solution: You likely overmeasured your flour. The #1 rule: spoon flour into your measuring cup and level it off with a knife. Never scoop from the bag. Overbaking is the second culprit. Pull them out when the centers look soft and the edges are just set. They will firm up as they cool. Also, ensure you are using light brown sugar, not dark, which is moister and can affect texture.
Problem: My crumble topping is hard or gritty, not crackly.
Solution: This points to the cornstarch. Did you use it? Did you sift the powdered sugar? Lumps in the powdered sugar will not melt properly and create a gritty texture. Also, if the topping mixture was not worked into a fine, sandy consistency before baking, you’ll get chunks. Finally, if your dough spread too much, the topping can sink and become submerged, altering its texture. A firm, chilled dough ball is the foundation for a perfect, perched crumble top.
Pro Tip: The “Poke and Fill” Method for Extra Crumble
For the ultimate Crumbl experience, try this after the cookies have cooled completely. Gently poke a few holes in the top of each cookie with a toothpick or skewer. Warm 1-2 tablespoons of the leftover crumble topping (or make a small extra batch) with a splash of milk until it’s a thick, pourable glaze. Drizzle or spoon this into the holes. It adds an extra layer of sweet, crumbly texture that mimics the filled cookies sometimes seen in the Crumbl lineup.
Storage, Freezing, and Freshness: Keeping the Magic Alive
These cookies are best the day they are baked, but proper storage can extend their soft, delightful life for several days.
Short-Term Storage (3-4 Days)
Store completely cooled cookies in an airtight container at room temperature. Place a small piece of sandwich bread (a half-slice works) in the container with the cookies. The bread acts as a humidity regulator, releasing moisture to keep the cookies soft. Replace the bread every day or two. Keep the container in a cool, dark place away from direct sunlight or heat sources.
Freezing the Baked Cookies
You can freeze the baked cookies for up to 3 months. Let them cool completely on a wire rack. Place them in a single layer on a parchment-lined baking sheet and freeze until solid (about 1 hour). Then, transfer them to a freezer-safe zip-top bag or airtight container, placing parchment paper between layers if stacking. To thaw, leave them in the bag at room temperature for 2-3 hours. Do not microwave thawed cookies, as this will make the crumble topping rubbery.
Freezing the Dough: The Best Method for Anytime Baking
This is my favorite method for having fresh-baked cookies on demand. After portioning the dough balls (Step 6) but before the first chill, place the dough balls on a parchment-lined baking sheet in a single layer. Freeze until solid, then transfer to a freezer bag. You can freeze the crumble topping separately in a small bag as well. When you want cookies, bake from frozen, adding 1-2 minutes to the bake time. No need to thaw! You can also press the crumble topping onto the frozen dough balls before baking—it will adhere fine.
Customization Ideas: Making the Recipe Your Own
Once you’ve mastered the classic, have fun with it! The base dough is incredibly versatile.
Flavor Variations
- Strawberry Crumble: Replace the pink gel with strawberry-flavored gel and add 1/2 teaspoon-freeze-dried strawberry powder (blitzed fine) to the dry ingredients.
- Lemon Glaze: Omit the pink coloring. After cookies cool, drizzle with a simple lemon glaze (1 cup powdered sugar + 1-2 tbsp lemon juice).
- Chocolate Chip Crumble: Fold 1 cup of mini chocolate chips into the dough after mixing in the flour. You can tint the crumble pink or leave it white.
Dietary Modifications
Gluten-Free: Substitute a 1:1 gluten-free all-purpose flour blend that contains xanthan gum (like Cup4Cup or Bob’s Red Mill 1-to-1). The texture may be slightly more tender but still delicious.
Dairy-Free: Use a high-quality, firm vegan butter stick (like Miyoko’s or Earth Balance) that is cold and solid. Ensure your chocolate chips and other add-ins are dairy-free.
Adjusting Size
Crumbl cookies are famously large. For smaller, more traditional cookies, use a 2-tablespoon scoop and reduce bake time by 1-2 minutes. The crumble topping amount per cookie should be reduced accordingly to about 1 tablespoon.
Frequently Asked Questions
Can I use liquid food coloring instead of gel?
You can, but it’s not recommended. Liquid coloring adds water to your dough or topping, which can affect texture and spread. You would need to use a much larger amount to achieve the same pink hue, increasing the risk of altering the recipe’s chemistry. Gel coloring provides intense color with minimal liquid.
Why did my crumble topping sink into the cookie instead of sitting on top?
This happens if the cookie dough is too warm or under-chilled when it goes into the oven. The dough spreads too much, enveloping the topping. Ensure your dough balls are thoroughly chilled for at least one hour. Also, make sure your crumble topping is cold from the fridge when you press it on; warm topping will melt into the dough immediately.
Can I make the cookie dough ahead of time?
Absolutely! The dough, once portioned into balls, can be stored in an airtight container in the refrigerator for up to 3 days. You can bake them directly from the fridge, but you may need to add 1-2 minutes to the baking time. For longer storage, freeze the dough balls as described in the storage section.
My cookies are too sweet. Can I reduce the sugar?
Reducing sugar significantly can impact both texture and spread, as sugar contributes to moisture retention and crispness. You could likely reduce the granulated sugar by 1/4 cup without a major disaster, but the cookies may be slightly less soft and spread a bit more. The sweetness is a hallmark of the Crumbl style, so adjust with caution.
How do I get that perfectly crackly crumble top?
The crackly texture comes from the precise ratio of powdered sugar to cornstarch and the way the topping bakes. Ensure your cornstarch is fresh and your powdered sugar is sifted. The topping must be a dry, sandy mixture before baking—no visible butter streaks. When it hits the hot oven, the butter melts rapidly, the sugars set, and the cornstarch creates that delicate, crisp shell that cracks as the cookie expands.
Why are my cookies cakey but not soft? They seem a bit dry.
“Cakey” and “soft” should go hand-in-hand. If yours are cakey but dry, you are most likely overmeasuring the flour. The most common baking error is compacting flour into the measuring cup. Always use the spoon-and-level method. Additionally, check your bake time—overbaking by even one minute can dry them out. They should look slightly underdone when you pull them from the oven.