Discover the easiest way to master your microwave pressure cooker with clear, step‑by‑step instructions. From safety checks to delicious one‑pot recipes, this guide shows you how to cook faster, retain nutrients, and clean up in minutes. Start cooking smarter today!
Key Takeaways
- Safety first: Always check the seal, vent, and microwave wattage before cooking.
- Correct liquid ratio: Use at least ½ cup of liquid to generate enough steam for pressure.
- Timing matters: Adjust cooking times based on food type and microwave power.
- Pressure release options: Know when to use natural vs. quick release for best texture.
- Easy cleaning: Soak the lid and gasket; most parts are dishwasher safe.
- Versatile recipes: From soups to desserts, a microwave pressure cooker handles a wide range of dishes.
- Energy efficient: Cooking times are 50‑70 % shorter, saving both time and electricity.
📑 Table of Contents
Introduction: Why a Microwave Pressure Cooker?
If you love fast, flavorful meals but dread the mess of stovetop pots, a microwave pressure cooker might be your new kitchen hero. It combines the speed of a pressure cooker with the convenience of a microwave, letting you whip up soups, stews, beans, and even desserts in a fraction of the time.
Unlike traditional pressure cookers that sit on the stove, the microwave version sits on your countertop and uses microwave energy to create steam pressure inside a sealed container. The result? Food cooks evenly, nutrients stay locked in, and cleanup is a breeze. In this guide, we’ll walk you through everything you need to know—safety, set‑up, cooking techniques, recipes, and maintenance—so you can feel confident using your microwave pressure cooker every day.
1. Getting Started: Safety First
1.1 Check the Compatibility of Your Microwave
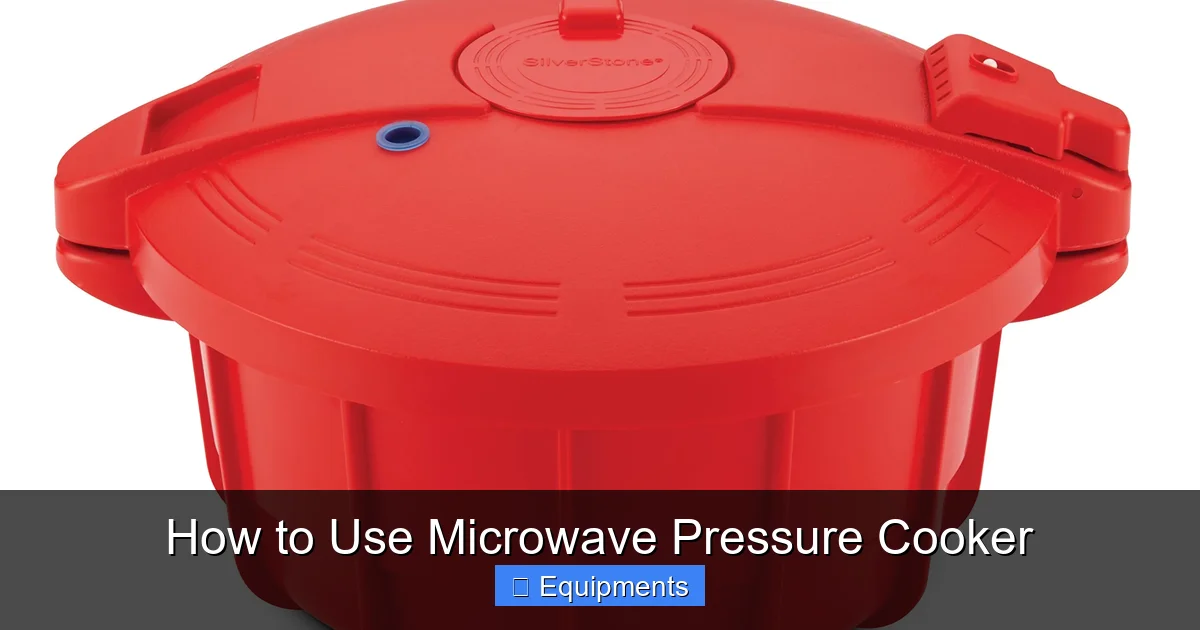
Not every microwave is built the same. Most microwave pressure cookers are rated for 700‑1200 watts. Look for the wattage label on the inside of your microwave door and compare it to the cooker’s specifications. If your microwave is below the recommended wattage, cooking times will be longer and pressure may not build properly.
Visual guide about How to Use Microwave Pressure Cooker
Image source: m.media-amazon.com
1.2 Inspect the Cooker Before Each Use
- Seal and Gasket: Make sure the silicone gasket is clean, pliable, and seated correctly. A cracked or hardened gasket can cause steam to escape, preventing pressure buildup.
- Vent Valve: Verify that the vent is free of food particles. A blocked vent stops steam from escaping, which can create dangerous over‑pressure.
- Lid Lock: Most models have a click‑lock mechanism. Ensure the lid snaps shut firmly; you should hear a distinct “click.”
1.3 Understand the Pressure Levels
Microwave pressure cookers typically have two pressure settings: low (about 5‑7 psi) and high (about 10‑12 psi). Low pressure is ideal for delicate foods like fish or custards, while high pressure works best for tough cuts of meat, beans, and root vegetables. Your cooker’s manual will show the exact psi values, but the rule of thumb is: the higher the pressure, the faster the cooking.
2. Preparing Your Ingredients
2.1 The Importance of Liquid
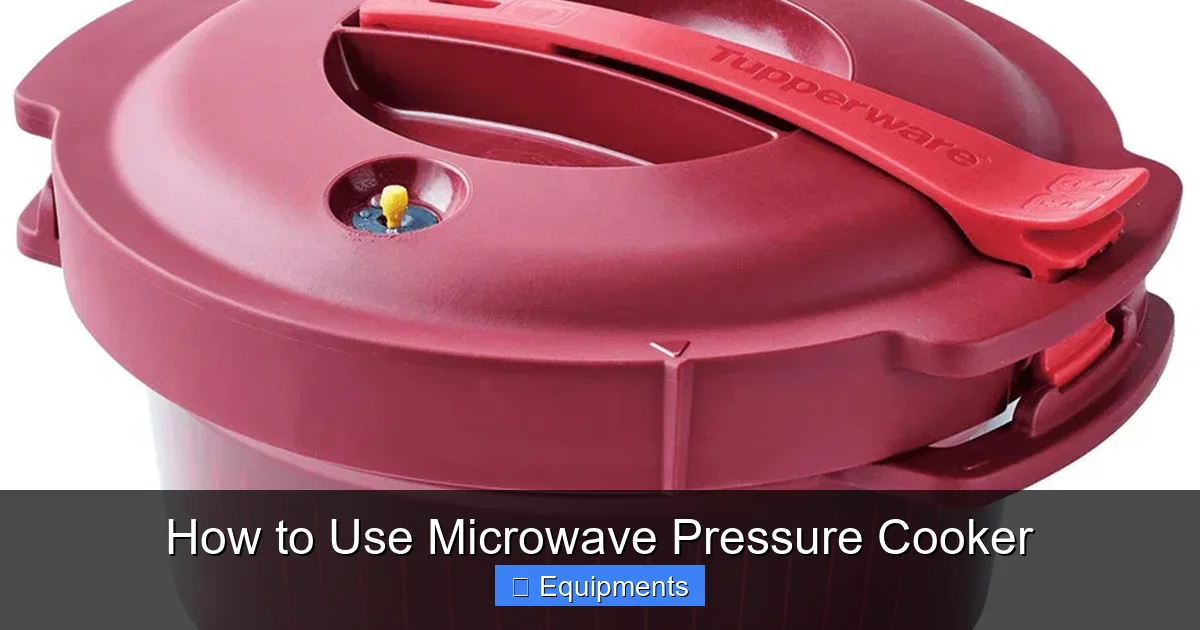
Pressure is created by steam, so you must always add liquid. The minimum is usually ½ cup (120 ml) of water, broth, or another cooking liquid. For recipes that already contain a lot of moisture (e.g., tomatoes, sauces), you can reduce the added liquid slightly, but never go below the minimum.
Visual guide about How to Use Microwave Pressure Cooker
Image source: tupperware.com
2.2 Cutting Food Uniformly
Because the microwave heats from the inside out, pieces that are too large can cook unevenly. Aim for bite‑size cubes (about 1‑inch) for meats and vegetables. Uniform pieces ensure that the steam penetrates every part of the food at the same rate.
2.3 Layering for Best Results
Place denser foods (root vegetables, meat) on the bottom of the cooker, and lighter items (greens, quick‑cooking grains) on top. This natural “heat sink” arrangement helps everything finish cooking together.
3. How to Use the Microwave Pressure Cooker
3.1 Step‑by‑Step Guide
- Load the cooker: Add ingredients and the required liquid. Stir to combine.
- Seal the lid: Align the vent and lock the lid. Make sure the vent is set to the “closed” position for pressure cooking.
- Place in microwave: Center the cooker on the turntable. Avoid touching the microwave walls.
- Set power level: Most recipes call for 100 % power. For delicate dishes, reduce to 70‑80 %.
- Start the timer: Use the recommended cooking time (see recipe section). The microwave will run, and pressure will build.
- Monitor the vent: You’ll hear a steady hiss as steam builds. If the vent releases too much steam, pause the microwave and reset the vent.
- Finish cooking: When the timer ends, let the cooker sit for 1‑2 minutes, then carefully release pressure (see release methods below).
- Open safely: Turn the vent to “release” and wait until steam stops. Open the lid away from your face.
3.2 Pressure Release Methods
- Natural Release: Let the cooker sit untouched until the pressure drops on its own (usually 5‑10 minutes). Best for meats and beans to retain moisture.
- Quick Release: Turn the vent to the open position immediately after cooking. Use a kitchen towel to protect your hand from the steam. Ideal for vegetables and soups that can become over‑cooked.
3.3 Adjusting Cooking Times
Microwave power varies, so use these guidelines:
Visual guide about How to Use Microwave Pressure Cooker
Image source: i.pinimg.com
- For 700‑800 watts, add 20‑30 seconds to the listed time.
- For 1000‑1200 watts, use the listed time as is.
- If you’re cooking at a lower power setting (e.g., 80 %), increase time by about 25 %.
4. Delicious Recipes to Try
4.1 Classic Chicken and Rice
Ingredients: 1 cup long‑grain rice, 2 cups chicken broth, ½ lb boneless chicken thighs (cut into 1‑inch pieces), 1 carrot (diced), ½ cup frozen peas, 1 tbsp olive oil, salt & pepper.
Method: Toss rice, broth, chicken, carrot, peas, and oil in the cooker. Seal, set vent to “closed,” and microwave on high for 8 minutes. Let sit 2 minutes, then quick‑release. Fluff and serve.
4.2 Hearty Lentil Soup
Ingredients: 1 cup red lentils, 4 cups vegetable broth, 1 onion (chopped), 2 cloves garlic (minced), 1 tsp cumin, 1 tsp smoked paprika, 1 tbsp tomato paste, 1 tbsp olive oil.
Method: Sauté onion and garlic in a microwave‑safe skillet with oil for 2 minutes. Transfer to cooker, add remaining ingredients, ½ cup water, and seal. Cook on high for 12 minutes, natural release 5 minutes. Stir and enjoy.
4.3 Sweet Potato Chili
Ingredients: 2 cups diced sweet potatoes, 1 cup black beans (canned, drained), 1 cup diced tomatoes, ½ cup corn, 1 tbsp chili powder, ½ tsp cinnamon, 1 cup chicken broth.
Method: Combine all ingredients in cooker, seal, and microwave on high for 10 minutes. Quick‑release, garnish with cilantro and avocado.
4.4 One‑Pot Cheesecake (Yes, Really!)
Ingredients: 1 package cream cheese (8 oz), ¼ cup sugar, 1 egg, 1 tsp vanilla, ½ cup crushed graham crackers, 2 tbsp butter (melted).
Method: Press graham crumbs mixed with butter into the bottom of a microwave‑safe silicone mold. Blend cream cheese, sugar, egg, and vanilla; pour over crust. Cover with a microwave‑safe lid, set vent to “closed,” and cook on 70 % power for 6 minutes. Natural release 5 minutes. Chill for 2 hours before serving.
4.5 Quick Tips for Recipe Success
- Always add at least ½ cup liquid.
- Start with the shortest time; add 30‑second increments if needed.
- Use the “stir halfway” trick for thicker dishes—stop the microwave, stir, then resume.
- For crisp toppings (e.g., cheese), uncover the cooker for the last minute of cooking.
5. Cleaning and Maintenance
5.1 Daily Cleaning Routine
After each use, allow the cooker to cool completely. Remove the lid and gasket. Rinse the interior with warm, soapy water. The silicone gasket can be hand‑washed or placed on the top rack of a dishwasher.
5.2 Deep Cleaning
Every few weeks, soak the lid, gasket, and interior in a solution of 1 part white vinegar to 3 parts water for 15 minutes. This removes mineral buildup from hard water. Rinse thoroughly and dry.
5.3 Inspect for Wear
Check the gasket for cracks, discoloration, or loss of elasticity. Replace it according to the manufacturer’s schedule—usually every 12‑18 months. Also, ensure the vent pin is not bent or clogged.
6. Troubleshooting Common Issues
6.1 Cooker Won’t Seal
Make sure the gasket is seated properly and free of food debris. If the lid still won’t click, the gasket may be mis‑aligned; remove it, clean, and reinstall.
6.2 Not Building Pressure
Reasons include insufficient liquid, a blocked vent, or using a microwave with too low wattage. Verify the vent is set to “closed” and add more liquid if needed.
6.3 Over‑Cooking or Burning
If food looks dry, reduce the cooking time by 10‑15 seconds and increase liquid. For sugary dishes, lower the power to 70 % to prevent scorching.
6.4 Steam Leaking During Cooking
Check that the vent is fully closed. A partially open vent releases steam early, preventing pressure buildup. Re‑seal the lid and restart.
Conclusion: Cook Smarter, Not Harder
Using a microwave pressure cooker is a game‑changer for busy households. By following safety checks, mastering liquid ratios, and adjusting times to your microwave’s power, you can create restaurant‑quality meals in minutes. The versatility of the appliance—ranging from savory stews to indulgent desserts—means you’ll reach for it again and again. Keep the cooker clean, replace the gasket when needed, and experiment with new recipes. Your kitchen will thank you, and you’ll have more time to enjoy the food you love.
Frequently Asked Questions
Can I use a microwave pressure cooker in a standard 900‑watt microwave?
Yes, but you’ll need to add a few extra seconds to the cooking time. Most models work best at 1000‑1200 watts, so adjust accordingly.
Is it safe to cook frozen meat directly in the microwave pressure cooker?
Yes, as long as you add enough liquid (at least ½ cup) and increase the cooking time by about 20‑30 seconds for each pound of frozen meat.
Do I need to pre‑heat the microwave pressure cooker?
No pre‑heating is required. The microwave heats the contents and creates pressure simultaneously.
Can I use the cooker for baking?
Absolutely. Recipes like cheesecake, custard, and even small cakes work well because the sealed environment traps steam, giving a moist crumb.
How do I know when the pressure is fully built?
When the cooker is sealed correctly, you’ll hear a steady hiss as steam builds. The vent will stay closed, and the microwave timer will continue running.
Is the microwave pressure cooker dishwasher safe?
The silicone gasket and most plastic parts are dishwasher safe on the top rack. The lid’s metal components should be hand‑washed to avoid rust.