Unlock the secret to bakery-quality bread at home with your Samsung oven’s dedicated Bread Proof function. This feature creates a warm, humid environment—typically around 80-110°F (27-43°C)—that mimics a professional proofing cabinet, giving your yeast the perfect conditions to work. It’s not just for loaves; use it for pizza dough, rolls, cinnamon buns, and more. By following precise temperature guidelines, proper dough preparation, and a few pro tips, you’ll achieve consistent, airy, and flavorful results every single time, eliminating the guesswork from the final rise.
Key Takeaways
- The Bread Proof function is a controlled warm & humid environment: It’s designed specifically for the final rise (proof) of yeast doughs, typically operating between 80°F and 110°F (27°C – 43°C), which is the ideal temperature range for active yeast without killing it.
- Preparation is everything: Always ensure your dough is properly kneaded, shaped into its final form, and covered tightly with a damp cloth or plastic wrap to prevent a dry skin from forming before placing it in the oven.
- It’s not for baking or warming: The Bread Proof setting uses low, gentle heat and often activates a hidden steam element. Never use it to cook food or keep meals warm, as it will not reach safe cooking temperatures.
- Timing varies by recipe and dough: Proofing times can range from 30 minutes for fast rolls to 2+ hours for a cold-fermented sourdough. Always rely on visual cues (doubling in size) over the clock.
- Troubleshooting common issues is simple: If dough isn’t rising, check yeast viability and water temperature. If it’s rising too fast, lower the oven’s proofing temperature setting if available, or proof for less time. If the top dries out, ensure it’s properly covered.
- Maintenance keeps it effective: After proofing, wipe any moisture from the oven cavity and door seal. Periodically check that the oven’s internal light (if used during proofing) and seal are functioning properly to maintain consistent conditions.
- Versatility beyond bread: Use this function for proofing pizza dough, soft pretzels, sweet rolls, cinnamon buns, and even for starting fermentation in recipes like sourdough or for making yogurt and fermenting vegetables in a controlled warm spot.
📑 Table of Contents
- Introduction: The Magic of Controlled Proofing
- Understanding Proofing: The Science Behind the Setting
- Locating and Understanding Your Samsung Oven’s Proofing Controls
- Step-by-Step: How to Use the Bread Proof Function Perfectly
- Troubleshooting: Common Proofing Problems and Solutions
- Beyond the Basics: Advanced Tips and Creative Uses
- Care and Maintenance for Your Proofing Function
- Conclusion: Your Journey to Perfect Bread Starts Here
Introduction: The Magic of Controlled Proofing
There’s a quiet moment of triumph in every home baker’s journey: that perfect, puffy, ready-to-bake dough, risen just right. Achieving it consistently, however, can be a dance with your kitchen’s unpredictable temperature, drafts, and seasonal humidity. This is where your Samsung oven’s Bread Proof function transforms from a mysterious button into your most powerful baking ally. It’s not just a “warm” setting; it’s a precision tool engineered to create the ultimate cocoon for yeast, providing consistent, gentle warmth and humidity that commercial bakeries have used for decades.
Many home bakers mistakenly believe proofing is a passive step, but it’s an active biochemical process where yeast consumes sugars and produces carbon dioxide, expanding the dough’s gluten network. The Bread Proof function on your Samsung oven removes the environmental variables, ensuring this gas production happens at an optimal, steady pace. This leads to better oven spring, more complex flavor development, and a superior crumb structure. Whether you’re tackling a classic artisan loaf, fluffy dinner rolls, or a Neapolitan-style pizza base, understanding this function is the key to unlocking professional-level results from your own kitchen. Let’s demystify it completely.
Understanding Proofing: The Science Behind the Setting
What is Proofing, Exactly?
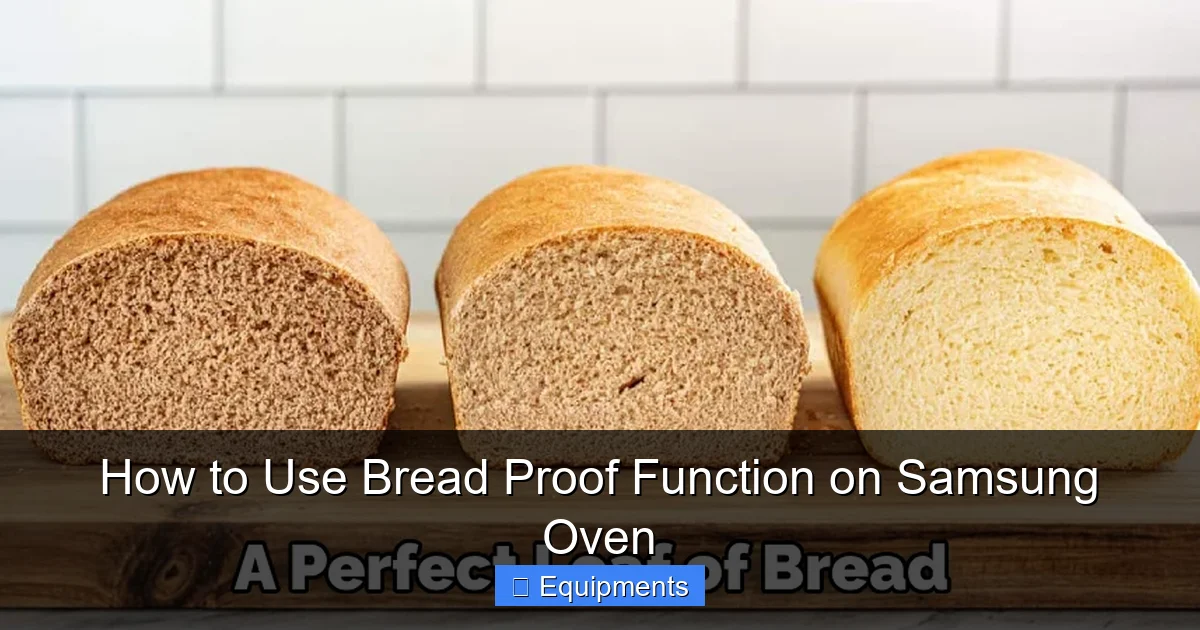
Proofing, also called the final rise or bulk fermentation’s last stage, occurs after shaping. The dough, now in its final form (a boule, batard, baguette, or roll), rests in a controlled environment. Yeast activity is the star here. As it feeds on sugars, it releases carbon dioxide gas, which gets trapped in the elastic gluten network, causing the dough to expand and become lighter. Simultaneously, fermentation produces organic acids and alcohols that build the foundational flavors of your bread. A proper proof ensures the dough is aerated but not so fragile that it collapses in the oven.
Visual guide about How to Use Bread Proof Function on Samsung Oven
Image source: thekitchenix.com
The Ideal Proofing Environment: Warmth and Humidity
Yeast is a living organism with a comfort zone. Its ideal activity temperature is between 75°F and 85°F (24°C – 29°C). Too cold (<70°F/21°C), and it works sluggishly, leading to dense, under-proofed bread. Too hot (>120°F/49°C), and it dies, stopping gas production entirely and potentially killing the yeast. The Bread Proof function on Samsung ovens is calibrated to stay safely within this sweet spot, usually defaulting to around 90°F – 100°F (32°C – 38°C).
Equally critical is humidity. As dough proofs, its surface is prone to drying out and forming a tough “skin” that restricts expansion. The proofing function often engages the oven’s hidden steam or warming element (not the main bake element) to introduce gentle moisture into the sealed cavity, keeping the dough’s surface supple and elastic. This combination of stable, warm temperature and high humidity is what makes this setting so effective.
Locating and Understanding Your Samsung Oven’s Proofing Controls
Finding the Bread Proof Button
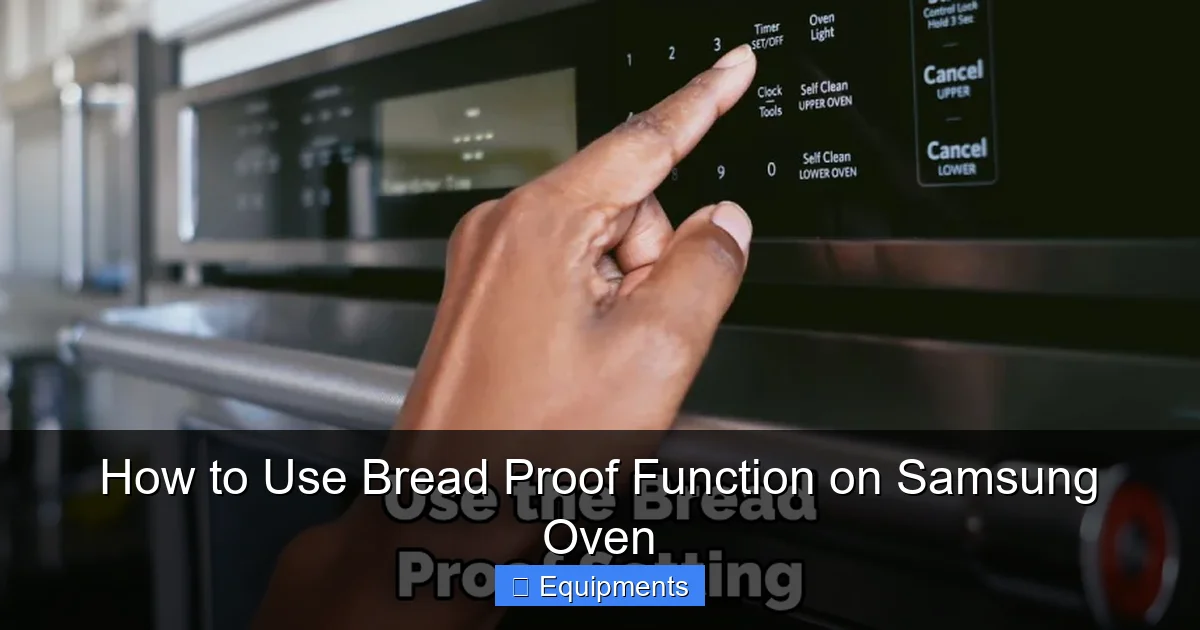
The location varies by model series (e.g., Flex Duo, Chef Collection, Bespoke), but the control is universally labeled. On most modern Samsung electric and gas ranges, you’ll find a dedicated button labeled “Proof” or “Bread Proof” on the main control panel, often near the other specialized functions like “Warm,” “Dehydrate,” or “Slow Cook.” On some touch-screen models, it may be within an “Options” or “More” menu. Consult your specific model’s user manual for the exact location, as this is the first step to mastery.
Visual guide about How to Use Bread Proof Function on Samsung Oven
Image source: thekitchenix.com
What Happens When You Press It?
Activating the Proof function triggers a specific, low-power heating cycle. Unlike the “Warm” setting, which might use a top or bottom element to simply hold temperature, Proof is designed for longevity and moisture. In many Samsung models, it will:
- Set a Target Temperature: The oven will heat to its pre-programmed proofing temperature, typically between 80°F and 110°F (27°C – 43°C). Some higher-end models allow you to adjust this in 5° increments.
- Activate Humidity: A small steam generator or the lower warming element may cycle on briefly to introduce moisture. You might hear a faint humming or see a small amount of steam if you look through the window.
- Illuminate the Cavity Light: The oven light often stays on so you can check the dough’s progress without opening the door and losing heat/humidity.
- Maintain Consistency: The system cycles heat on and off to maintain the set temperature with minimal fluctuation, which is crucial for even proofing.
It’s important to note that the Bread Proof function is not available on all Samsung oven models, particularly very basic or older ones. If you cannot find the button, your oven may not have this dedicated program. In that case, you can create a DIY proofing box using your oven’s “Warm” setting (set to the lowest possible temperature, often 150°F/65°C, which may be too hot) or by placing a pan of boiling water in a cold oven and turning on the oven light. However, the dedicated function is vastly superior.
Step-by-Step: How to Use the Bread Proof Function Perfectly
Step 1: Prepare Your Dough
This function is for the final proof only. Your dough must already be fully kneaded and have completed its first rise (bulk fermentation). After punching down and dividing/shaping, your dough is ready for its final slumber. Place the shaped dough on a parchment-lined baking sheet, in a proofing basket (banneton), or in its final baking pan (like for cinnamon buns).
Visual guide about How to Use Bread Proof Function on Samsung Oven
Image source: thekitchenix.com
Step 2: Cover Securely
This is non-negotiable. To prevent a dry skin:
- For loaves in a basket: Dust with flour and cover the entire basket with a large, lint-free kitchen towel, then place inside a large plastic bag or another bowl to create a tent.
- For rolls or buns on a sheet: Lightly spray the dough with water, then cover the entire sheet pan tightly with plastic wrap. Alternatively, use a reusable silicone cover or a large inverted bowl.
- For dough in a baking pan: Cover the pan tightly with plastic wrap.
The goal is a sealed, humid microenvironment around the dough.
Step 3: Place in the Oven and Activate
Place your covered dough on the center rack of your cold oven. Close the door securely. Press the “Proof” or “Bread Proof” button on your control panel. The display should indicate the function is active and may show the target temperature or a timer. Do not preheat the oven for this function. The proofing cycle starts from a cold state.
Step 4: Monitor, Don’t Peek!
Resist the urge to open the door! Every time you open it, you release precious heat and humidity, extending proofing time and potentially creating an uneven rise. Use the oven window to check progress. A properly proofed dough will have nearly doubled in size. Perform the “poke test”: lightly flour your fingertip and gently press about 1/2 inch into the dough. If the indentation springs back slowly, leaving a small dent, it’s ready. If it springs back instantly, it needs more time. If it collapses, it’s over-proofed.
Step 5: Bake Immediately
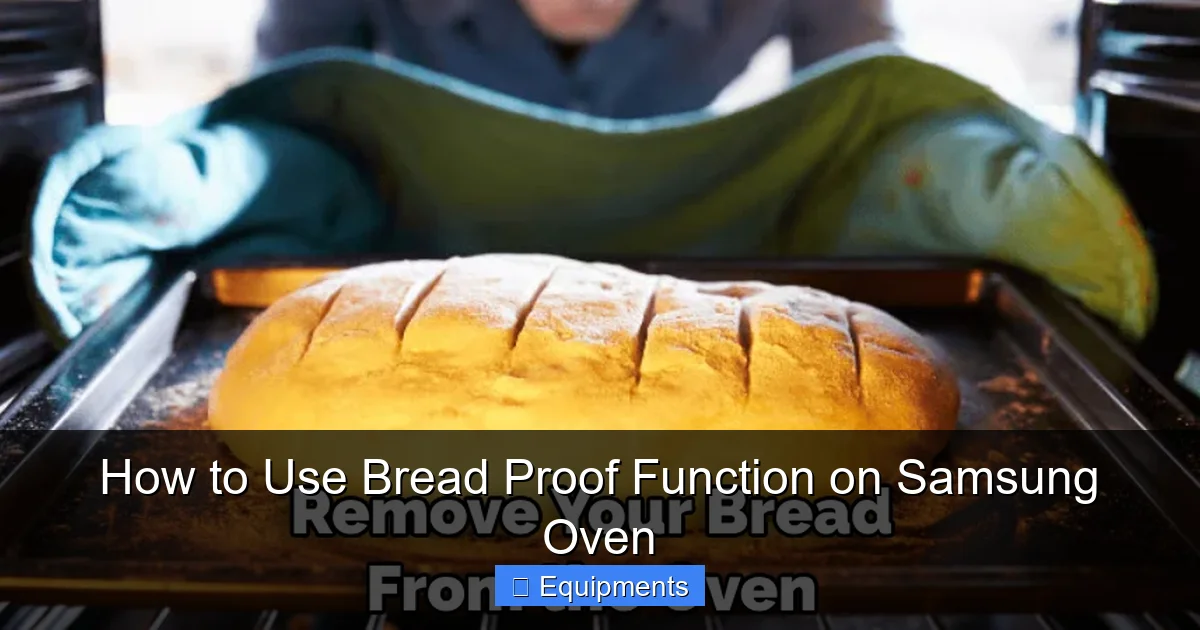
Once proofed, carefully remove the dough from the oven. If your recipe calls for scoring (slashing) the loaf, do it now. Immediately proceed to bake according to your recipe’s instructions, often at a much higher temperature (400°F-475°F / 200°C-245°C). Do not leave the proofed dough sitting out, as it may over-proof.
Troubleshooting: Common Proofing Problems and Solutions
Problem: My Dough Isn’t Rising in the Proof Function.
Solution: First, verify your yeast is active. A simple test: mix 1 tsp sugar and 1 tsp yeast in 1/4 cup warm water (105°F-115°F/40°C-46°C). It should foam vigorously within 10 minutes. If not, your yeast is dead. Second, your water in the dough recipe may have been too hot (>140°F/60°C) and killed the yeast during mixing. Ensure you use lukewarm water (95°F-105°F/35°C-40°C). Third, your dough may be too cold when placed in the oven. Let it sit at room temperature for 15-20 minutes before proofing.
Problem: The Top of My Dough is Dry and Forming a Skin.
Solution: Your covering was insufficient. Ensure plastic wrap is pulled taut and sealed against the edges of the pan or bowl. For loaves in baskets, the towel must be damp (spritz with water) and the entire basket must be enclosed in a plastic bag to trap the towel’s moisture. The Bread Proof function’s humidity helps, but it cannot penetrate an inadequate cover.
Problem: My Dough is Rising Too Quickly and Has a Strange, Alcoholic Smell.
Solution: This is over-proofing due to excessive time or (less likely) temperature. If your Samsung model allows temperature adjustment, lower the proofing setting by 5°-10°F. More commonly, you simply left it in too long. Set a timer as a reminder and rely on the visual “doubled in size” and poke test cues, not just the clock. Over-proofed dough will collapse in the oven.
Problem: The Proof Function Runs But the Oven Doesn’t Get Warm.
Solution: This could indicate a faulty proofing element, temperature sensor, or control board. First, try running the function with an oven thermometer inside to confirm if any heat is generated. If not, and the oven works normally for baking, the dedicated proofing circuit may be faulty. You may need a service technician. As a temporary workaround, use the “Warm” setting at its lowest temperature (monitor closely with a thermometer) or the DIY boiling water pan method.
Beyond the Basics: Advanced Tips and Creative Uses
Proofing Multiple Doughs
You can proof multiple items simultaneously, like a loaf and a tray of rolls, as long as they have similar proofing times and you place them on separate racks with adequate air circulation between them. Ensure all are covered.
Proofing Cold Dough (Retardation Followed by Proof)
Many artisan recipes call for cold fermenting (retarding) the dough in the refrigerator for 12-72 hours to develop flavor. To use the bread proof function for the final rise after refrigeration, let the cold dough sit at room temperature, uncovered, for 15-20 minutes to take the chill off. Then cover and place in the proofing oven. It will take slightly longer to wake up than room-temperature dough.
Using the Proof Function for Non-Bread Recipes
The warm, steady environment is perfect for:
- Pizza Dough: After shaping balls, proof for 1-2 hours until puffy.
- Cinnamon Rolls & Sweet Rolls: After shaping and placing in a pan, proof until the rolls are touching and nearly doubled.
- Soft Pretzels: Proof the shaped pretzels before the brief boil.
- Sourdough Starters: Use it to give a sluggish starter a consistent boost between feedings.
- Yogurt & Ferments: Set ajar containers of yogurt cultures or vegetable ferments inside for a controlled 110°F (43°C) environment. (Do not use the proof function for this if it exceeds 110°F; use the “Warm” setting or a dedicated yogurt function if available).
Care and Maintenance for Your Proofing Function
The proofing cycle introduces significant moisture into your oven cavity. After each use, it’s crucial to:
- Air Dry: Leave the oven door slightly ajar for 15-30 minutes after the cycle ends to allow any residual moisture to evaporate completely. This prevents mold and mildew on door seals and interior surfaces.
- Wipe Down: Once cool, wipe the interior walls, floor, and especially the door gasket with a clean, dry cloth. If any water spots or residue remain, use a mild vinegar-water solution.
- Check the Seal: Periodically inspect the rubber door gasket for cracks, tears, or food debris. A compromised seal will allow heat and humidity to escape, ruining the proofing function’s efficiency. Clean it gently with a soft cloth.
- Don’t Use Harsh Cleaners: Never use commercial oven cleaners inside the cavity during or immediately after a proofing cycle, as the moisture can cause them to become corrosive. Use only recommended mild cleaners when the oven is cold and dry.
By keeping the cavity and seal clean and dry, you ensure your Samsung oven’s Bread Proof function will deliver perfect, humid warmth for years to come.
Conclusion: Your Journey to Perfect Bread Starts Here
Mastering the Bread Proof function on your Samsung oven is one of the most impactful skills you can develop as a home baker. It moves proofing from a game of chance—hoping your kitchen is the right temperature—to a reliable, repeatable science. You’ve learned that it’s a specialized program for gentle warmth and humidity, not for baking. You now know the critical steps: proper dough preparation, airtight covering, cold-start activation, and vigilant (but patient) monitoring. You have a toolkit for troubleshooting when things go wrong, from dry skins to over-zealous yeast. And you’ve seen how this single function unlocks a world beyond sandwich bread, from sourdough to sweet rolls to perfectly fermented pizza dough.
Embrace this feature. Use it intentionally. Bake with the confidence that comes from controlling one of the most delicate stages of bread making. The next time you pull a beautifully risen, golden-brown loaf from your oven, with an open crumb and a complex, satisfying flavor, you’ll know exactly where that magic began: in the warm, humid, perfectly controlled sanctuary of your Samsung oven’s Bread Proof function. Now, go forth and proof.
Frequently Asked Questions
Can I use the Bread Proof function for any type of yeast dough?
Yes, it’s ideal for any dough leavened with baker’s yeast (active dry, instant) or sourdough starter during its final rise. This includes lean breads, enriched doughs (like brioche), pizza dough, and sweet rolls. Just adjust proofing times based on the dough’s sugar/fat content and fermentation history.
What if my Samsung oven doesn’t have a dedicated “Bread Proof” button?
If your model lacks the dedicated function, you can create a similar environment. Set your oven to its lowest “Warm” setting (often 150°F/65°C), place a pan of boiling water on the bottom rack, and put your covered dough on the middle rack. Use an oven thermometer to monitor the internal temperature and aim for 80°F-90°F (27°C-32°C), adjusting or turning the oven off as needed. The DIY method is less consistent than the built-in program.
How long should I proof my dough in the Samsung Bread Proof function?
There is no set time. It depends entirely on your recipe, dough temperature, and yeast amount. Generally, expect 30-90 minutes. Always use visual cues: the dough should look puffy and have nearly doubled in size. The definitive test is the “poke test.” Never rely solely on a timer; environmental conditions and dough composition cause variation.
Can I adjust the temperature on the Bread Proof function?
This depends on your specific Samsung model. Many newer models with digital controls allow you to adjust the proofing temperature in 5°F (or 2-3°C) increments, usually within a range of 80°F to 110°F (27°C to 43°C). Check your user manual. If your model has a fixed temperature, you must work within that setting and adjust proofing time instead.
Is it okay to open the oven door to check on my dough?
Minimize door openings. Every time you open the door, you lose heat and humidity, which can slow the proof and cause uneven rising. Use the oven window to check. If you must open it, do so quickly and be prepared to add a few extra minutes to the proofing time. For the most accurate results, trust the visual cues and the poke test over frequent checking.
Can I use the Bread Proof function to keep food warm or to bake?
Absolutely not. The Bread Proof function operates at very low temperatures (max ~110°F/43°C), which is in the “danger zone” for food safety (40°F-140°F/4°C-60°C). It will not cook food or keep it at a safe hot-holding temperature (above 140°F/60°C). Using it for anything other than proofing dough is ineffective and potentially hazardous. Use the “Warm” or “Keep Warm” settings for holding cooked food, which maintain temperatures above 140°F.