Sublimating a tumbler in a regular oven is a cost-effective DIY method for creating custom, durable designs. It requires specific sublimation blanks, inks, and paper, along with careful temperature and timing control. By following precise preparation, wrapping, and safety steps, you can achieve professional results at home while avoiding common pitfalls like ghosting or fading.
Ever stared at a beautifully sublimated tumbler and thought, “I wish I could make that at home”? You’re not alone! The allure of custom drinkware—personalized with a logo, photo, or quirky quote—is strong. But what if you don’t have a fancy, expensive heat press? What if you could achieve stunning, permanent results using an appliance you already own? This comprehensive guide will walk you through exactly how to sublimate a tumbler in a regular oven. It’s a game-changer for crafters, small business owners, and DIY enthusiasts looking for an affordable entry into the world of personalization. We’ll break down the science, the essential gear, the step-by-step process, and the crucial safety measures to ensure your projects are both successful and safe. Let’s turn that oven from a bakery into your personal customization studio!
Key Takeaways
- Safety is Paramount: Never use a oven dedicated to food preparation for sublimation due to toxic fumes. A dedicated, well-ventilated appliance is essential.
- Materials Matter: Only use tumblers with a special polymer coating designed for sublimation. Regular stainless steel or glass will not work.
- Temperature & Time are Critical: Typical settings are 380°F-400°F for 5-8 minutes, but always follow your sublimation paper/ink manufacturer’s guidelines for best results.
- Perfect Prep Prevents Problems: Ensure the tumbler is completely clean, dry, and free of oils. Use heat-resistant tape to secure the design without overlapping.
- Wrapping Technique is Key: Use butcher paper or a Teflon sheet as a protective barrier and wrap the tumbler tightly to prevent gas pockets and shifting.
- Controlled Cooling is Essential: Allow the tumbler to cool completely inside the oven or on a heat-resistant surface before handling to prevent smudging.
- Practice Makes Perfect: Start with a simple design on a scrap tumbler to dial in your specific oven’s hot spots and ideal timing.
📑 Table of Contents
- Understanding Sublimation: The Magic Behind the Design
- Essential Equipment: Setting Up Your Oven Sublimation Station
- Step-by-Step Guide: The Sublimation Process
- Troubleshooting: Common Issues and Solutions
- Safety First: Non-Negotiable Precautions
- Conclusion: Your Journey to Custom Tumblers Starts Now
Understanding Sublimation: The Magic Behind the Design
Before we dive into the oven mitts and timers, it’s vital to understand what sublimation actually is. It’s not just fancy printing; it’s a scientific process. Sublimation is the transition of a substance directly from a solid to a gas state, skipping the liquid phase. In our case, the “solid” is the special sublimation ink printed onto transfer paper. When heat (around 380°F-400°F) and pressure are applied, the ink turns into a gas. This gas then penetrates the polymer coating of a sublimation blank—like our tumbler—and solidifies as it cools, becoming one with the material itself.
Why This Creates a Permanent Image
This is the key difference between sublimation and other decoration methods like vinyl or iron-on transfers. The design doesn’t sit on top; it becomes part of the tumbler’s surface. This means it’s incredibly durable, resistant to fading, scratching, and dishwashing (though hand-washing is always recommended for longevity). The image feels smooth to the touch because there’s no raised layer. For tumblers, this is perfect because you’re constantly handling them, and you want the design to last through countless washes and daily use.
The Critical Role of Polymer Coating
Here’s the non-negotiable rule: you cannot sublimate onto just any tumbler. The substrate must have a special polyester-based polymer coating. This coating is what “opens up” under heat to accept the gaseous ink. A standard stainless steel, glass, or ceramic tumbler without this coating will simply not work. The ink will not transfer and will wipe right off. Always purchase blanks explicitly labeled as “sublimation blanks” or “for dye-sublimation.” They come pre-coated and ready for the process. Using the wrong material is the most common reason for failure.
Essential Equipment: Setting Up Your Oven Sublimation Station
Now, let’s gather our tools. The beauty of this method is that many items are household staples or affordable craft supplies. However, precision is key, so don’t cut corners.
Visual guide about How to Sublimate a Tumbler in a Regular Oven
Image source: thekitchenix.com
The Oven: Your Heat Chamber
This is our main character. A standard conventional oven (not a microwave) works perfectly. You need one that can maintain a stable temperature between 380°F and 410°F. An oven thermometer is a highly recommended investment. Many ovens run hot or cold, and knowing the exact temperature inside is crucial for consistency. A small toaster oven can be an excellent dedicated option for crafting, as it heats up faster and uses less energy. Critical Safety Note: Due to the fumes released during sublimation (from the paper coating and inks), you should never use an oven that you also use for cooking food. Designate a specific oven for crafts only. Use it in a well-ventilated area, preferably with an exhaust fan or outdoors.
Sublimation Blanks: The Canvas
As mentioned, these are pre-coated tumblers. They are widely available online from craft suppliers. Popular options include:
- Stainless Steel Tumblers: The most common. They have a polymer coating over the stainless steel. They offer excellent durability and a premium feel. They come in straight-wall and tapered styles.
- Polymer (Plastic) Tumblers: Made from a solid polymer material, not coated metal. They are lighter and often less expensive. They also sublimate beautifully.
- Tumbler Sleeves: These are flexible, pre-shaped polymer sleeves that you slide over a regular stainless steel tumbler and then sublimate. They are a great option if you want to customize existing drinkware.
Always handle blanks with clean, dry hands or gloves to avoid oils that can repel ink.
Inks, Papers, and Tape: The Transfer Trio
- Sublimation Ink: You must use sublimation-specific ink in your printer. Standard inkjet or laser inks will not sublimate. These are available in cartridges or as refill kits for compatible printers (Epson EcoTank models are very popular among crafters).
- Sublimation Paper: This is specially coated paper that holds the sublimation ink until heat releases it. The paper you choose should match your ink brand for best results. It has a distinct feel—often slightly sticky or coated.
- Heat-Resistant Tape: This is not your average Scotch tape. You need high-temperature tape (often called “sublimation tape” or “butcher’s twine tape”) that can withstand 400°F+ without melting, shrinking, or leaving residue. It’s used to secure the paper to the tumbler without covering the design area.
- Protective Barrier: A sheet of uncoated butcher paper, parchment paper, or a Teflon sheet. This goes between your wrapped tumbler and the oven rack to prevent the paper from sticking to the rack and to protect the oven from any potential ink leakage.
Step-by-Step Guide: The Sublimation Process
With your station set up, let’s get into the nitty-gritty. Follow these steps meticulously for the best chance at a flawless tumbler.
Visual guide about How to Sublimate a Tumbler in a Regular Oven
Image source: thekitchenix.com
Step 1: Design Creation and Printing
Use design software like Canva, Adobe Photoshop, or Silhouette Studio to create your artwork. Remember: sublimation prints are reversible! Your image will be mirrored (flipped horizontally) when printed so that it appears correctly after transfer. Set your printer settings to “High Quality” or “Best” and select the correct paper type (usually “Premium Photo Paper” or a specific sublimation setting if your printer driver has one). Let the printed design dry completely for at least 15-30 minutes to prevent smudging during handling.
Step 2: Tumbler Preparation
This step is make-or-break. Any residue on the tumbler will repel ink and cause blank spots.
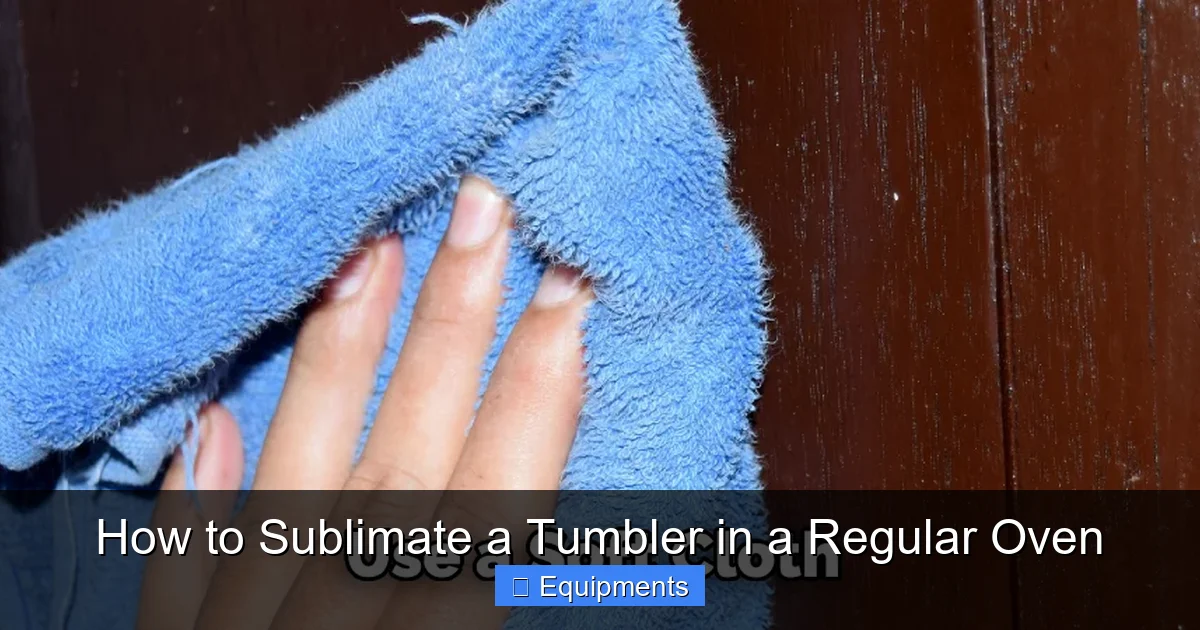
- Clean: Use isopropyl alcohol (rubbing alcohol, 70% or higher) and a lint-free cloth. Wipe the entire surface of the tumbler where the design will go. This removes manufacturing oils, fingerprints, and dust.
- Dry: Immediately follow with a dry, clean lint-free cloth. Ensure the surface is 100% dry and streak-free. Any moisture will create steam pockets during heating, leading to speckles or “steam burns” on your design.
- Inspect: Hold the tumbler up to the light. You should see a perfectly clean, uniform surface. No lint, no streaks.
Step 3: Wrapping and Taping
This is where precision comes in. The goal is to create a tight, seamless wrap with no air gaps.
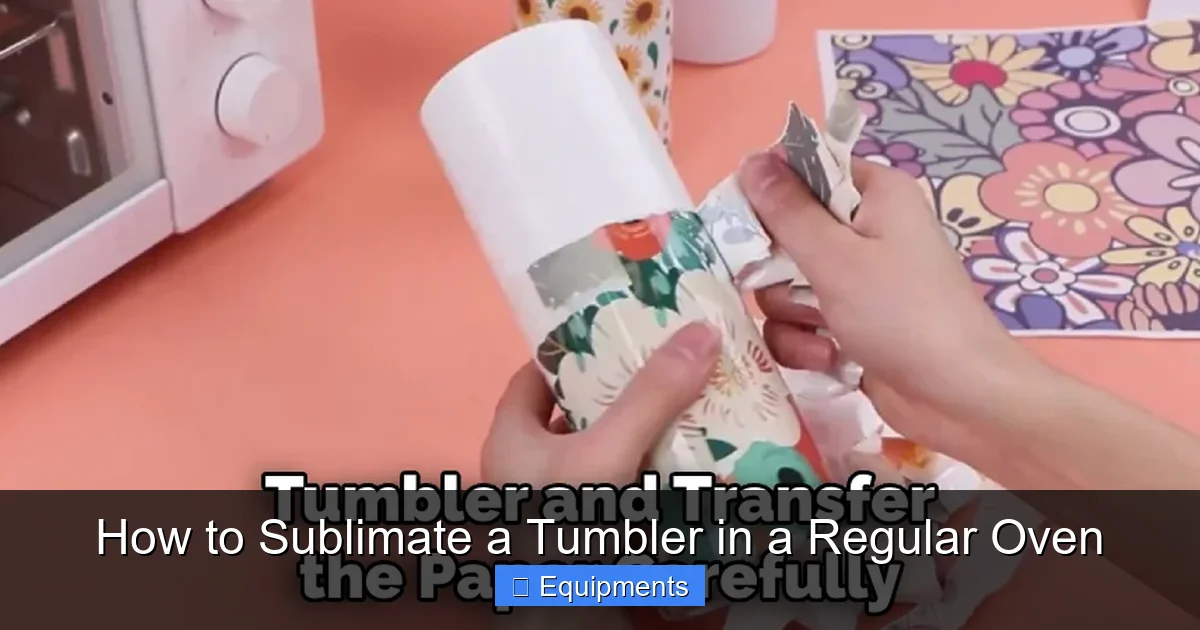
- Cut the Paper: Place your dried, mirrored design face-down on your work surface. Lay the tumbler on top and roll it across the design to determine the needed length. Add about 1-2 inches of overlap. Cut the paper to size.
- Position: Carefully place the tumbler on the paper, aligning your design where you want it. The printed side should be facing the tumbler.
- Wrap Tightly: Gently roll the tumbler, pulling the paper taut as you go. The paper should hug the tumbler with no wrinkles or slack. The seam should be on the back or a less visible side.
- Tape Strategically: Using your heat-resistant tape, secure the seam. Place a small piece of tape at the top and bottom of the seam. Do not tape over your design area. The tape is only to hold the paper in place. For extra security on tapered tumblers, you can add a tiny piece of tape at the very top rim and very bottom rim, again, ensuring it doesn’t touch the design.
- Final Check: Run your fingers along the entire wrap. It should feel smooth and tight, like a second skin. Any bubbles or loose areas will cause ghosting (a faint, blurry secondary image).
Step 4: Oven Loading and Sublimation
- Preheat: Preheat your dedicated oven to 400°F (204°C). Let it come to full temperature. Use your oven thermometer to verify.
- Prepare the Rack: Place a sheet of your protective barrier (butcher paper, parchment) on the oven rack. This is non-negotiable to protect the rack from any ink that might seep through.
- Place the Tumbler: Carefully place the wrapped tumbler on its side on the rack. If you have a small tumbler, you can use a mug turner or a rack that holds it upright, but placing it on its side often provides more even heat exposure for the cylindrical shape. Ensure it’s not touching the oven walls or other items.
- Sublimate: Close the door and set your timer. For a standard 20oz straight tumbler, 6 minutes at 400°F is a great starting point. For a tapered tumbler or a larger size, you may need 7-8 minutes. For a smaller 12oz tumbler, 5 minutes might suffice. Do not open the door during this time.
- Rotate (Optional but Helpful): If your oven has hot spots, at the halfway mark (e.g., 3 minutes), quickly open the door and rotate the tumbler 180 degrees. This helps ensure even heating.
Step 5: Cooling and Unwrapping
This moment of truth requires patience.
- Cool in Oven (Recommended): After the timer goes off, turn the oven off and leave the tumbler inside with the door closed for 2-3 minutes. This allows it to cool slowly and prevents thermal shock, which can sometimes cause the coating to crack on very large tumblers.
- Remove and Cool: Using your oven mitts, carefully remove the tumbler and place it on a heat-resistant surface (like a cutting board). Let it cool completely for at least 10-15 minutes. Do not attempt to unwrap it while warm. The paper will be very hot, and the ink is still setting.
- The Big Reveal: Once completely cool, gently peel off the tape and unroll the paper. The design should be vibrant, crisp, and permanently infused into the tumbler. The paper will look faded—that’s the ink that transferred!
- Inspect: Check for any imperfections. Minor issues are common on first tries. Note what happened for your next attempt.
- Post-Process (Optional): Some crafters like to “cure” the tumbler by running it through the dishwasher or letting it sit for 24-48 hours before washing or use, though this is often unnecessary with modern inks and papers.
Troubleshooting: Common Issues and Solutions
Even with careful preparation, things can go awry. Here’s a diagnostic guide.
Visual guide about How to Sublimate a Tumbler in a Regular Oven
Image source: thekitchenix.com
“Ghosting” or a Faint, Blurry Second Image
Cause: This is almost always due to movement during the sublimation process. The paper shifted, or there was air trapped underneath it.
Solution: Ensure your wrapping technique is impeccable. The paper must be pulled taut and taped securely at the seam. Also, check that your tumbler wasn’t rolling on the oven rack. Placing it on its side on a flat barrier sheet helps. Using a slightly higher temperature for a few seconds less can also sometimes help “set” the ink faster to prevent shifting.
Faded, Dull, or Washed-Out Colors
Cause: The most common reasons are insufficient heat, insufficient time, or using the wrong type of paper/ink combo.
Solution: First, verify your oven temperature with a thermometer. Increase by 10-15°F and/or add 30-60 seconds to your time. Ensure you are using genuine sublimation ink and paper designed to work together. Also, confirm your tumbler is a true sublimation blank; a defective or improperly coated blank will not hold color well.
Bubbling, Wrinkling, or Blistering of the Paper
Cause: Moisture is the culprit here. This could be from humidity in the air, moisture on the tumbler, or even moisture absorbed into the paper from the environment.
Solution: Always store sublimation paper in a sealed, dry bag with a desiccant packet. Pre-heat your tumbler for 30 seconds on the oven rack before wrapping? (Controversial—some say it causes more moisture issues). The safer bet is to be meticulous about the tumbler’s dryness and work in a low-humidity environment. If bubbling occurs, your time/temp might be too high, causing the paper’s coating to scorch.
Safety First: Non-Negotiable Precautions
We cannot stress this enough. Sublimation involves heating chemical coatings. Safety is not optional.
Ventilation and Fumes
The process releases volatile organic compounds (VOCs) from the paper’s heat-activated coating and the ink carrier. Inhaling these is not safe. You must use your oven in a well-ventilated area. This means:
- Using an exhaust fan that vents outside.
- Working in a garage with the door open.
- Using the oven outdoors on a patio or balcony if possible.
- Never sublimate in a kitchen oven that you also use for food without extreme, professional-grade ventilation, which is unlikely in a home. The risk of cross-contamination and lingering fumes on food is real.
Oven Dedication
Once an oven is used for sublimation, it should be permanently dedicated to that purpose. The fumes and residues can coat the interior and potentially contaminate food. Many crafters buy a used, inexpensive toaster oven from a thrift store and dedicate it solely to their crafting. This is the safest and most responsible approach.
Handling Hot Items
The tumbler, paper, and oven rack will be extremely hot (400°F+). Always use high-quality oven mitts. Allow for proper cooling as described. Be mindful of steam when opening the oven door. Keep children and pets far from the workspace.
Conclusion: Your Journey to Custom Tumblers Starts Now
Sublimating a tumbler in a regular oven is a rewarding skill that opens up a world of creative and entrepreneurial possibilities. It democratizes customization, allowing anyone with a dedicated oven and the right supplies to produce professional-grade, durable products. Remember, the formula for success is simple but requires discipline: proper materials + meticulous preparation + precise heat + patience = perfect sublimation. Your first few attempts might not be flawless, and that’s okay! Use the troubleshooting guide to learn. Keep a log of your settings (temp, time, tumbler type) for each project. Soon, you’ll develop an intuitive feel for your specific oven and the materials you love. You’ll be creating stunning, personalized tumblers for yourself, as gifts, or for your own small business. So grab that dedicated toaster oven, order some blanks, and start experimenting. The only limit is your creativity. Happy crafting!
Frequently Asked Questions
Can I use my kitchen oven that I cook food in?
We strongly advise against it. Sublimation releases fumes from the paper coating and inks that are not safe for ingestion and can contaminate your oven. For your health and food safety, you must use a dedicated oven that is never used for food preparation.
What temperature and time should I use for a standard 20oz tumbler?
A excellent starting point is 400°F (204°C) for 6 minutes. However, always verify your oven’s actual temperature with a thermometer. Adjust in 10-15°F increments and 30-60 second intervals based on your results. Tapered tumblers may require slightly more time (7-8 minutes) than straight-wall ones.
Do I need a special printer?
Yes, you need a printer that can use sublimation ink. Most commonly, this is an inkjet printer. Epson EcoTank models are popular because they are refillable and cost-effective for high-volume printing. You cannot use standard office inkjet or laser printers with regular cartridges.
Why is my design fading or not vibrant?
This is usually due to one of three issues: 1) Your oven temperature is too low or time too short. 2) You are not using a true sublimation blank with a proper polymer coating. 3) Your sublimation ink and paper are not a compatible pair or are old/expired. Always use products from the same reputable brand system.
Can I sublimate any color tumbler?
No. Sublimation works best on white polymer-coated blanks. The ink is transparent and relies on a white background for colors to appear true and vibrant. Sublimating on a colored tumbler (like black or pastel) will result in a dull, muted, or completely invisible design, as the base color will show through the transparent ink.
How do I clean my sublimated tumbler?
While sublimation creates a very durable image, harsh abrasives can eventually wear it down. Hand wash with mild soap and a soft sponge or cloth. Avoid the dishwasher, steel wool, or harsh chemicals. For stubborn residue, soak in warm soapy water and gently wipe. This will preserve the vibrancy and integrity of your design for years.