A cake pan with a removable bottom, often called a springform pan, is a baker’s secret weapon for delicate cheesecakes, tortes, and layered cakes. Its unique design allows you to effortlessly release the cake without inverting it, preserving intricate decorations and fragile crusts. Proper preparation, careful handling during baking, and correct release techniques are essential to avoid sticking or structural damage. This guide covers everything from greasing and baking to unmolding and maintenance, ensuring bakery-quality results at home.
So you’ve unboxed that shiny new cake pan with a removable bottom—often called a springform pan—and you’re staring at its clever latch mechanism with a mix of excitement and confusion. It looks like a magic trick waiting to happen, but getting that perfect, intact release feels like a high-wire act. You’re not alone. Many home bakers have wrestled with a stuck cake or a crumbled crust, wondering if they’ve misunderstood this seemingly simple tool. But here’s the secret: using a springform pan isn’t about luck; it’s about understanding its unique personality and following a few non-negotiable steps. Whether you’re aiming for a pristine New York cheesecake, a delicate chocolate torte, or a stunning layered mousse cake, mastering this pan will elevate your baking from good to gallery-worthy. Let’s demystify the process, from the very first greasing to the final, flawless slice.
Key Takeaways
- Preparation is Crucial: Always grease and flour the pan, or use parchment paper, to guarantee a clean release and prevent sticking.
- Know Its Best Uses: Ideal for cheesecakes, mousse cakes, tortes, and any dessert with a fragile structure or crumbly crust that can’t be inverted.
- Baking Requires Care: Ensure the pan is securely locked, avoid overfilling, and use a baking sheet underneath to catch potential leaks from batter or water baths.
- Cool Completely Before Unmolding: Patience prevents cracks and collapse; let the cake cool in the pan, then refrigerate if needed for firmness.
- Release Technique Matters: Loosen the sides first with a knife, then gently lift the bottom. Never force it or use excessive heat.
- Maintenance Ensures Longevity: Hand-wash with gentle soap, avoid abrasive scrubbers, and check the latch mechanism regularly for wear.
- It’s Not for All Batters: Avoid using it for very thin, runny batters or recipes requiring high, structural rise (like angel food cake), as leaks are possible.
📑 Table of Contents
What Exactly Is a Springform Pan and Why Use One?
Before we dive into the “how,” let’s clarify the “what.” A springform pan is a two-part baking vessel: a base and a removable side ring that locks into place with a clamp or latch. When you release that latch, the sides expand and drop away, leaving your cake seated on the bottom plate. This is fundamentally different from a standard solid-sided pan, where you must invert the cake onto a rack, risking damage to the top or delicate layers.
The Core Advantage: Zero-Inversion Release
The primary brilliance of the cake pan with removable bottom is its ability to free the cake without ever turning it upside down. Think about a cheesecake with a graham cracker crust. Inverting it from a solid pan would crush that crust and cause the top to crack and slide. With a springform, you simply release the sides. The same goes for a cake with a mirror-glazed top, a delicate mousse layer, or a bottom layer of fruit or cookie crumb. The presentation stays perfect, exactly as you designed it. It’s the difference between a rustic dessert and a professional one.
Common Misconceptions and Limitations
It’s important to understand what a springform pan is not designed for. Because the seal between the base and the ring isn’t 100% airtight (it has to move, after all), it is not suitable for very liquid-heavy batters or recipes that require a water bath without additional precautions. A runny pancake-style batter would leak out through the seam. Similarly, cakes that rely on the pan’s sides for structural support during rising, like angel food or chiffon cakes, won’t develop properly. The sides need to cling to the pan to climb. Use your springform for dense, rich, crumb-based, or layered desserts where the structure is self-contained or supported by a crust.
Essential Preparation: Setting the Stage for Success
The most critical step in using a springform pan happens before the batter even touches the pan. Skipping proper preparation is the number one cause of catastrophic sticking. You have two primary methods, and choosing the right one depends on your recipe.
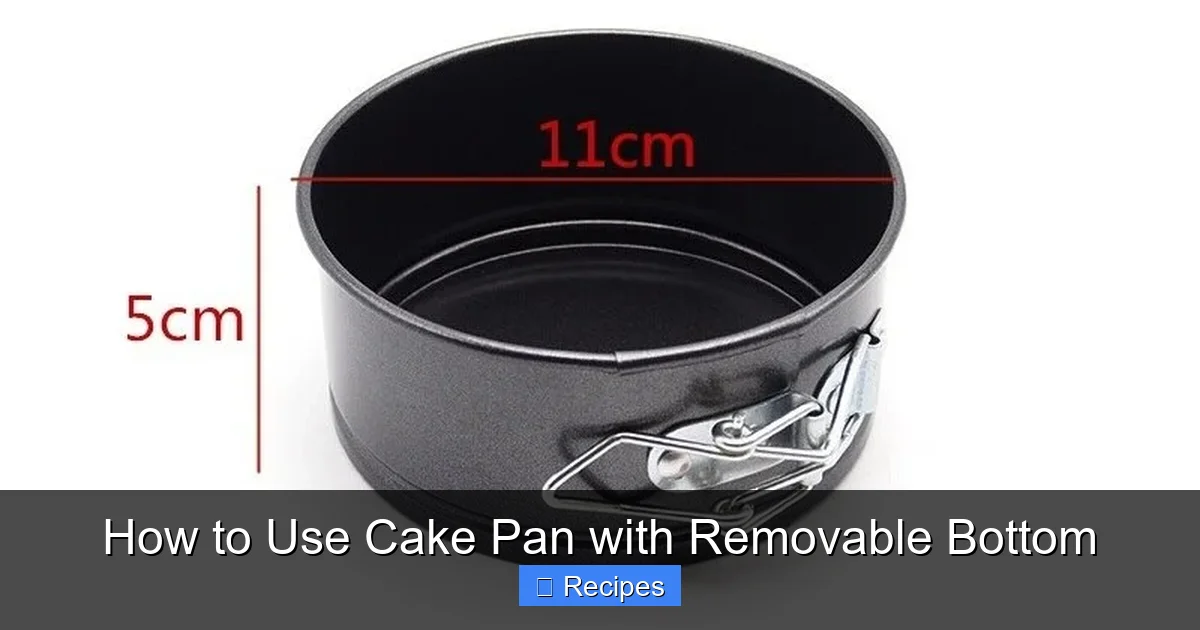
Visual guide about How to Use Cake Pan with Removable Bottom
Image source: images.nexusapp.co
Method 1: Greasing and Flouring (The Classic Approach)
This is the standard for many cheesecake and torte recipes. Use a neutral-flavored oil, butter, or shortening. Here’s the foolproof way:
- Grease Generously: Using a pastry brush or paper towel, coat the entire interior of the ring and the base with a thin, even layer of fat. Don’t forget the corners and the seam area where the ring meets the base.
- Add Flour: Add about 1 tablespoon of flour to the pan. Tilt and rotate the pan until the flour coats all the greased surfaces, then tap out the excess. The flour creates a dry barrier between the fat and the batter. For chocolate desserts, use cocoa powder instead of flour to avoid a white residue.
- For Extra Insurance: Many bakers then line the bottom with a circle of parchment paper, cut to size. This is especially helpful for very sticky crusts.
Method 2: Parchment Paper Lining (The Clean Release)
For recipes where you want an absolutely pristine bottom (like a cake you’ll flip later for frosting) or for extremely sticky batters, full parchment lining is your best friend.
- Create a Template: Trace the bottom of the pan onto parchment paper and cut it out.
- Grease the Pan: Lightly grease the pan as above, then place the parchment circle on the base.
- Line the Sides (Optional):strong> For extra security, you can cut a long strip of parchment to line the sides. Secure it with a dab of butter or oil so it sticks. This is common for very wet cheesecakes.
Pro Tip: If your recipe calls for a crust (like ground nuts or cookies), press it firmly and evenly onto the prepared bottom. You can even pre-bake a crust for 5-10 minutes to set it before adding the wet filling.
Baking with Your Springform Pan: Dos and Don’ts
With your pan prepped, it’s time to bake. But this pan has a few quirks you need to accommodate.
Visual guide about How to Use Cake Pan with Removable Bottom
Image source: images.nexusapp.co
Lock It Down Tight
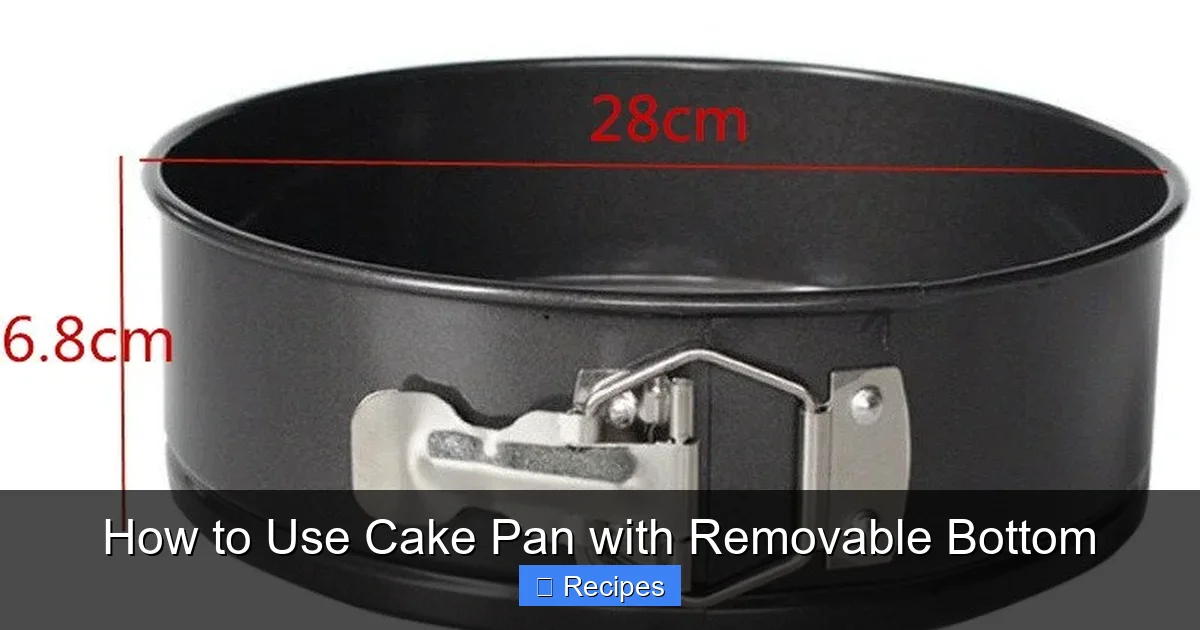
Before adding any batter, ensure the latch is securely fastened and the ring is perfectly level with the base. Give it a gentle wiggle; there should be no movement. A loose ring during baking can cause batter to leak out the seam or create an uneven cake.
Don’t Overfill
Springform pans come in standard sizes (usually 9-inch or 10-inch). Fill the pan no more than ¾ full. Batters, especially cheesecakes, can puff up during baking. Overfilling leads to spills in the oven, a messy seam, and potential overflow that bakes onto the pan, making cleanup difficult and potentially jamming the latch later.
The Water Bath Question (And How to Do It Right)
Many cheesecake recipes mandate a water bath to provide even, moist heat and prevent cracking. This is where leak-prevention is vital.
- Double-Up: Wrap the outside of the assembled springform pan tightly in multiple layers of heavy-duty aluminum foil. This is your primary defense against water seeping in.
- Use a Roasting Pan: Place the foil-wrapped springform inside a large, sturdy roasting pan.
- Add Hot Water: Pour very hot (not boiling, to avoid thermal shock) water into the roasting pan until it reaches halfway up the springform’s sides.
- Monitor: Check the water level during baking and add more hot water if it gets too low.
Why the foil? The tiny gap at the seam of a springform pan is a direct path for water. Without the foil barrier, your crust will become soggy and your final texture will be wrong.
Use a Baking Sheet as a Catch-All
Even if you’re not doing a water bath, place your springform pan on a baking sheet before putting it in the oven. This catches any minor leaks or drips from a particularly frothy batter, keeping your oven clean and allowing for easy transport.
The Critical Cooling Phase: Patience is a Virtue
You’ve baked your masterpiece. The timer dings. Now, the hardest part: waiting. Rushing this stage is a recipe for disaster.
Visual guide about How to Use Cake Pan with Removable Bottom
Image source: maku.kitchen
Cool in the Pan, on a Rack
Remove the cake from the oven and place the entire springform pan (still locked!) on a wire cooling rack. Let it cool completely to room temperature. This can take 1-2 hours for a cheesecake, less for a torte. Cooling in the pan allows the structure to set gradually. Rapid cooling, like placing it in the fridge or on a cold surface, can cause thermal shock, leading to cracks or a sunken center.
The Refrigeration Step (For Many Recipes)
For dense, custard-based desserts like cheesecake, the recipe will almost always instruct you to refrigerate the cake for several hours or overnight while still in the springform pan. This chilling firms everything up dramatically, making the final release much cleaner and easier. Do not skip this. A warm, soft cake will tear apart when you try to unmold it.
Unmolding: The Grand Finale
This is the moment of truth. A calm, deliberate approach is key.
Step 1: Loosen the Sides
Before touching the latch, run a thin, flexible knife (a paring knife or icing spatula works perfectly) around the entire circumference of the cake, between the cake and the pan ring. Do this gently to break any potential “seal” or sticky spots. This step alone solves 80% of sticking problems.
Step 2: Release the Latch
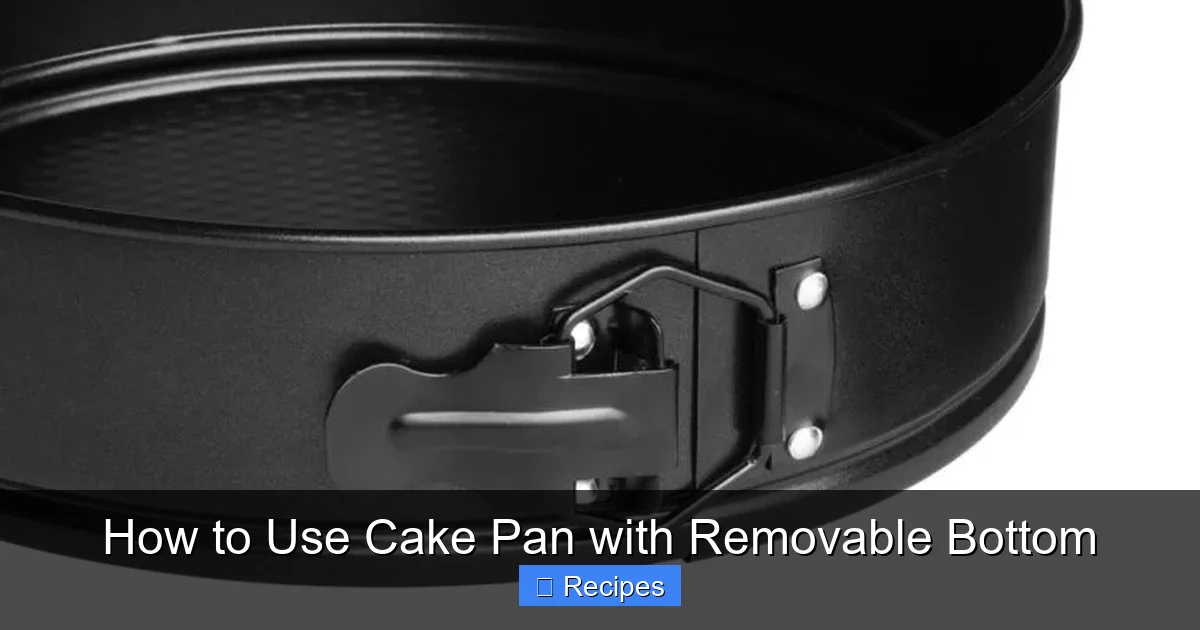
Place the pan on a plate, cake stand, or your serving platter. With one hand supporting the bottom plate, use your other hand to gently lift and release the latch. You should feel the ring expand slightly. Do not yank it. Let it fall open slowly.
Step 3: Lift the Ring Away
Once the latch is fully open, carefully lift the ring straight up and off. It should come away cleanly. If you feel resistance, stop. Your cake may not be cool enough, or you missed a sticky spot with the knife. Go back and run the knife around again.
Step 4: Remove the Bottom (If Desired)
If you used a parchment liner and want the cake on a different platter, you can now slide a spatula between the cake and the bottom plate and gently transfer it. If you baked directly on the base, you can leave the cake on it for serving—it’s designed for that! To remove the bottom from under the cake, place a plate on top, invert the whole assembly, lift off the springform base, then re-invert the cake onto its final serving plate. This is only for sturdy cakes.
Cleaning and Care for Longevity
Your springform pan is an investment. Proper care ensures it lasts for decades.
Hand-Wash is Non-Negotiable
Never, ever put your springform pan in the dishwasher. The high heat and harsh detergents can warp the metal, corrode the latch mechanism, and ruin the non-stick coating (if it has one). Always wash by hand with warm, soapy water and a soft sponge. The latch area collects crumbs—use a small brush or toothbrush to clean the hinge.
Stuck-On Food? Don’t Scrub.
For baked-on bits, fill the pan with warm, soapy water and let it soak for 30 minutes. This softens the residue. You can then gently scrape with a plastic or silicone spatula. Avoid steel wool or abrasive cleaners, which will scratch the surface and promote future sticking.
Storage: Keep It Loose
Store your springform pan with the latch unlocked. Keeping it locked under tension for long periods can deform the ring and weaken the latch, making it difficult to close properly later. Simply place the ring and base together, and store them in a dry cabinet.
Troubleshooting Common Problems
Even with the best prep, issues can arise. Here’s how to solve them.
The Cake Stuck to the Sides
Cause: Insufficient greasing/flouring, or the cake wasn’t cooled enough. The cake shrinks as it cools, releasing from the sides. A warm cake is still expanded and bonded.
Fix: Run a knife around the edge again. If that fails, try warming the pan very gently with a hair dryer on low heat for 30-60 seconds to melt any butter/sugar bond. Then try releasing the latch again.
The Bottom Stuck to the Base
Cause: No parchment liner, or batter seeped under the crust.
Fix: This is trickier. Use a thin, flexible spatula to carefully slide around the entire bottom edge. If you have a parchment liner, you can often lift it with the cake. If not, you may need to gently pry the cake off, accepting some damage to the bottom crust. Prevention with parchment is key here.
The Latch is Stiff or Won’t Close
Cause: Food debris in the hinge, or the pan was stored locked.
Fix: Clean the hinge area meticulously with a toothbrush. If stored locked, try to gently flex the ring open and closed by hand to work it loose. If it’s severely corroded or bent, the pan may be at the end of its life.
Frequently Asked Questions
Can I use a springform pan for a regular cake recipe?
You can, but it’s not ideal for sponge or angel food cakes that need to cling to the pan for height. For dense cakes like pound cake, it works fine, but expect a slightly different texture on the sides as they won’t be constrained.
My cake leaked in the oven. What went wrong?
Leakage is usually due to an unsecured ring, overfilling, or a batter that’s too thin. Always double-check the latch is locked, fill only ¾ full, and for very liquid batters, consider using a solid pan or wrapping the pan in foil as a precaution.
Can I substitute a springform pan for a solid pan in a recipe?
Yes, for most recipes like brownies or dense cakes. The main difference is you won’t be able to invert it easily for cooling, so you may need to let it cool longer in the pan before removing the sides.
Is my springform pan oven-safe up to 500°F?
Most are, but always check the manufacturer’s instructions. The latch mechanism is often the weak point. Prolonged exposure to very high heat can damage the spring or warp the metal. For high-heat recipes, a solid pan is safer.
How do I prevent a cheesecake from cracking in a springform pan?
Use a water bath (with the pan properly foiled), avoid overmixing the batter, bake at a moderate temperature (usually 325°F), and most importantly, cool it slowly in the oven (turn off the heat and crack the door) before moving it to the counter.
What size springform pan should I buy?
The 9-inch pan is the most common and versatile for standard cheesecake and torte recipes. A 10-inch is good for larger gatherings. Consider a set with both sizes if you bake frequently. Ensure the base is flat and fits securely in your oven.
Pingback: How to Get Cake Box Mixes to Rise - kitchenandhouseware.com
Pingback: How Long to Let Cake Cool Before Frosting - kitchenandhouseware.com